モチベーション
チュートリアルどれくらいの時間で実際のところできるんだろう?
例題で10分と書かれているクラウドへの複数ファイル一括アップロードを試してみる。
環境
- RaspberryPi3B+
- Raspbian 9.8
ステップ 1: AWS IAM ユーザーを作成する
- AWS マネジメントコンソール
- IAM(Identity and Access Management )
- ユーザー
- ユーザーを追加
- ユーザー名:AWS_Admin
- アクセスの種類: プログラムによるアクセス
- 次のステップ
- 既存のポリシを直接アタッチ
- AdministratorAccess を選択
- 次のステップ
- 次のステップ
- ユーザーの作成
- .csvのダウンロード
- credentials.csv が保存される。
- 閉じる
ステップ 2: AWS CLI をインストールおよび設定する
pi@raspberrypi:~ $ pip install awscli --upgrade --user
pi@raspberrypi:~ $ aws configure
AWS Access Key ID [****************DTFA]: xxxxxx(credentials.csvより)
AWS Secret Access Key [****************fl86]: xxxxxx(credentials.csvより)
Default region name [US-EAST-1]: us-east-1
Default output format [json]: json
ステップ 3: AWS CLI と Amazon S3 を使用する
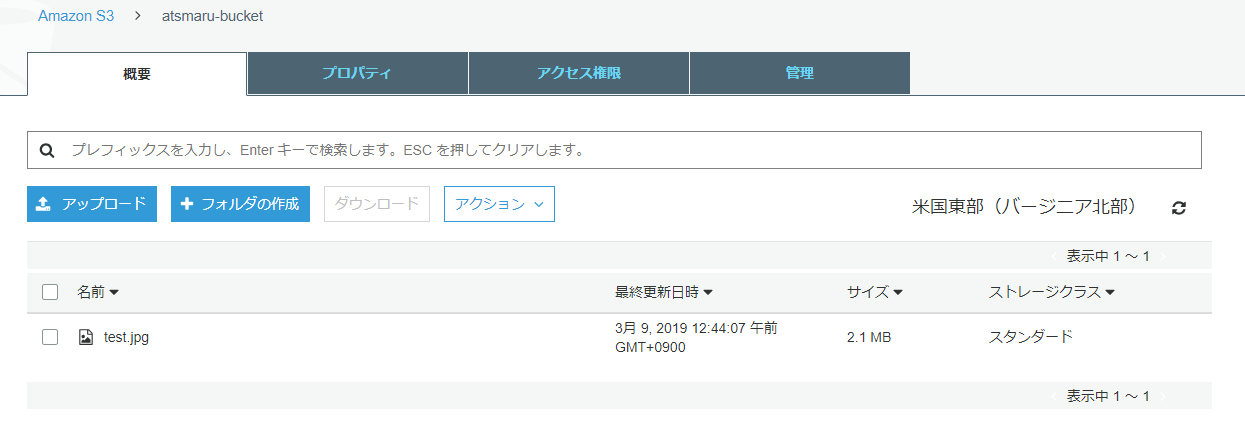
CLIからatsmaru-bucketという名前のbucketを作成する。
pi@raspberrypi:~ $ aws s3 mb s3://atsmaru-bucket
make_bucket: atsmaru-bucket
CLIでファイルコピー
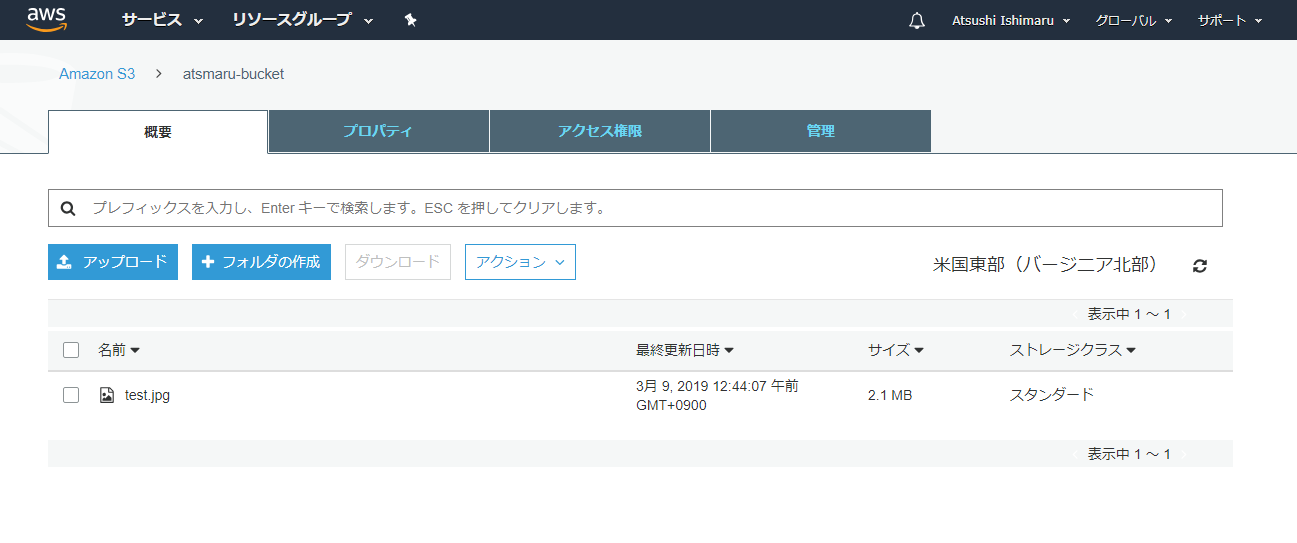
pi@raspberrypi:~ $ aws s3 cp /home/pi/test.jpg s3://atsmaru-bucket
upload: ./test.jpg to s3://atsmaru-bucket/test.jpg
結果
30分くらいかかりました。
おまけ
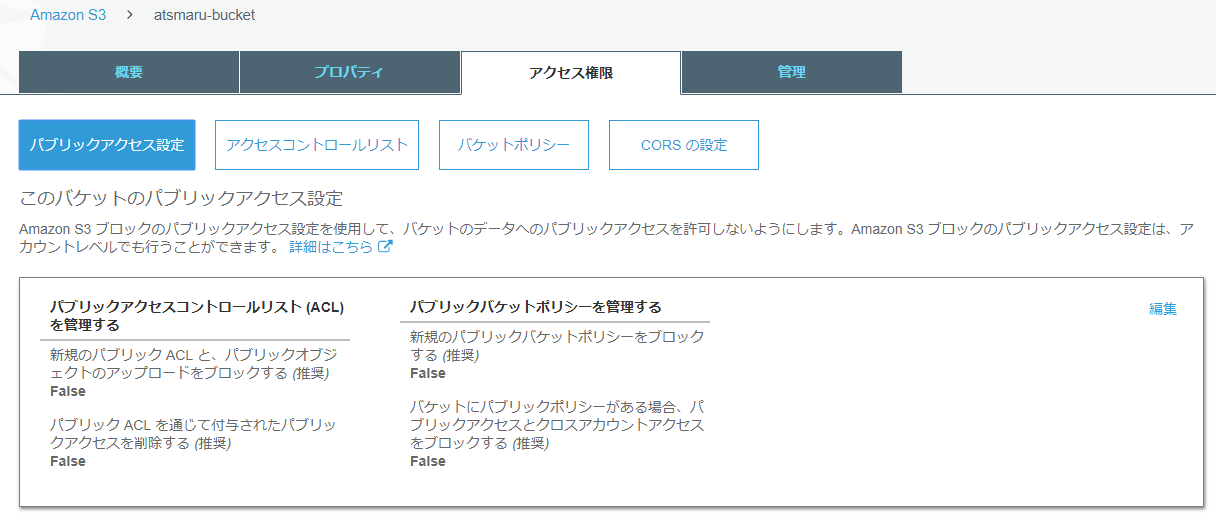
CLIから作ったバケットの素性を確認
アクセス:公開可能

ストレージクラス:スタンダード

パブリックアクセス権:4つともFALSE

