今年は専ら Angular で Webアプリを作ったり、ガワネイティブアプリを作ったりしていますが Xamarin のアドベントカレンダーと聞いてやってきました。
概要
最近は、モバイルネイティブアプリよりも Webアプリ(SPA/PWA)、そしてそれを利用したガワネイティブアプリを推している私ですが、ガワネイティブアプリを作る時の「ガワ」には Xamarin(Xamarin.Forms) を採用しています。
なぜガワネイティブなのか?ネイティブではなく、Web(PWA)でもないのか?については、
のエントリがよく解説されていますのでご一読を。私のケースは BtoC ではなく BtoB であるため、全面的に一致するわけではありませんが、内容については大いに同意できます。
ガワネイティブアプリは、Webアプリがネイティブの機能を欲するから採用されるわけで、それを制御するためにWebアプリとネイティブ機能の相互通信が必要になります。
また、「ガワ」は WebView なわけですが、それがアプリとして自然に振る舞うために、いくつかの「設定」をしてあげる必要があります。
この記事は、そのような「Xamarin(.Forms) でガワネイティブアプリを作るときのリファレンス」になればよいなと思って書きます。
尚、Advent Calendar の締め切りに間に合わせるために 意外と情報量が多かったので、何回かに分けます。
今回は初回です。
目次
1.【今回】日本語入力時の画面高さの調整
2.【今回】ステータスバー、あるいは SafeArea(ノッチ部)の色
3.【第2回】スプラッシュスクリーンおよび初回読み込み時の対応
4.【第2回】アプリに必要な権限の許可を要求する
5.【次回以降予定】アプリ情報の Web 側への引き渡し
6.【次回以降予定】 への対応
7.【次回以降予定】Back ボタンハンドリングの Web 側への移譲
1. 日本語入力時の画面高さの調整
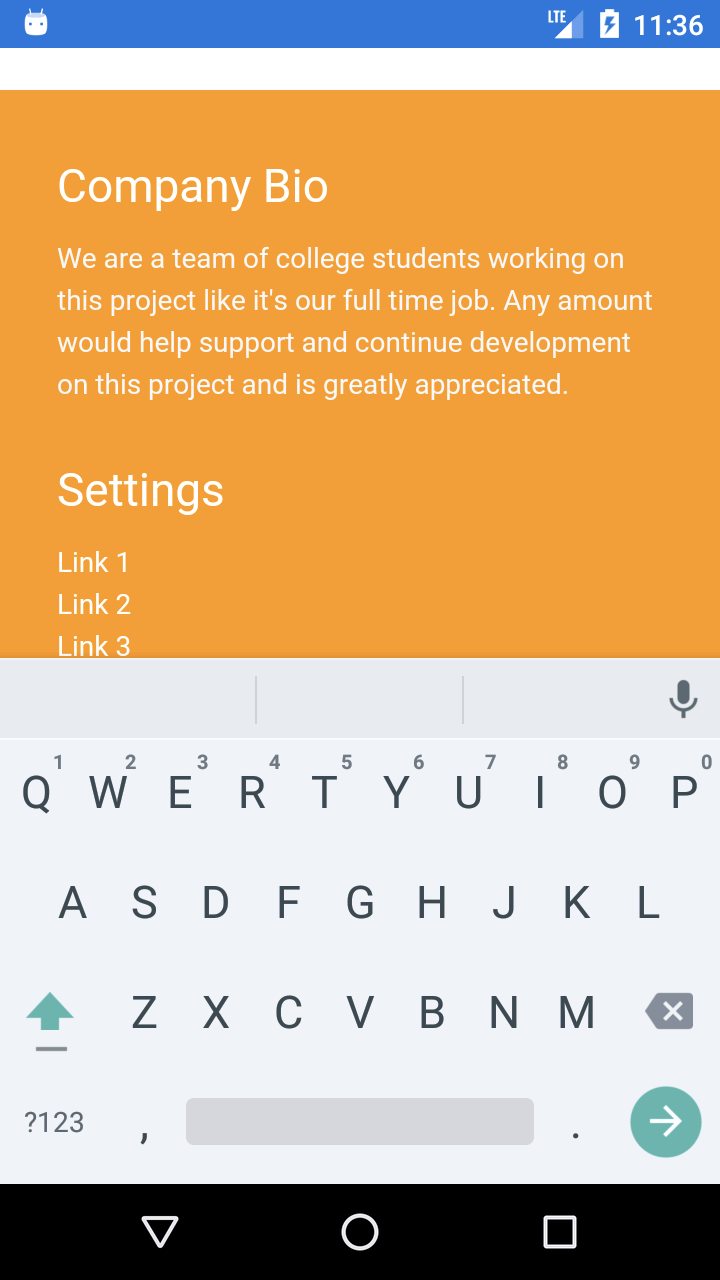
ソフトウェアキーボードが、コンテンツの手前が重なってしまう問題の解決です。
これは、
を適用して解決します。
Android の場合
今回のように WebView だけ対応すればよい場合は、 MainActivity.cs に ```.UseWindowSoftInputModeAdjust()`` の行を追加してあげればよいみたいです。
// MainActivity.cs
protected override void OnCreate(Bundle bundle)
{
    TabLayoutResource = Resource.Layout.Tabbar;
    ToolbarResource = Resource.Layout.Toolbar;

    base.OnCreate(bundle);
    global::Xamarin.Forms.Forms.Init(this, bundle);
    LoadApplication(new App());

	Xamarin.Forms.Application.Current.On<Xamarin.Forms.PlatformConfiguration.Android>()
		.UseWindowSoftInputModeAdjust(WindowSoftInputModeAdjust.Resize); // ←ここ!!
}
iOS の場合
iOS の場合、前出のわたしのエントリを改善して頂いた、
があるのですが、WebView だけ対応すればよい場合、特にやることは無いですw
対応結果
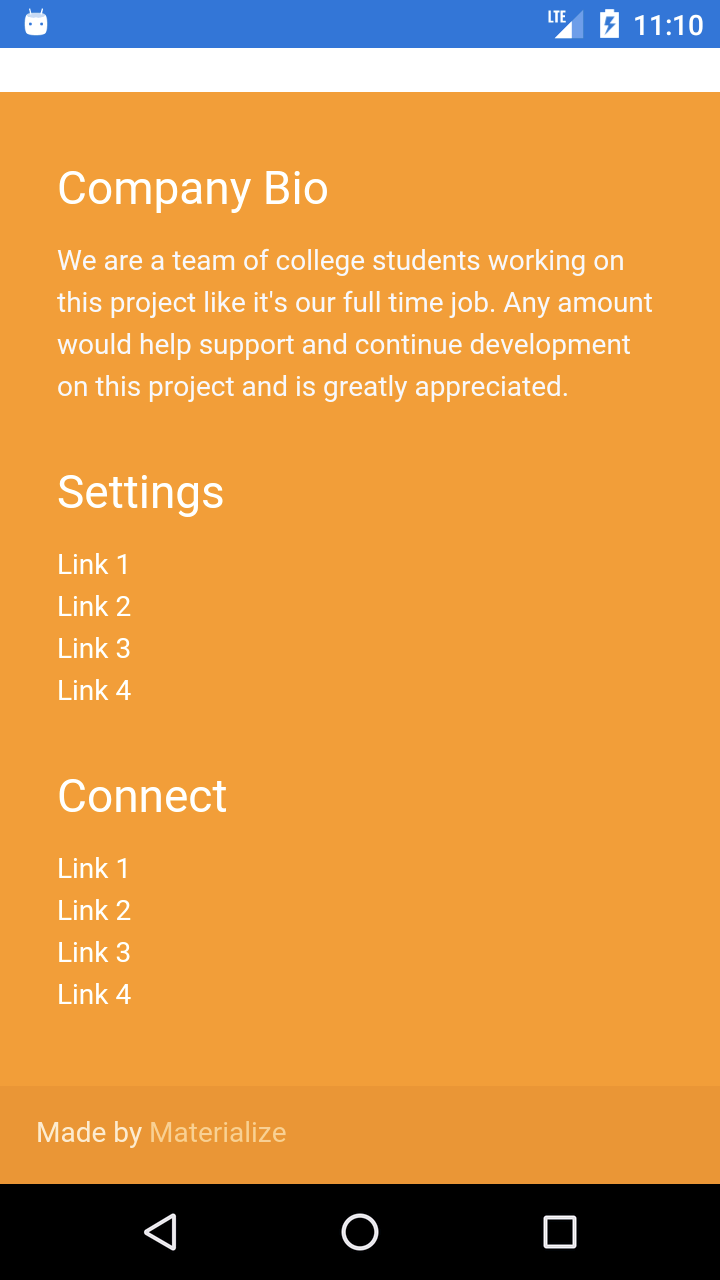
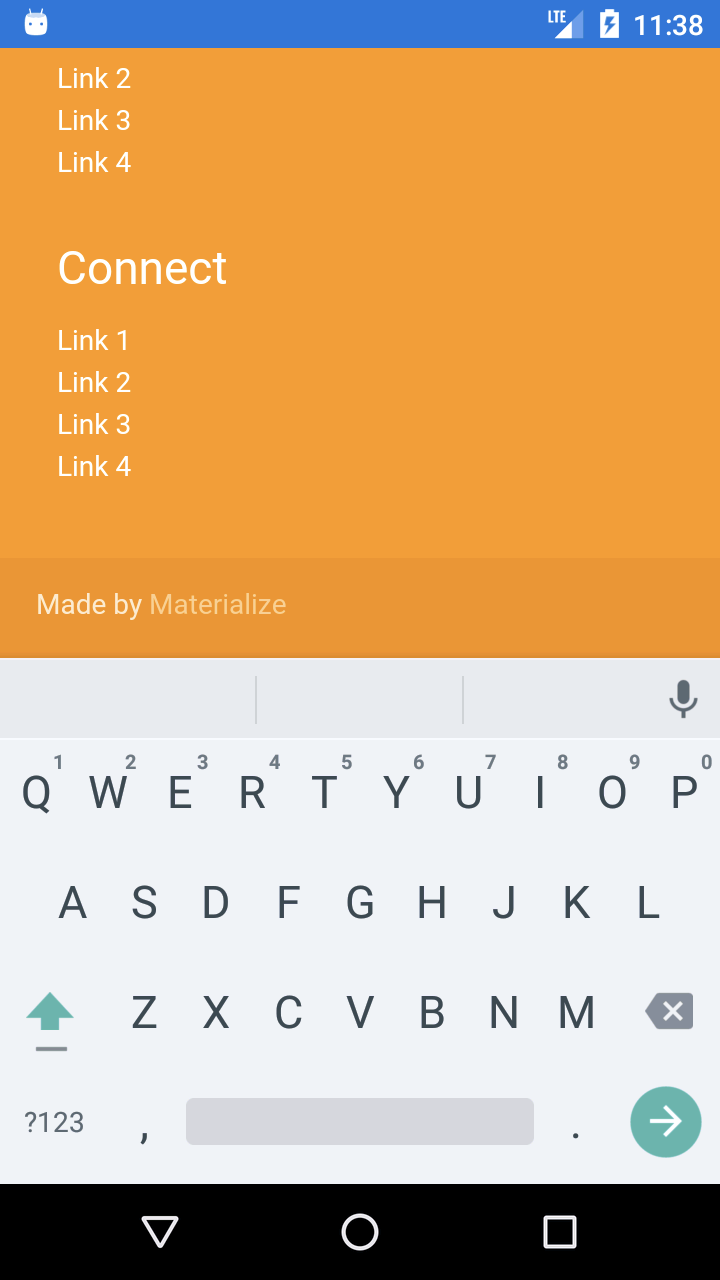
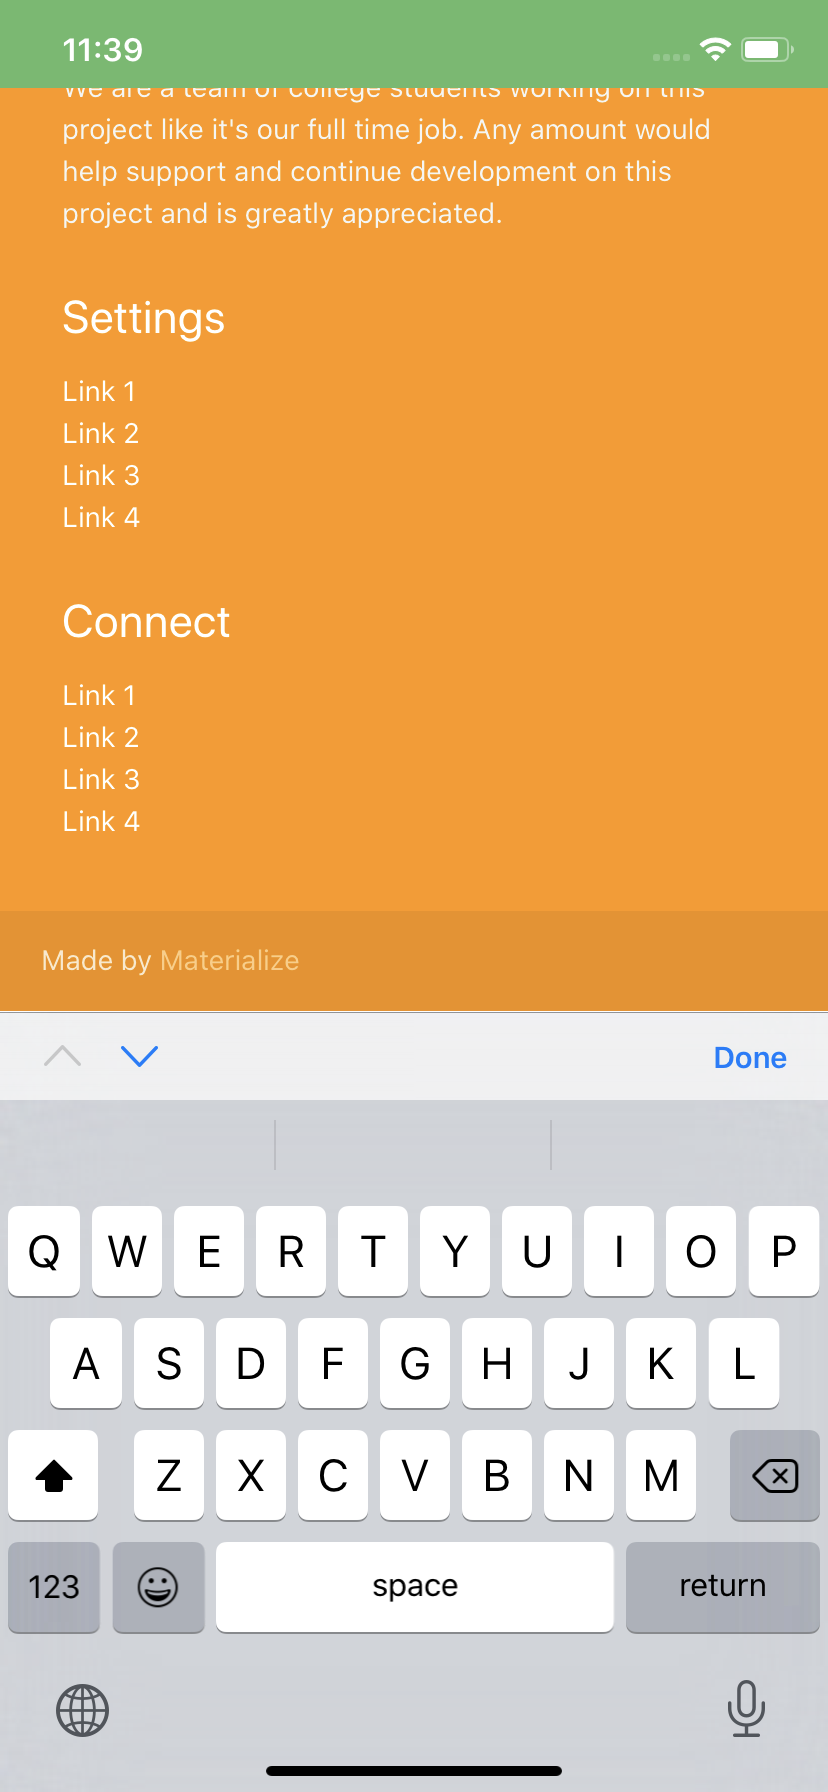
これらの対応を行うと、下図のようにソフトウェアキーボードを表示していても、WebView のコンテンツが隠れることはなくなります。
なお、この例では Materialize-CSS の Starter Template を表示させています。
| 元コンテンツ | 対応前 | 対応後(Android) | 対応後(iOS) |
|---|---|---|---|
 |
 |
 |
 |
2. ステータスバー、あるいは SafeArea(ノッチ部)の色
Android と iOS のステータスバーの色は、Webアプリのテーマ色に合わせたいものです。
また、iOS では SafeArea(ノッチのところ)を除けるような対応が必要になります。
ガワのプロジェクト作成直後は下図のように、Android では青系のステータスバーに、iOS では白色になってしまいます。
| 対応前(Android) | 対応前(iOS) |
|---|---|
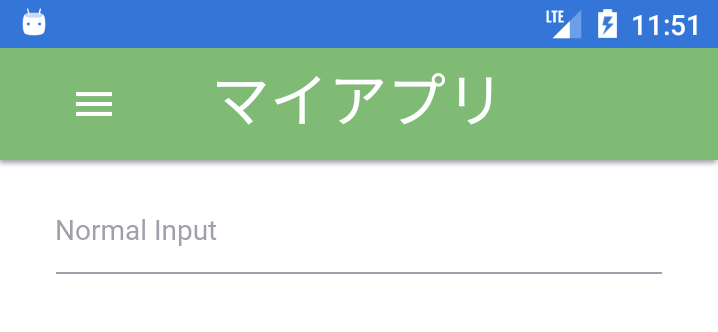 |
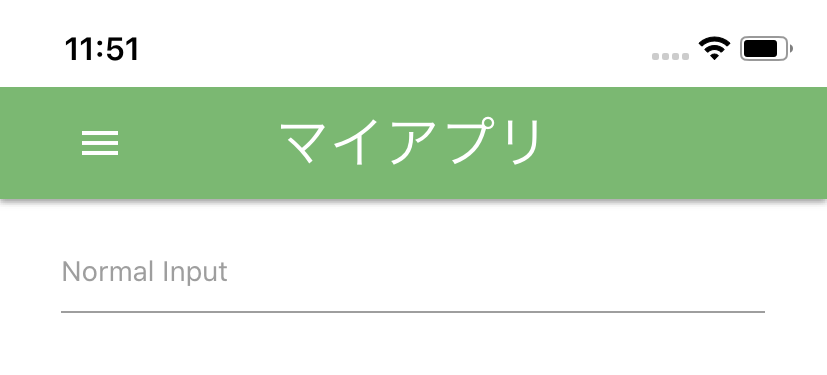 |
この例では Web アプリのテーマ色が緑なので、どちらもステータスバーを緑色にします。
Android の場合
Android プロジェクトにある Resources/values/styles.xml の colorPrimaryDark の色を修正します。下の例では #66BB6A に書き換えました。(colorPrimary も変えておいた方が良いかもしれませんね。)
Resources/values/styles.xml
<?xml version="1.0" encoding="utf-8"?>
<resources>
    <style name="MainTheme" parent="MainTheme.Base">
    </style>
    <!-- Base theme applied no matter what API -->
    <style name="MainTheme.Base" parent="Theme.AppCompat.Light.DarkActionBar">
        <!--If you are using revision 22.1 please use just windowNoTitle. Without android:-->
        <item name="windowNoTitle">true</item>
        <!--We will be using the toolbar so no need to show ActionBar-->
        <item name="windowActionBar">false</item>
        <!-- Set theme colors from https://aka.ms/material-colors -->
        <!-- colorPrimary is used for the default action bar background -->
        <item name="colorPrimary">#2196F3</item>
        <!-- colorPrimaryDark is used for the status bar -->
        <item name="colorPrimaryDark">#66BB6A</item>  ←ここ!!!
        <!-- colorAccent is used as the default value for colorControlActivated
         which is used to tint widgets -->
        <item name="colorAccent">#FF4081</item>
        <!-- You can also set colorControlNormal, colorControlActivated
         colorControlHighlight and colorSwitchThumbNormal. -->
        <item name="windowActionModeOverlay">true</item>
        <item name="android:datePickerDialogTheme">@style/AppCompatDialogStyle</item>
    </style>
    <style name="AppCompatDialogStyle" parent="Theme.AppCompat.Light.Dialog">
        <item name="colorAccent">#FF4081</item>
    </style>
</resources>
iOS の場合
ノッチの対応がちょっと面倒です。
こちらの方法をとります。
ノッチ(SafeArea)の領域分のパディングを設ける Effects を作って、Page に適用する方法です。
まずは、Forms の共通プロジェクトに SafeAreaPaddingEffect を作成します。
SafeAreaPaddingEffect.cs
using System;
using Xamarin.Forms;

namespace GawaNativeGettingStarted
{
    public class SafeAreaPaddingEffect : RoutingEffect
    {
        public SafeAreaPaddingEffect() : base("GawaNativeGettingStarted.SafeAreaPaddingEffect")
        {
        }
    }
}
先に MainPage.xaml に適用しちゃいましょう。
尚、BackgroundColor="#66BB6A" で指定した色が、Web アプリ側の緑のテーマ色です。
MainPage.xaml
<?xml version="1.0" encoding="utf-8"?>
<ContentPage
    xmlns="http://xamarin.com/schemas/2014/forms"
    xmlns:x="http://schemas.microsoft.com/winfx/2009/xaml"
    xmlns:d="http://xamarin.com/schemas/2014/forms/design"
    xmlns:mc="http://schemas.openxmlformats.org/markup-compatibility/2006"
    mc:Ignorable="d"
    xmlns:local="clr-namespace:GawaNativeGettingStarted;assembly=GawaNativeGettingStarted"
    xmlns:effect="clr-namespace:GawaNativeGettingStarted"
    x:Class="GawaNativeGettingStarted.MainPage">
    <StackLayout Orientation="Vertical" BackgroundColor="#66BB6A">
        <StackLayout.Effects>
            <effect:SafeAreaPaddingEffect />
        </StackLayout.Effects>
        <WebView
            HorizontalOptions="FillAndExpand"
            VerticalOptions="FillAndExpand"
            Source="https://eeaab7d6.ngrok.io"/>
    </StackLayout>
</ContentPage>
次に iOS のプロジェクトにも SafeAreaPaddingEffect を作成し、SafeArea 考慮の実装をします。
using GawaNativeGettingStarted.iOS.Effects;
using UIKit;
using Xamarin.Forms;
using Xamarin.Forms.Platform.iOS;

[assembly: ResolutionGroupName("GawaNativeGettingStarted")]
[assembly: ExportEffect(typeof(SafeAreaPaddingEffect), nameof(SafeAreaPaddingEffect))]
namespace GawaNativeGettingStarted.iOS.Effects
{
    class SafeAreaPaddingEffect : PlatformEffect
    {
        Thickness _padding;
        protected override void OnAttached()
        {
            if (Element is Layout element)
            {
                if (UIDevice.CurrentDevice.CheckSystemVersion(11, 0))
                {
                    _padding = element.Padding;
                    var insets = UIApplication.SharedApplication.Windows[0].SafeAreaInsets; // Can't use KeyWindow this early
                    if (insets.Top > 0) // We have a notch
                    {
                        element.Padding = new Thickness(_padding.Left + insets.Left, _padding.Top + insets.Top, _padding.Right + insets.Right, _padding.Bottom);
                        return;
                    }
                }
                // Uses a default Padding of 20. Could use an property to modify if you wanted.
                element.Padding = new Thickness(_padding.Left, _padding.Top + 20, _padding.Right, _padding.Bottom);
            }
        }

        protected override void OnDetached()
        {
            if (Element is Layout element)
            {
                element.Padding = _padding;
            }
        }
    }
}
これは前出のリンク先の内容そのものです。
ここまでの対応で、SafeArea 分の余白を設け、背景色を Web アプリ側に合わせることができました。
| 対応中(iOS) |
|---|
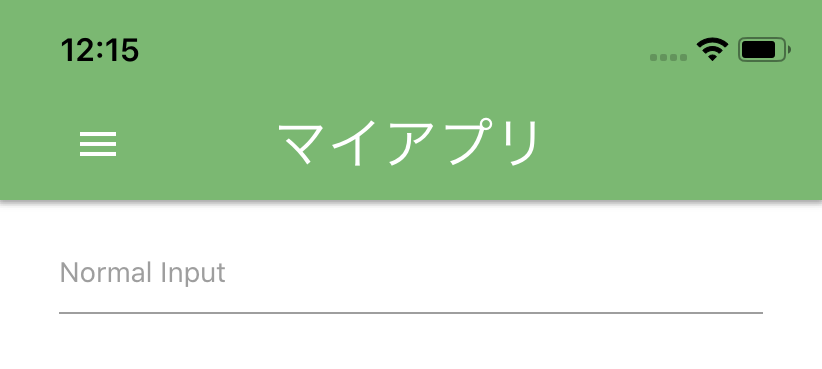 |
しかし、ステータスバーの文字色が黒になっています。これを白にしましょう。
参考になるエントリはこちら↓です。
これを参考に iOS プロジェクトの info.plist を編集し、次のエントリを追加します。
- Status bar style : White
- View controller-based status bar appearance : No
これで、ステータスバーの文字色が白になります。
対応結果
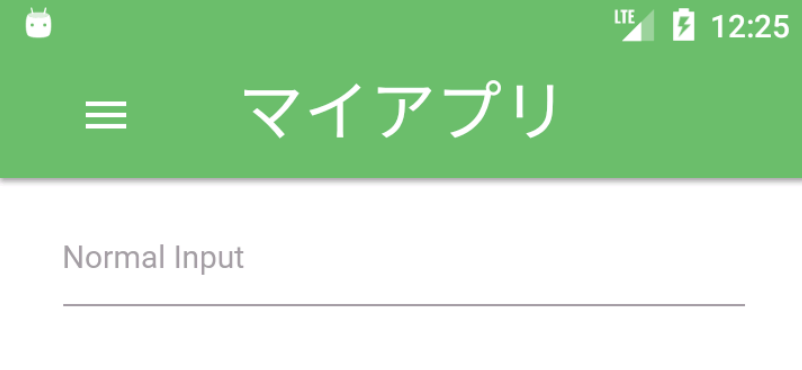
対応後の見た目はこんな感じになります。結構ネイティブアプリっぽくなって来たでしょう?
| 対応後(Android) | 対応後(iOS) |
|---|---|
 |
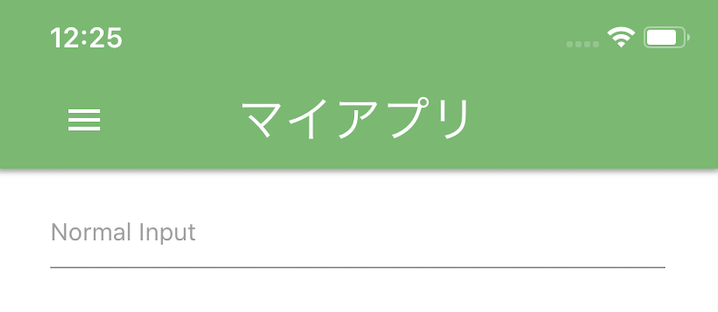 |
まとめ
とりあえず初回ということで、見た目中心の対応内容を挙げてみました。
一通り揃ったら、GitHub にサンプルを上げて、あわよくば可能なところは nuget パッケージに切り出して利用できるようにしていきたいと思います。
見た目の対応でも、ダークテーマ対応などはまったく無知なのでこれから勉強していきます。
次回エントリは、、、年内いける・・・かな?
2019.12.25 追記
年内に続き書いた!
