はじめに
以前の記事Azure Static Web Appsを試してみた2【Azure DevOpsと連携】でAzure Static Web Appsと、DevOpsとの連携について書きました。
今回は、いよいよAPI(Azure Functions)との連携を試してみようと思います。
前提
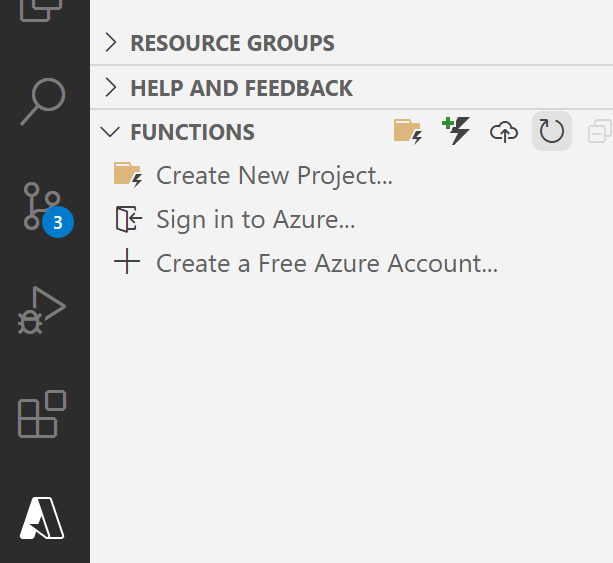
以下の拡張機能をVisual Studio Codeに事前インストールしておく必要があります。
フォルダ構成
Static Web Apps(Free)の制約としてAngularプロジェクトとFunctionsのプロジェクトは同じリポジトリーである必要がります。
そのため、Angular(FrontEnd)とFunctions(BackEnd)はそれぞれ、フォルダ分割しておかないと後々大変になるので、はじめから意識しておくとよいです。
Angular プロジェクトの作成
以下のコマンドを実行し、Angularのひな形プロジェクトを作成します。
(本コマンドはgitからクローンしたルートフォルダで実行してください。)
> ng new angular-swa
API呼出の実装
まずは、HTTPClientが利用できるように、app.module.tsを修正します。
import { BrowserModule } from '@angular/platform-browser';
import { NgModule } from '@angular/core';

import { HttpClientModule } from '@angular/common/http'; // <- 追加

import { AppRoutingModule } from './app-routing.module';
import { AppComponent } from './app.component';

@NgModule({
  declarations: [
    AppComponent
  ],
  imports: [
    BrowserModule,
    AppRoutingModule,
    HttpClientModule // <- 追加
  ],
  providers: [],
  bootstrap: [AppComponent]
})
export class AppModule { }
続いて、ボタンクリックでFunctionsを呼べるように実装します。
- app.component.html
<button type="button" (click)="callAPI()"> API実行</button>
<p>結果:{{result}}</p>
- app.component.ts
  public result = '';

  constructor(private httpClient: HttpClient) { // コンストラクタでhttpClientをインジェクション
  }

  callAPI() {
    // Azure Functionsを呼出
    this.httpClient.get('/api/GetMessage').subscribe((data: any) => {
      this.result = data.text;
    });
  }
Functionsプロジェクトの作成
前提で紹介したVisual Studio CodeのAzure Functions拡張機能でFunctionsのひな形プロジェクトを作成します。
まずは、Azure Functionsのひな形プロジェクトを作成するフォルダを作成します。
(今回はapiとします)
左側メニューのAzureを選択し、Functionsタブで「Create New Project」をクリックします。

- Browserで作成したAPIフォルダを選択
- 言語でJavascriptを選択
- トリガーはHTTP Triggerを選択
- 関数の名前は任意を入力(今回はGetMessage)
- 認証はAnonymousを選択(認証無し)
Proxy定義
Static web appsでは、AngularプロジェクトとFunctionsプロジェクトは同じサーバーで動作します。
そのため、Angular プロジェクトは同一サーバーにリクエストするように実装します。
これだと、ローカル環境では都合がわるいので、AngularのProxy機能を利用します。
- proxy.conf.jsonに以下を設定し、srcフォルダ直下に配置
{
  "/api": {
    "target": "http://localhost:7071",
    "secure": false
  }
}
- angular.jsonのserveにproxyConfigを追加
"architect": {
  "serve": {
    "builder": "@angular-devkit/build-angular:dev-server",
    "options": {
      "browserTarget": "your-application-name:build",
      "proxyConfig": "src/proxy.conf.json"
    },
ローカルでの動作確認
作成したそれぞのフォルダで以下のコマンドを実行し、動作を確認します。
- Angular
> ng serve
- Functions
> func start
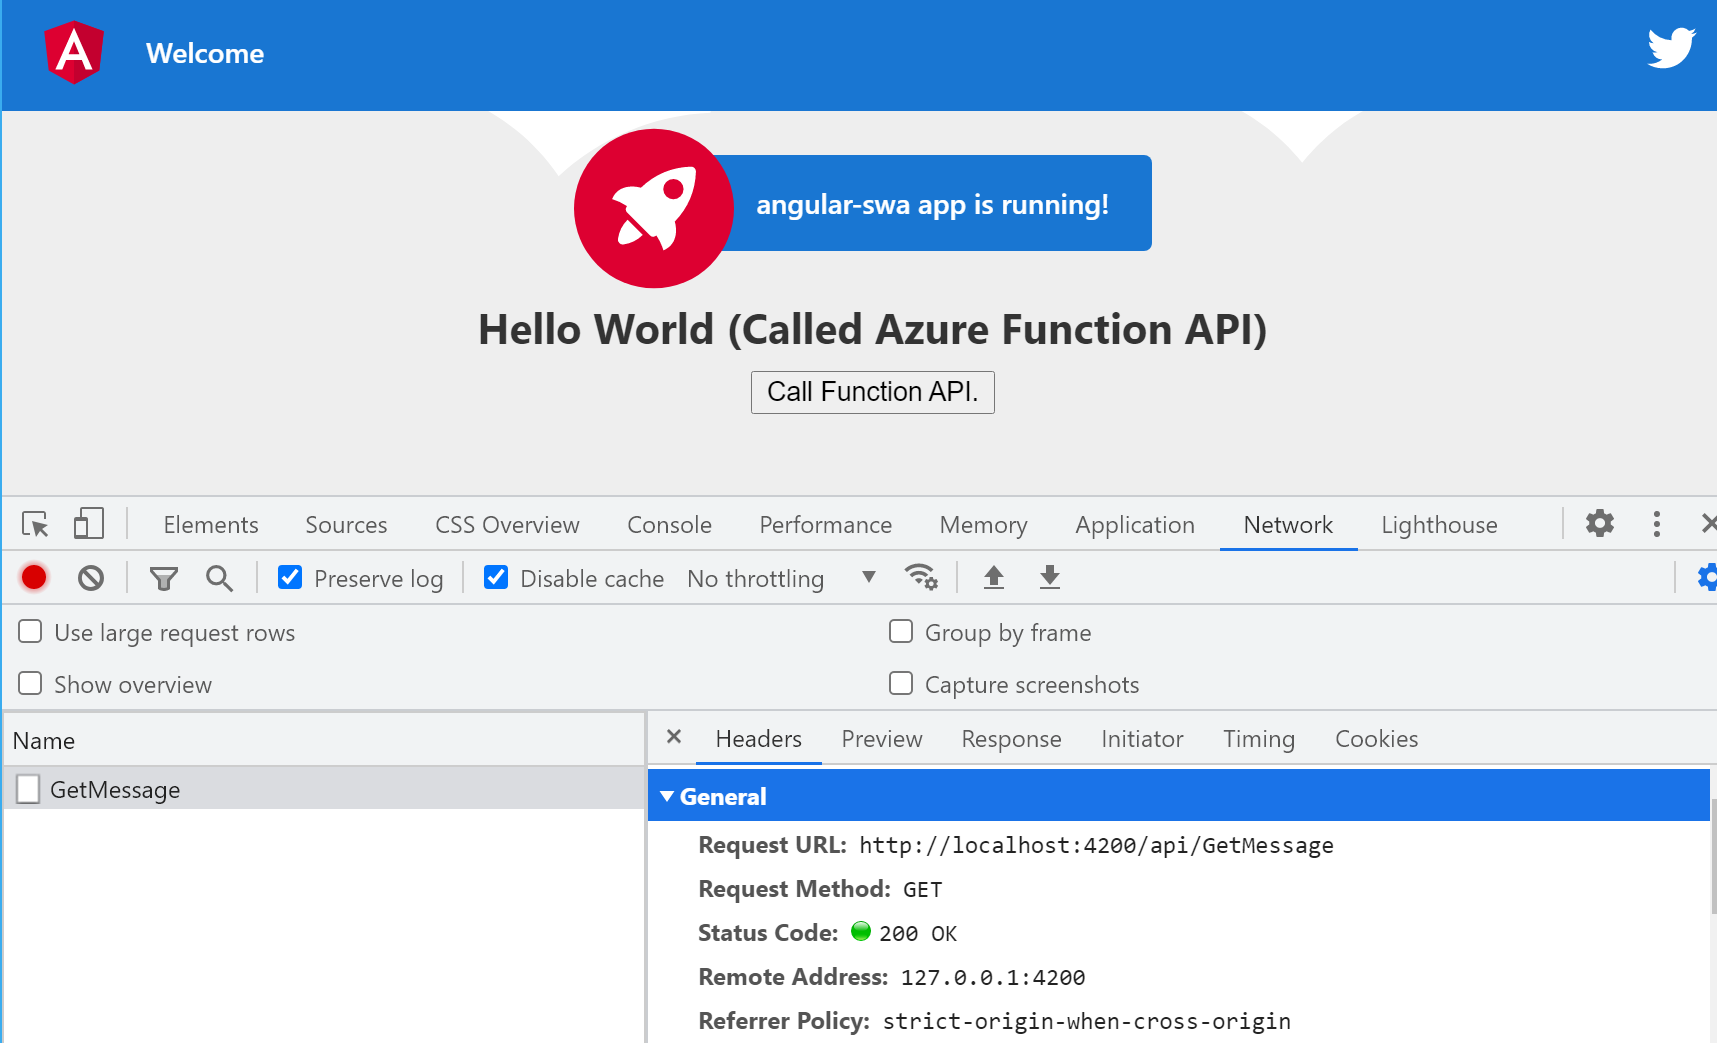
ブラウザから「http://localhost:4200 」へアクセスし、ボタンクリックで
無事、Proxy経由でFunctionsからのレスポンスを受け取ることが出来ました。
DevOps PipelineのYAML定義の修正
前回のYAMLに以下の修正を加えます。
- npm install 前にリポジトリのAngularプロジェクトのルートフォルダへ移動***(これをしないとコマンドNot Foundとなります)***
- 「app_location」にAngularプロジェクトのルートフォルダを指定(angular-swa)
- 「api_location」にFunctionsプロジェクトのルートフォルダを指定(api)
- 「output_location」にAngularプロジェクトのBuild後の出力先フォルダを指定(dist/angular-swa)
# Node.js with Angular
# Build a Node.js project that uses Angular.
# Add steps that analyze code, save build artifacts, deploy, and more:
# https://docs.microsoft.com/azure/devops/pipelines/languages/javascript

trigger:
- main

pool:
  vmImage: ubuntu-latest

steps:
- task: NodeTool@0
  inputs:
    versionSpec: '12.x'
  displayName: 'Install Node.js'

- script: |
    npm install -g @angular/cli@9.1.15
    cd ./angular-swa
    npm install
    ng build --prod
  displayName: 'npm install and build'

- task: AzureStaticWebApp@0
  inputs:
    app_location: "angular-swa"
    api_location: "api"
    output_location: "dist/angular-swa"
  env:
    azure_static_web_apps_api_token: $(deployment_token)
上記を含めてリポジトリーにコミットすることで、自動でStatic Web AppsへAngular/Functionsがデプロイされ、動作が確認できます。
まとめ
今回で、Azure Static Web Apps/Azure DevOps上でのAngular/Functionsを利用した静的Webアプリ(SPA)までが出来ました。
次回以降は、認証(こちら)か外部のFunctionsとの連携を検討していこうと思います。
