はじめに
以前の記事「Azure Static Web Appsを試してみた」でAzure Static Web Appsで、GitHubを利用した自動Build/Deployについて書いてみました。
せっかくなので、今回はリポジトリー自体もAzure(Azure DevOps)で実施してみようと思います。
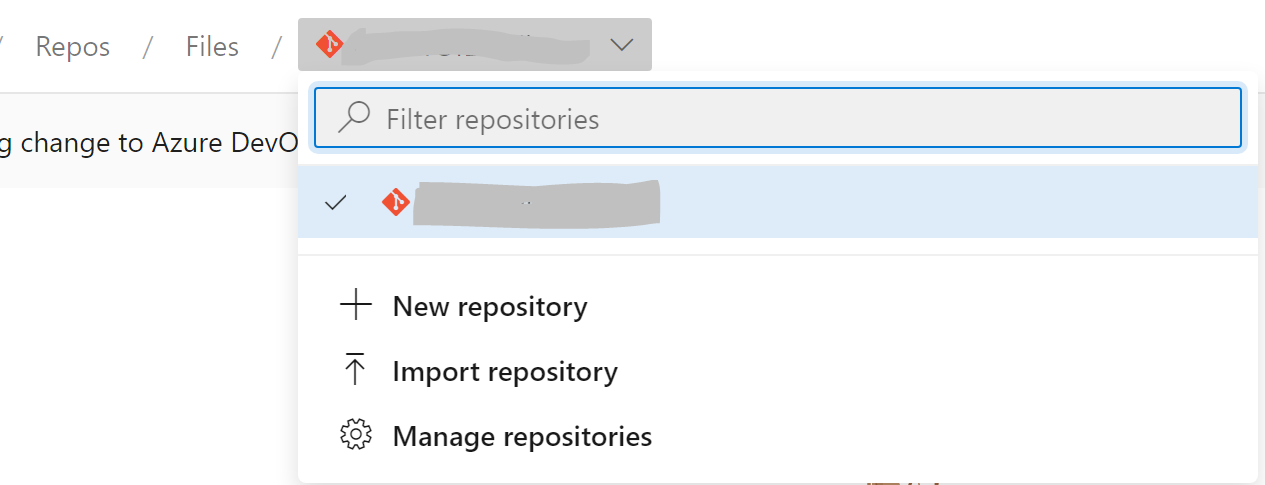
DevOpsリポジトリーの作成
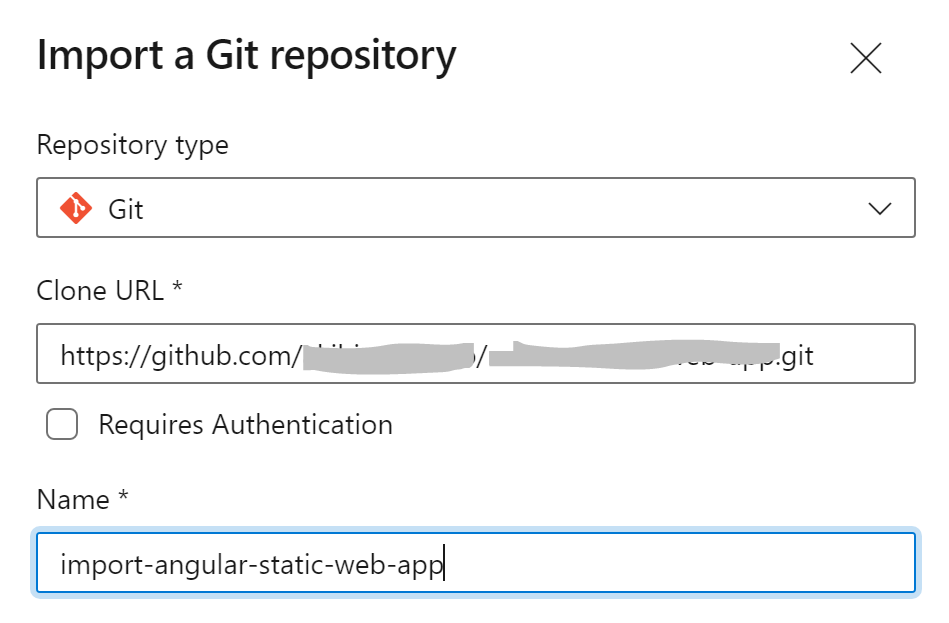
作業の簡略化のために以前の記事で作成したGitHubのリポジトリから複製(Import)しようと思います。
※ 認証が必要なリポジトリの場合は、「Requires Authentication」のチェックボックスをONにして、ユーザーIDとパスワードを入力してからImportを実施してください。
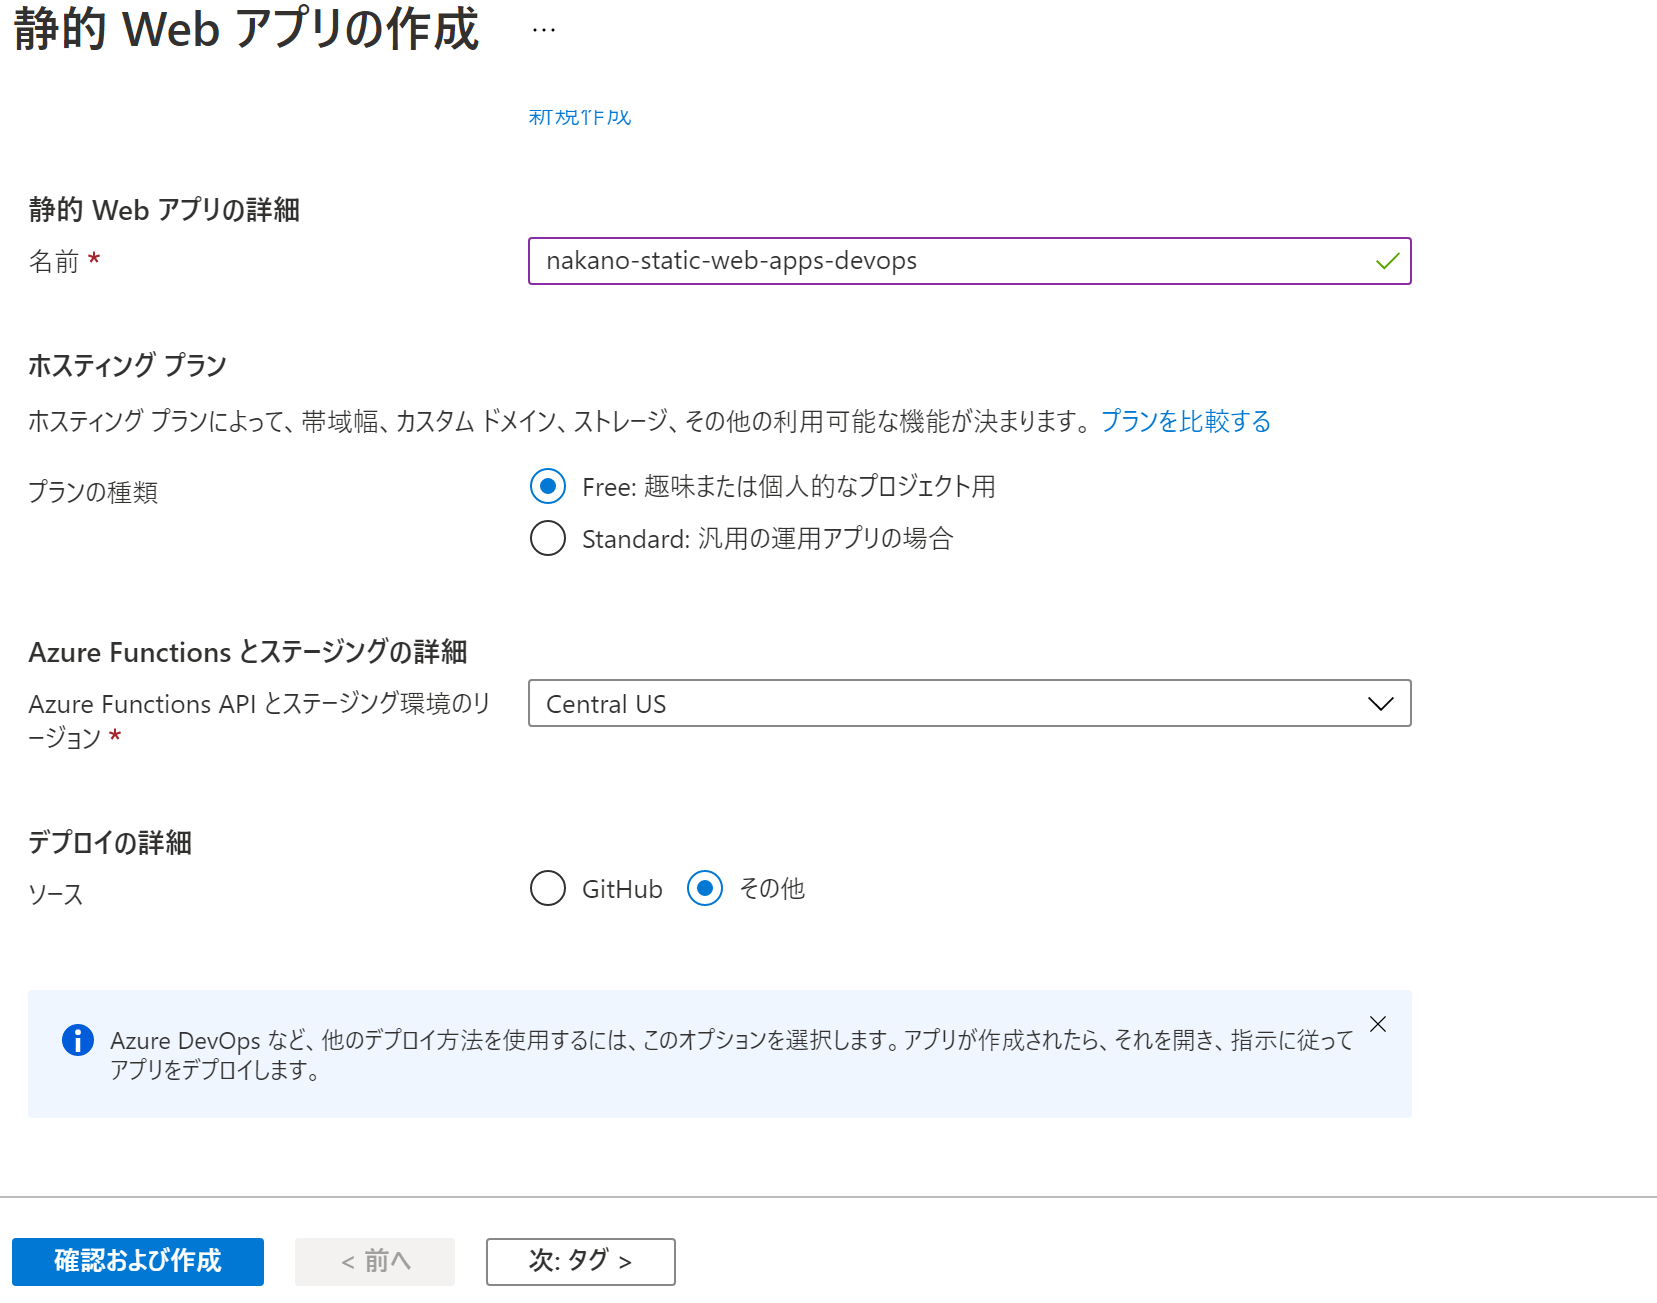
リソース(Static Web Apps)の作成
前回と同様に作成するのですが、「デプロイの詳細」で「その他」を選択し、GitHub以外のリポジトリーでの作業を前提とし、リソースを作成します。
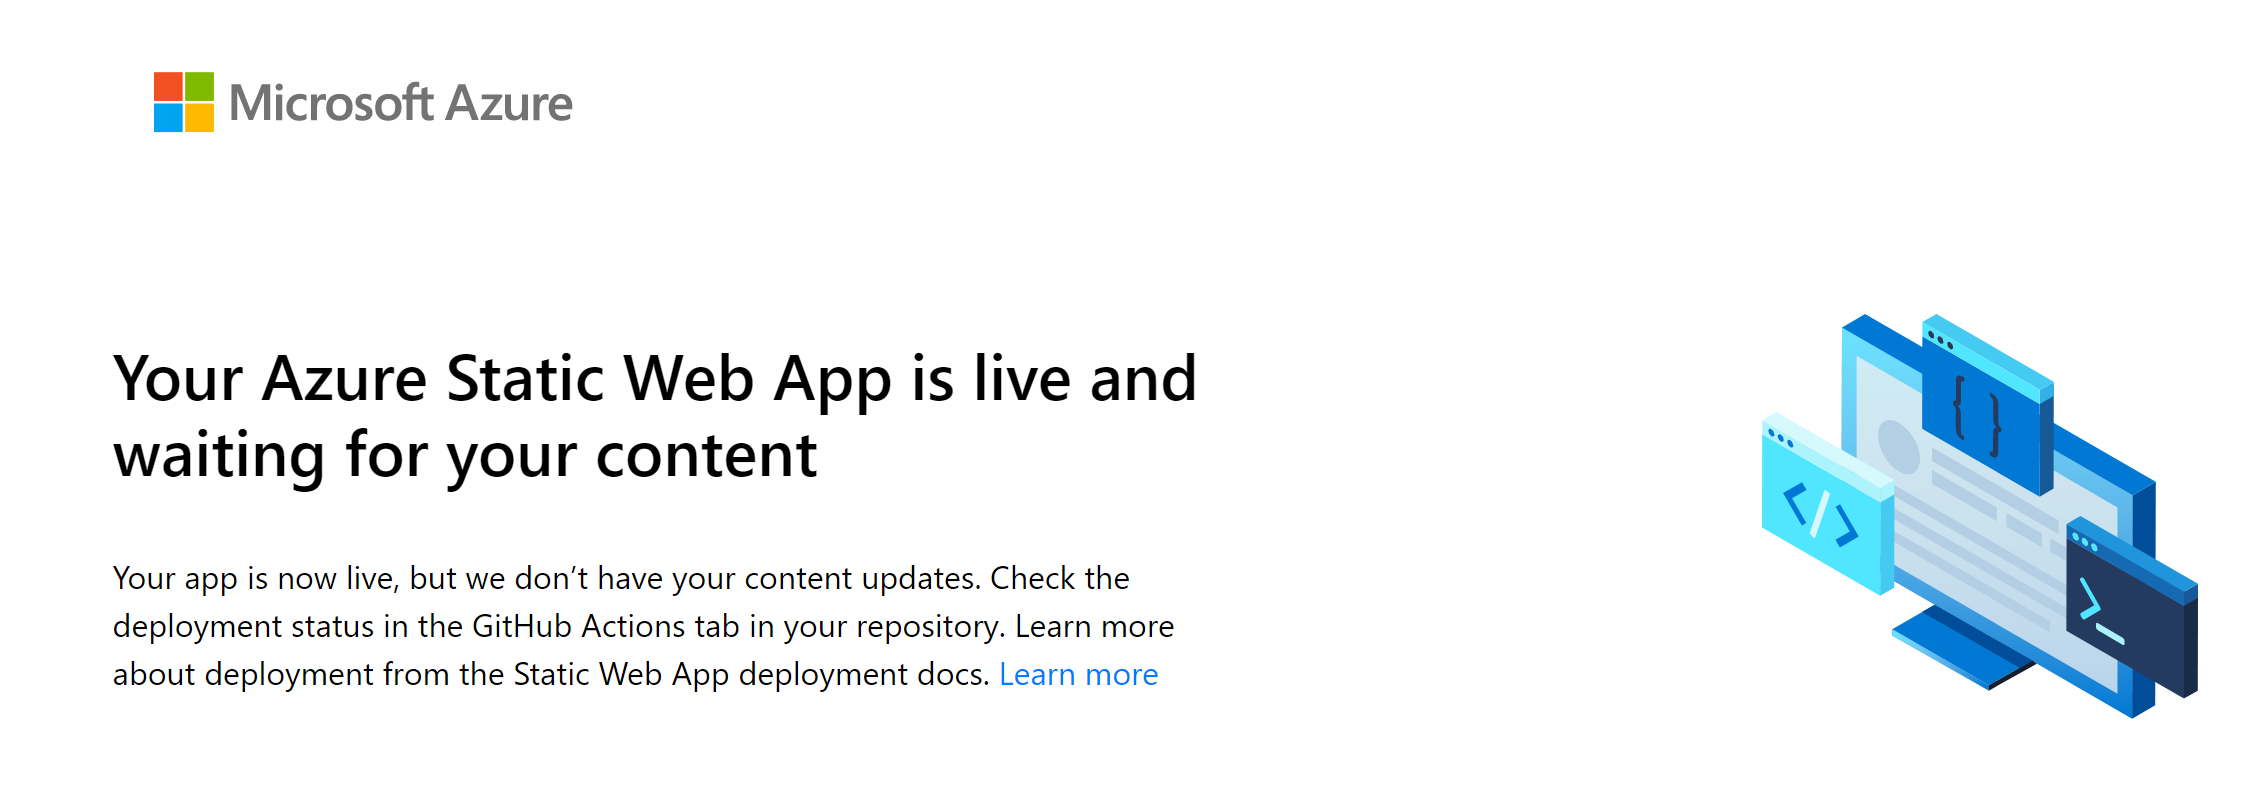
この状態で作成されたStatic Web Appsにアクセスすると、以下のような画面が表示されます。
リポジトリー関連が未設定という警告ですね。
そのため、Azure DevOpsのリポジトリとパイプラインを連携してみようと思います。
Azure DevOps でのパイプラインを作成
デプロイトークンの取得
パイプラインで必要となるデプロイトークンをポータルから取得します。
パイプラインの作成
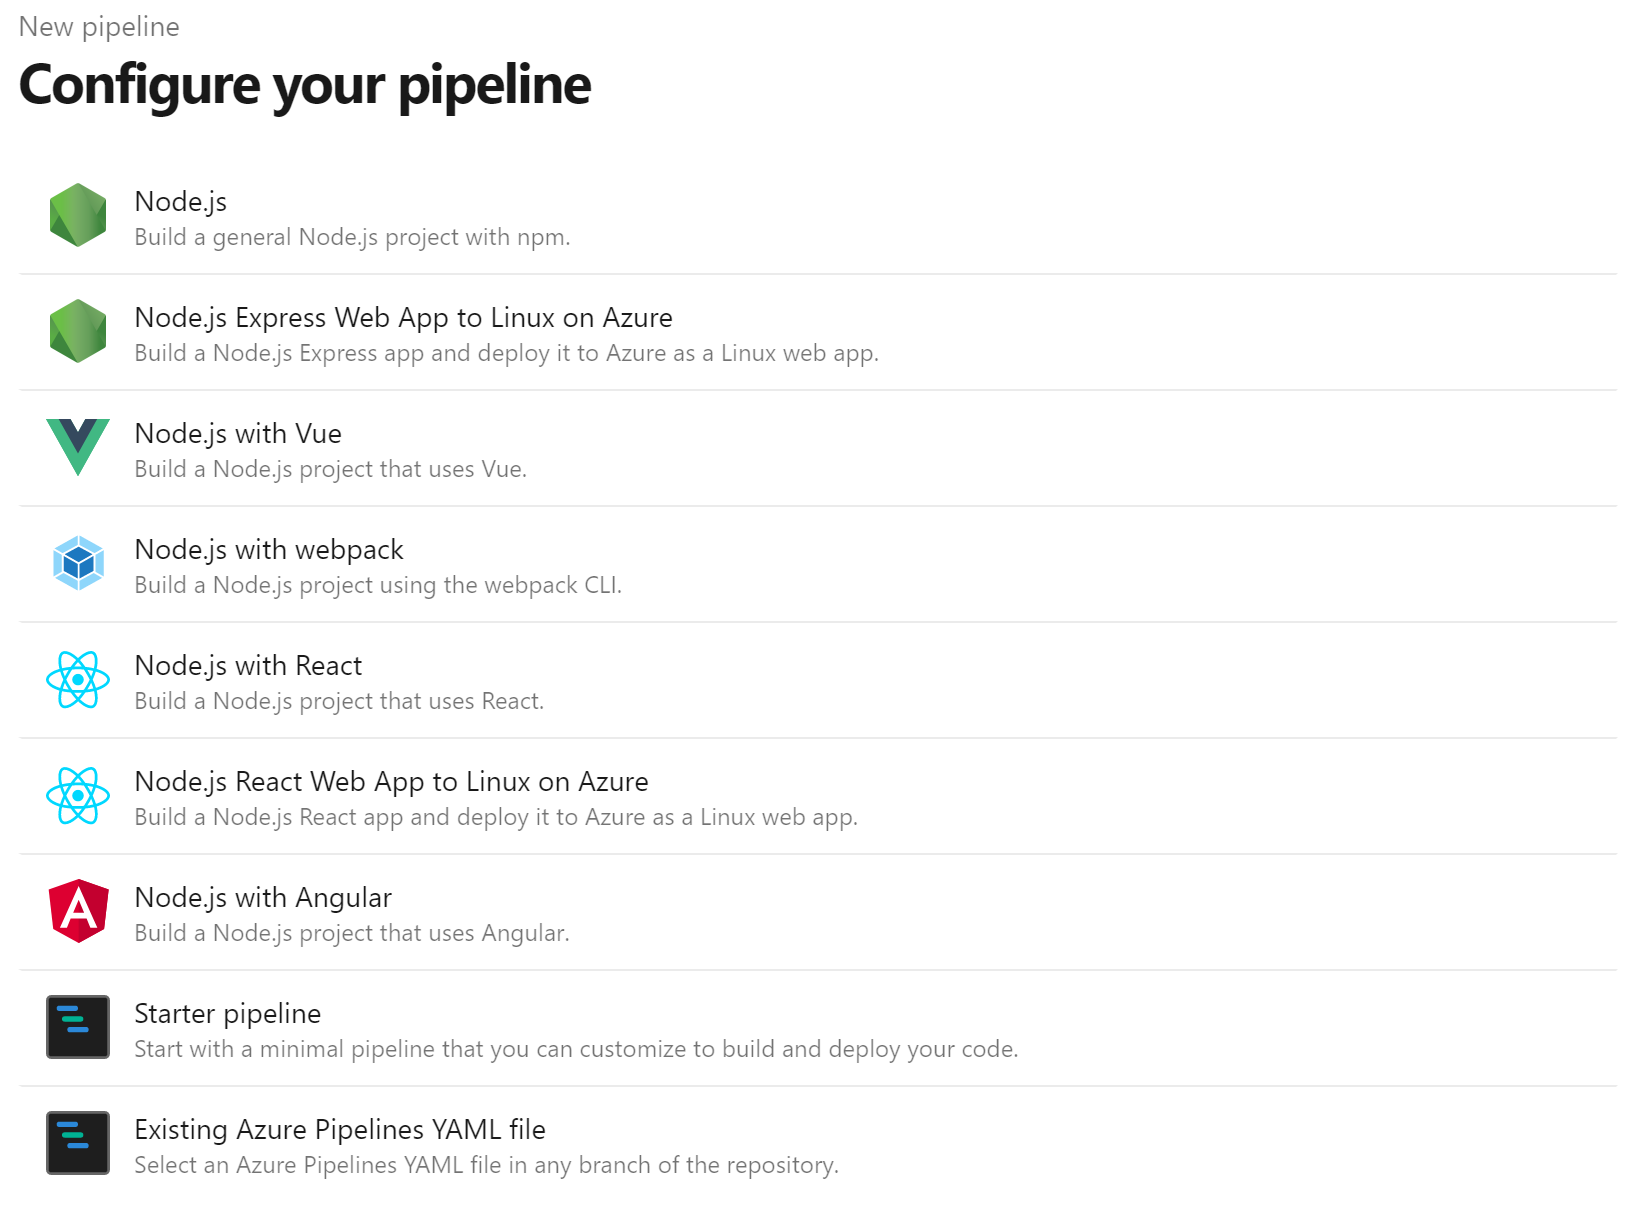
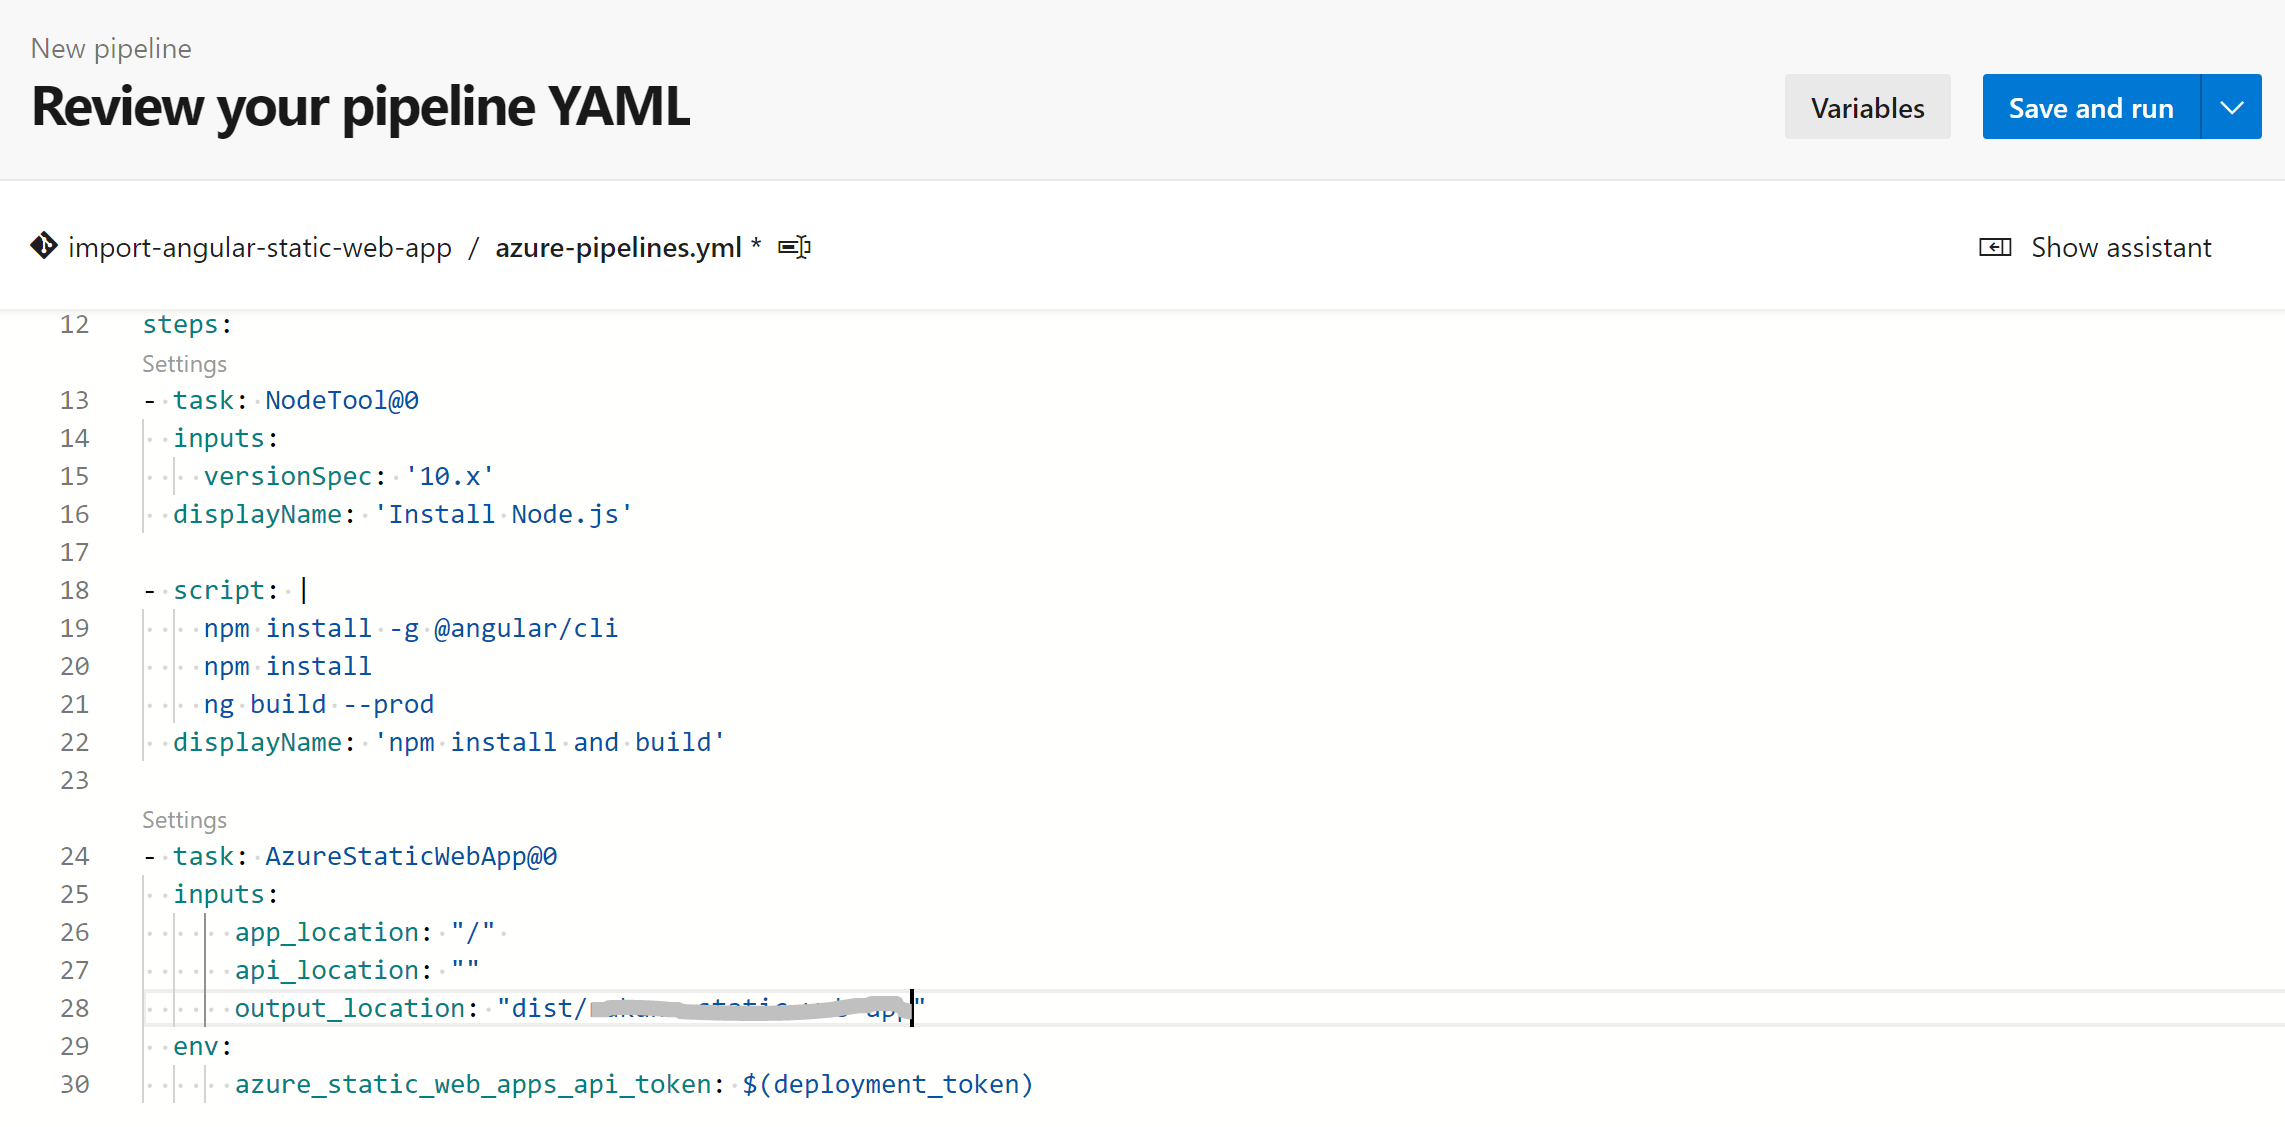
作成したAzre DevOpsのリポジトリー(GitHubがインポートしたリポジトリ)でパイプラインを作成していきます。
Node.js with Angular
Build a Node.js project that uses Angular.
Add steps that analyze code, save build artifacts, deploy, and more:
https://docs.microsoft.com/azure/devops/pipelines/languages/javascript
trigger:
- main
pool:
vmImage: ubuntu-latest
steps: - task: NodeTool@0
inputs:
versionSpec: '12.x'
displayName: 'Install Node.js'
- script: |
npm install -g @angular/cli@9.1.15
npm install
ng build --prod
displayName: 'npm install and build'
- task: AzureStaticWebApp@0
inputs:
app_location: "/"
api_location: ""
output_location: "dist/appName"
env:
azure_static_web_apps_api_token: $(deployment_token)
1. Static Web Appsへのデプロイ用のトークンを環境変数として登録
1. Variablesをクリック
1. New variableをクリック
1. Nameに「deployment_token」を入力
1. Valueに取得した「デプロイトークン」を入力
1. Keep this value secretのチェックボックスをOnへ

1. 「Save and run」をクリックし、実行
正常に終了していることが分かります。

## 動作確認
無事、Angularのページが表示されるようになりました。

## まとめ
今回で、Azure Static Web AppsとAzure DevOpsを連携させ、Angularアプリケーションを自動でBuild/Deployすることが出来ました。[次回はAzure Functionsを利用](https://qiita.com/akihiro-nakano/items/d84efbf67b7df8a42274)し、APIとの連携を実施しようと思います。
