概要
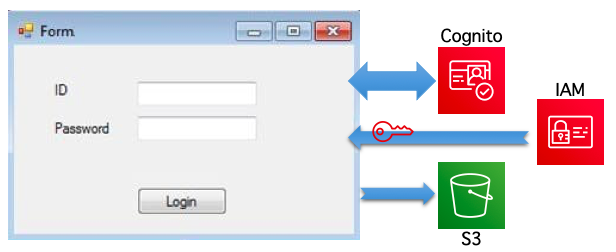
Cognitoで準備したアカウントを使ってWindows Formアプリにログインする。
ログインを通過したら、CognitoからAWSアカウント(S3 参照権限付き)をもらって
S3バケットの一覧を表示する。

前提
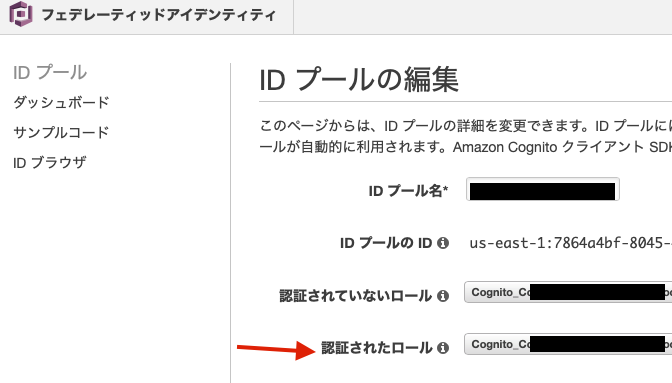
一連の認証ができる形をCognitoで作っておく↓
Cognito 組み込みWebページ+S3だけで動的サイトを作る
ここでは、以下のパラメータが必要になります
| パラメータ | 例 |
|---|---|
| ユーザプールID | us-east-1_hhogehogeh |
| アプリケーションクライアントID | 4ks0na9rghogehogehoge0l |
| IDプールのID | us-east-1:7864a4bf-8045-4221-a280-hogehogehoge |
あと、S3のバケットも準備しておきます
ソース
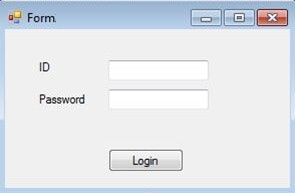
IDとパスワードを入力して、Loginボタンを押すと何かが起こる感じにしておきます。
Loginボタンクリック時は非同期で実行します。
/*
  ここで使う変数
 wwRegion :: Cognitoのリージョン
  wwUserPoolID  ::CognitoのユーザプールID
  wwAppClientID ::CognitoのアプリケーションクライアントID
  txtID.Text    ::フォーム上のIDテキストボックス
  txtPass.Text  ::フォーム上のPasswordテキストボックス
  wwIdPoolID    ::CognitoのIDプールのID
  wwS3BucketName::S3バケット名

*/

private async void btnLogin_ClickAsync(object sender, EventArgs e)
{
        AmazonCognitoIdentityProviderClient provider = new AmazonCognitoIdentityProviderClient(new Amazon.Runtime.AnonymousAWSCredentials(), wwRegion);
        CognitoUserPool userPool = new CognitoUserPool(wwUserPoolID, wwAppClientID, provider);
        CognitoUser user = new CognitoUser(txtID.Text, wwAppClientID, userPool, provider);
        InitiateSrpAuthRequest authRequest = new InitiateSrpAuthRequest()
        {
            Password = txtPass.Text
        };

        AuthFlowResponse authResponse = await user.StartWithSrpAuthAsync(authRequest).ConfigureAwait(false);
        string idToken = authResponse.AuthenticationResult.IdToken;

        CognitoAWSCredentials credentials = new CognitoAWSCredentials(
            wwIdPoolID, // ID プールの ID
            wwRegion    // リージョン
        );

        credentials.AddLogin("cognito-idp.us-east-1.amazonaws.com/" + wwUserPoolID, idToken); // the raw token
        //↓おまじない
        string hoge = await credentials.GetIdentityIdAsync();

        //ここから下は、通常のAPIの利用方法
        using (var client = new AmazonS3Client(credentials, wwRegion))
        {
            var S3Request = new ListObjectsRequest();
           S3Request.BucketName = wwS3BucketName;
            var S3Response = await client.ListObjectsAsync(S3Request);
            //ここでオブジェクトがとれている(略)

         }
}
解説
ちゃんと理解しているわけではないので、動物的感覚で説明
- 入力したユーザ+パスワードからトークンを取得
- トークンからAWSアカウントを取得
- AWSアカウントから、各種APIを利用する
1. 入力したID・パスワードから、トークンを取得する
公式:Amazon CognitoAuthentication 拡張ライブラリの例に書いているもの
        AmazonCognitoIdentityProviderClient provider = new AmazonCognitoIdentityProviderClient(new Amazon.Runtime.AnonymousAWSCredentials(), wwRegion);
        CognitoUserPool userPool = new CognitoUserPool(wwUserPoolID, wwAppClientID, provider);
        CognitoUser user = new CognitoUser(txtID.Text, wwAppClientID, userPool, provider);
        InitiateSrpAuthRequest authRequest = new InitiateSrpAuthRequest()
        {
            Password = txtPass.Text
        };

        AuthFlowResponse authResponse = await user.StartWithSrpAuthAsync(authRequest).ConfigureAwait(false);
        string idToken = authResponse.AuthenticationResult.IdToken;
トークンは、アクセストークン・IDトークン・他がある様子(詳しくはこちら)
ID・パスワードがCognitoで登録されているユーザに該当するとidTokenに、長い文字列が設定されます。
2. トークンを使ってAWS認可権限を取得する
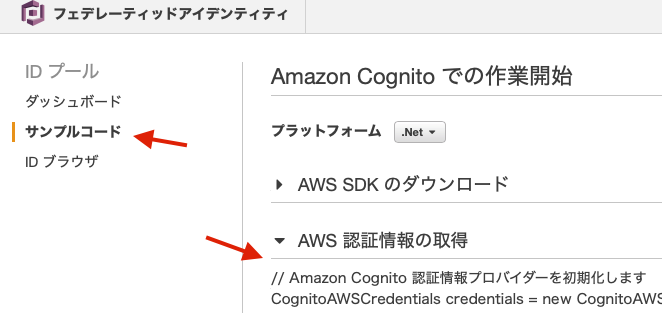
フェデレーテッドアイデンティティ のサンプルコード→AWS認証情報の取得のソースコードを使います

        CognitoAWSCredentials credentials = new CognitoAWSCredentials(
            wwIdPoolID, // ID プールの ID
            wwRegion    // リージョン
        );
credentialオブジェクトに、上記で取得したIDトークンを渡します。
        credentials.AddLogin("cognito-idp.us-east-1.amazonaws.com/" + wwUserPoolID, idToken);
        //↓おまじない
        string hoge = await credentials.GetIdentityIdAsync();
よくわからないが、おまじないをします。
3.あとは、通常の認証と同じように使える
        using (var client = new AmazonS3Client(credentials, wwRegion))
        {
            var S3Request = new ListObjectsRequest();
           S3Request.BucketName = wwS3BucketName;
            var S3Response = await client.ListObjectsAsync(S3Request);
            //ここでオブジェクトがとれている(略)

         }
まとめ
.Net系はなかなか情報が見つからない。。
随時修正します。。

