ゲーム中の音の録音とは
ゲームの機能として、アプリ内でゲームの様子をキャプチャしてウェブ投稿したり、なんらかの音の組み合わせをアプリで作ってwavに出力したい場合などがあります。いわゆるUser Generated Contentsの機能です。
ADX2には標準ではアプリ内でゲームの音を録音する機能がありませんが、PCMデータを取得するクラスがありますので、これを利用して録音機能を作っていきます。
アプリ上だけではなく、トレイラームービー用などでUnity Editor内でADX2の音をキャプチャしたい場合にも同じ仕組みが転用できます。詳しくは次の記事をご確認ださい。
Unity Editor上でADX2再生データの音を録音する with Unity Recorder
https://qiita.com/Takaaki_Ichijo/items/853d963b3341b54d6454
動作確認環境
Unity 2019.3.1f1 + ADX2 LE SDK 2.10.05
Unity 2018.4.13f1 + ADX2 (CRIWARE SDK for Unity 3.00.04)
パッケージ
ADX2 for Unity Recorder
https://github.com/TakaakiIchijo/ADX2forUnityRecorder
ADX2出力音声の録音手順
ADX2には、様々なエフェクト処理やミキシングを行ったあとの最終出力音声に対して、PCMの生データ(バイト配列)で取得できる仕組みがあります。
CriAtomExOutputAnalyzerクラスのExecutePcmCaptureCallbackです。
https://game.criware.jp/manual/unity_plugin/jpn/contents/classCriAtomExOutputAnalyzer.html
これを使って、実行中の音を録音し、waveファイルとして保存します。
パッケージには3つのスクリプトファイルが含まれています。CriAtomExOutputAnalyzerで音をキャプチャするCriAtomRecorder.csと、WAVEフォーマットを作ってファイルを生成するWaveFileCreator.cs、Waveファイルの出力先パスを作るRecordingADX2OnRuntime.csです。
取得した生データをwave形式のフォーマットに変換
ExecutePcmCaptureCallbackによってPCMデータをbyte配列として取得できますが、このままバイナリに書き出してもPCなどで再生できるデータになりません。
WAVEファイル形式に沿ったデータを作り、フォーマットに沿ってデータを保存してあげる必要があります。
WaveFileCreator.csは、WAVEファイルの生成と録音データの詰め込みを行うスクリプトです。CriAtomRecorder.csはこれを使ってキャプチャしたデータを保存します。
設定方法
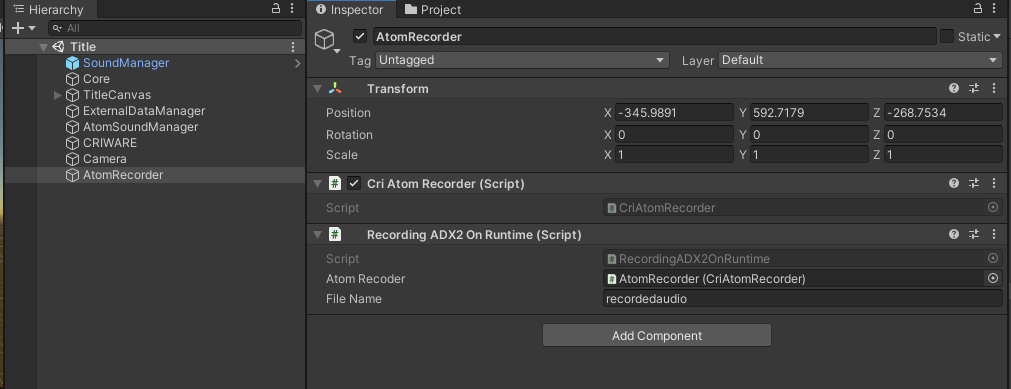
ADX2を導入しているプロジェクトへ上記パッケージをインポートします。その上で、CriAtomRecorder.csをアタッチしたゲームオブジェクトをシーンに設置します。また、RecordingADX2OnRuntime.csをアタッチし、Atom Recorderプロパティにスクリプトの参照を入れます。
(CriAtomRecorder.csをエディタ上でも動作させるため、記事公開時とクラス構成が異なっています。保存先ファイルパスの指定やファイル名の命名機能はRecordingADX2OnRuntime.csに移動しました。)
録音機能本体であるCriAtomRecorder.csを見ていきましょう。
    private WaveFileCreator waveFileCreator;
    private CriAtomExOutputAnalyzer analyzer;

    private bool IsRecording = false;
    private int numSamples = 512;

    private IEnumerator recordingCoroutine;

    private void Start()
    {
        DontDestroyOnLoad(this.gameObject);
    }

    public void StartRecording(string filePath, int outPutSamplingRate = 0)
    {
        if (outPutSamplingRate == 0)
        {
            outPutSamplingRate = 48000;
        }

        waveFileCreator = new WaveFileCreator(
            filePath,
            numChannels:2,
            outPutSamplingRate,
            numbites:16
            );
        IsRecording = false;

        recordingCoroutine = RecordCoroutine();

        StartCoroutine(recordingCoroutine);
    }
StartRecordingメソッドが呼ばれると、まずWaveFileCreatorのインスタンスを作ります。チャンネル数やサンプリングレート、保存ファイルのパスの指定を行います。
その後、Recordコルーチンを呼び出しています。
RecordCoroutineでは、一旦ACBファイルのロードを待ったあと、CriAtomExOutputAnalyzerクラスのインスタンスを生成し、各種設定を詰めたコンフィグファイルを渡します。
    private IEnumerator RecordCoroutine()
    {
        while (CriAtom.CueSheetsAreLoading) {
            yield return null;
        }

        /* Initialize CriAtomExOutputAnalyzer for PCM capture. */
        CriAtomExOutputAnalyzer.Config config = new CriAtomExOutputAnalyzer.Config
        {
            enablePcmCapture = true,
            enablePcmCaptureCallback = true,
            numCapturedPcmSamples = numSamples
        };

        analyzer = new CriAtomExOutputAnalyzer(config);
        analyzer.SetPcmCaptureCallback(PcmCapture);

        analyzer.AttachDspBus("MasterOut");

        IsRecording = true;
    }
生成されたクラスに対して、録音対象のDSP Busを指定します。すべての音を録音する場合は"MasterOut"を指定します。
また、コールバックメソッドにPcmCaptureメソッドを指定します。
PcmCaptureメソッドは、先程生成したwaveFileCreatorクラスに対してキャプチャしたPCM生データをひたすら渡すメソッドです。
    public void PcmCapture(float[] dataL, float[] dataR, int numChannels, int numData)
    {
        if (!IsRecording || waveFileCreator == null)
            return;

        waveFileCreator.CapturePcm(dataL, dataR, numData);
    }
CriAtomExOutputAnalyzerは毎フレームExecutePcmCaptureCallbackを呼び出す必要がありますので、録音開始されていたらUpdateで呼びます。
    private void Update()
    {
        if (IsRecording)
        {
            analyzer.ExecutePcmCaptureCallback();
        }
    }
最後に録音停止のメソッドを用意します。このとき、開始したコルーチンを止めます。また、このゲームオブジェクトが破棄されたときにwaveファイルが正しくクローズ処理されるように、またCriAtomExOutputAnalyzerクラスがちゃんと破棄されるようにOnDisableメソッドを以下のように用意します。
    public void StopRecording()
    {
        if (IsRecording == false) return;

        StopAndWrite();
        IsRecording = false;
        StopCoroutine(recordingCoroutine);
        recordingCoroutine = null;
    }

    private void StopAndWrite()
    {
        if (waveFileCreator == null || IsRecording == false) return;

        waveFileCreator.StopAndWrite();

        if (analyzer != null) {
            analyzer.DetachDspBus();
            analyzer.Dispose();
        }
    }

    private void OnDisable()
    {
        StopAndWrite();
    }
RecordingADX2OnRuntime.csは、CriAtomRecorder利用例のサンプルです。
保存先のパスを取得したり、ファイル名にタイムスタンプを付ける機能を提供しています。
using System;
using System.IO;
using UnityEngine;

public class RecordingADX2OnRuntime : MonoBehaviour
{
    public CriAtomRecorder atomRecoder;
    public string fileName = "recordedaudio";

    private const string BackUpDirectory = "SavedGameData";
    private string deviceSavedGameDataPath;

    private void Awake()
    {
        deviceSavedGameDataPath = Path.Combine(Application.persistentDataPath, BackUpDirectory);

        if (Directory.Exists(deviceSavedGameDataPath) == false)
        {
            Directory.CreateDirectory(deviceSavedGameDataPath);
        }
    }

    public void OnRecordStart()
    {
        var path = deviceSavedGameDataPath +"/"+fileName + "_" + DateTime.Now.ToString("yyyyMMdd_hh_mm_ss");

        atomRecoder.StartRecording(path);
    }

    public void OnRecordStop()
    {
        atomRecoder.StopRecording();
    }
}
OnRecordStart、OnRecordStopメソッドをButtonなどで呼び出すことにより、録音機能をテストできます。
生成されたWAVEデータの保存先
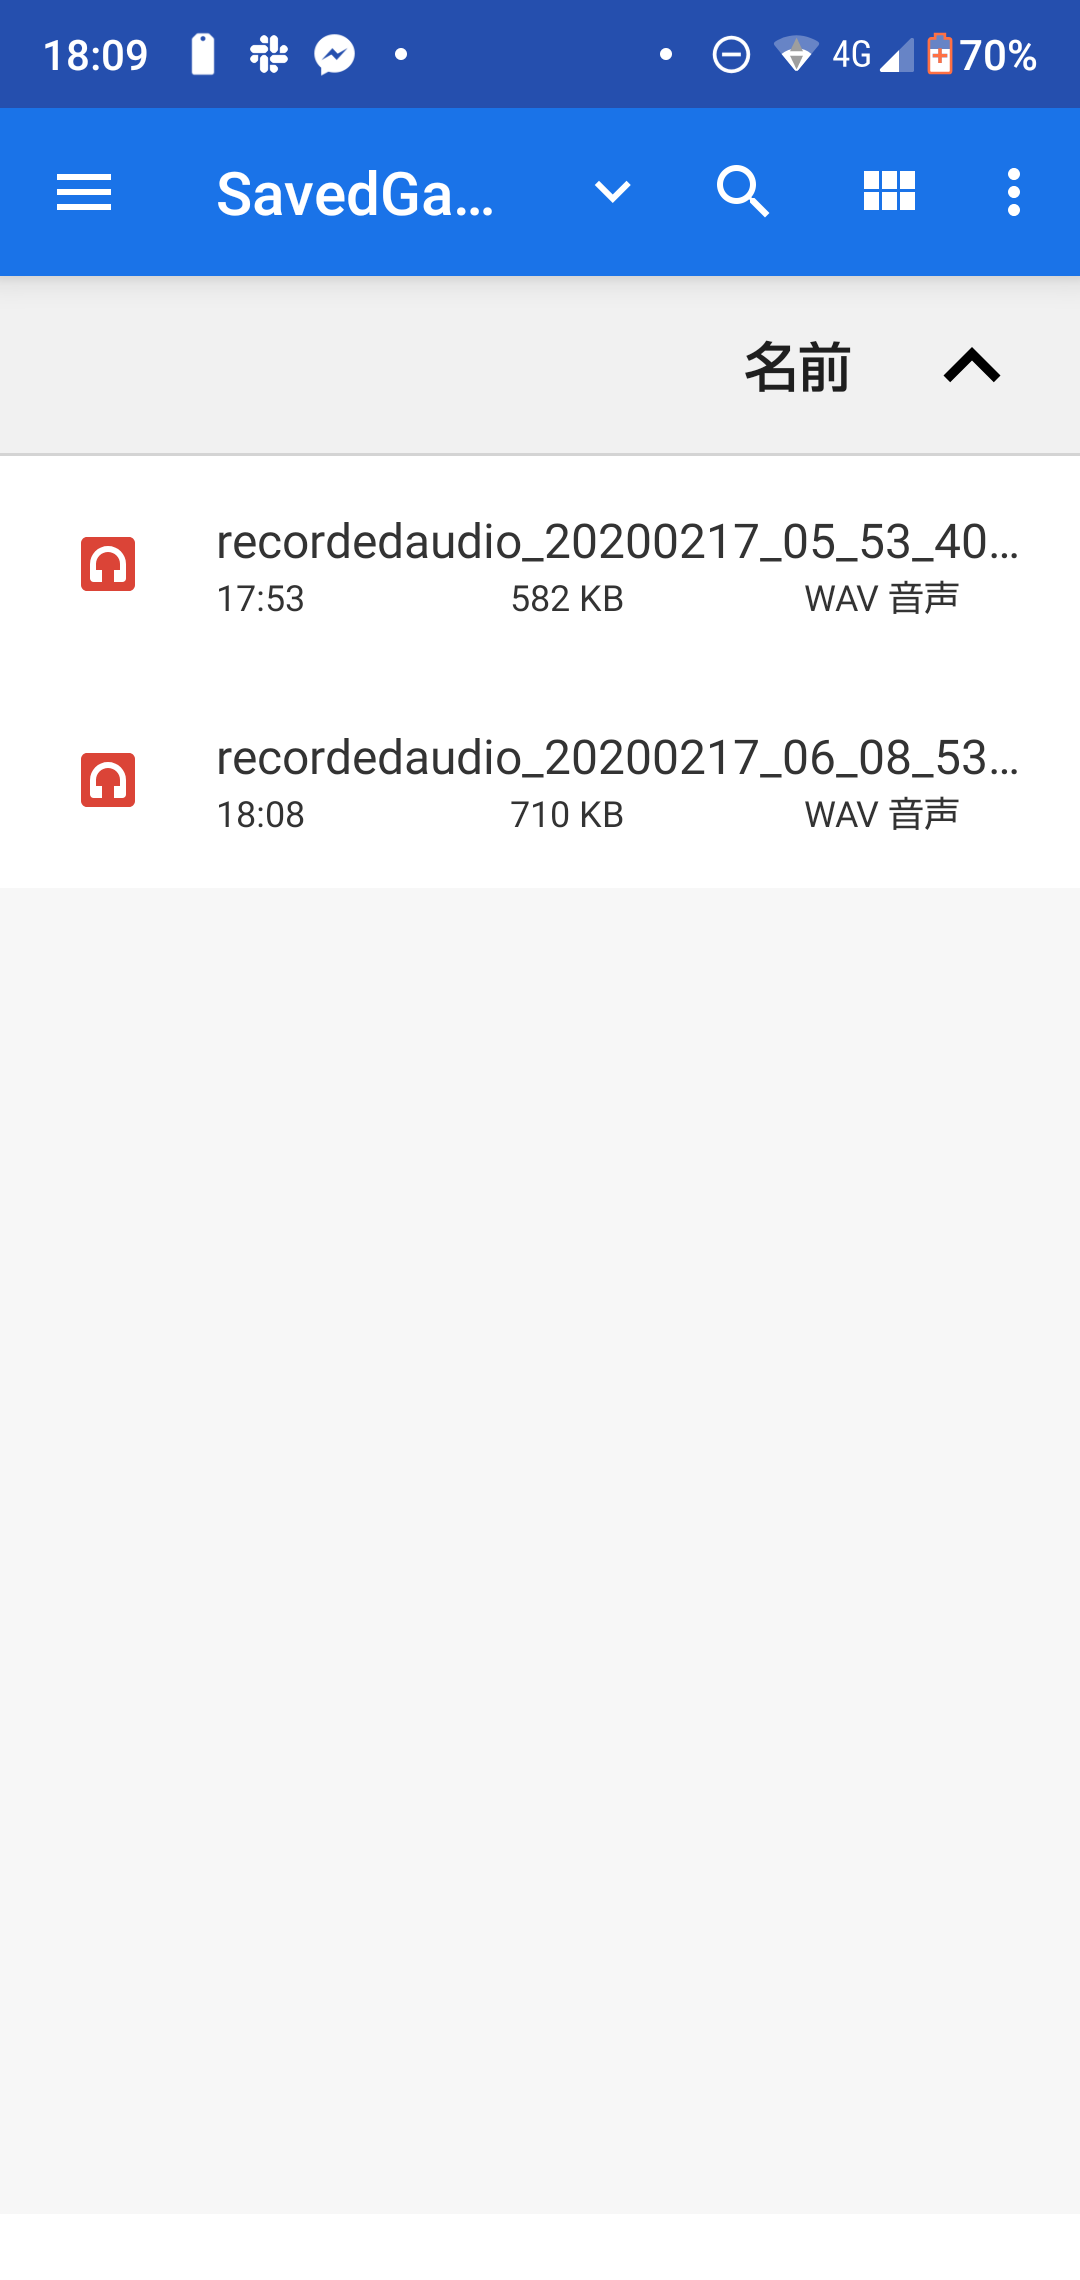
RecordingADX2OnRuntime.csのデフォルト設定では、wavは次のフォルダに保存されます。
PC: C:\Users[UserName]\AppData\LocalLow[OrganizationName][AppName]\SavedGameData
iOS: Application/xxxxxxxx-xxxx-xxxx-xxxx-xxxxxxxxxxxx/Documents\SavedGameData
Android: /data/[PackageName]/files\SavedGameData
このファイルを内部ストレージに保存して、外のサーバーにアップロードしたり、アプリ内だけで再生できるコンテンツとして保存することもできます。
wavファイルの再生速度がゆっくりだったり早かったりした場合は、出力サンプリングレートが間違っている可能性があります。設定を確認してみましょう。
なお、iOSの場合はデフォルトではiCloudに同期されるデータとして保存されます。
iCloudバックアップにファイルを含めたくない場合は、SetNoBackupFlagをパスに指定します。
# if UNITY_IOS
        UnityEngine.iOS.Device.SetNoBackupFlag(path);
# endif

