Notes
- This article will walk you through how to start a 7 days free CP4D trial.
- You need an IBM Cloud ID called IBMid, but I will explain how to create it.
- As a prerequisite, this procedure can be performed if you have a valid e-mail address.
- This procedure was confirmed as of April 2, 2020, but please note that the structure of the site may be changed without notice.
- Supported Browers : Chrome / FireFox : Details are in this link.
https://www.ibm.com/support/producthub/icpdata/docs/content/SSQNUZ_current/cpd/plan/rhos-reqs.html#rhos-reqs__web - Public Documents : https://www.ibm.com/support/producthub/icpdata/
- 日本語版(Japanese version):https://qiita.com/Shumpei_Kubo/items/c0f3c29a62569e9825b9
Procedures
Access IBM Cloud
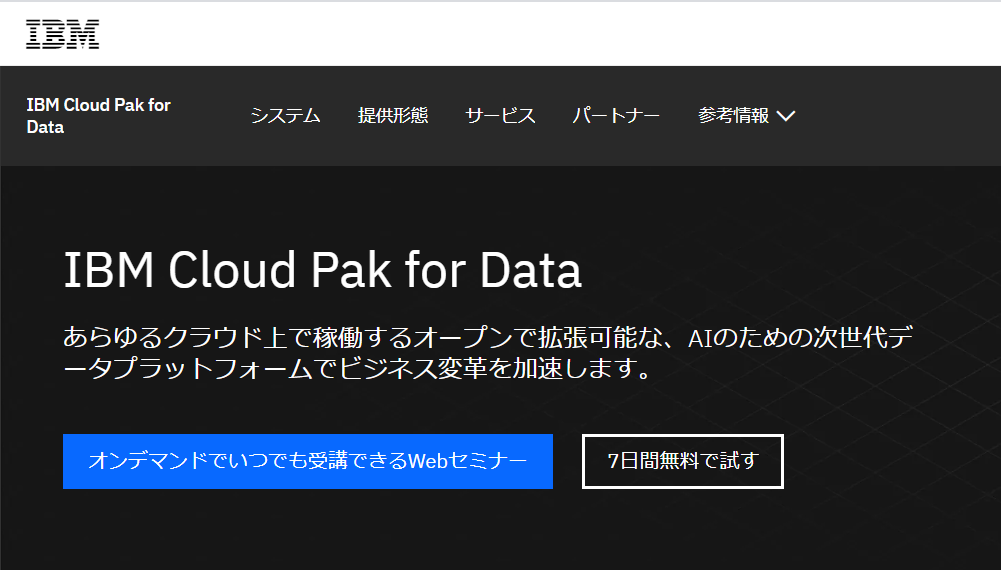
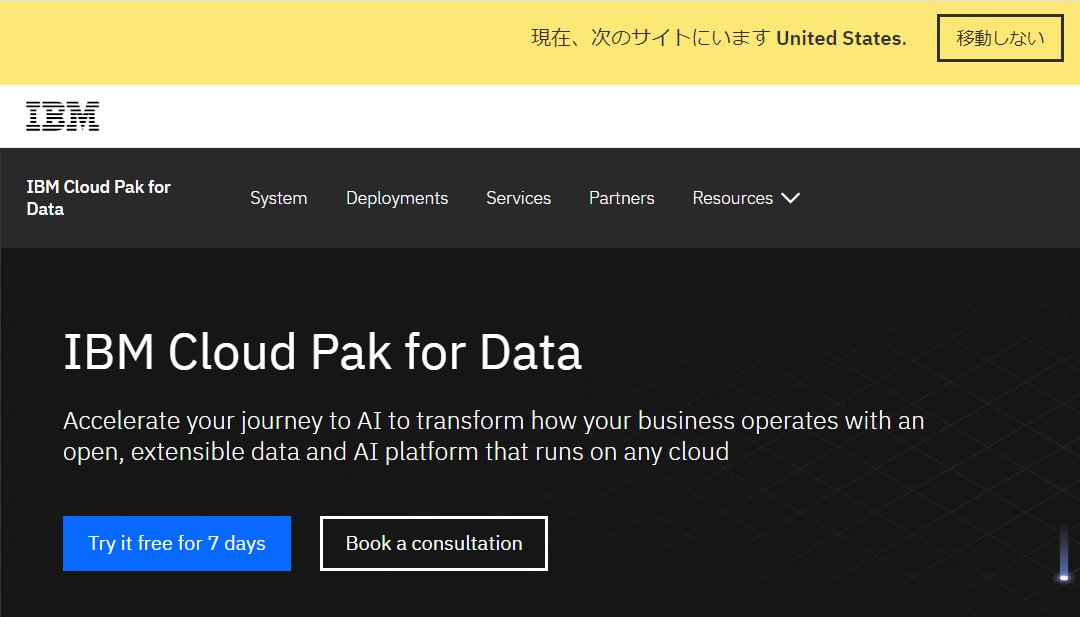
- Access the site below, and click the black button[7日間無料で試す/Try it for free 7days].
https://www.ibm.com/jp-ja/products/cloud-pak-for-data
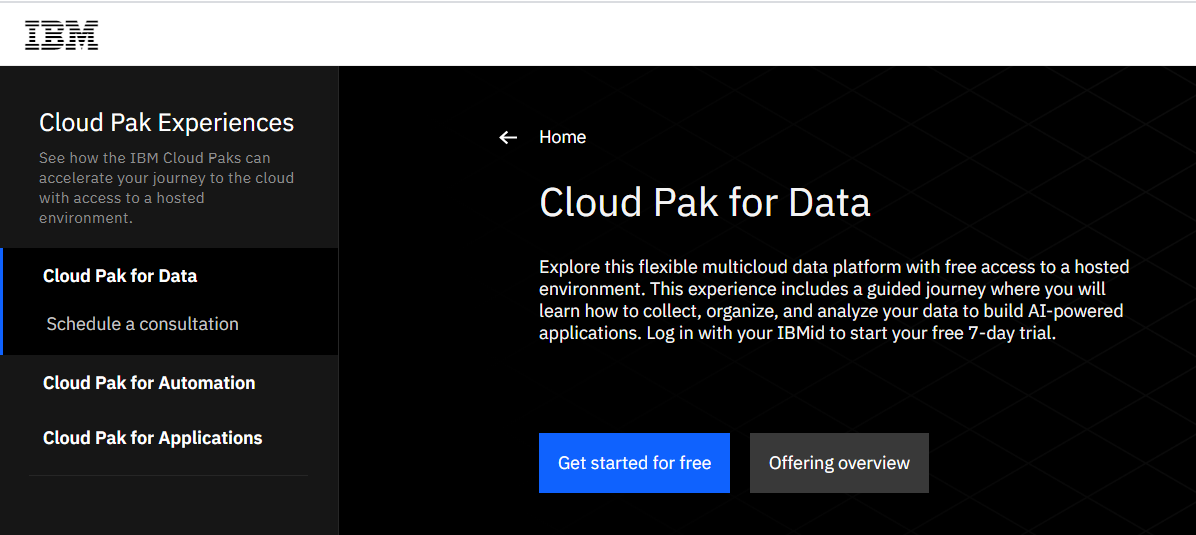
- Click 「Get started for free」
make an account
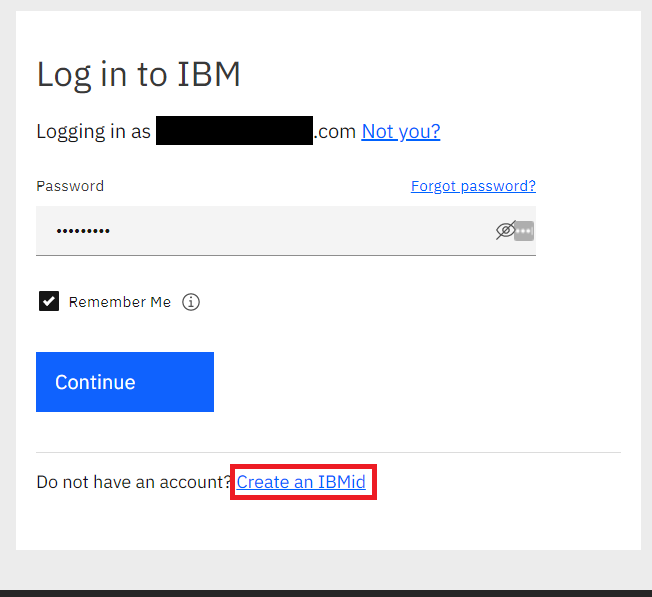
- Click 「Create an IBMid」.
- Input your name , mail address or so.

- Input your company name, phone number and click「Next」.

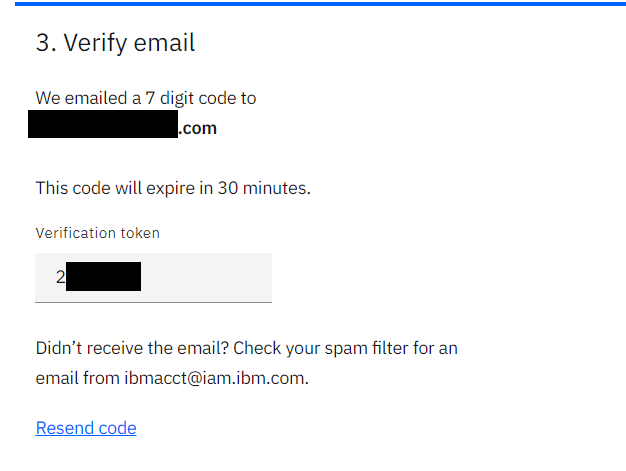
- You should input the code that your mail address receives.
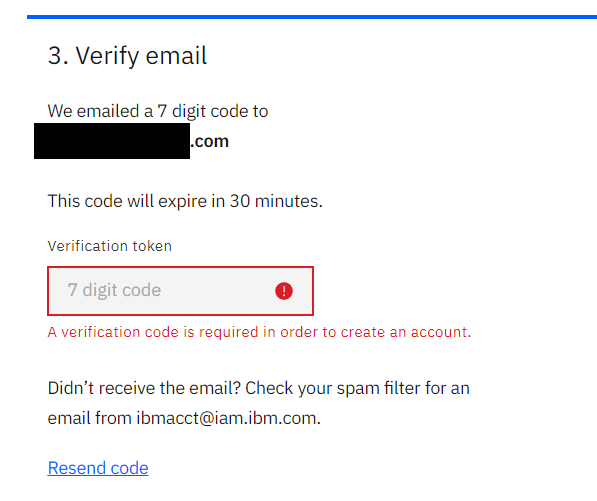
- Confirm the verification code to your mail address.
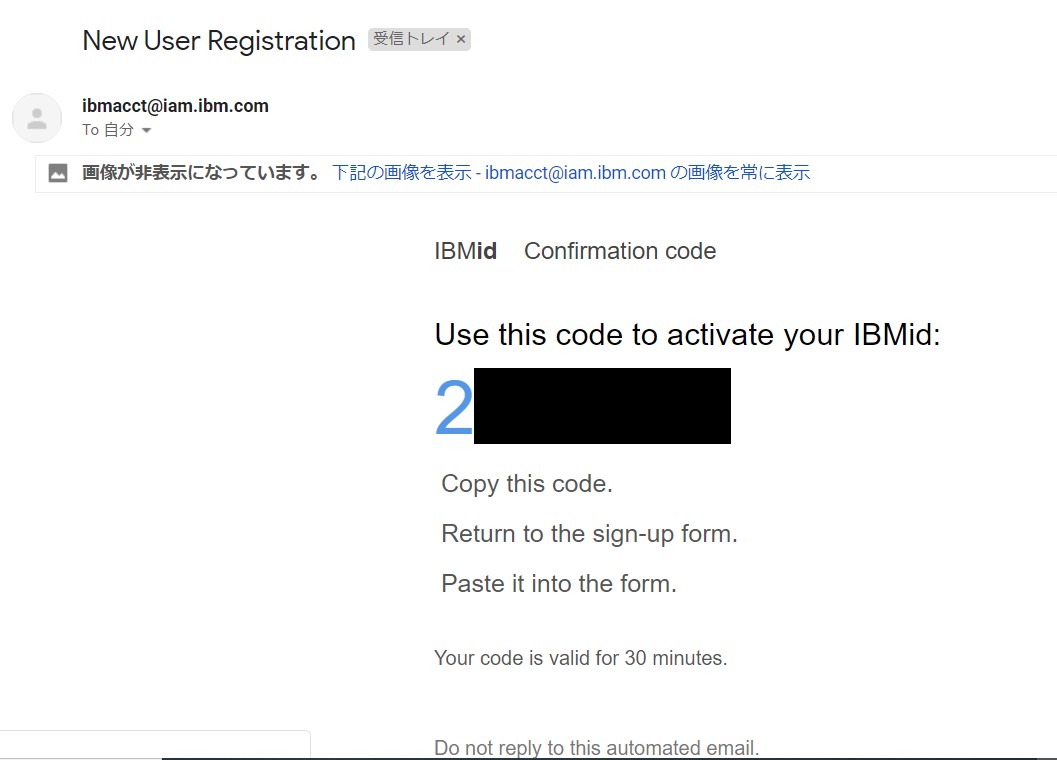
- Input the code.
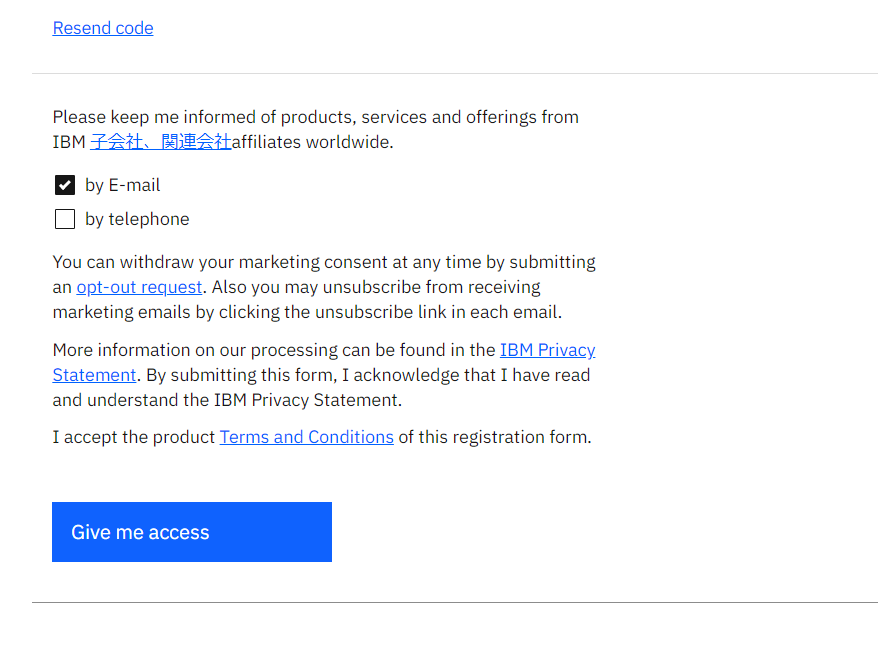
- Click 「Give me access」.
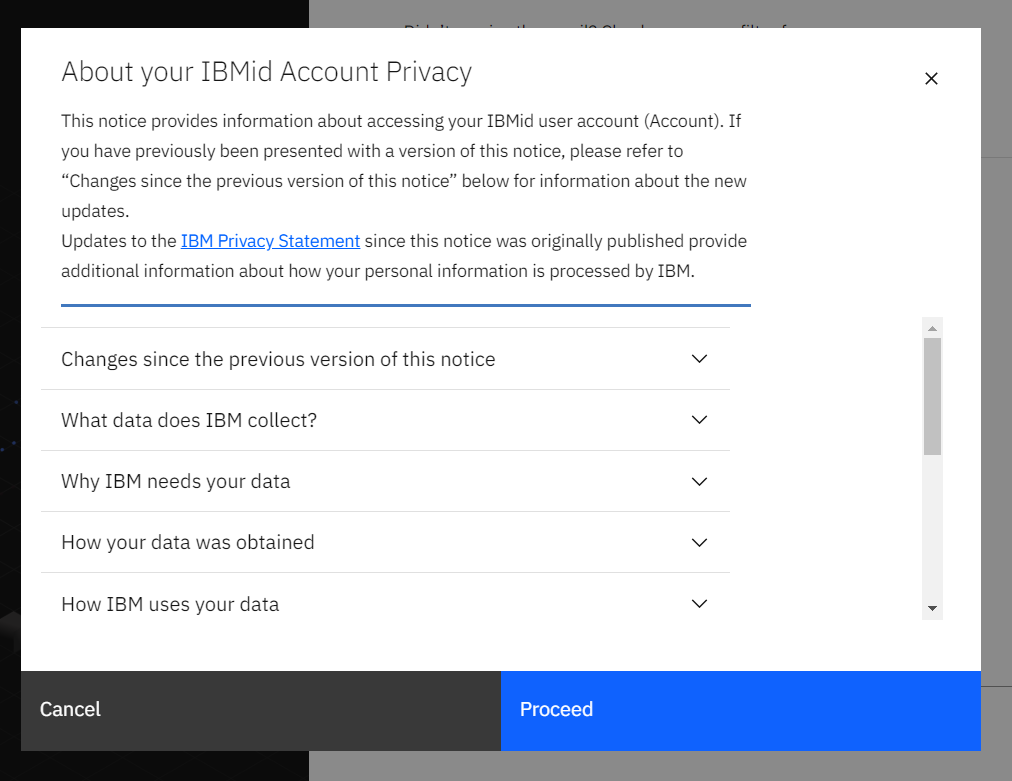
- Click「Proceed」after confirming the account privacy.
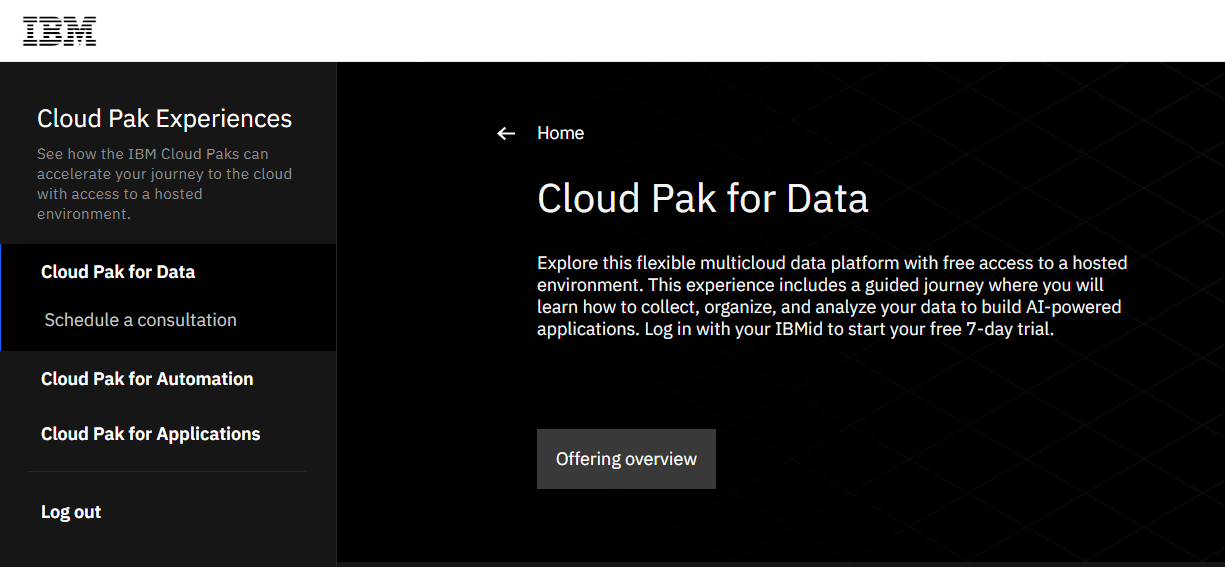
- After a moment, 「Cloud Pak Experisnces」screen will come.
Apply CP4D
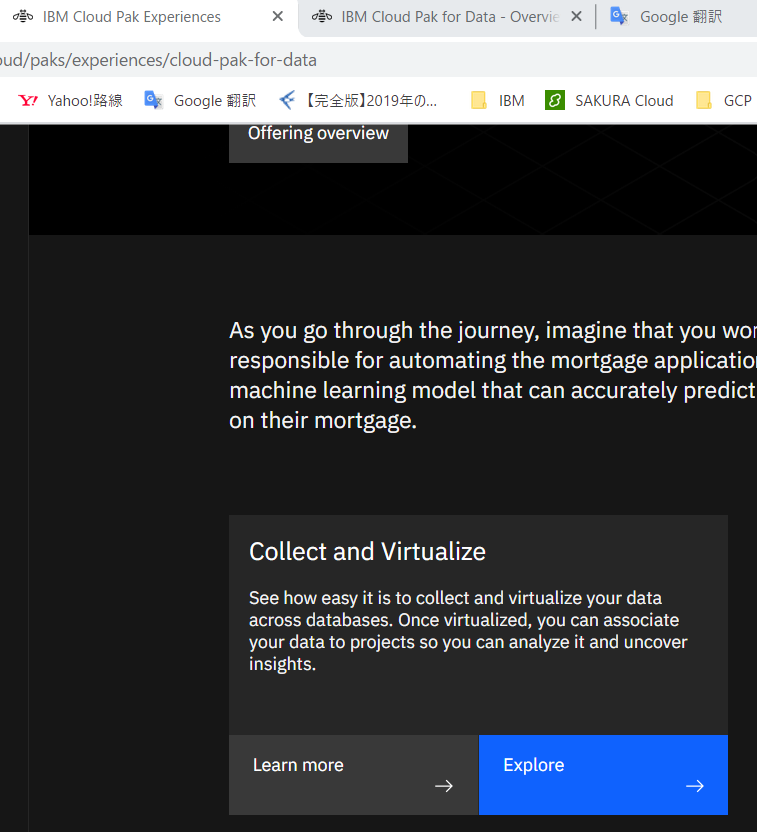
-Click 「Offering Overview」in 「Cloud Pak Experisnces」 screen.
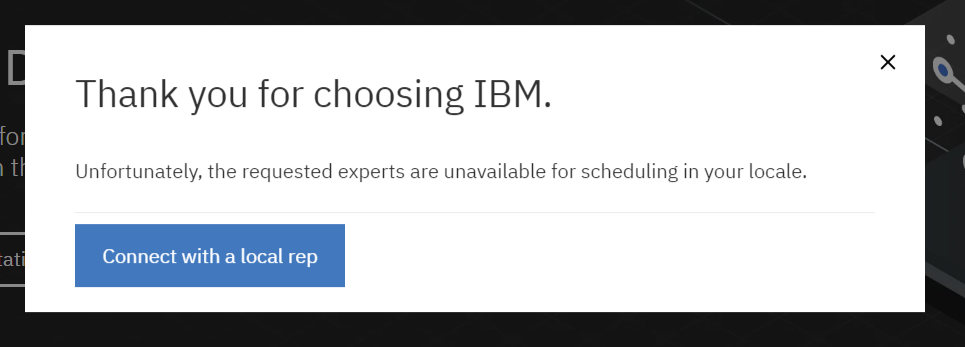
- Click「Try it free for 7 days」.
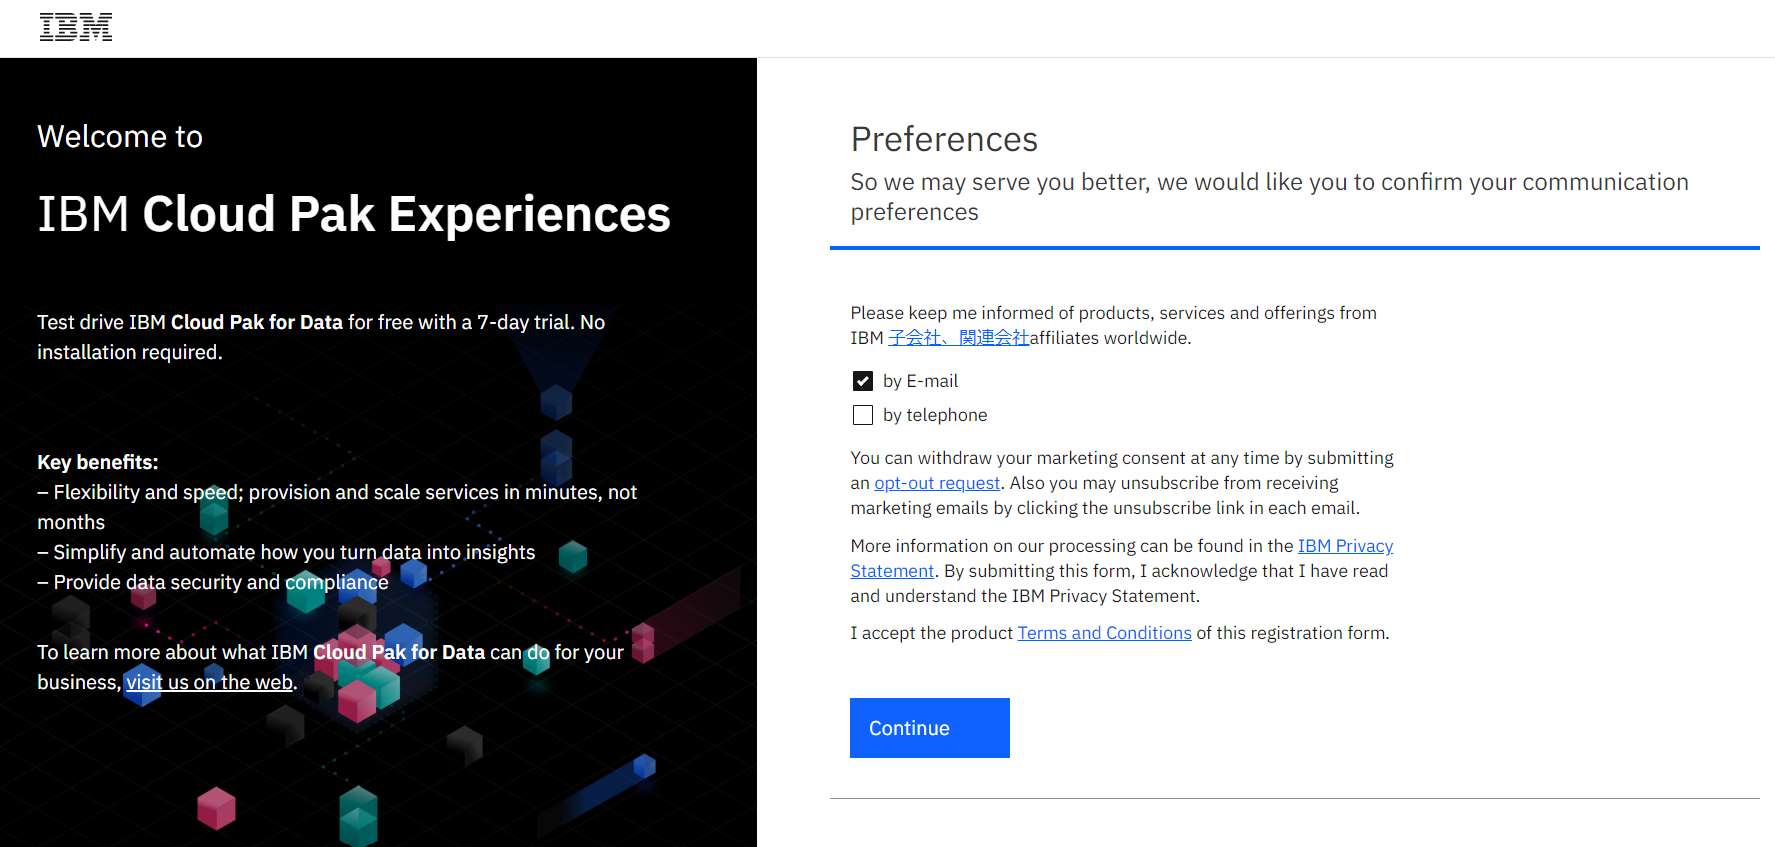
- Click「Continue」.
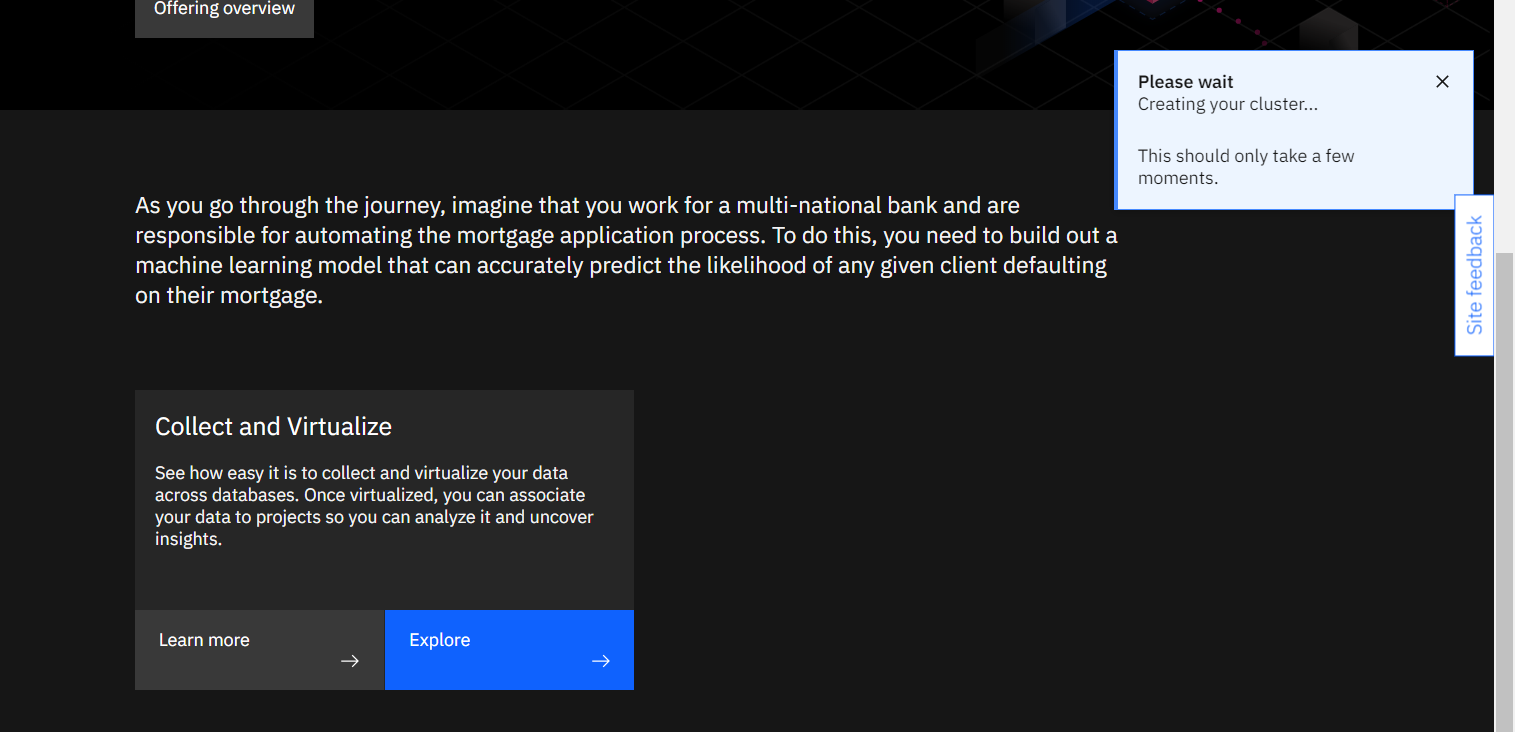
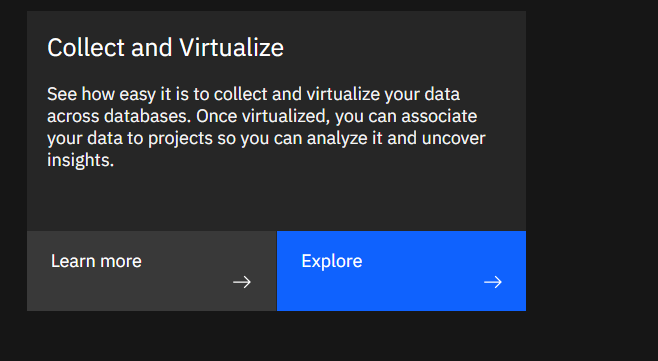
- Back to 「Cloud Pak Experisnces」screen, and click the blue「Explore」button below, and the trial environment construction will start.
- Trial environment have constructed. If pop-up blocker is enabled, disable it.

- Click the blue 「Explore」button again. and new tab shows you CP4D management screen.
Cloud Pak for Data (CP4D)management screen
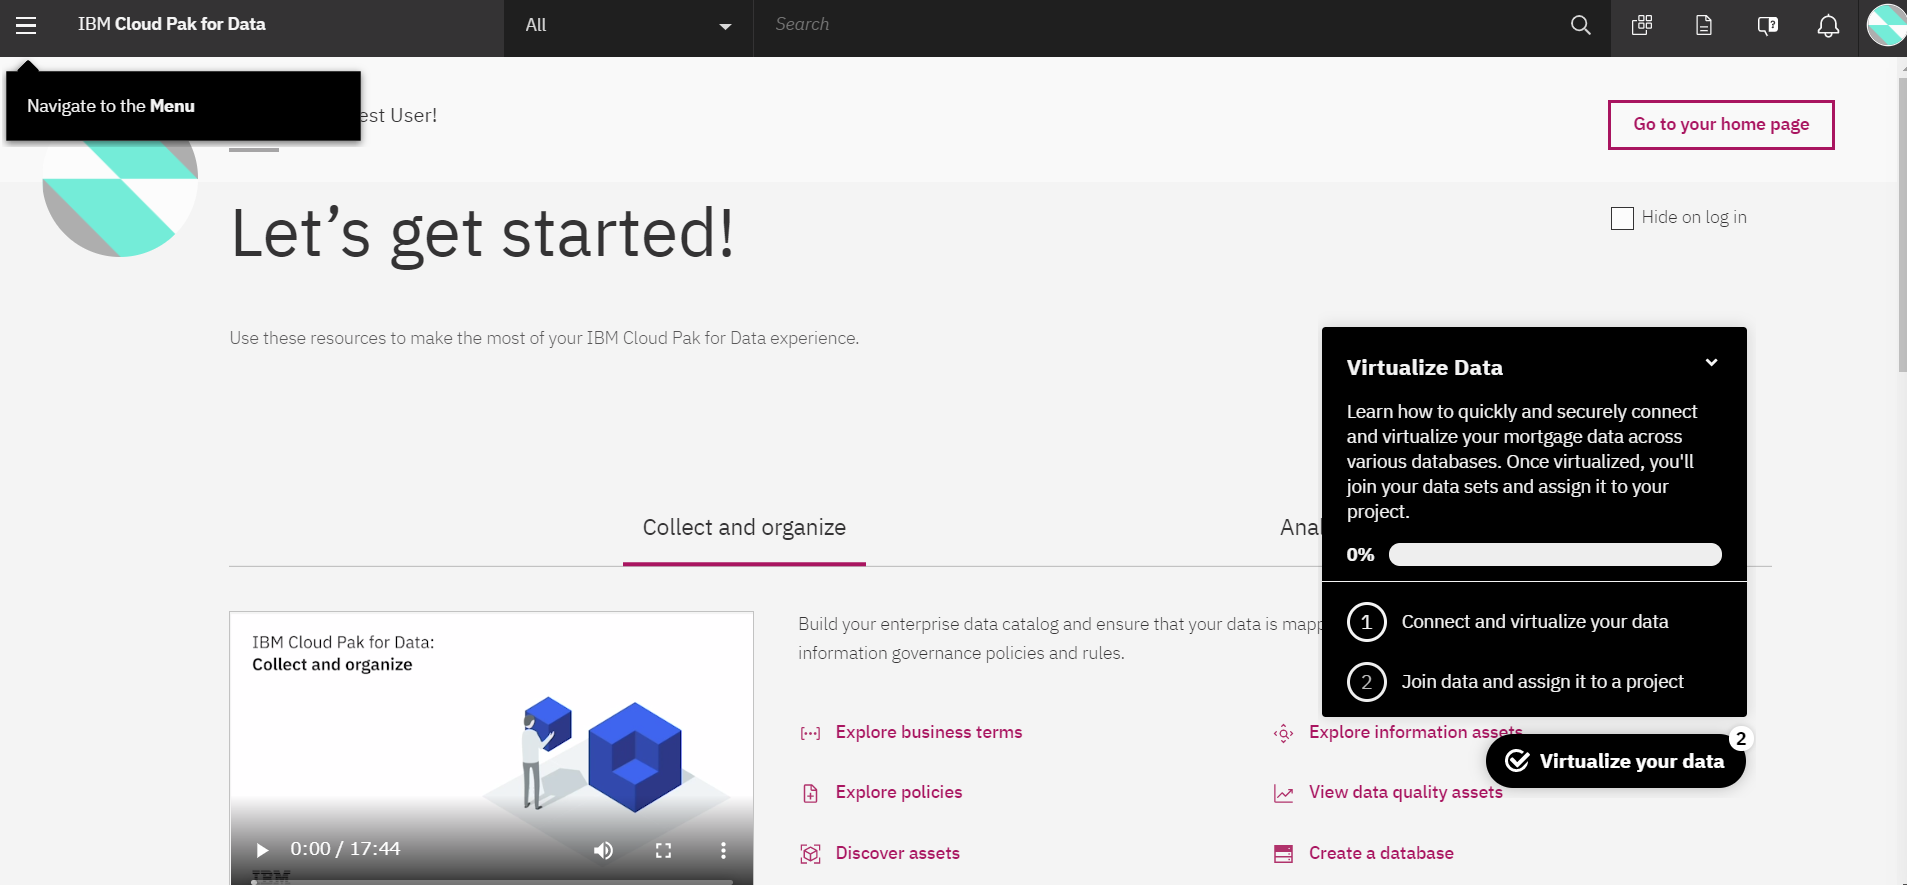
- Click「Walk me through it」

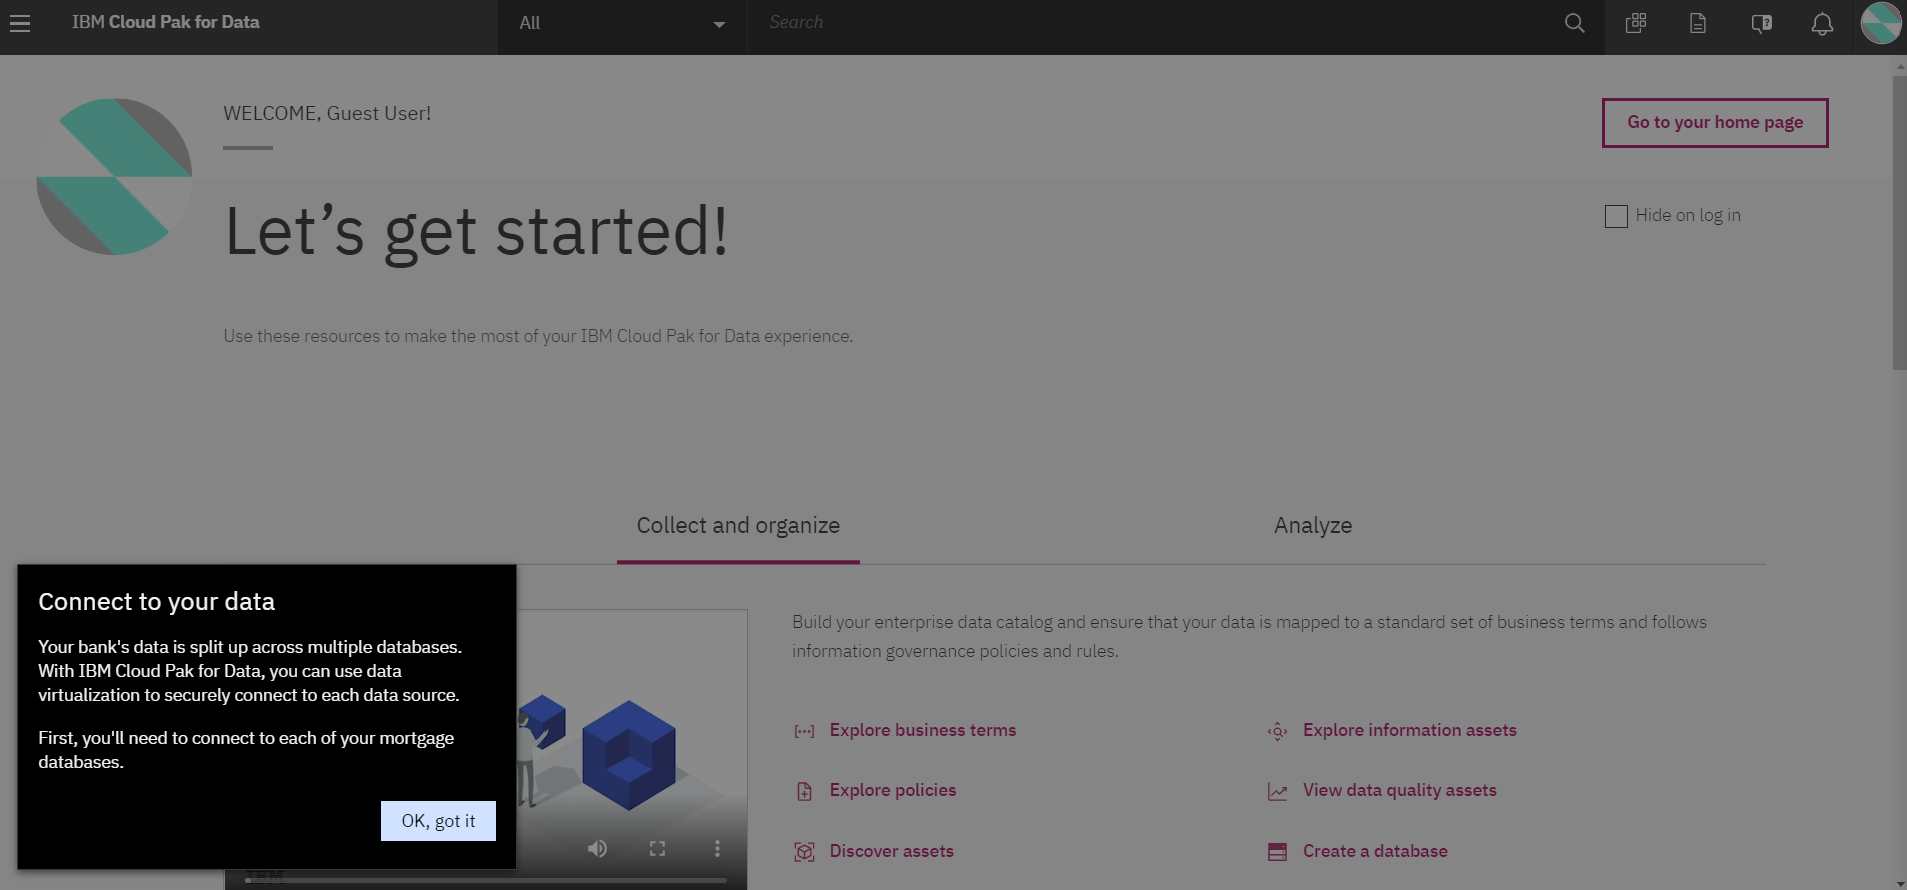
- See the「Connect to your data」window.
- Click 「OK, got it.」
Data virtualization
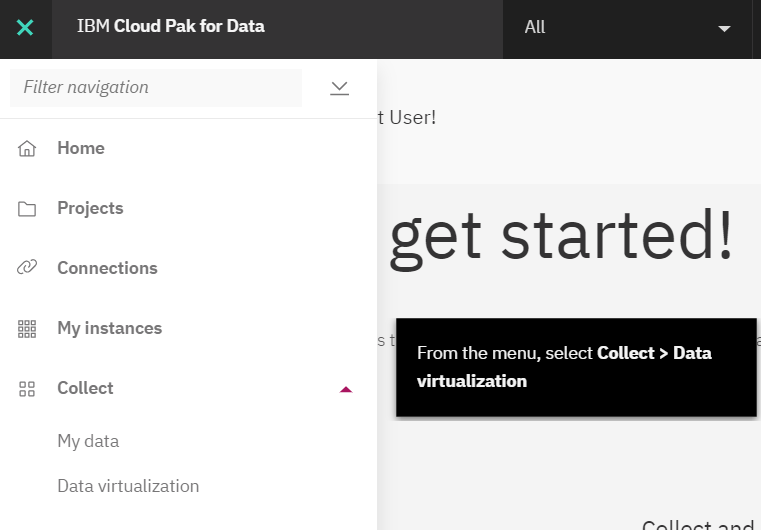
- Virtualize your data.Click the「三」mark (hamberger menu) on the upper left side.
- Click「Collect」.
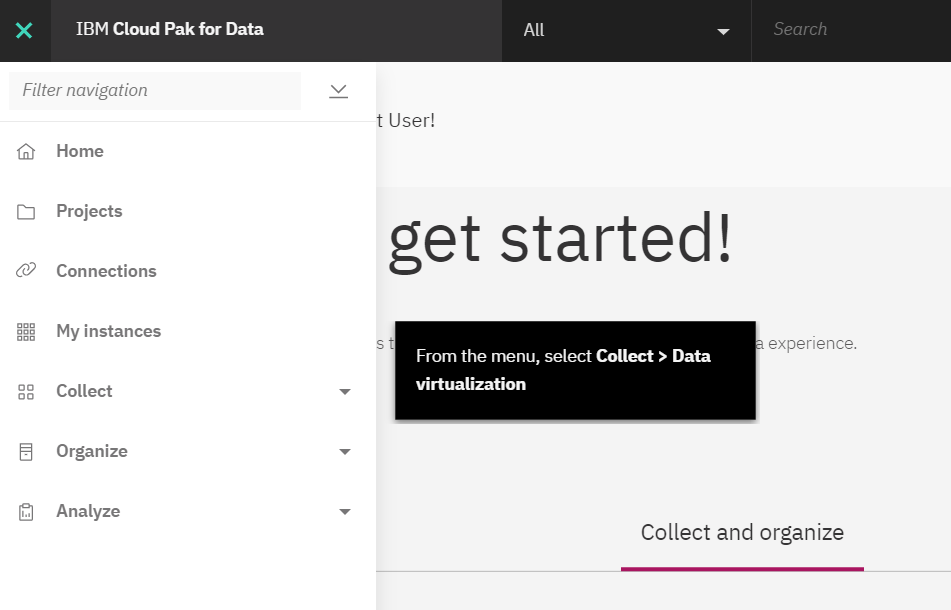
- Click「Data Virtualization」.
- Click「Continue」.
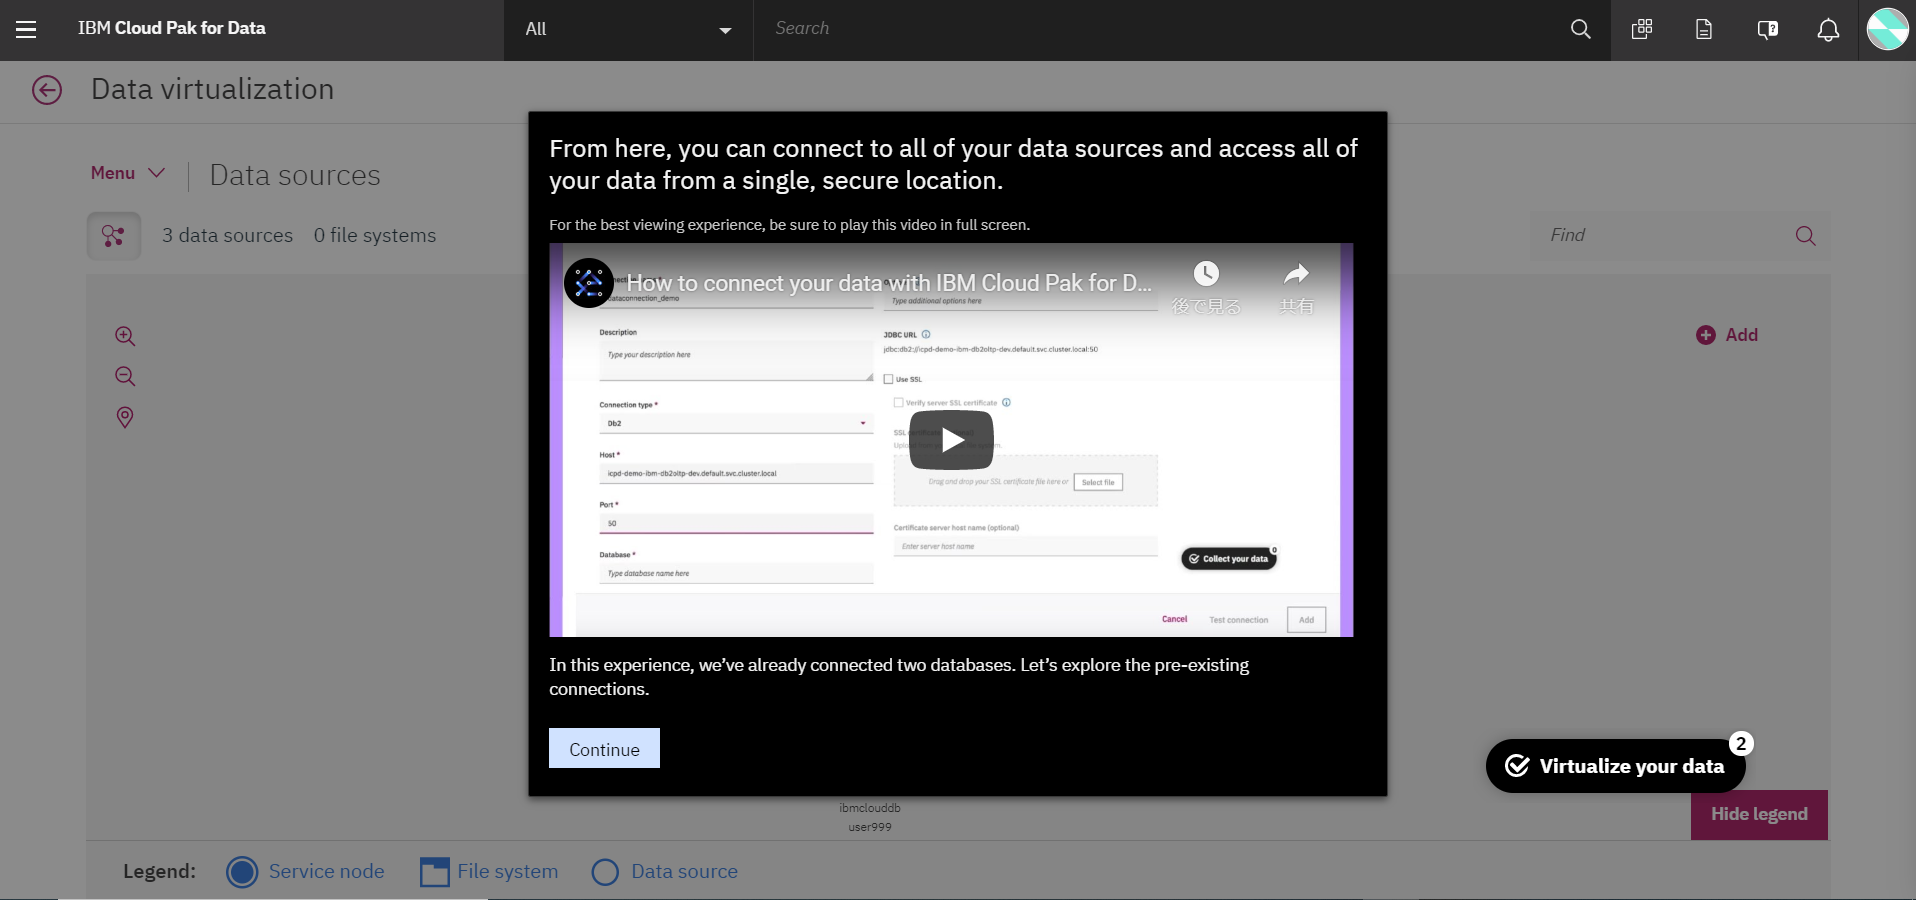
The url of this movie is below.
https://youtu.be/v-RqTDK0DFc
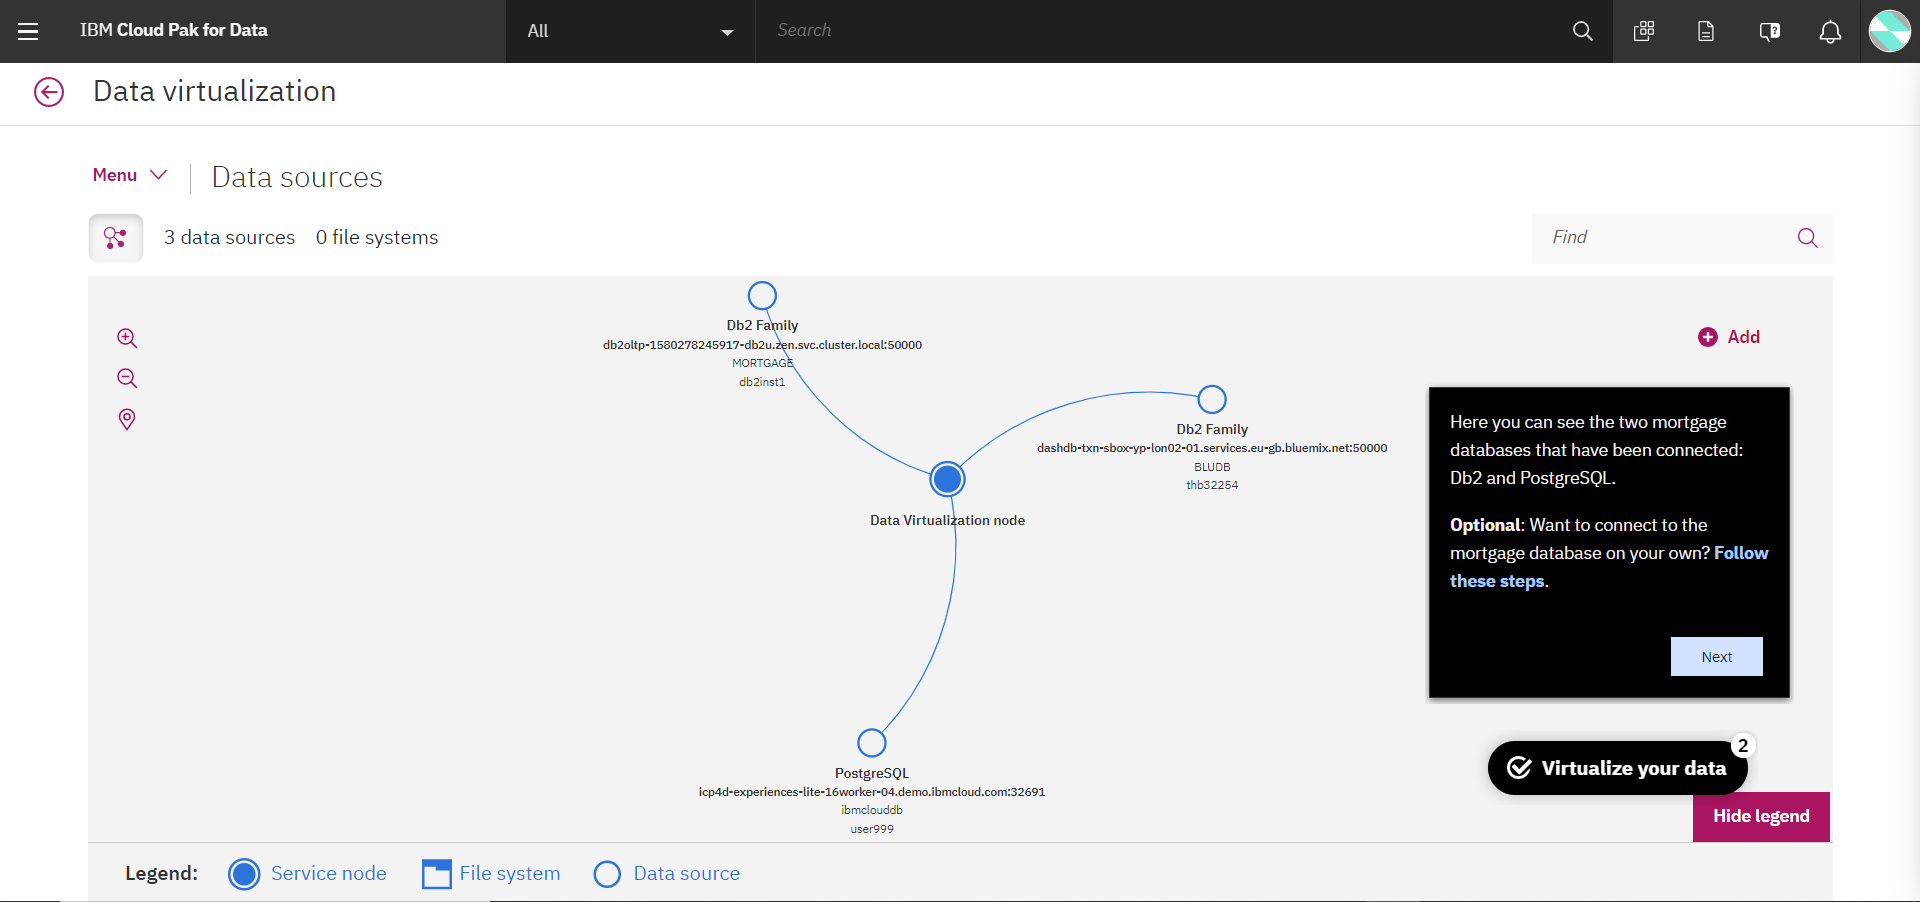
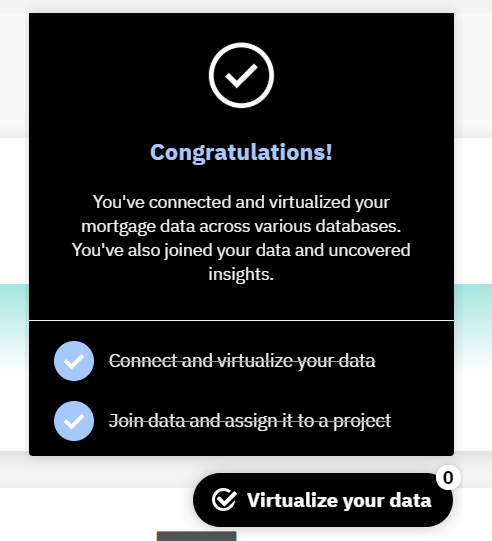
- You can see the Data virtualization screen, and you know that some data sources are connected to CP4D.
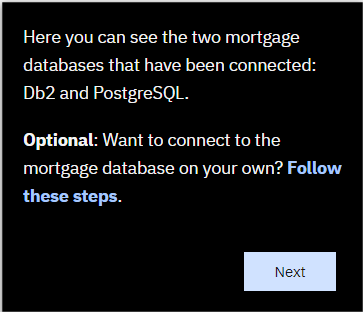
Mortgage security analysis demo
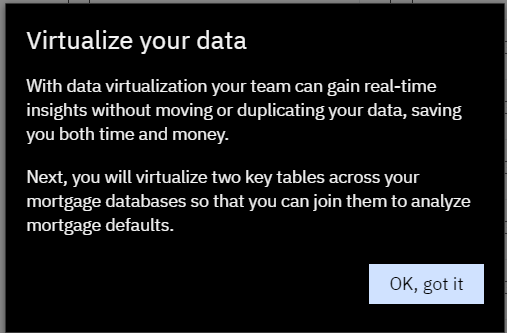
- Click 「Next」
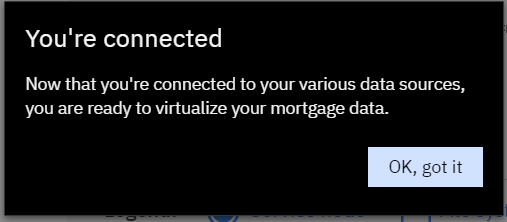
- Click「OK, got it」.
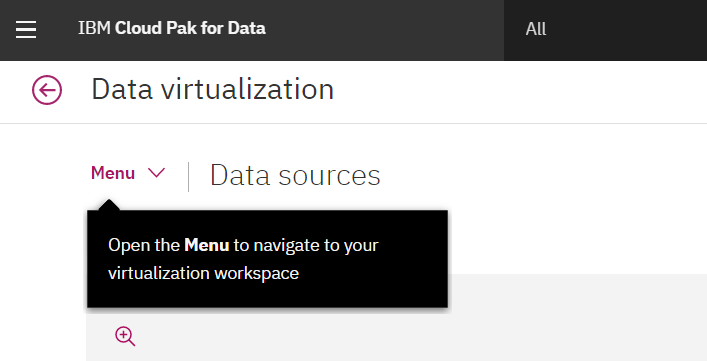
- Click 「Menu」.
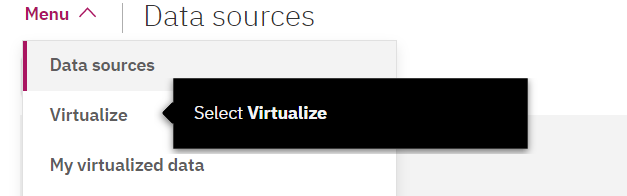
- Click「Virtualize」.
- Next screen will come.

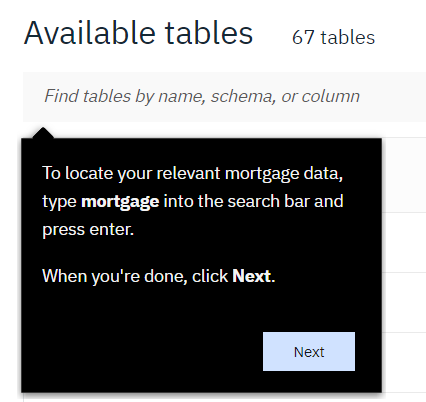
- Enter 「mortgage」in search bar and hit enter key, then click「Next」.
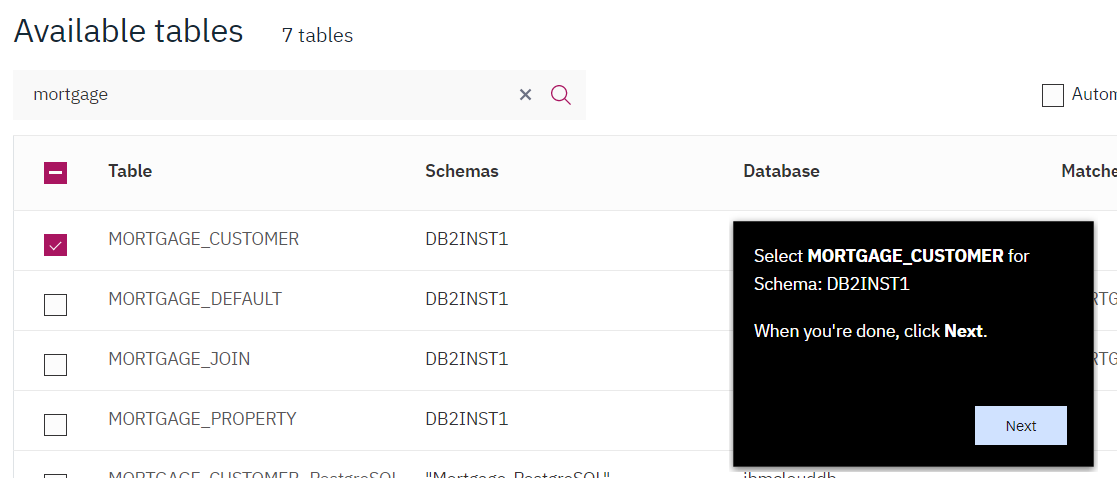
- Select「MORTGAGE_CUSTOMER」table from 「DB2INST1」schema, then click 「Next」.
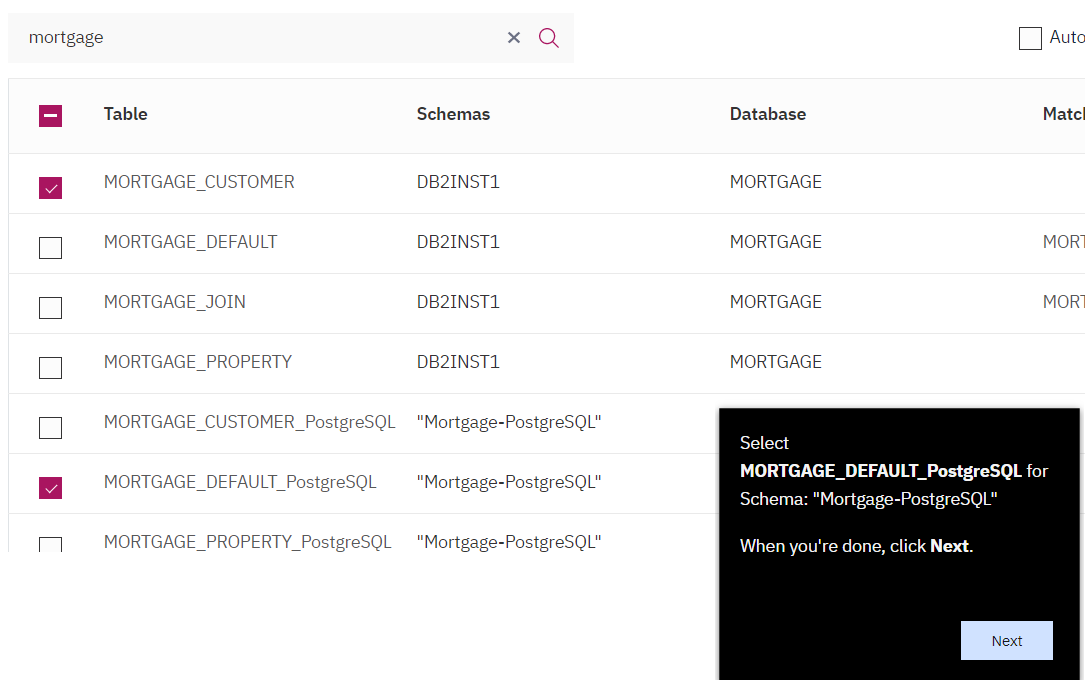
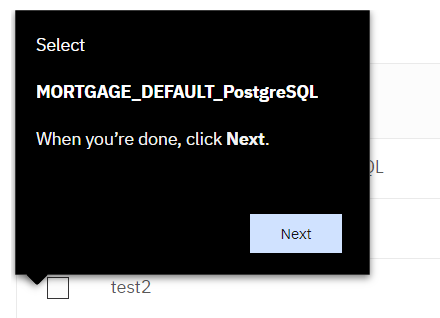
- Select「MORTGAGE_DEFAULT_PostgreSQL」table from「Mortgage-PostgreSQL」schema, then click 「Next」.
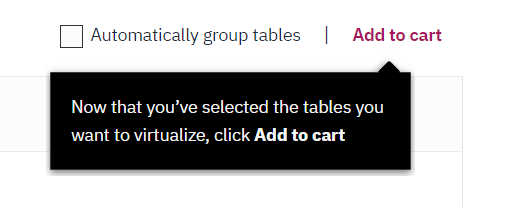
- Click「Add to cart」.
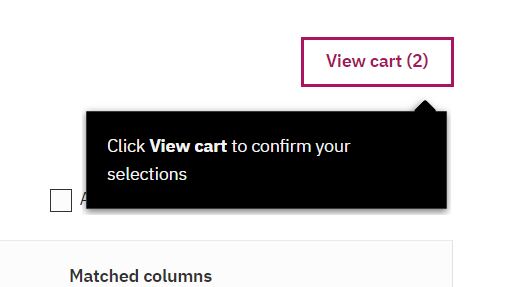
- Click 「View cart」.
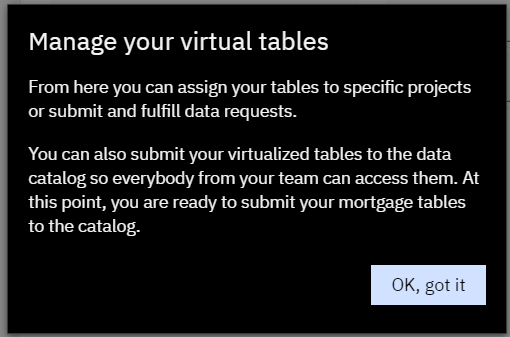
- Next screen will come.
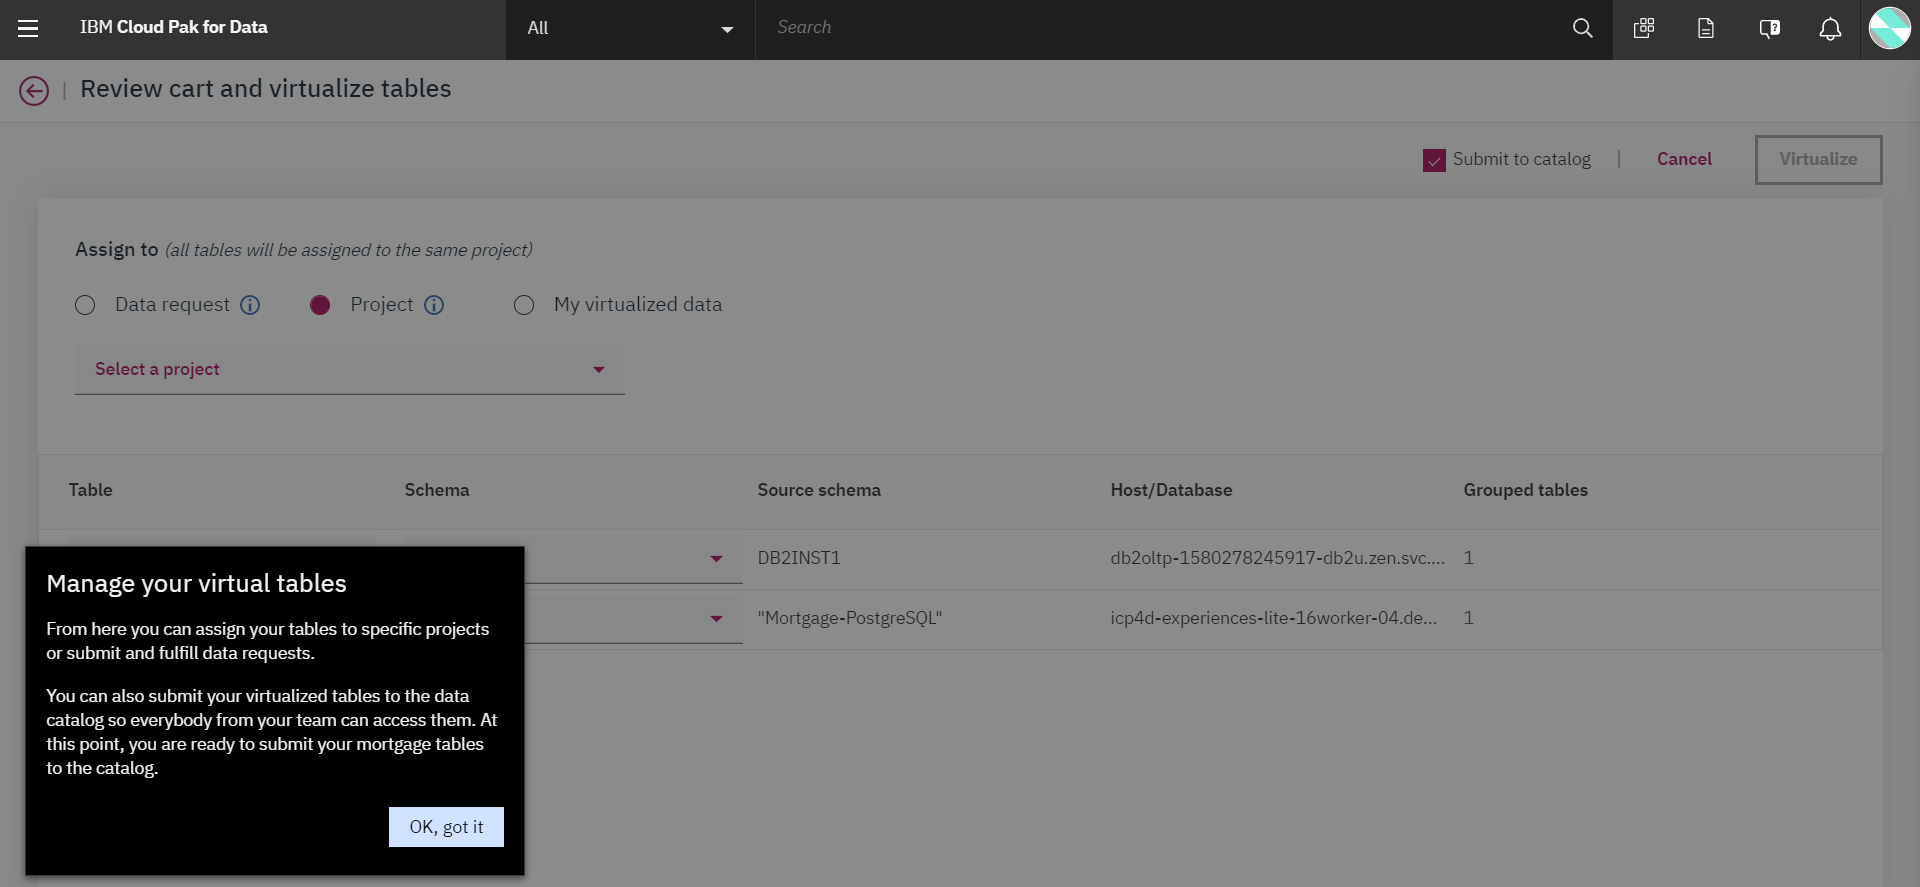
- Click「OK, got it」.
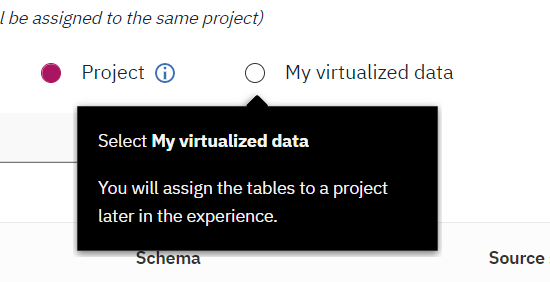
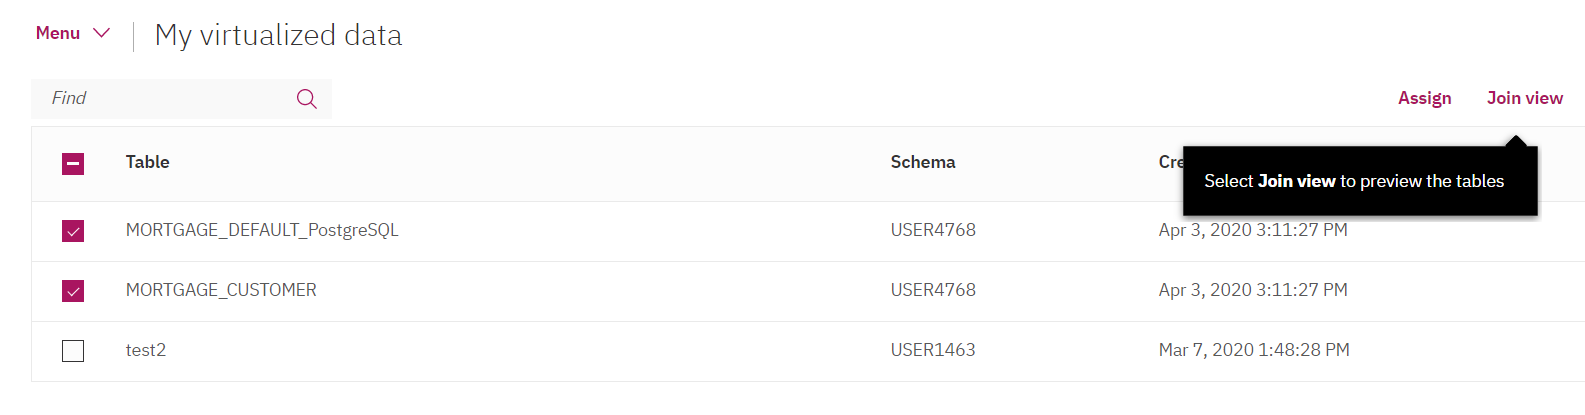
- Select「My virtualized data」.
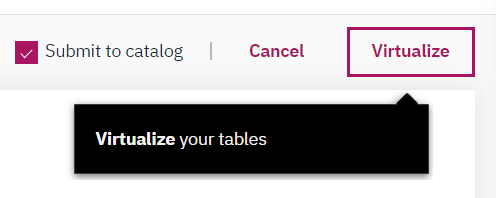
- Click「virtualize your table」.
- If you check 「Submit to catalog」, then the virtualized view will be added to the catalog and members will check the view.
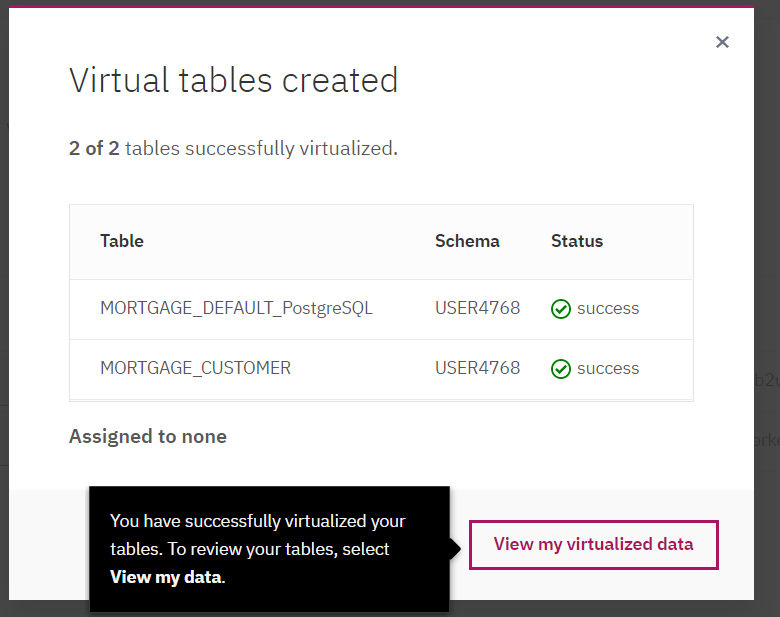
- Virtualized view created.Click「View my virtualized data」
- Virtualized view list
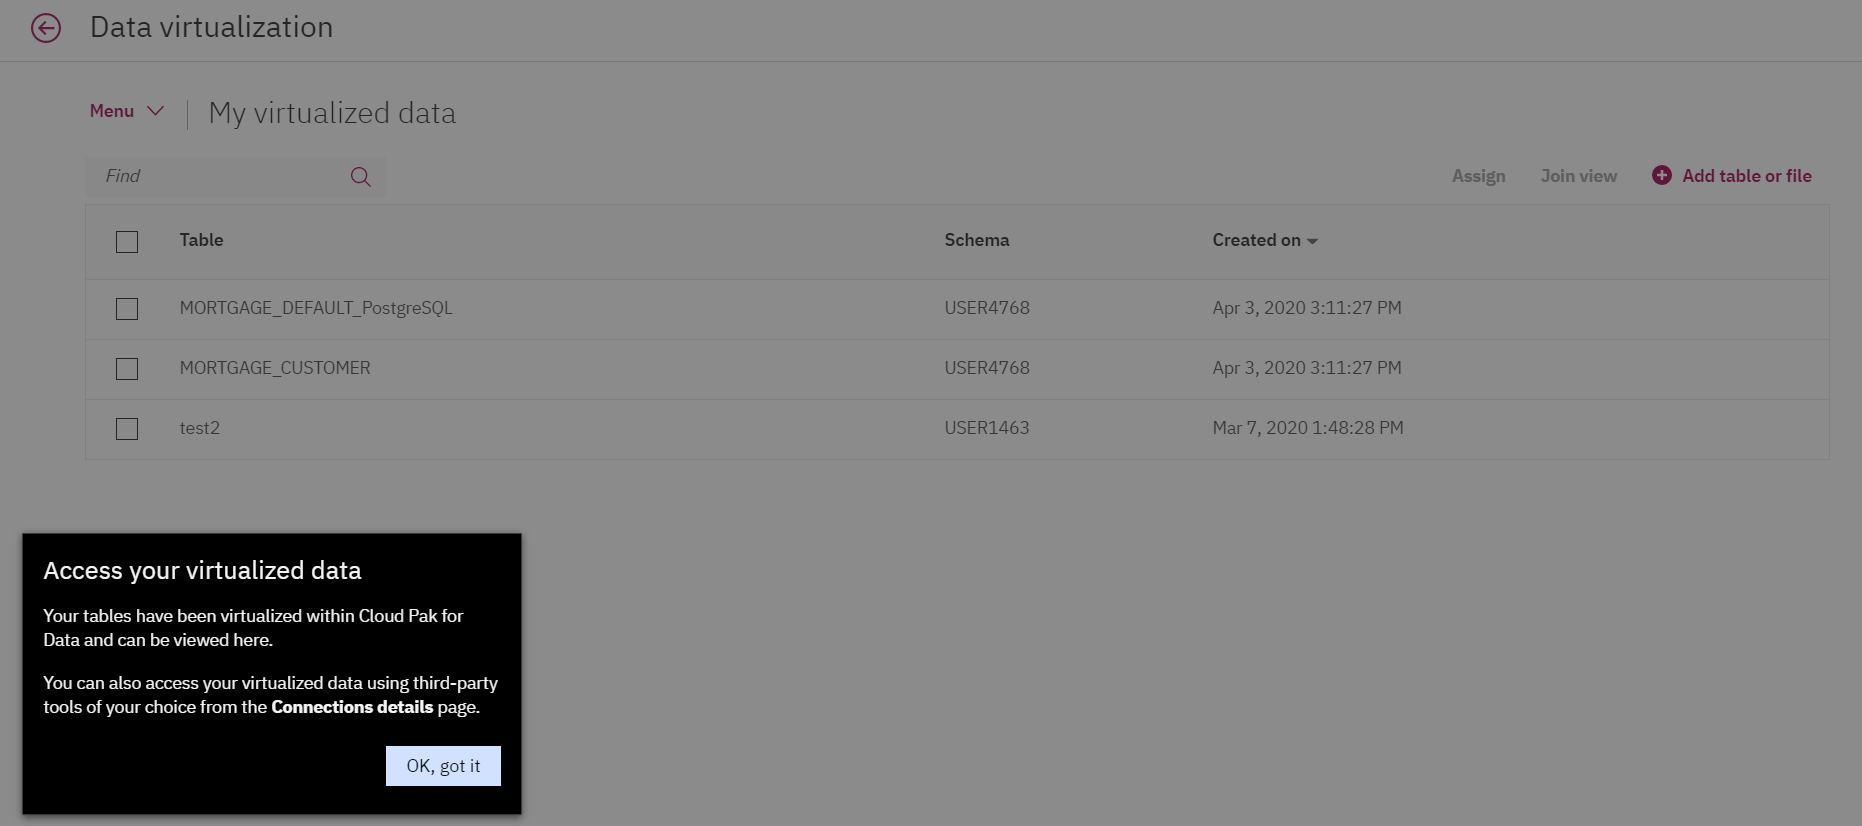
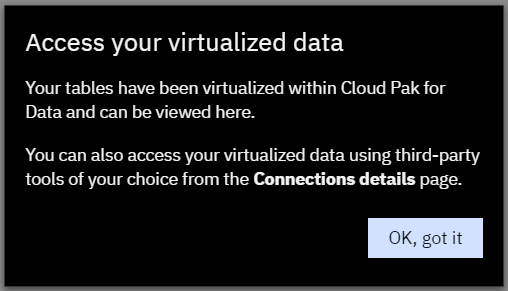
-Click「OK, got it」.
- You could connected to external data sources and virtualized into your environment.
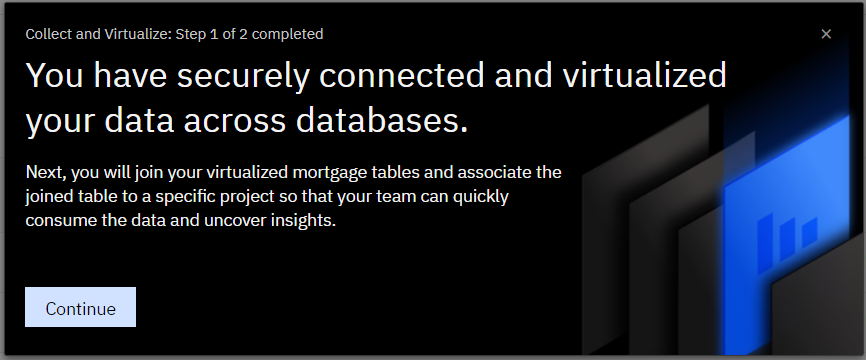
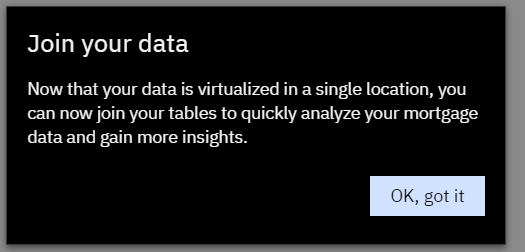
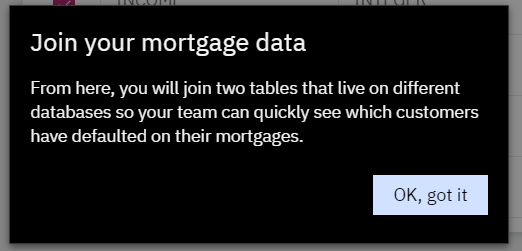
Join your data
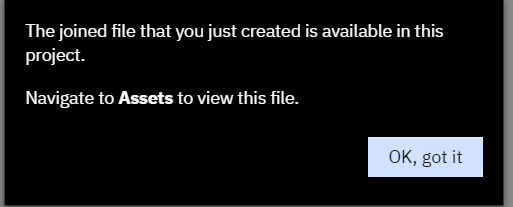
- Click「OK, got it」
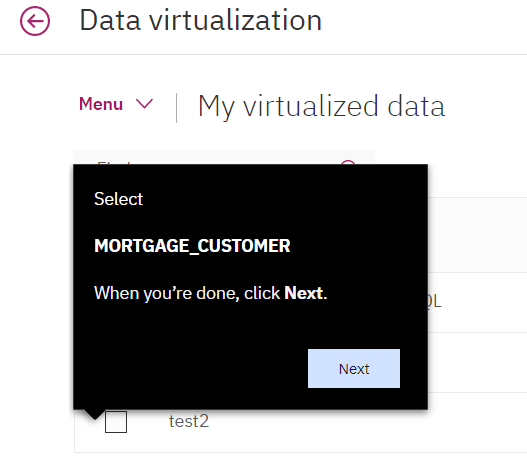
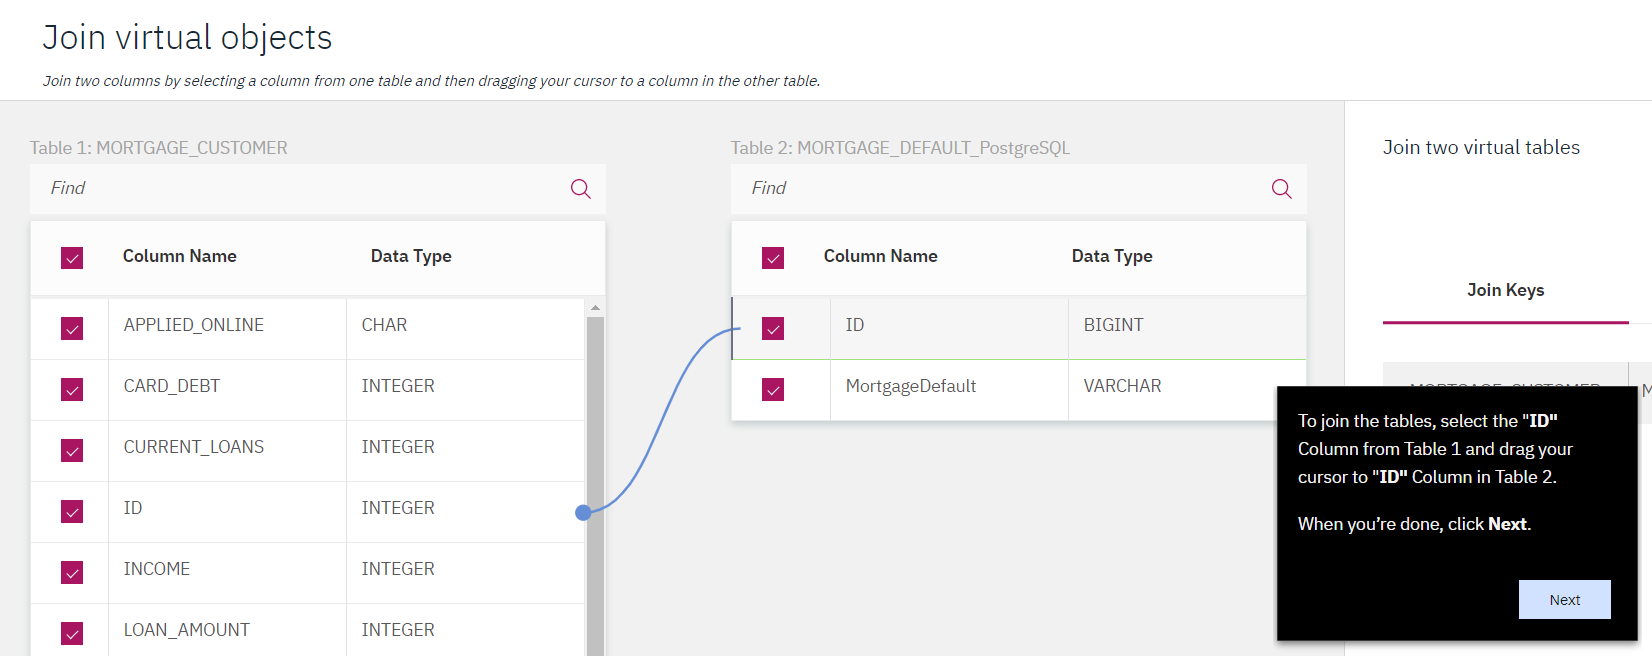
- Select「MORTGAGE_CUSTOMER」after clicking [Next]
- Select「MORTGAGE_DEFAULT_PosgresSQL」after clicking [Next].
- Click「Join view」.
minimize the right window with clicking down arrow side by「Virualize data」.
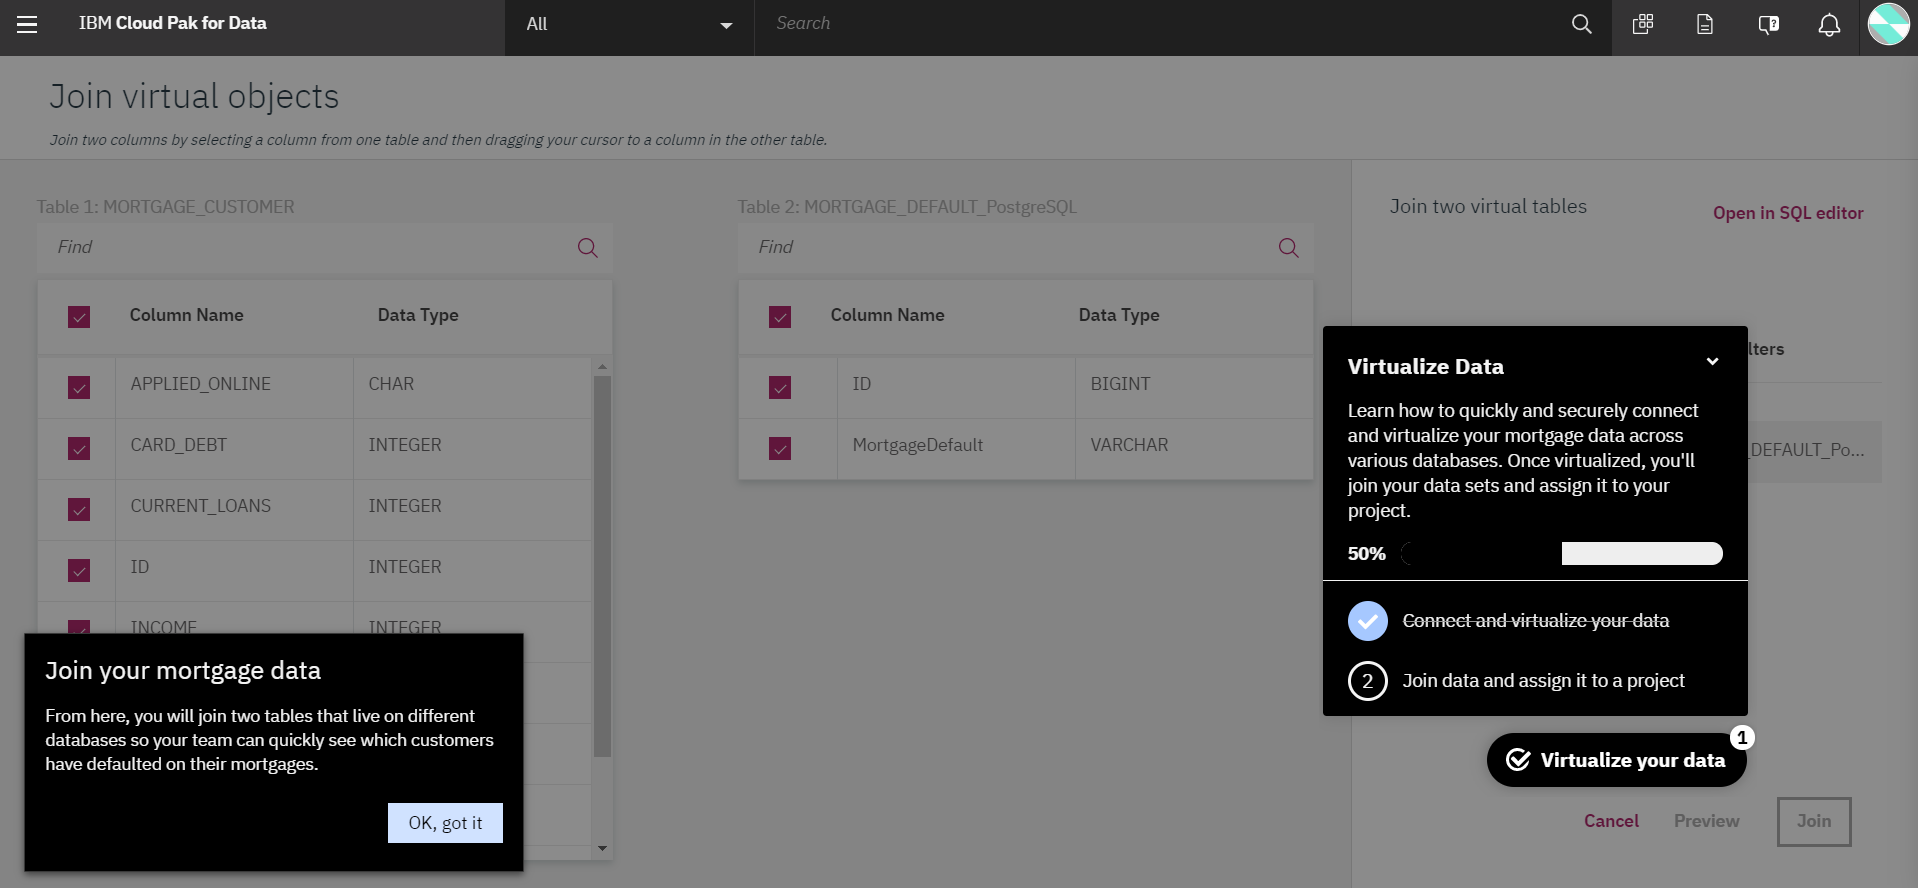
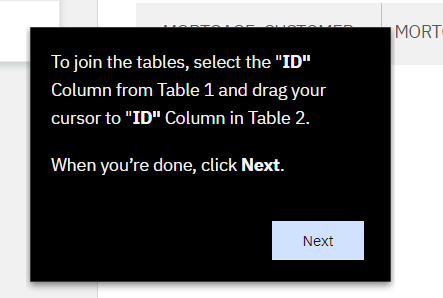
Drag and drop then click「Next」.

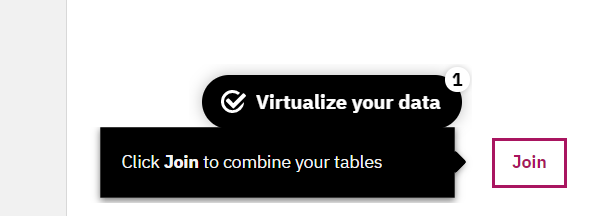
- Click「Join」.
- moving to the screen where to confirm the 「Join」ned table。
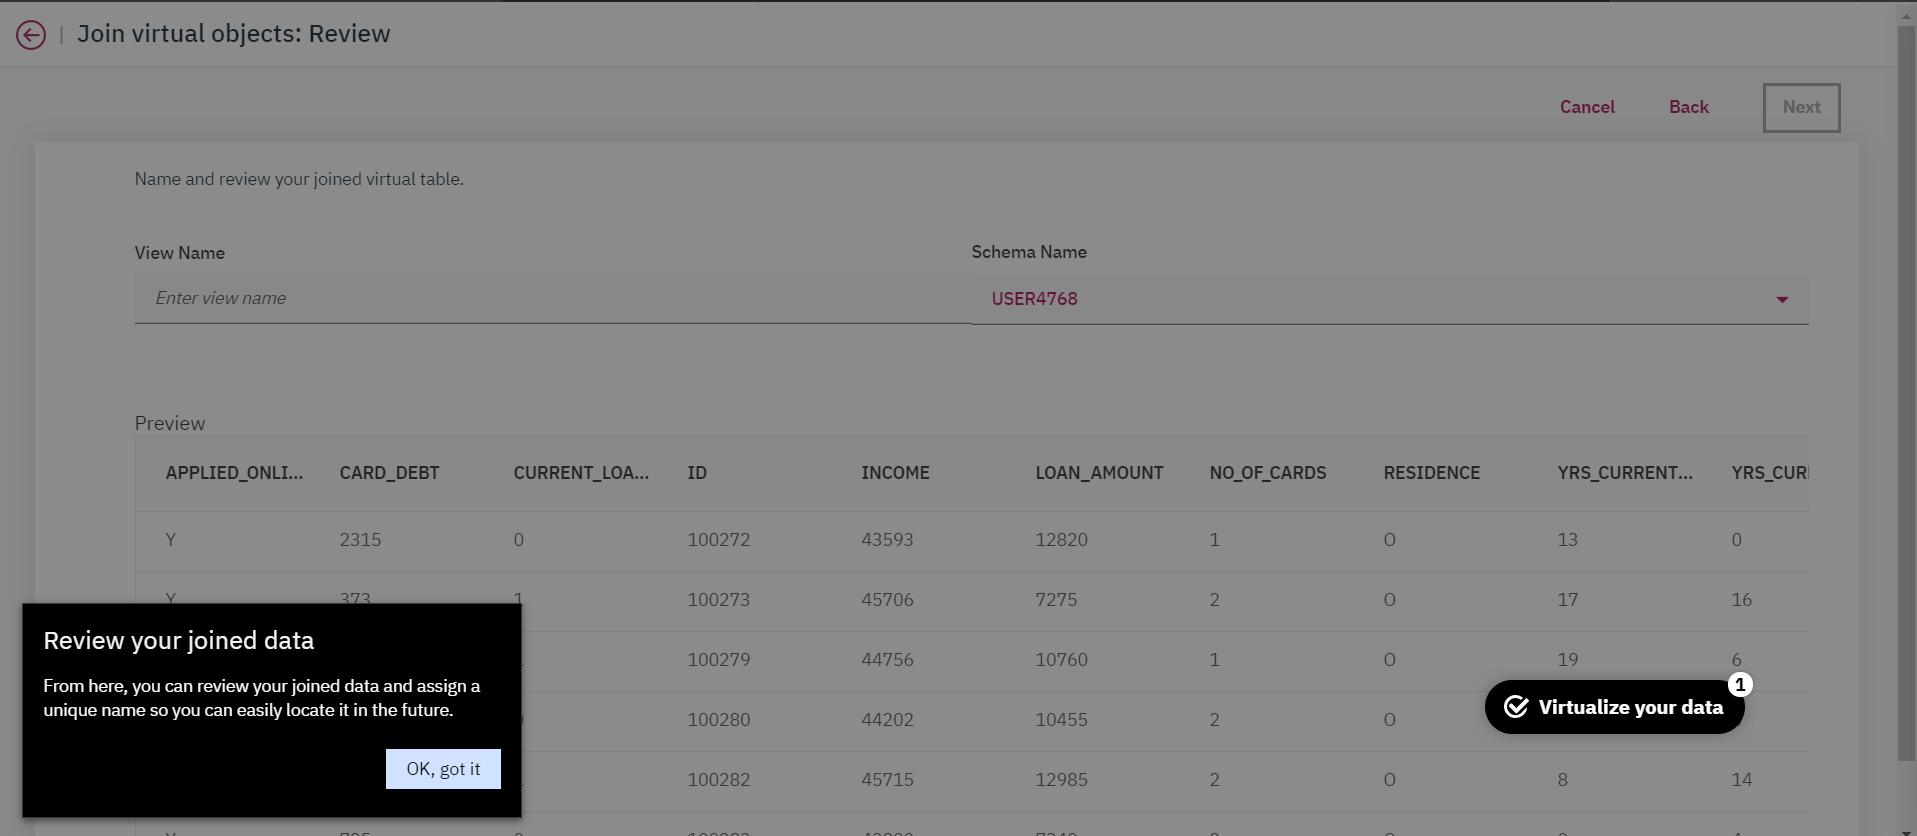

- Name the view. Here, the view is named as 「mortgageview」.
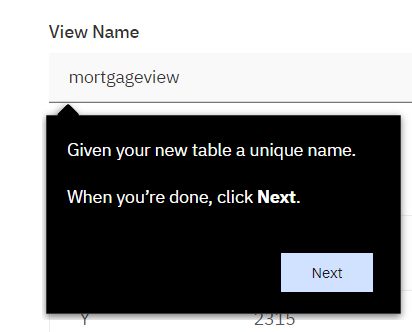
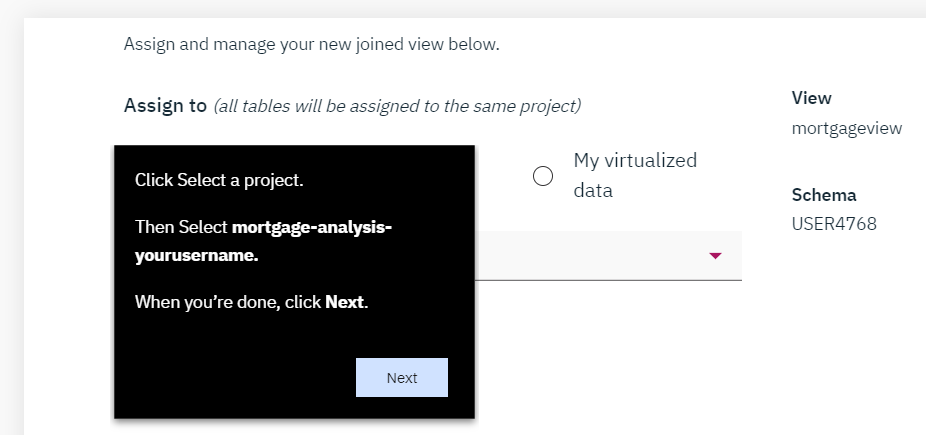
Click「Next」to asign the view to a specific project.
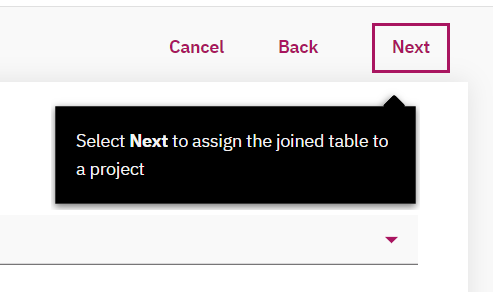
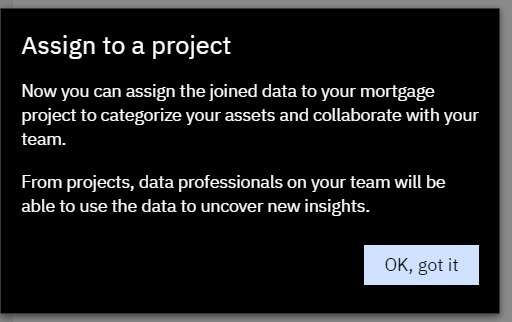
- Moving to the assignment screen.
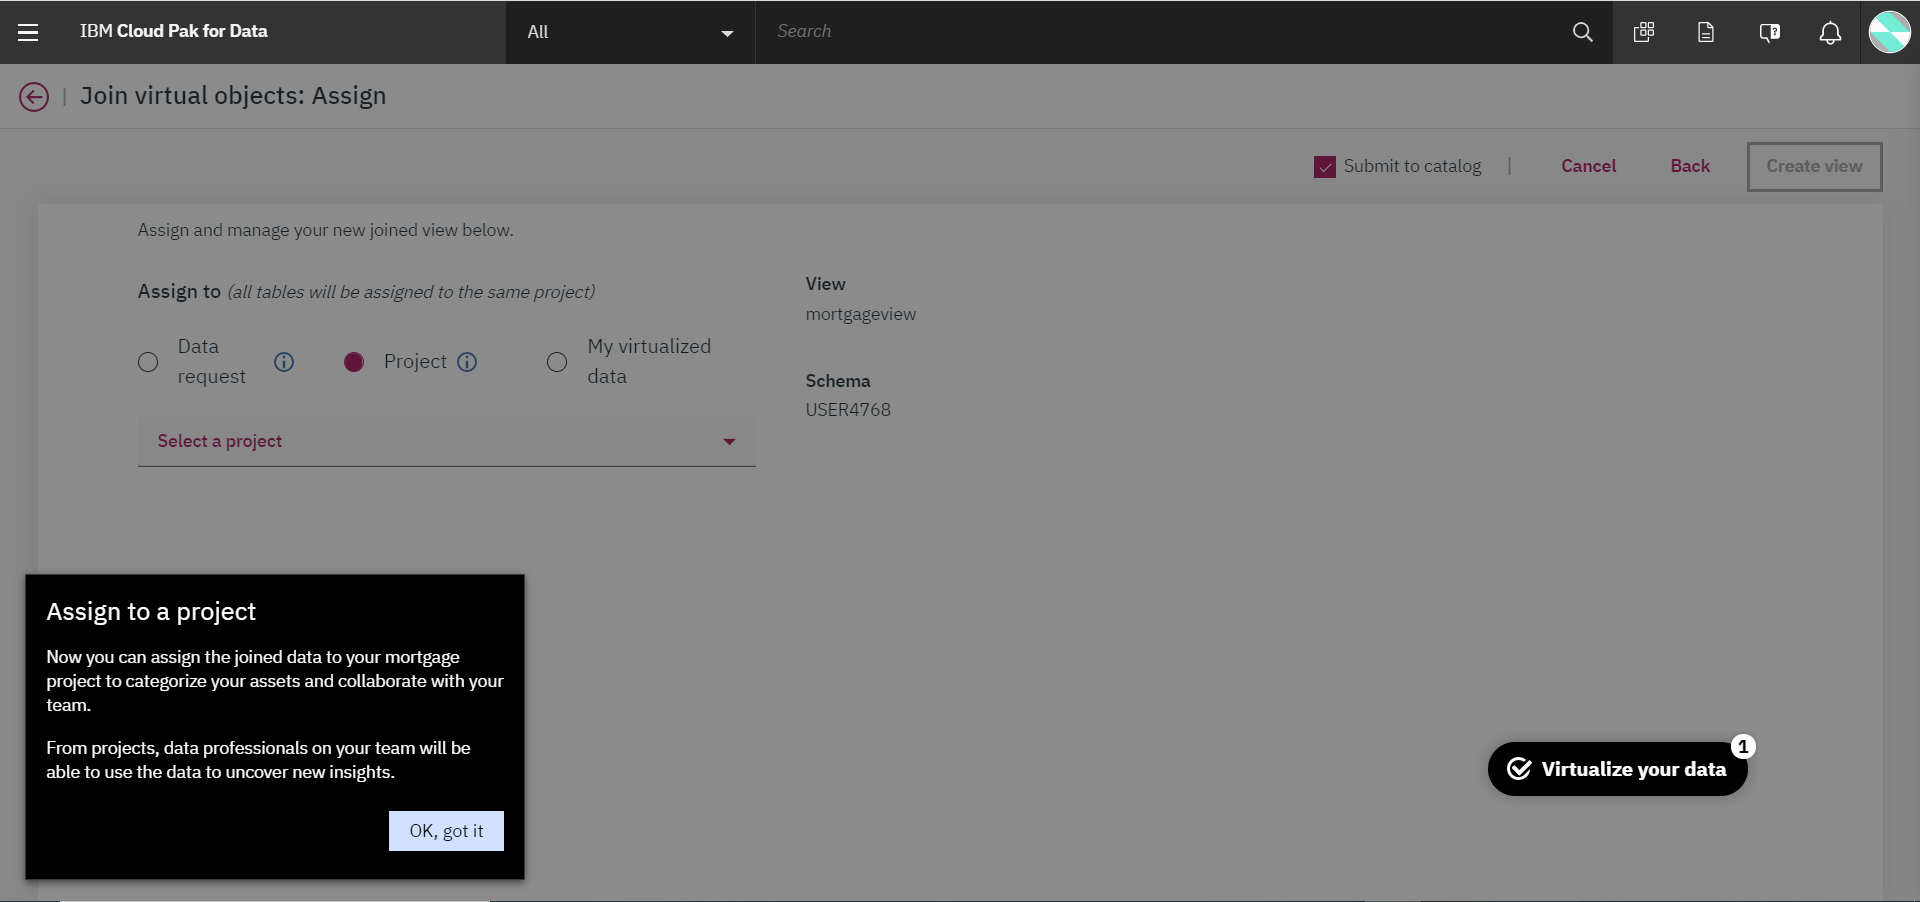
- Select radio button(hidden in the black window...)
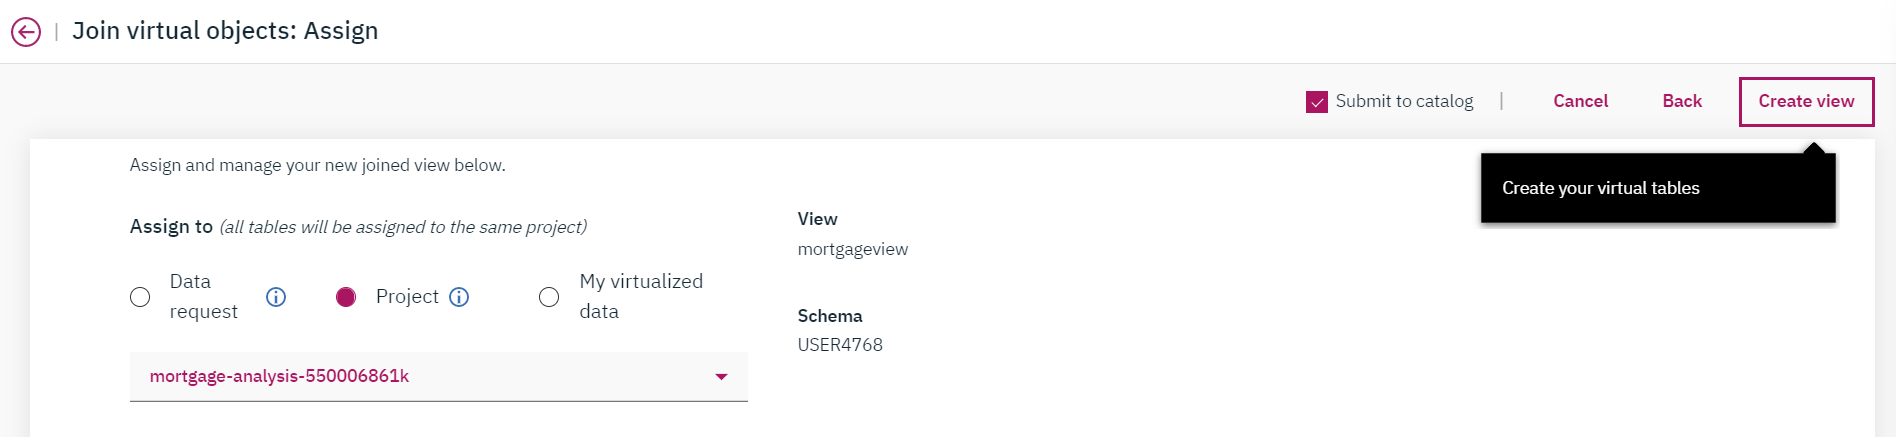
- Select「mortgage-analysis-xxxxxxxxxxxxxxx」
- Click「Create view」.
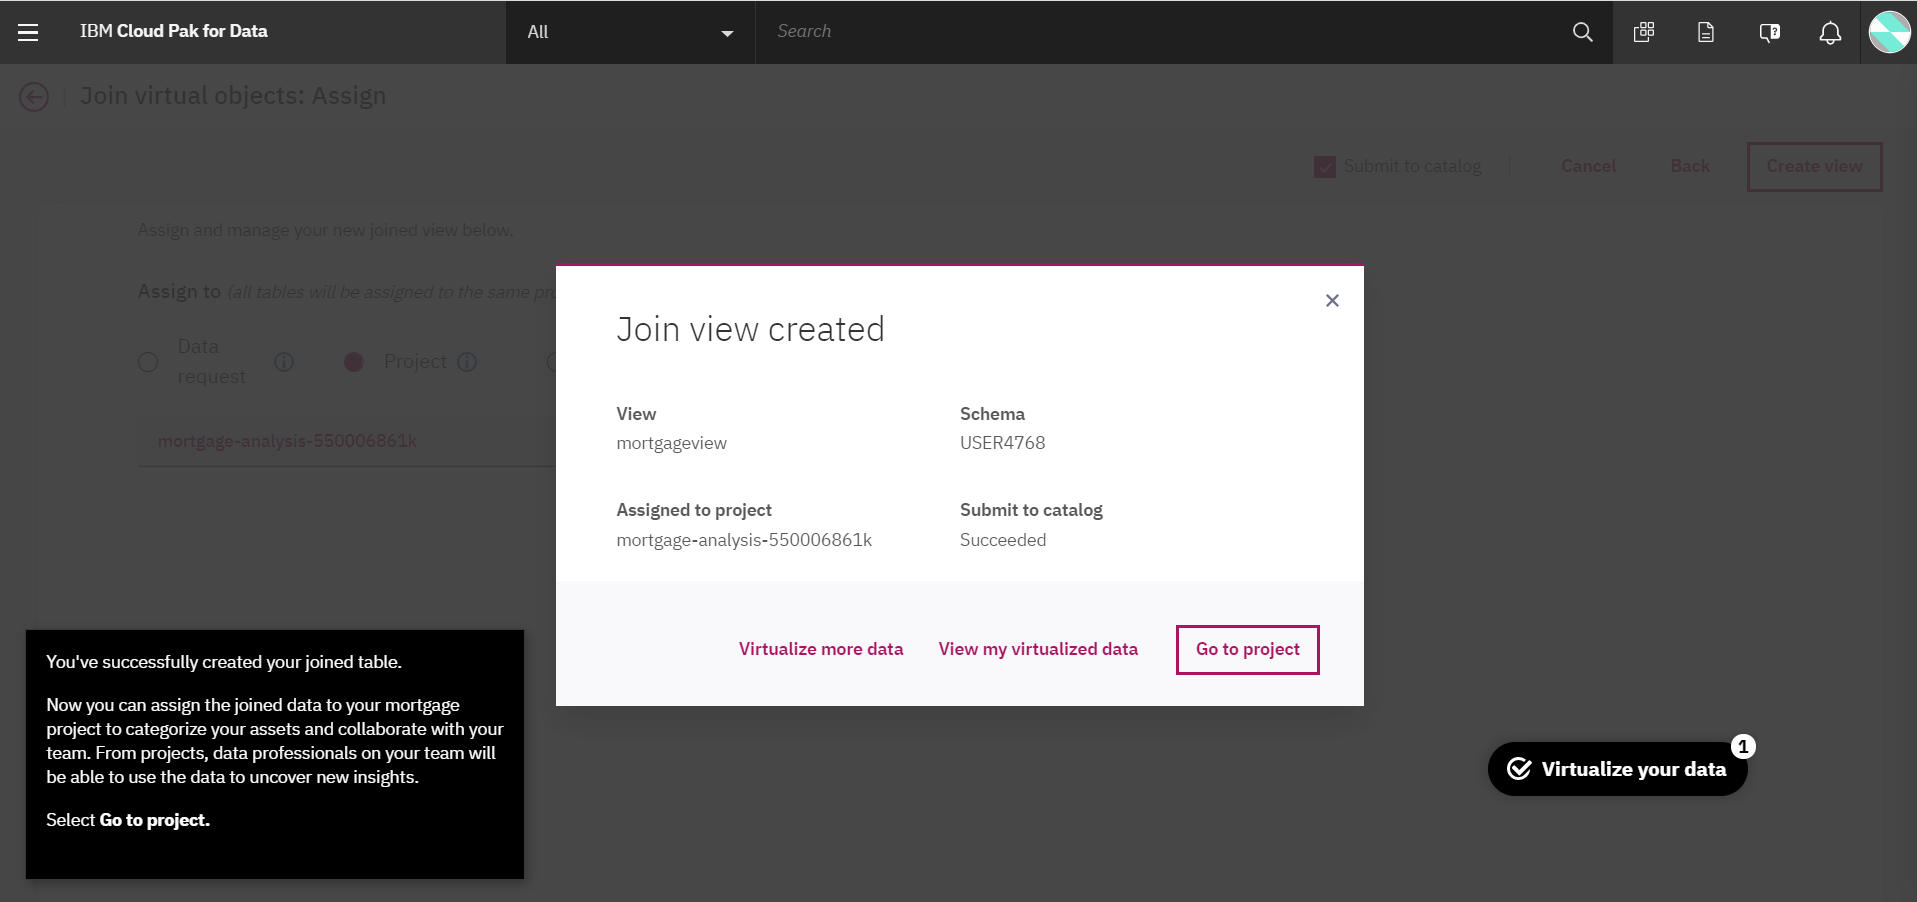
- View was created.To confirm it, click「Go to project」.
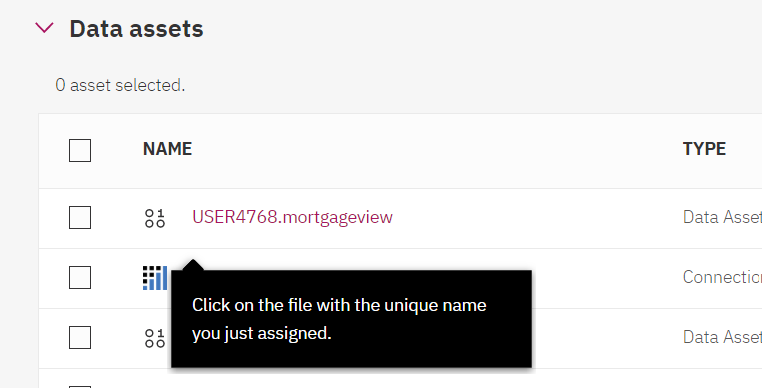
- Data assets list.
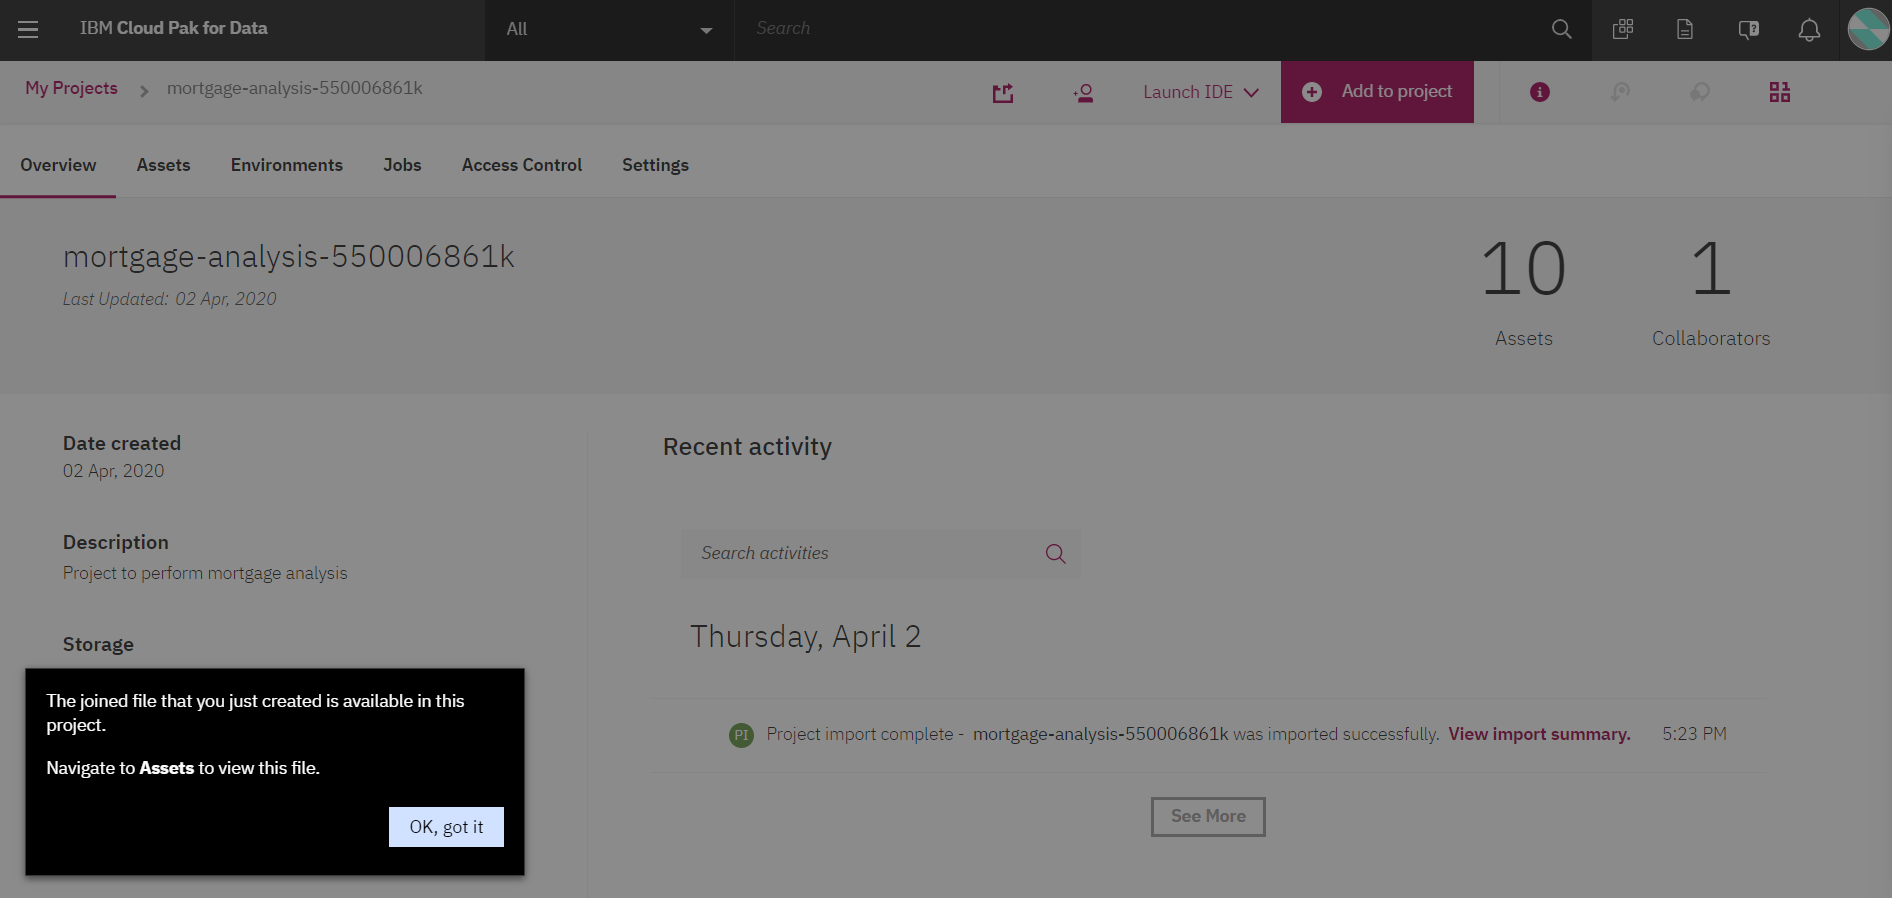
- Click「Assets」.

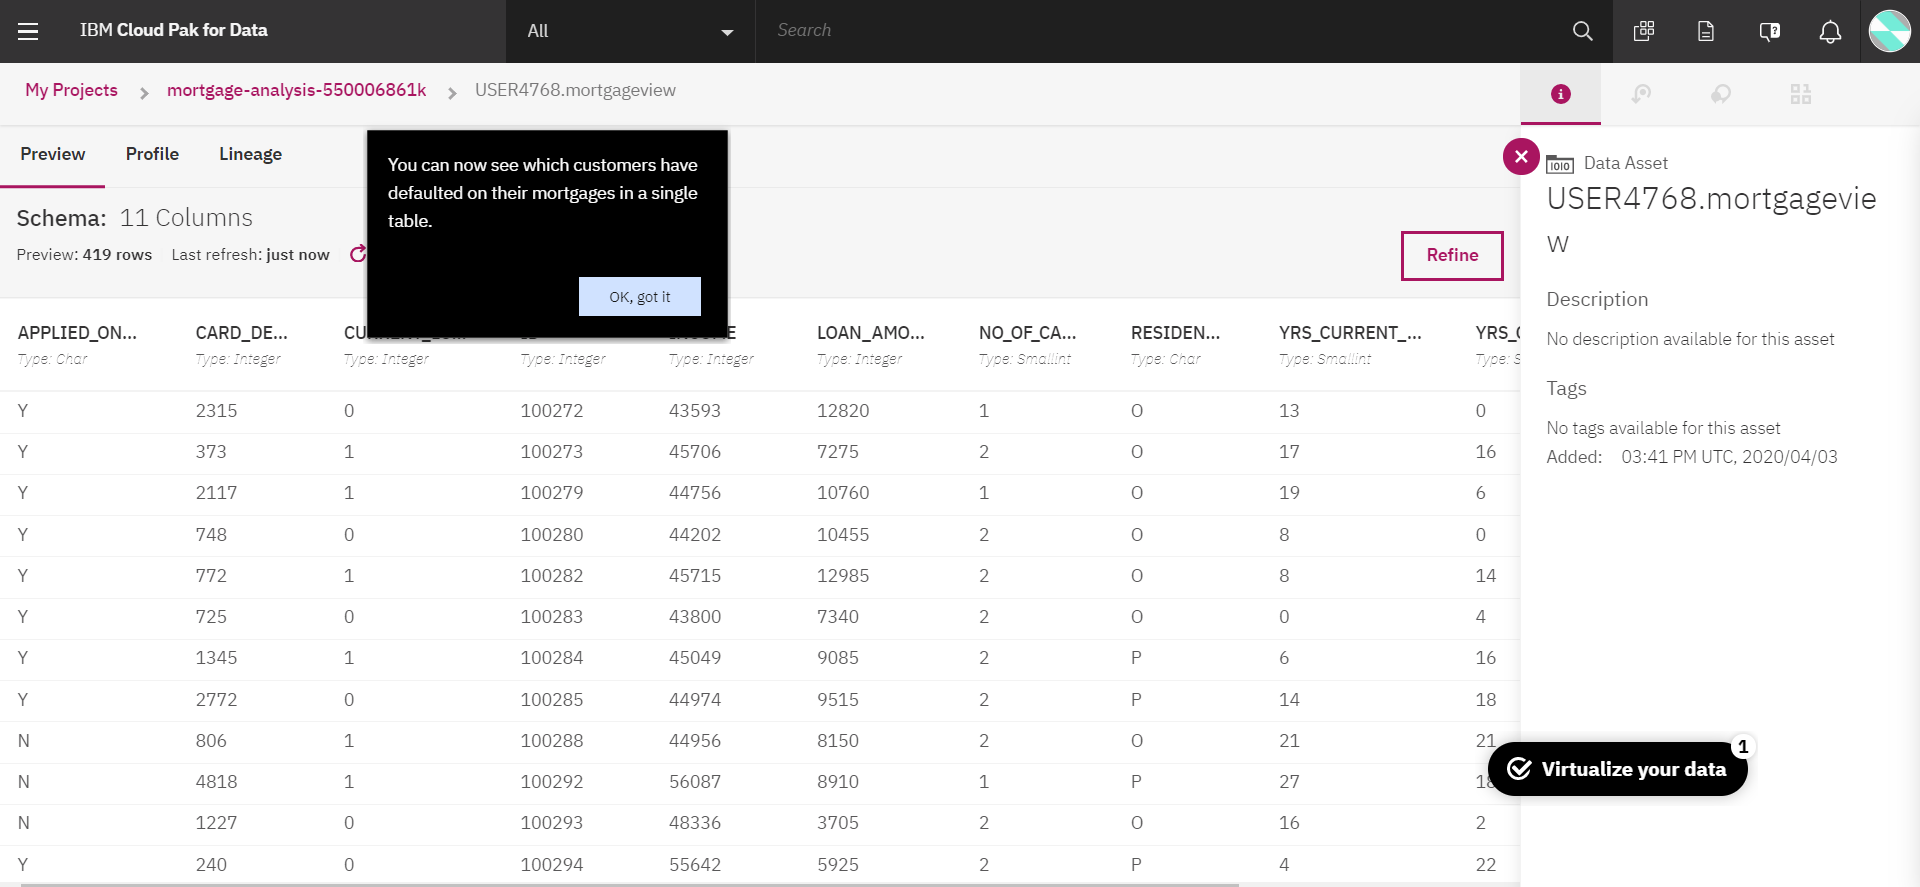
- This is the data assets created a little while ago.Click it.
- This is the contents of the joined view.
- The demo journey is the end here.
- Click「Continue the Journey」.

- at the「IBM Cloud Pak Experiences」tab , you can proceed the demo with clicking the blue 「Explore」button.
References
- IBM Cloud Pak for Data 概要
- https://www.ibm.com/jp-ja/products/cloud-pak-for-data
- 【やってみた】IBM Cloud Pak for Data 導入してみた
- https://www.nicpartners.co.jp/report/68930/
- DataOpsに不可欠な6つの要素とは
- https://www.ibm.com/blogs/solutions/jp-ja/6-dataops-essentials/