仕事の関係で大分空きました。。。
本編では、前回紹介しましたcreate-react-appのベースを元に、
実際にコンポネントを作成する流れを理解して、reactの開発をイメージしましょう。
最初のコンポネントを作りましょ
前編でご紹介しました/src/App.jsの内容を![]()
![]() 一度綺麗にしましょ。
一度綺麗にしましょ。
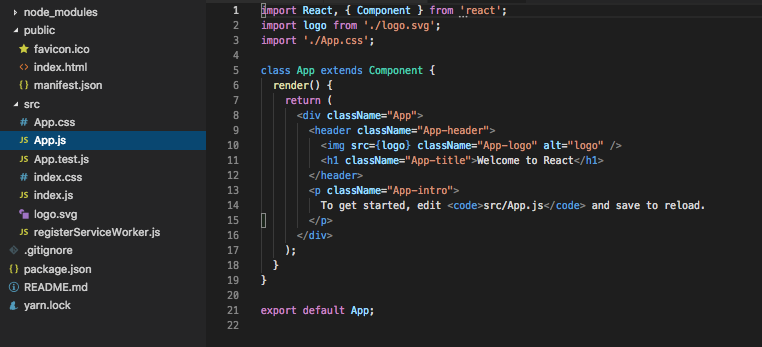
要らない部分を削除して、
![]()
![]() こんな感じになります。
こんな感じになります。
import React, { Component } from 'react';

class App extends Component {
  render() {
    return (
      <div>hello world</div>
    );
  }
}

export default App;
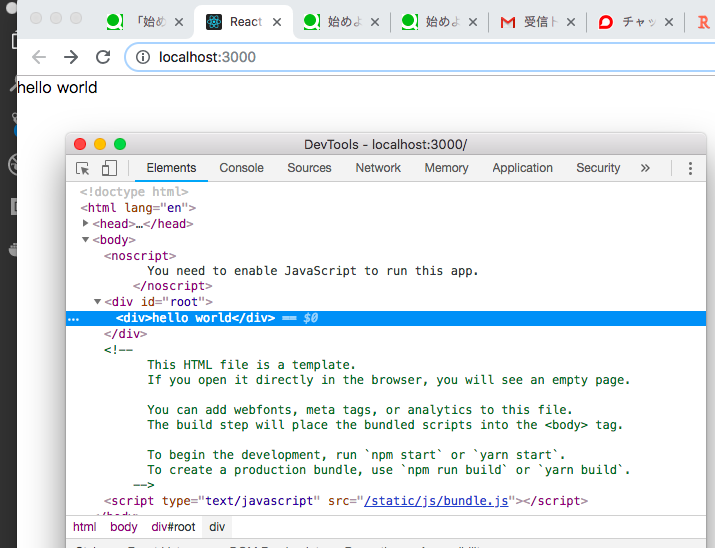
$ yarn start or $ npm startを使って、
実際のページは、![]()
![]() こうなります。
こうなります。
bootstrapを使う
画面を見やすくするため、bootstrapを使います。
こちらは、前編紹介致しました。
/public/index.htmlのご登場です。
こちらは画面を綺麗に見える為にbootstrapを入れます!
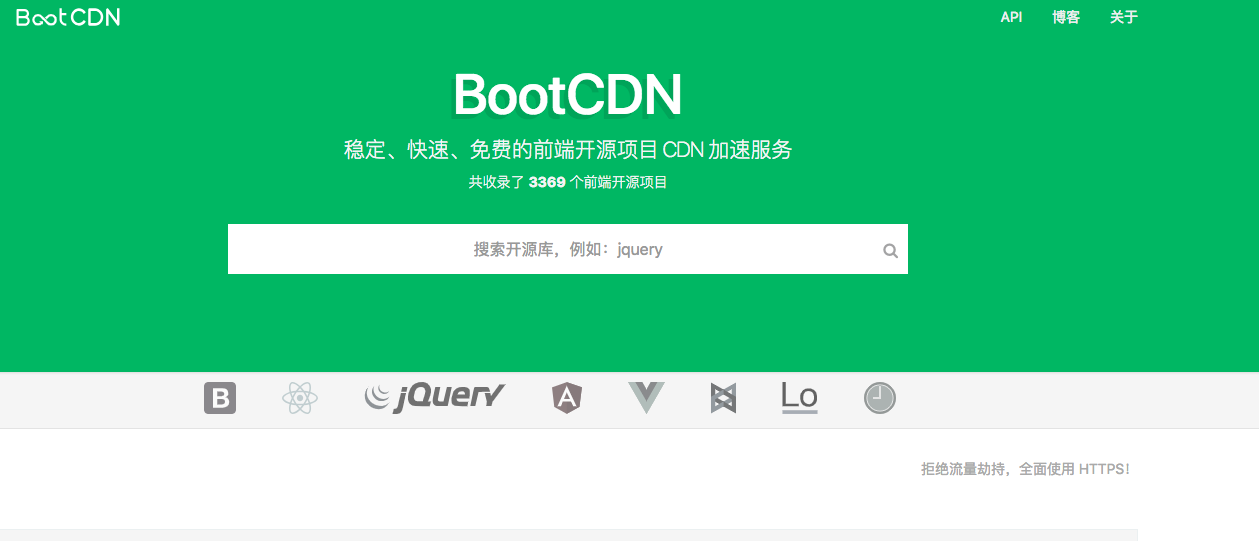
bootstrap CDN
(中国のサイトですが、かなり使いやすいです!)
bootstrapを検索、
![]()
![]()
![]()
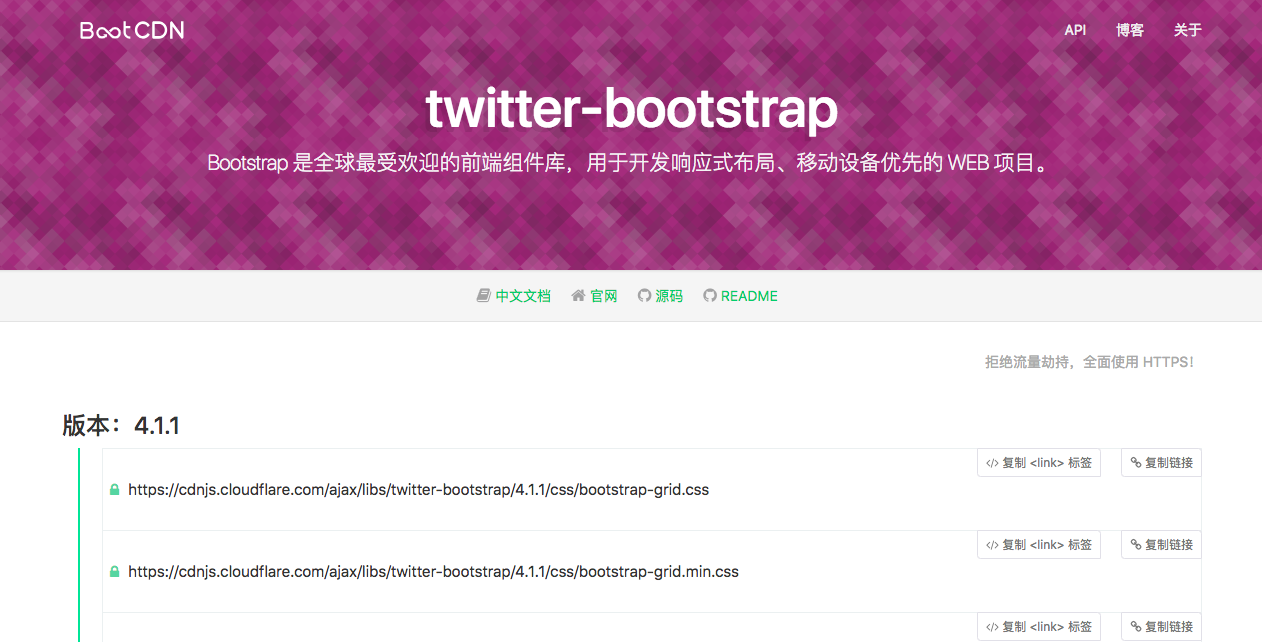
必要のバージョンを探して、
/public/index.htmlに書き込みます。

これでbootstrapがCDNから使用できるようになりました。
![]() bootstrapについてはこちら
bootstrapについてはこちら
![]() bootstrapについてはこちら
bootstrapについてはこちら
![]() bootstrapについてはこちら
bootstrapについてはこちら
準備ができましたので、実際にコードを書きましょう。
Reactの書き方
/src/App.jsのファイルを![]()
![]() のように書き換えます、
のように書き換えます、
import React, { Component } from 'react';

class App extends Component {
  render() {
    return (
      <div className="container">
        <div className="row">
          <div className="col-xs-1 col-xs-offset-11">
            <h1>Hello !!</h1>
          </div>
        </div>
      </div>
    );
  }
}

export default App
一つ一つ説明して参りましょう。
import React, { Component } from 'react';
![]() React と Component はReactの固定の書き方で、
React と Component はReactの固定の書き方で、
コンポネントを作るときは基本的に先頭に書き込みます。
class App extends Component {
  render() {
    return (
    );
  }
}
export default App
![]() このコンポネントを定義する
このコンポネントを定義する
Appというclassを定義し、このclassはComponentを継承しています。
続いてrenderメゾットを定義して、JSXの内容をreturnします。
最後はAppというclassを出力します。
<div className="container">
![]() タグ内のclassについて
タグ内のclassについて
Reactの場合には、タグ内使ってるのはclassではなくて、classNameになります。
classはJavaScriptで使われているため、JSXコードを書くときはclassNameでclassを書きます。
これで**
App**というコンポネントができました!
コンポネントの使い方
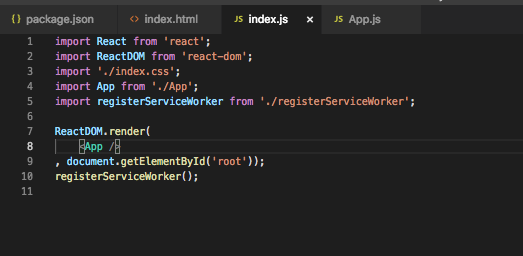
前章で紹介しました。
始めよう React(基礎編)! Part 4 - reactのファイル構成を理解しよう
/src/index.jsを見てみましょう。
![]() 行目で、
行目で、
AppというコンポネントをApp.js(.jsは省略できる)から導入します。
![]() 行目で、
行目で、
Appをタグに書き込みます。
これでAPPというコンポネントを出来ました。
最後に
これでコンポネントを使うReactのWEBサイトが出来ました!
Reactは基本的にたくさんのパーツで、
一つのサービスを作るようなイメージになります。
次回は
![]() 複数のコンポネントを作る!
複数のコンポネントを作る!
![]() React開発によく使う便利ツール紹介。
React開発によく使う便利ツール紹介。
を進んで行きます!
興味ある方是非見てください!
