
はじめに
人生初のブログをはじめようと思いまして。
無料ブログプラットフォームって一長一短。
たとえばプラットフォーム依存問題や引っ越し問題など。
独自ドメイン、収益化、プラットフォーム依存しない、学習ネタになる
twitterで静的サイトジェネレーターでブログってことを知りまして、
プログラミング学習として、ブログジェネレートをやって記事にしてみます。
本記事のつづき
Hugo静的サイトジェネレーターブログを開設してみる②Netlifyでホスト&デプロイ実行まで
Hugo 静的サイトジェネレーターブログを開設してみる③ページ作成編集
前提条件
- 環境例:PC MacBookAir2019 macOS Big Sur
- ファイル階層理解、ターミナル操作、Linuxコマンド、vscode等のエディタ使える
- Git理解、 github個人アカウント登録済み、かつ、作業用リポジトリを準備できる
- Githubリモートからデプロイする、デプロイとはなんぞやを少し理解できる
- 何かしらデプロイ経験があればスムーズ(なくてもできる!し経験値になるのでOK)
- 当方スキル: スクール転職活動でRuby半年、転職後PHP,フレームワークを半年程度の駆け出しエンジニア
Hugo インストール
//hugoインストール
%brew install hugo
%brew reinstall hugo (再インストールの場合)

==> Downloading https://homebrew.bintray.com/bottles/hugo-0.79.1.big_sur.bottle.tar.gz
Already downloaded: /Users/user/Library/Caches/Homebrew/downloads
/a6589d07b9c73937e6616aa2c7eb9642312f8583e8bb42a0f355718563f944e3--hugo-0.79.1.big_sur.bottle.tar.gz
==> Reinstalling hugo
==> Pouring hugo-0.79.1.big_sur.bottle.tar.gz
🍺  /usr/local/Cellar/hugo/0.79.1: 44 files, 80.4MB
サイト作成
%pwd
/Users/user/

//サイト作成コマンド実行  "Blog"の命名は任意
%hugo new site Blog
//結果
Congratulations! Your new Hugo site is created in /Users/user/Blog.
Just a few more steps and you're ready to go:
1. Download a theme into the same-named folder.
   Choose a theme from https://themes.gohugo.io/ or
   create your own with the "hugo new theme <THEMENAME>" command.
2. Perhaps you want to add some content. You can add single files
   with "hugo new <SECTIONNAME>/<FILENAME>.<FORMAT>".
3. Start the built-in live server via "hugo server".
Visit https://gohugo.io/ for quickstart guide and full documentation.


//確認
%ls
Downloads  Public  Apple  Library  Sites  Blog (←これ)
Movies	Desktop	 Music	Documents  Pictures

%cd Blog

Blog%ls
//hugo newで各種ディレクトリが生成された
archetypes	config.toml	content		data		layouts		static		themes
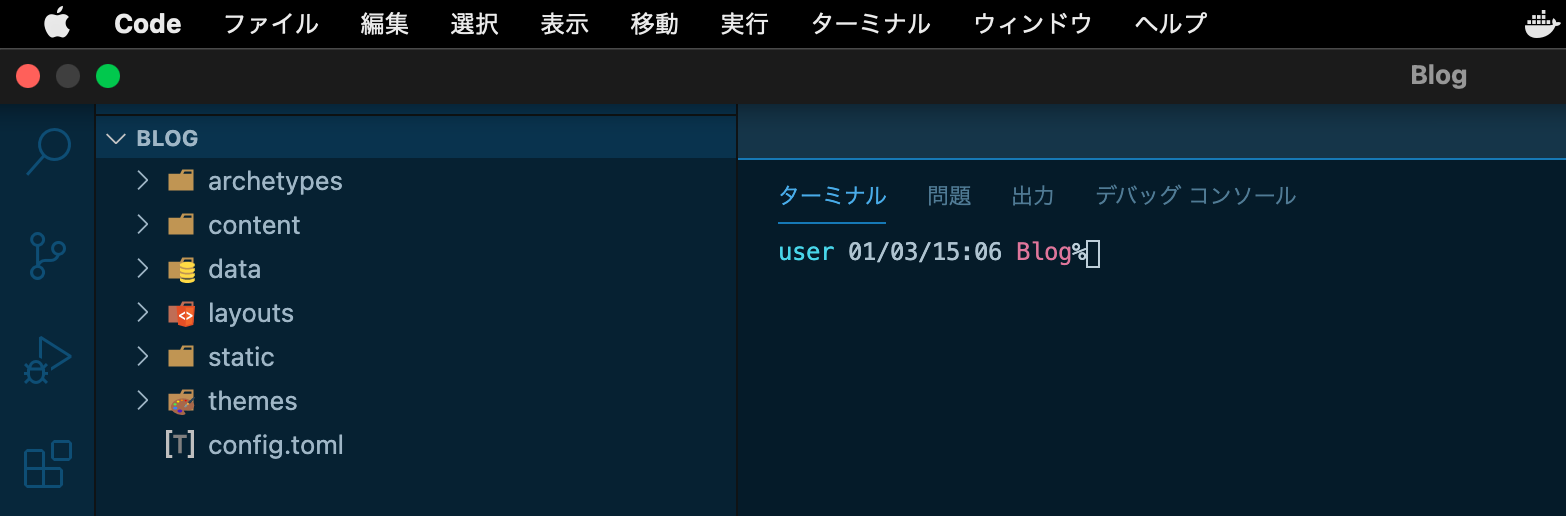
vscodeではこんな感じです
gitで作業を保存する
こちらのリンクで
git init から git push までおさらい
テーマを決める
ブログのテーマがたくさんあります
公式サイト→https://themes.gohugo.io/tags/blog/
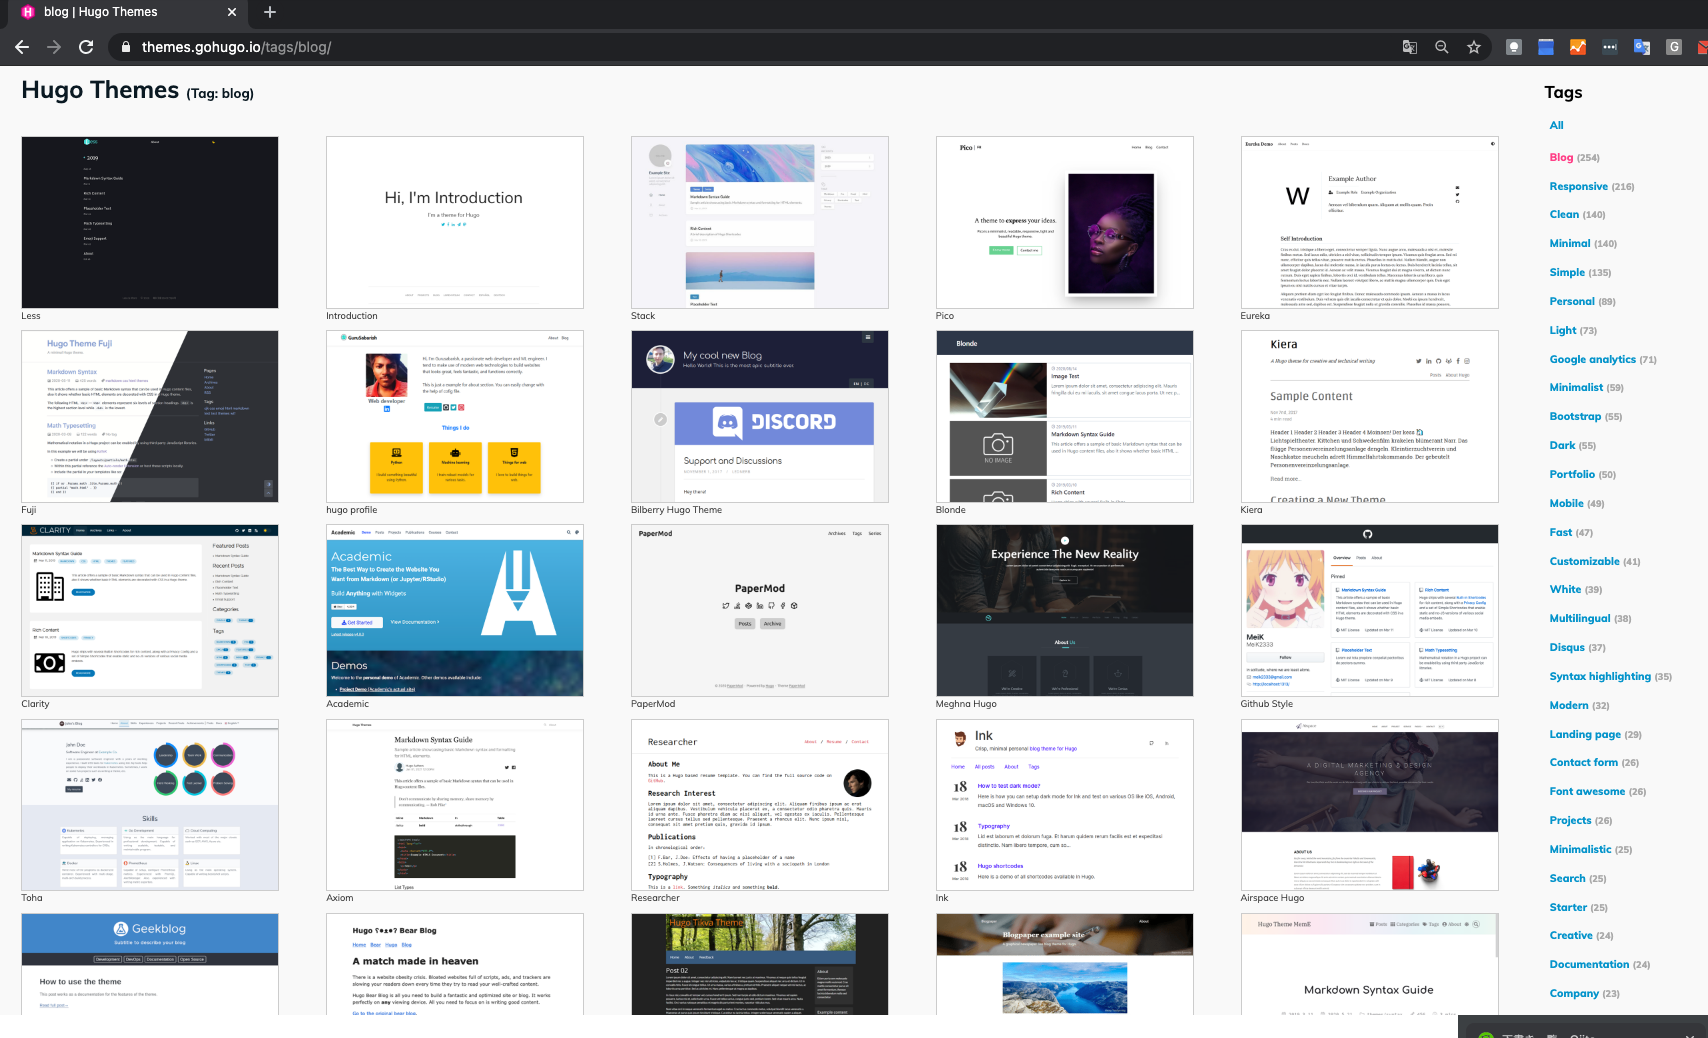
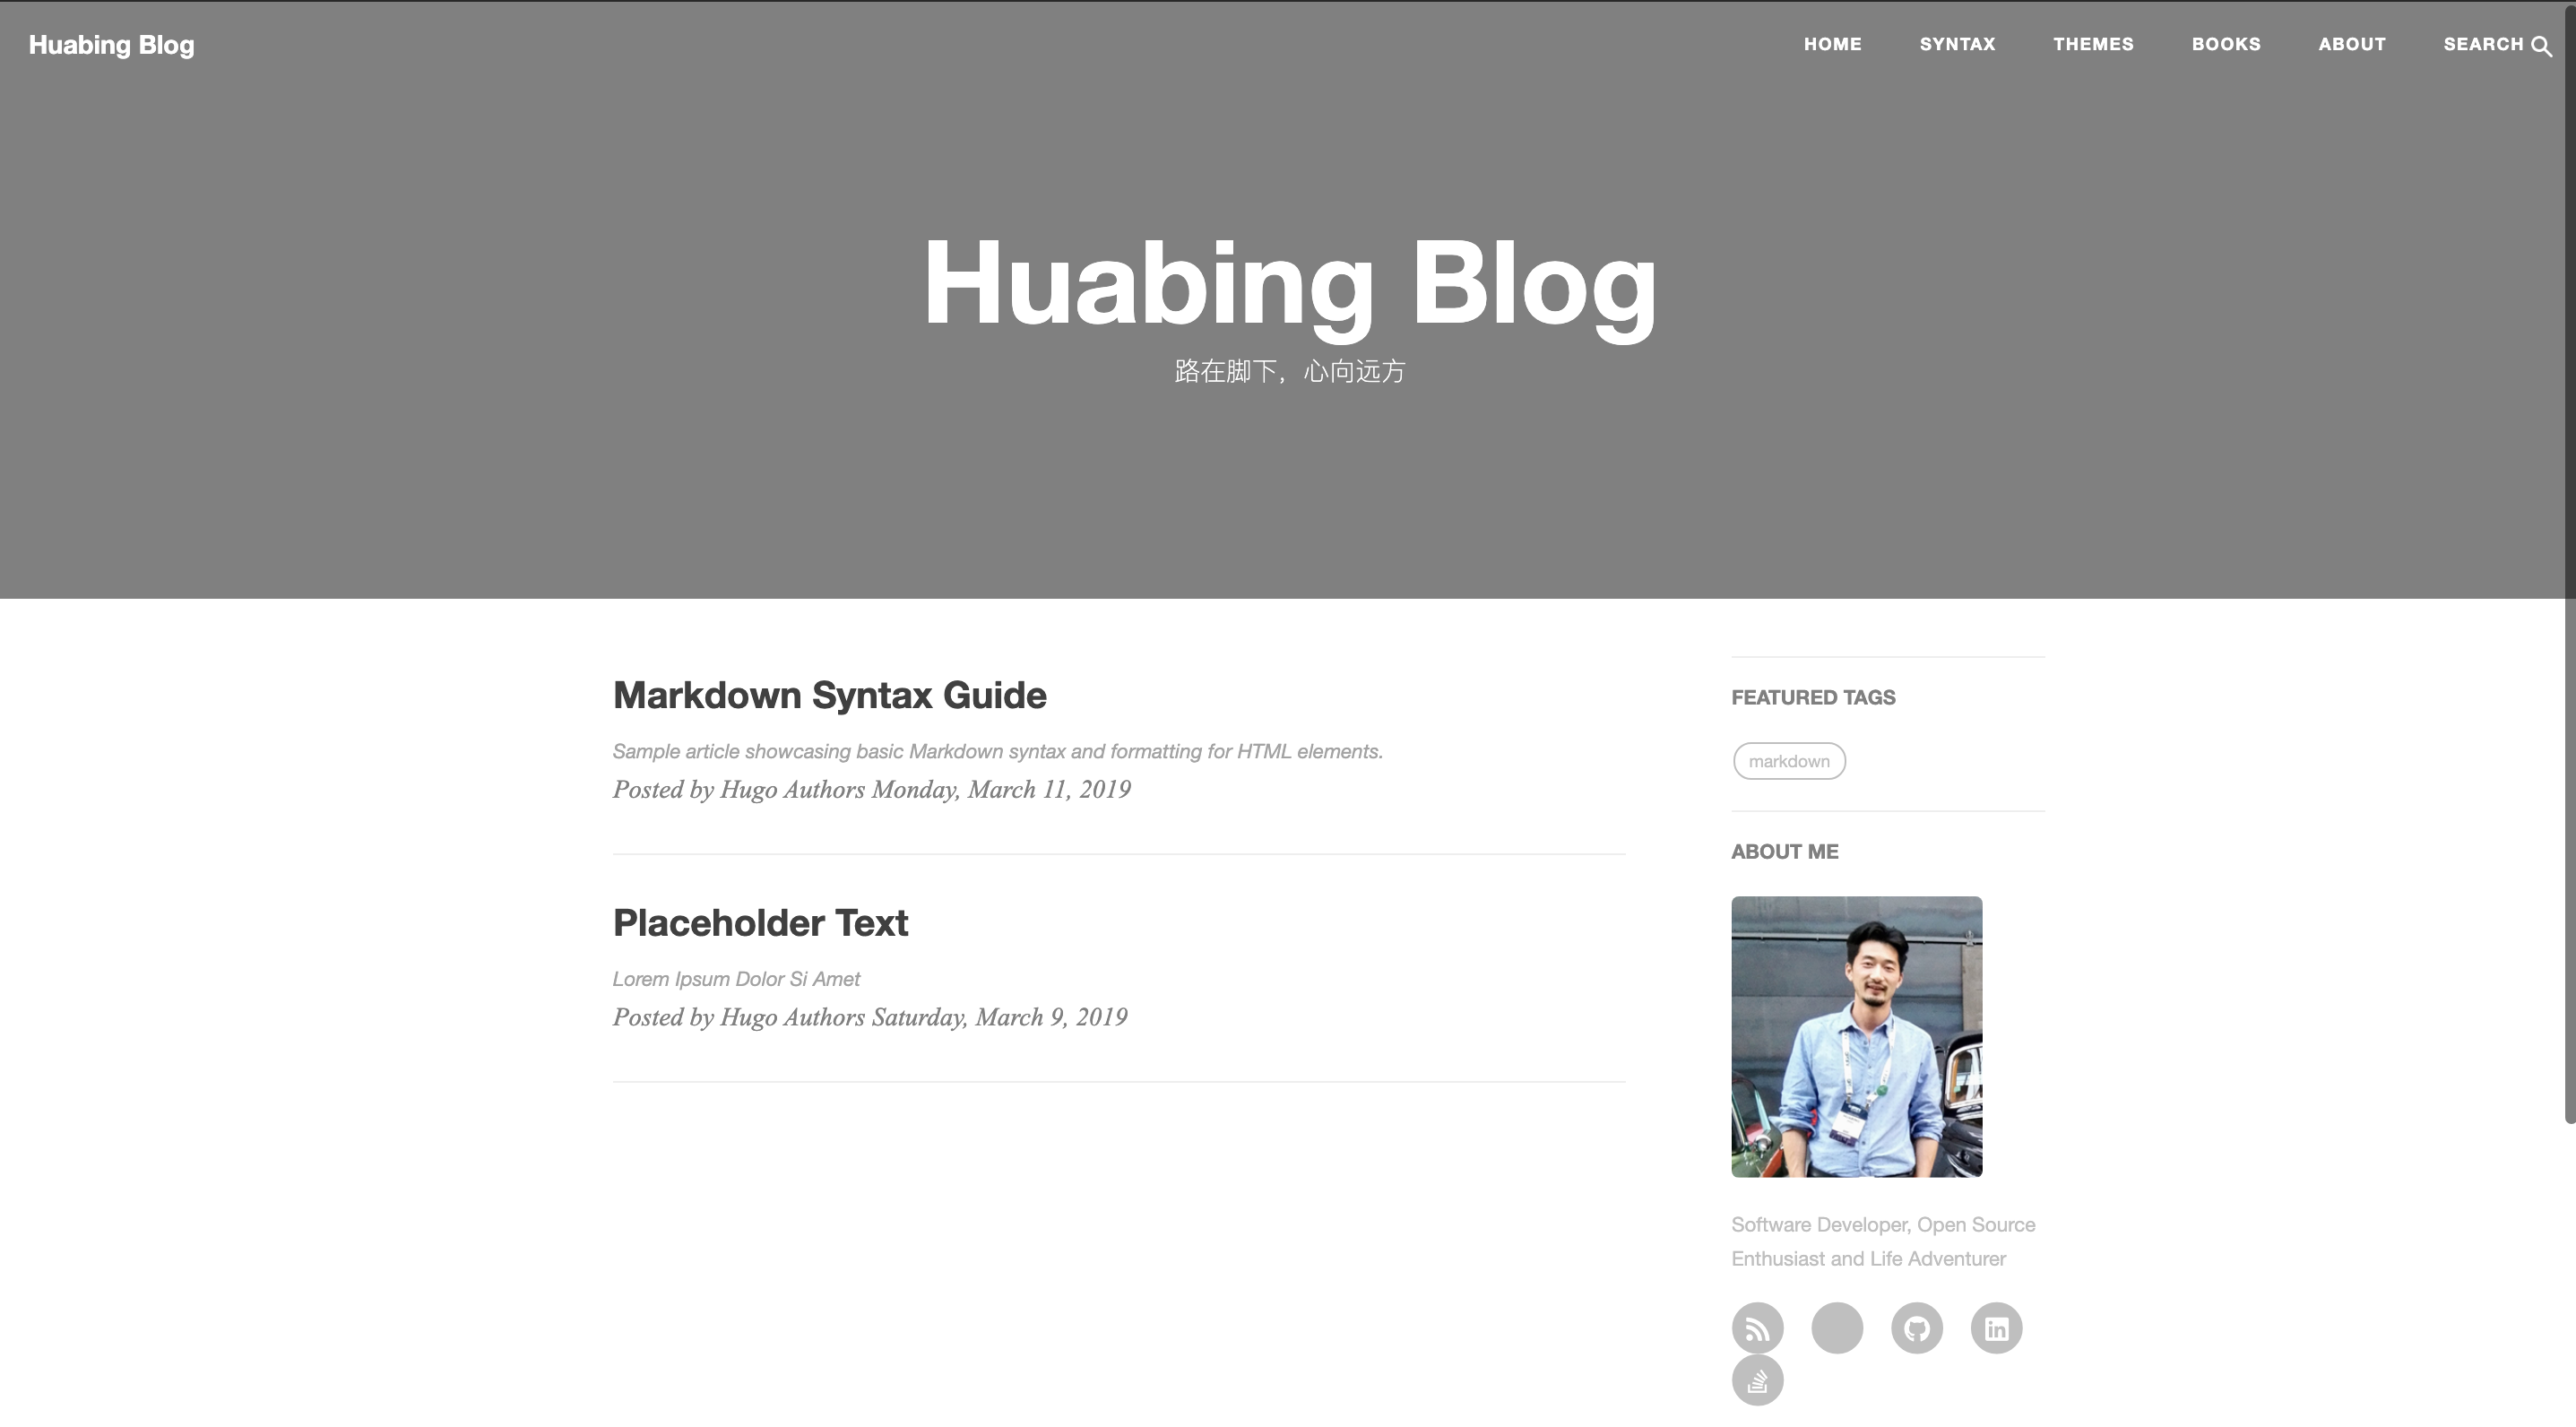
自分的に、タグがわかりやすい、よさげなテーマをみつけました
https://themes.gohugo.io//theme/hugo-theme-cleanwhite/tags/markdown
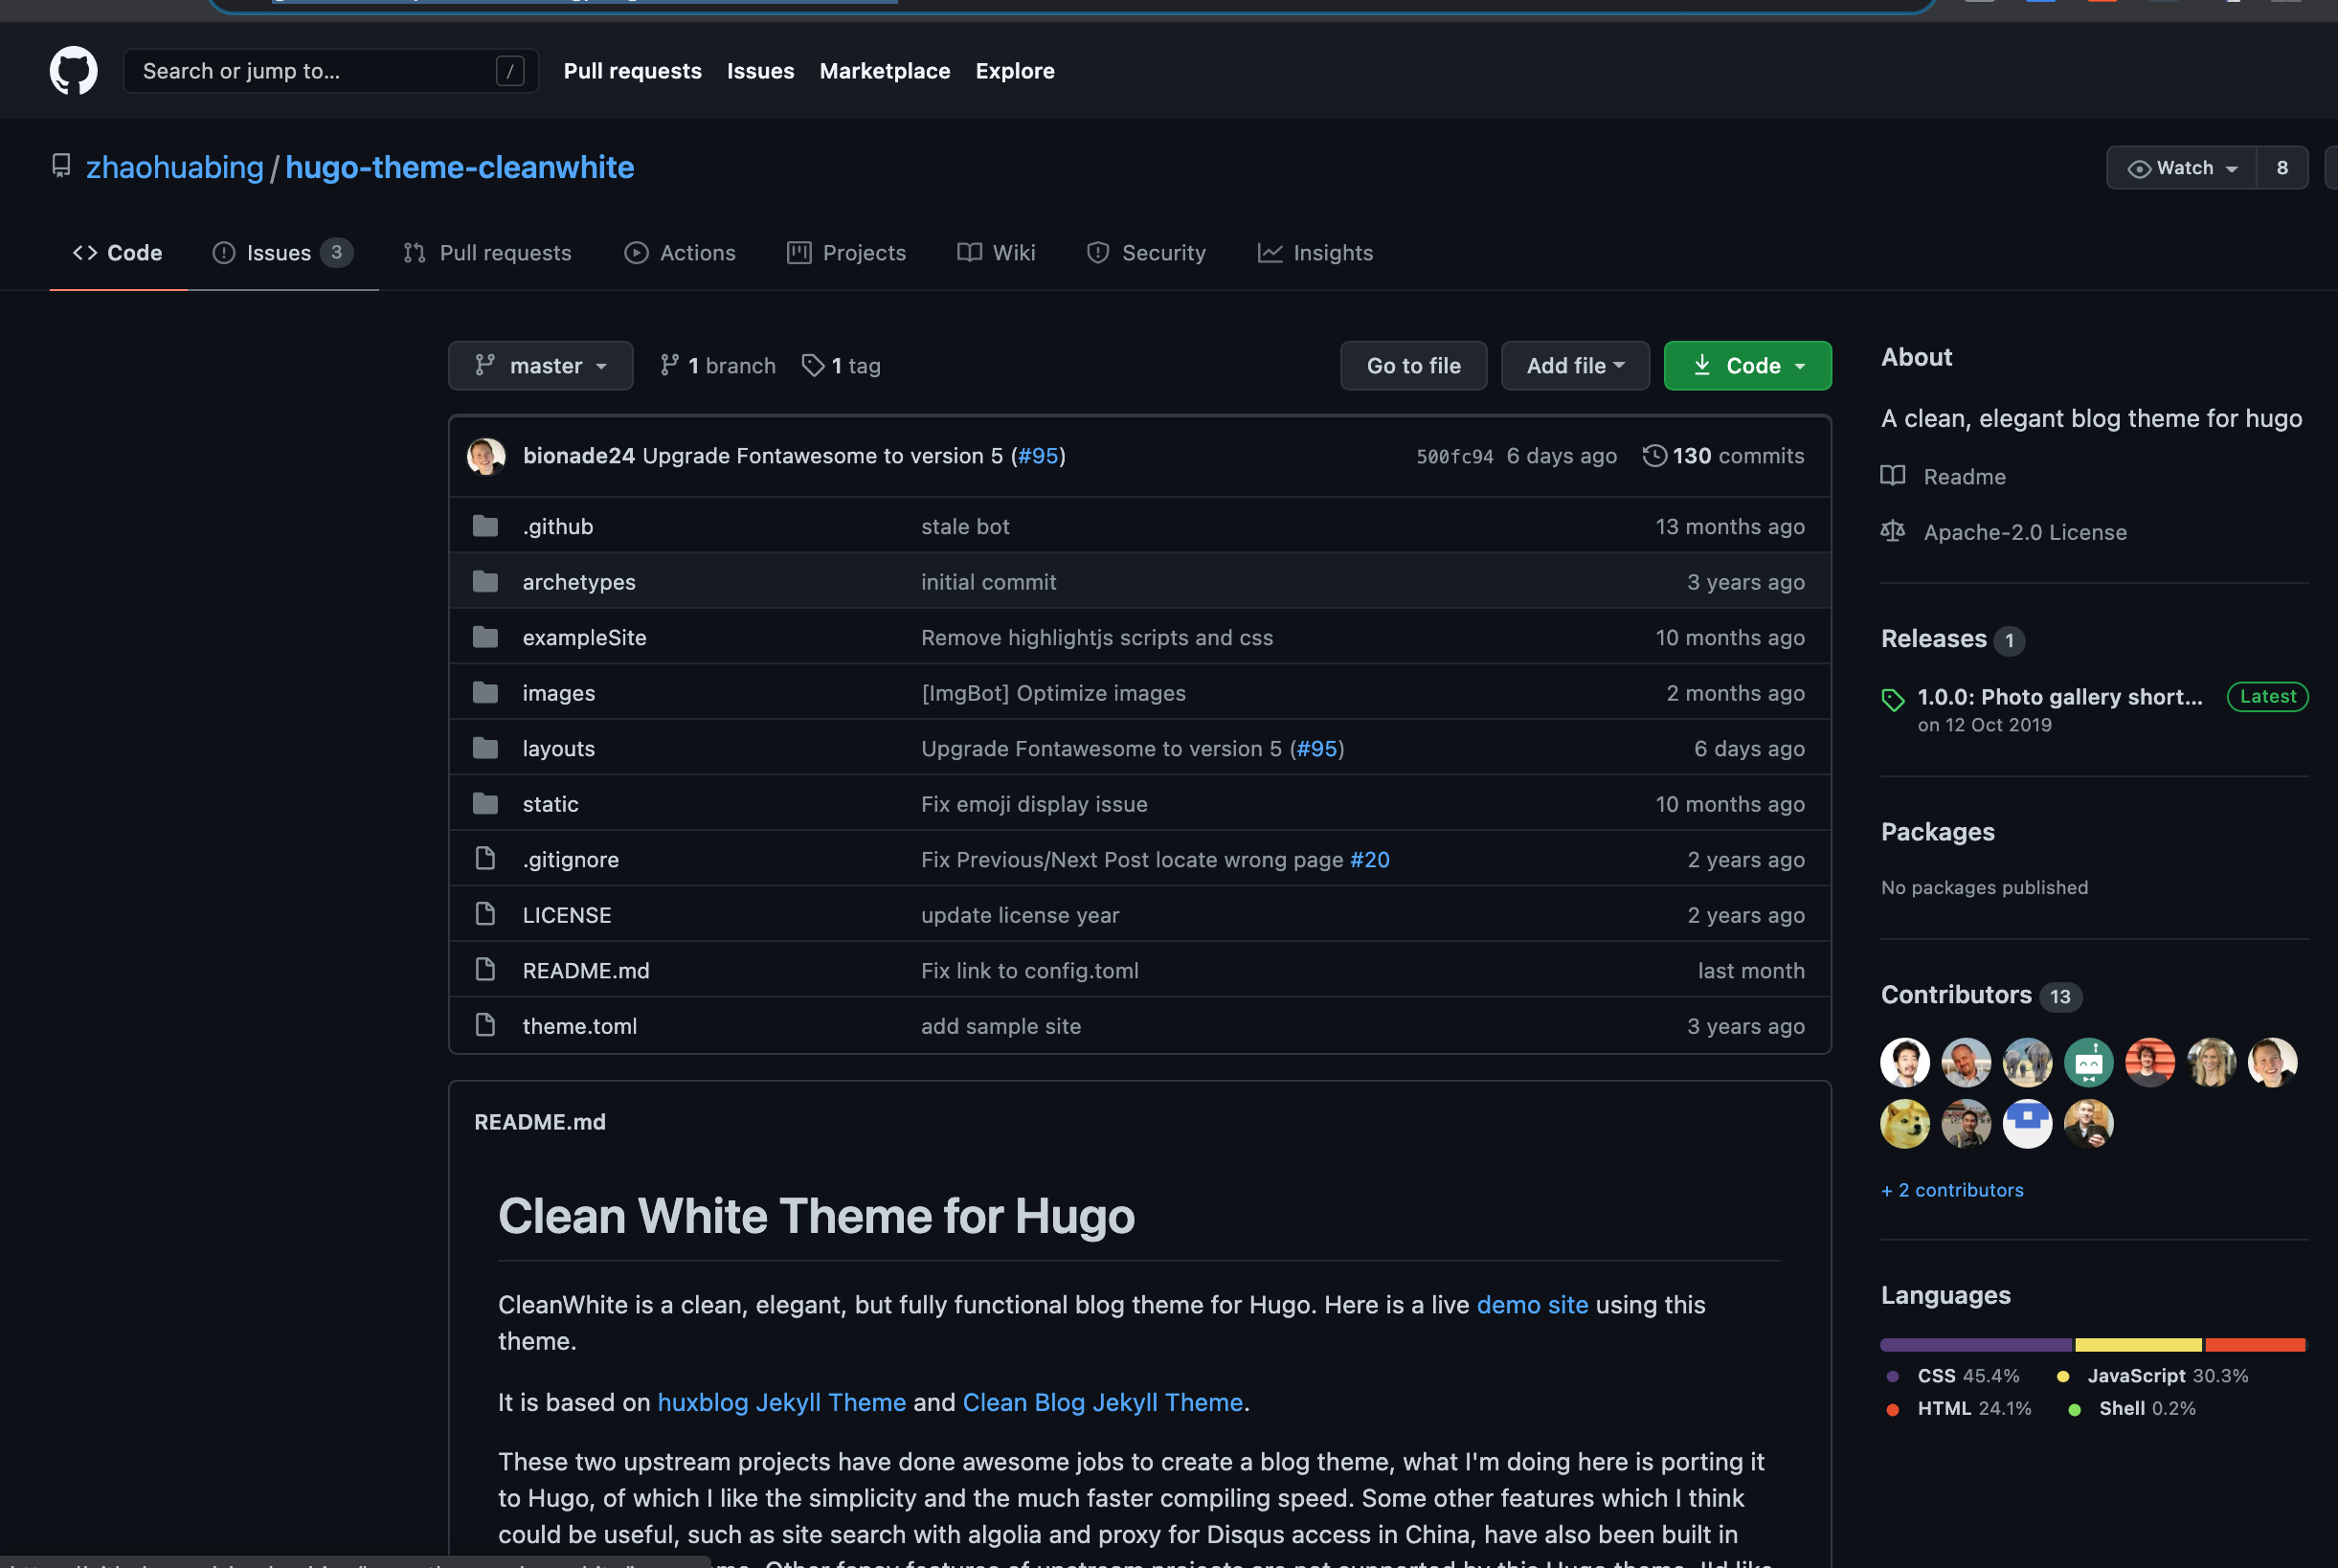
ダウンロードボタンを押すとgithubページに遷移します
https://github.com/zhaohuabing/hugo-theme-cleanwhite
git submodule add コマンドでテーマを取り込む
git submodule add コマンドで外部の git リポジトリを、自分の git リポジトリのサブディレクトリとして登録できる
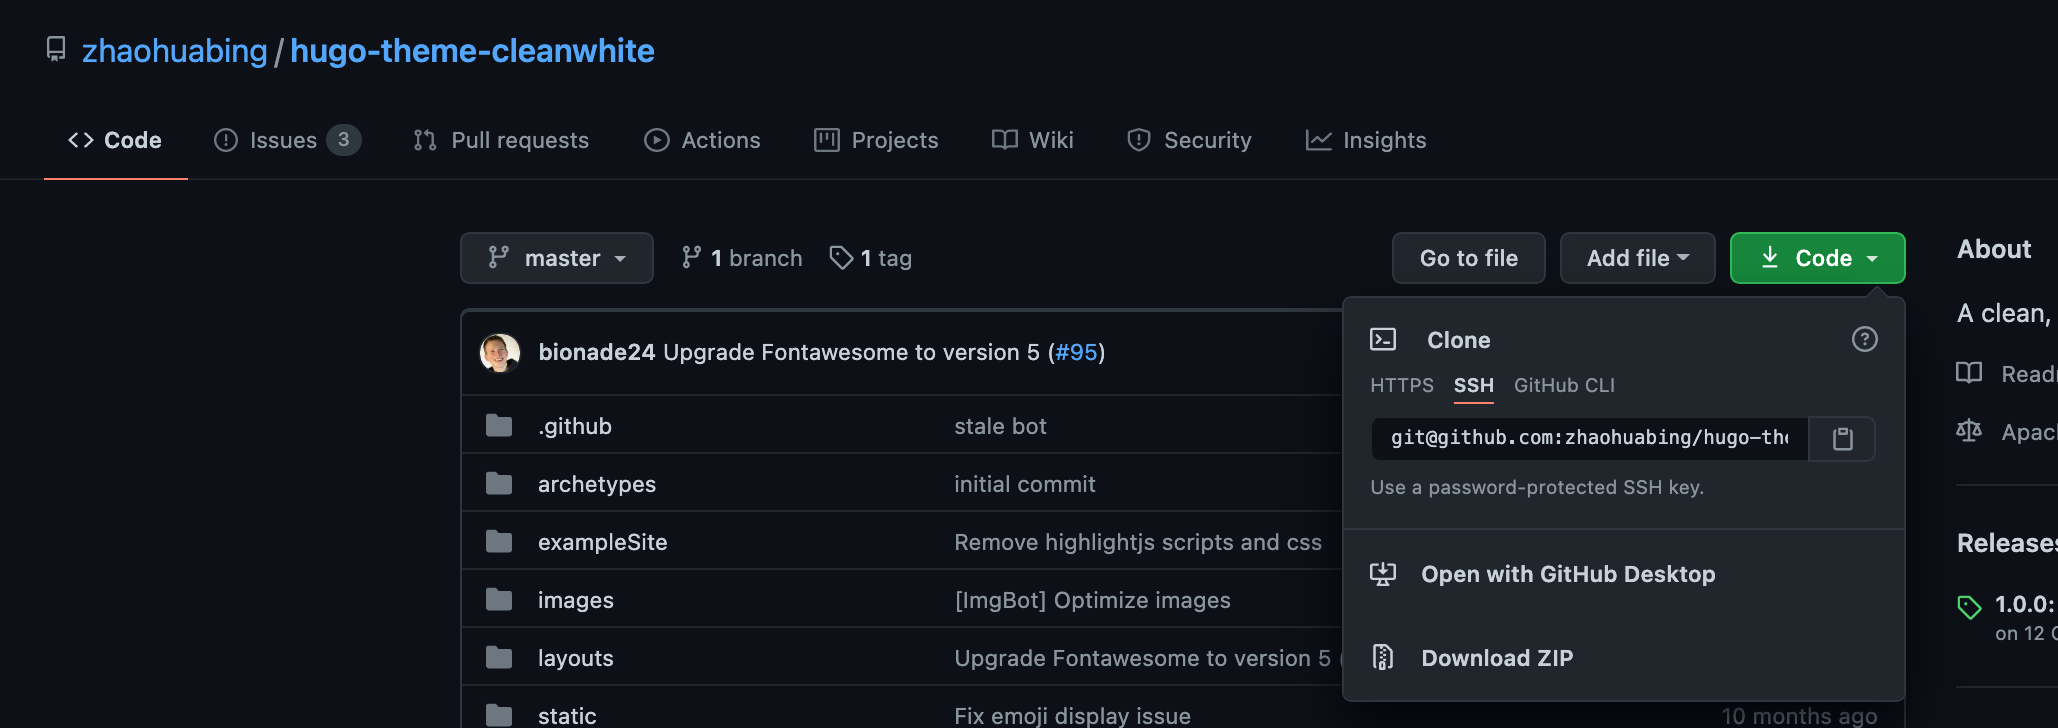
//"git@github.com:zhaohuabing/hugo-theme-cleanwhite.git"はCodeボタンでコピー
//themes/*******は手入力 (ローカルディレクトリ名は任意に命名する)
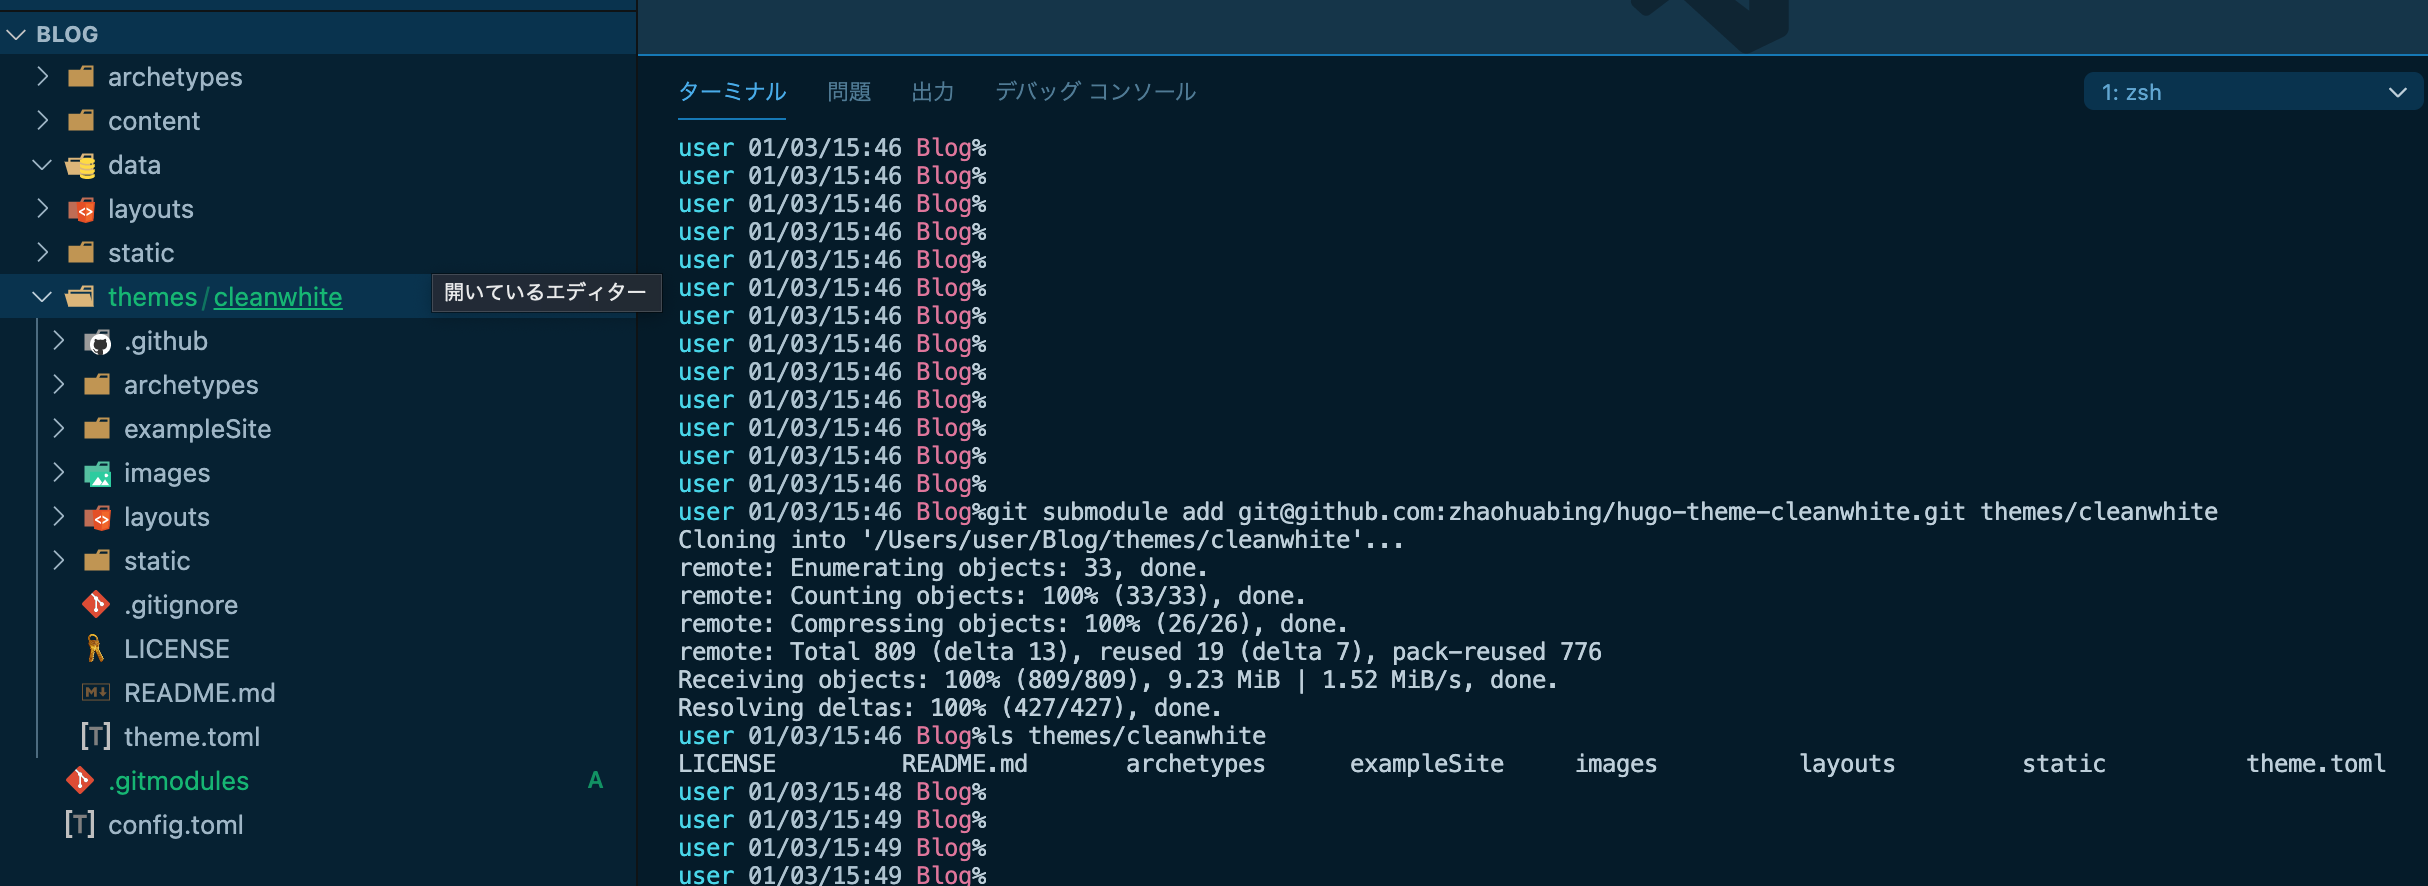
Blog%git submodule add git@github.com:zhaohuabing/hugo-theme-cleanwhite.git themes/cleanwhite
//結果
Cloning into '/Users/user/Blog/themes/cleanwhite'...
remote: Enumerating objects: 33, done.
remote: Counting objects: 100% (33/33), done.
remote: Compressing objects: 100% (26/26), done.
remote: Total 809 (delta 13), reused 19 (delta 7), pack-reused 776
Receiving objects: 100% (809/809), 9.23 MiB | 1.52 MiB/s, done.
Resolving deltas: 100% (427/427), done.
//確認
Blog%ls themes/cleanwhite
LICENSE README.md archetypes exampleSite images layouts static theme.toml
//git確認
%git status
//結果
On branch master
Changes to be committed:
  (use "git restore --staged <file>..." to unstage)
        new file:   .gitmodules
        new file:   themes/cleanwhite


%git diff --cached
//結果
diff --git a/.gitmodules b/.gitmodules
new file mode 100644
index 0000000..f848c6f
--- /dev/null
+++ b/.gitmodules
@@ -0,0 +1,3 @@
+[submodule "themes/cleanwhite"]
+       path = themes/cleanwhite
+       url = git@github.com:zhaohuabing/hugo-theme-cleanwhite.git
diff --git a/themes/cleanwhite b/themes/cleanwhite
new file mode 160000
index 0000000..500fc94
--- /dev/null
+++ b/themes/cleanwhite
@@ -0,0 +1 @@
+Subproject commit 500fc9434cb4022ec47deeff38bbcad7845aeca4

//Subproject commit はメインプロジェクトBlogディレクトリにおいて、Submoduleとして登録をした
こちらの紹介記事が参考になります
Git submodule の基礎
https://qiita.com/sotarok/items/0d525e568a6088f6f6bb
//ステージング
Blog%git add .
Blog%git status
//結果
On branch master
Changes to be committed:
  (use "git restore --staged <file>..." to unstage)
        new file:   .gitmodules
        new file:   themes/cleanwhite
//コミット
Blog%git commit -m "テーマのgit submodule add実行"
//結果
[master faf0167] テーマのgit submodule add実行
 2 files changed, 4 insertions(+)
 create mode 100644 .gitmodules
 create mode 160000 themes/cleanwhite

//確認
%git show
//結果
commit faf01670e52b5866dec91c13fc95a8a8cfa89967 (HEAD -> master)
Author: Sakagami-Keisuke <iwayasunset@gmail.com>
Date:   Sun Jan 3 15:52:53 2021 +0900

    テーマのgit submodule add実行

..................省略

//確認
%git submodule
 500fc9434cb4022ec47deeff38bbcad7845aeca4 themes/cleanwhite (1.0.0-35-g500fc94)
//コミットナンバーの頭から - が消えてheads/master追跡もできているようです
参考になった記事
Git submoduleの押さえておきたい理解ポイントのまとめ
https://qiita.com/kinpira/items/3309eb2e5a9a422199e9
おわりに
本記事のつづき
Hugo静的サイトジェネレーターブログを開設してみる②Netlifyでホスト&デプロイ実行まで
Hugo 静的サイトジェネレーターブログを開設してみる③ページ作成編集
参考記事リンク
HUGOドキュメント Netlifyでホスト
HUGOドキュメント Hugoを構成する
Netlifyドキュメント ビルド構成を開始する
HUGOで分かった静的サイトジェネレーターのメリット・デメリット
子猫を保護したので Hugo + Netlify を使って爆速で里親募集ページを作る
HugoとNetlifyで静的サイト構築するメモ(themeはsubmoduleを利用)
【備忘録】ブログ作成 (Hugo + Netlify)
Hugoにnetlify.toml追加