前回の記事
[Hugo 静的サイトジェネレーターブログを開設してみる①Hugoインストール編]
(https://qiita.com/SakagamiKeisuke/items/e4ee309a44dce22e6229)
Hugo 静的サイトジェネレーターブログを開設してみる②Netlifyでホスト&デプロイ実行まで
Hugo 静的サイトジェネレーターブログを開設してみる③トップページの編集
Hugo 静的サイトジェネレーターブログを開設してみる④記事contentの作成
カスタムCSSを当てる
HTMLの構成をチェック
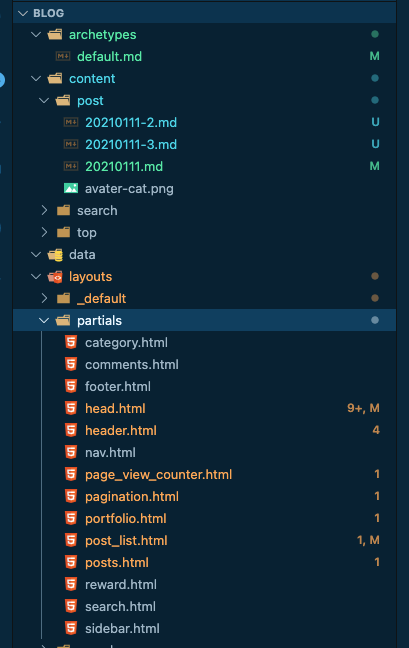
今回しようしたテーマ:cleanwhiteでは、以下のHTML構成となっていた
ljayoutsディレクトリにHTMLはありました
partialsディレクトリに部品ごとにファイルがあって、それぞれレンダリングされている
Blog% cd layouts
layouts% ls
404.html        _default        index.html      partials        search          shortcodes      taxonomy        top

layouts% cd partials
partials% ls
category.html           footer.html             header.html             page_view_counter.html  portfolio.html          posts.html              search.html
comments.html           head.html               nav.html                pagination.html         post_list.html          reward.html             sidebar.html
カスタムCSSの当たっているパターンについて調べると、head.htmlに記述があるとのこと
# ファイルの下の方にカスタムCSSレンダリングを発見
    {{ range .Site.Params.custom_css -}}
    <link rel="stylesheet" href="{{ . | absURL }}">
    {{- end }}
この参照下は、テーマの大元のthemes/配下のconfig.tomlに記述がありました。
コメントアウトしてありました。
 # Include any custom CSS and/or JS files, url or relative to /static folder
 #custom_css = ["css/lightbox.css", "https://cdnjs.cloudflare.com/ajax/libs/animate.css/3.7.2/animate.min.css", "css/main.css"]
 #custom_js = ["js/lightbox.js", "https://cdnjs.cloudflare.com/ajax/libs/jquery/3.4.1/jquery.min.js", "js/main.js"]
config.tomlにカスタムCSSファイルのパスを書く
config.tmlにカスタムCSSファイルのパスを書くようです。
当方は、submoduleを編集することはせず、メインディレクトリ側で設定編集していきます。
# paramsのなかにカスタムCSSファイルのパスを記述する

[params]

header_image = "img/dragon.jpg"

images = ["/static/img/avater-cat.png"]

customCSS = ["/css/custom_post.css"]         (←これ)

SEOTitle = "ほげほげBlog"

description = "ぼちぼちブログをあっぷしていきます"
head.htmlファイルにカスタムCSSのLINKタグを書く
以下を末尾あたりのどこかに記述
<!--  Custom CSS  -->
<link rel="stylesheet" href="{{ "css/custom_post.css" | relURL }}">
カスタムCSSファイルを編集する
今回は、メインディレクトリBlog/staticの配下に
新しくCSS/ディレクトリを作成して、その配下にカスタムCSSファイルを置きました。
ちょっと手間取ったのが
CSSを当てるクラス名は、HTMLが多層にレンダーされてわかりにくいのと
どこでかかっているかわからないCSSがあったりと、
chrome検証ツールで調べていく必要がありました。汗
なので
自分でHTML要素をちょこちょこ、適当にいじってはビルドしてチェックしてを繰り返します。
<!-- post list -->
{{ range $index, $element := $.Paginator.Pages }}
<div class="post-preview">
<a href="{{ .Permalink }}">
<div class="customize-self">
<!-- .mdファイルのアイキャッチ画像のレンダー -->
{{ if isset .Params "eyecatch" }}
{{ $eyecatch_image := .Params.eyecatch }}
{{ with $eyecatch_image }}
<img src="{{ . | safeHTML}}" width="45px">
{{ end }}
{{ end }}
<span class="blank"> </span>
<h2 class="post-title">
{{ .Title }}
</h2>
</div>
{{with .Params.subtitle }}
<h3 class="post-subtitle">
{{ . }}
</h3>
{{ end }}
<div class="post-content-preview">
{{ with .Description }}
{{ . }}
{{ else }}
{{ .Summary}}
{{ end }}
</div>
</a>
<p class="post-meta">
Posted by {{ with .Params.author }}{{ . }}{{ else }}{{ .Site.Title }}{{ end }} {{ .Date.Format "Monday, January 2, 2006" }}
<!-- Don't show "Last Modified on" if update happened on the same day. -->
{{ if (and (not .Lastmod.IsZero) (not (eq (dateFormat "2006-01-02" .Lastmod) (dateFormat "2006-01-02" .Date)))) }}
<br>Last Modified on {{ dateFormat "Monday, January 2, 2006" .Params.LastMod }}
{{ end }}
</p>
</div>
<hr>
{{ end }}
画像は、Blog/static/img/ディレクトリに置いています。
記事ファイル(.md)では、Blog/static/imgディレクトリ/画像のパスとしてます。
『eyecatch: "img/avater-cat.png"』
---
title:       "記事のタイトルテキスト"
subtitle:    "記事のサブタイトル"
description: "記事の説明"
date:        "2021-01-11T12:27:12+09:00"
author:      "KEISUKE SAKAGAMI"
image:       "img/avater-cat.png"
# thumbnail:   "img/avater-cat.png"
eyecatch:    "img/avater-cat.png"    (←これ)
# ogimage:     "img/avater-cat.png"
# table of content
toc:         true
# true=未完成記事扱い  hugo -Dで表示
draft:       false
tags:        ["プログラミング", "ライフハック", "カフェ", "生活コスト", "what?", "経済マネー", "健康", "思考感情メモ", "書評", "スピリチュアル", "夢日記", "エンジェルナンバー", "趣味", "サーフィン", "その他"]
categories:  ["PROGRAMMING", "LIFE_HACK", "CAFE", "LIVING_COST", "WHAT?", "ECONOMY", "HEALTH", "THOUGHTS_EMOTIONS_", "BOOK_REVIEW", "SPIRITUAL", "DREM_ANGEL_NUMBER", "HOBBY", "NON_GENRE"]
---
# はじめに
# 結論
# ~~~について
# ~~~~問題点
# ~~~~解決策
# まとめ
ちょこちょこと微調整していく!
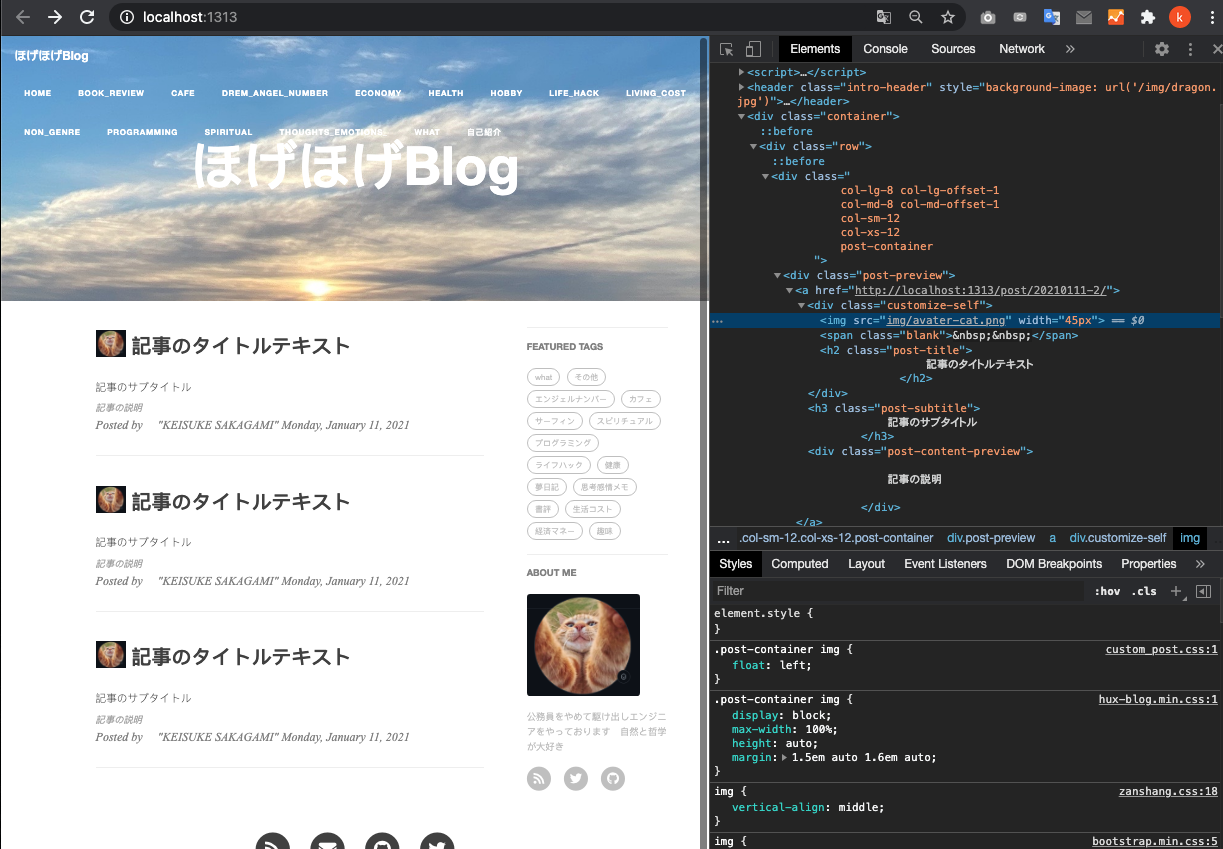
.post-container img{
  float: left;
}

.post-title {
  float: left;
  left: 10px;
}

.customize-self{
  height: 100px;
  width: 700px;
}

.blank{
  float: left;
}
hugo server ビルドして確認
hugo serverコマンドを実行し、http://localhost:1313/にアクセスします
Blog%hugo server
/結果
Start building sites …
                   | JA
-------------------+-----
  Pages            | 75
  Paginator pages  |  0
  Non-page files   |  1
  Static files     | 68
  Processed images |  0
  Aliases          | 29
  Sitemaps         |  1
  Cleaned          |  0

Built in 156 ms
Watching for changes in /Users/user/Blog/{archetypes,content,data,layouts,static,themes}
Watching for config changes in /Users/user/Blog/config.toml
Environment: "development"
Serving pages from memory
Running in Fast Render Mode. For full rebuilds on change: hugo server --disableFastRender
Web Server is available at http://localhost:1313/ (bind address 127.0.0.1)
Press Ctrl+C to stop
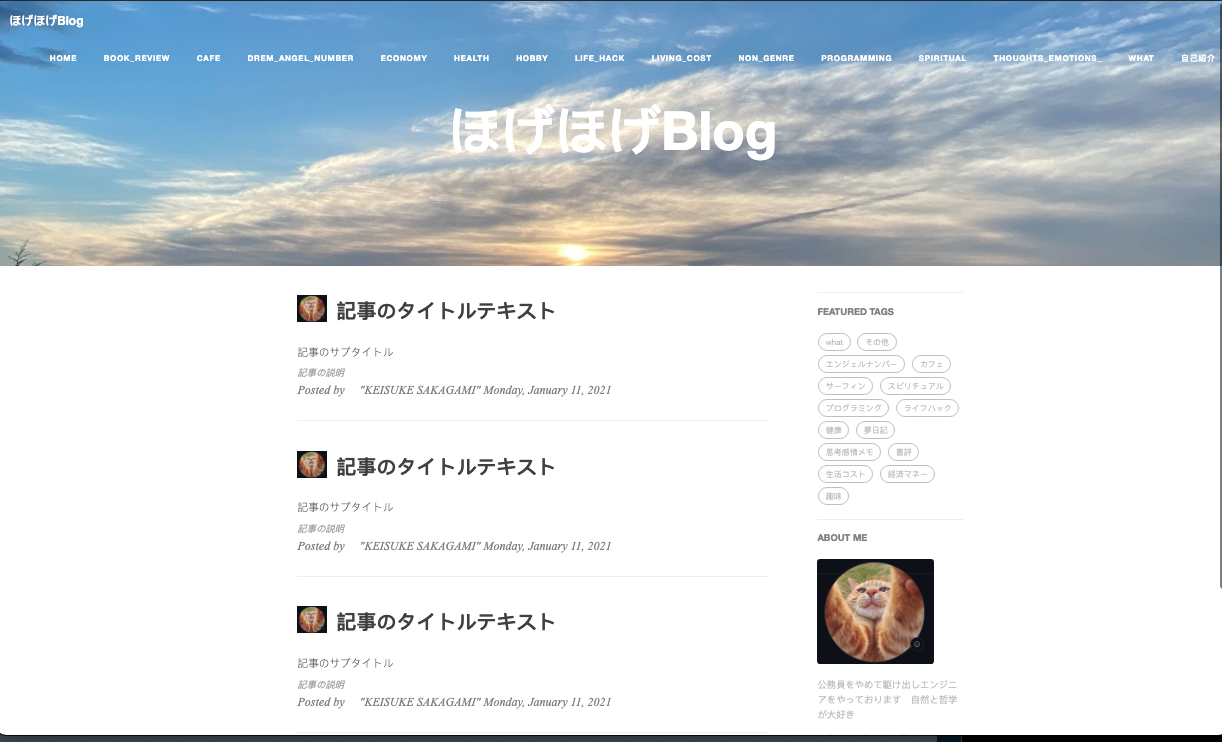
記事一覧ループ表示のところ、アイキャッチ画像とh2タイトルあたりの位置関係を修正できました!
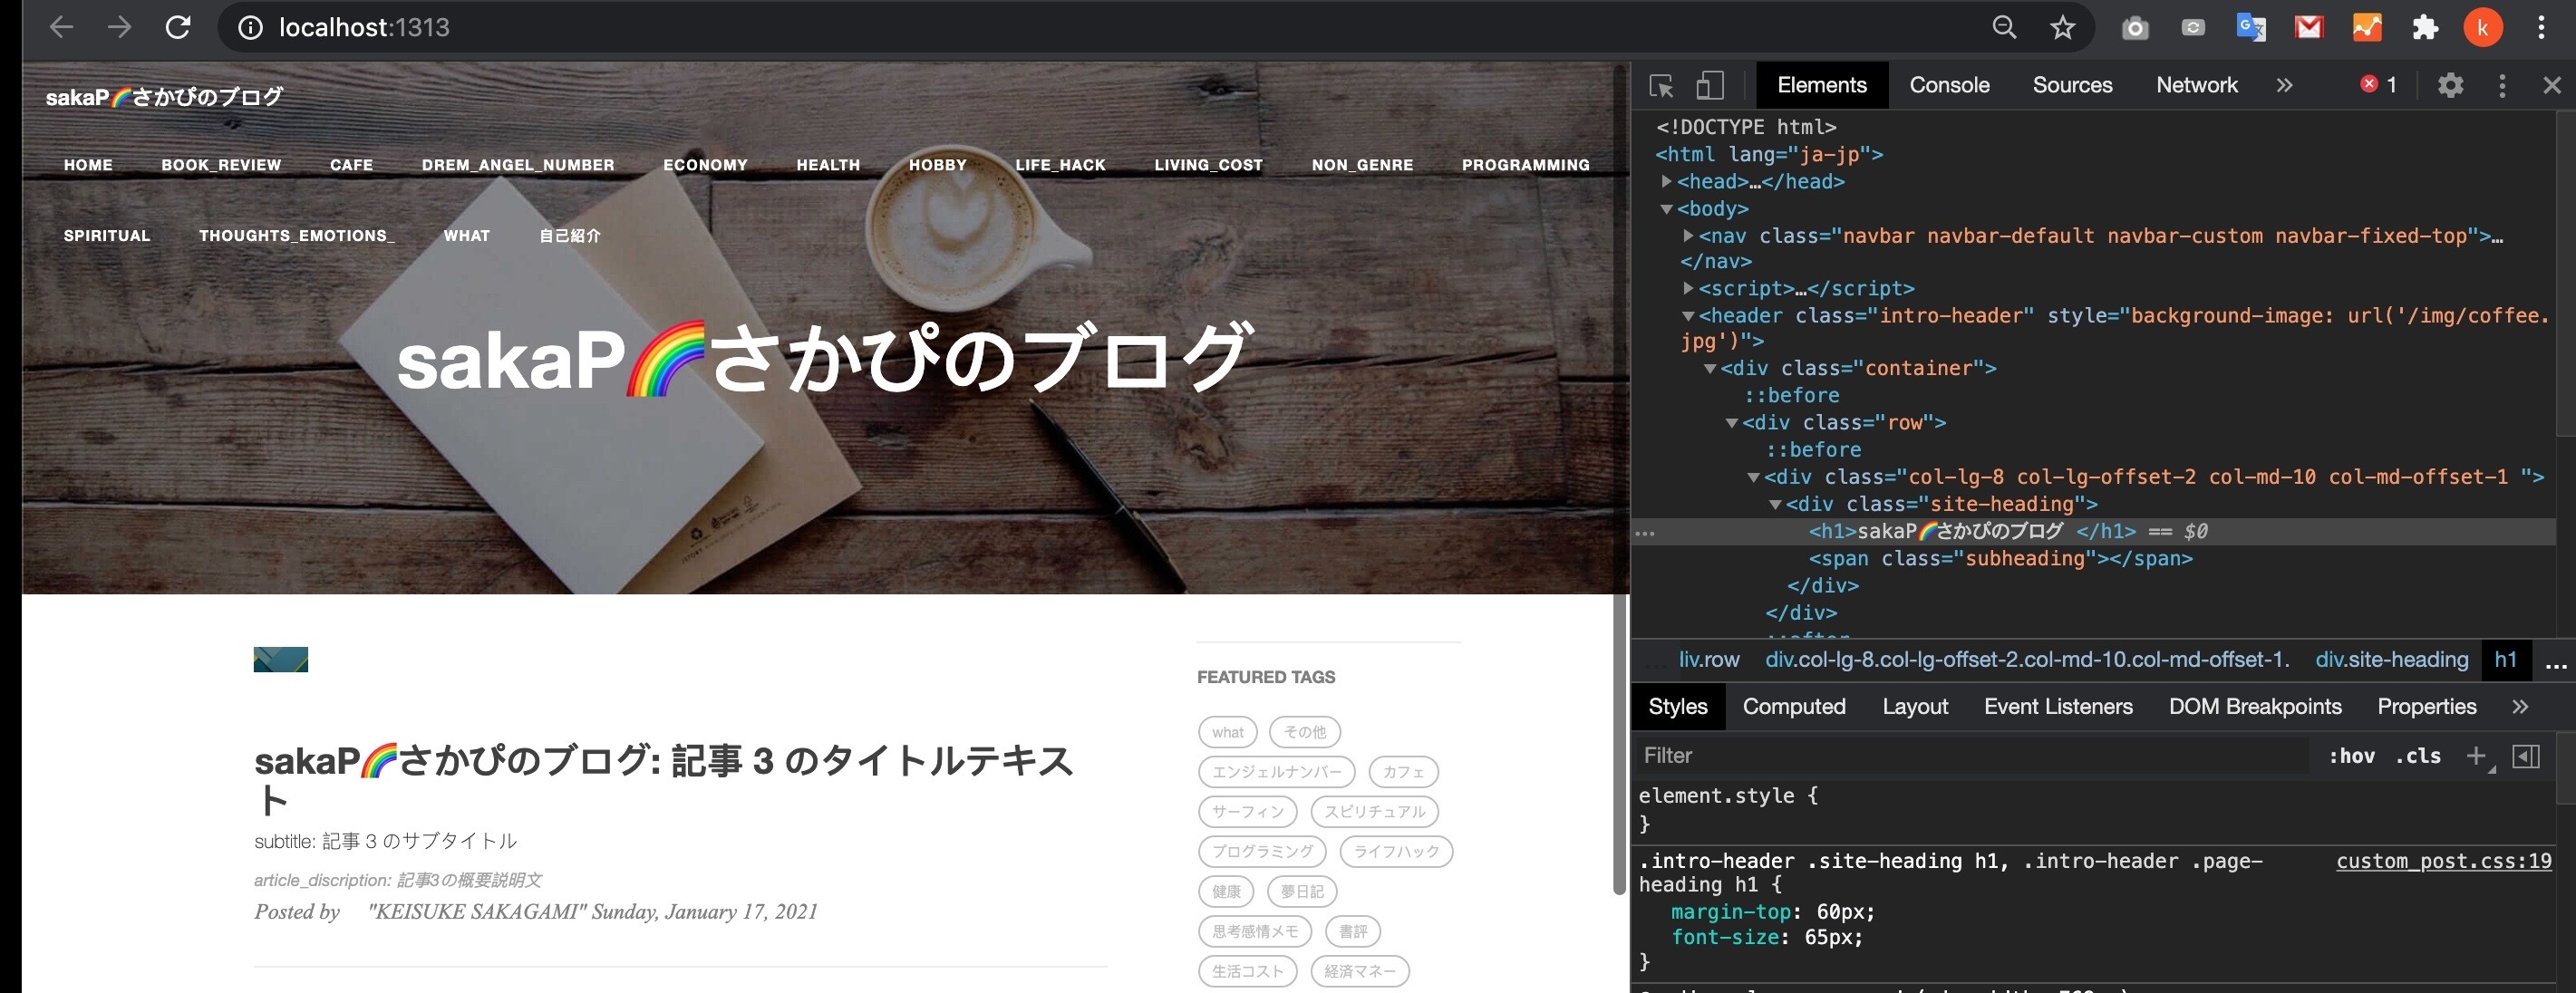
追記 themesのcssを常に当て続ける謎設定を強制的に上書きして修正できた件
hugoのテーマはだいたい完成されているが、CSSが微妙だったりする
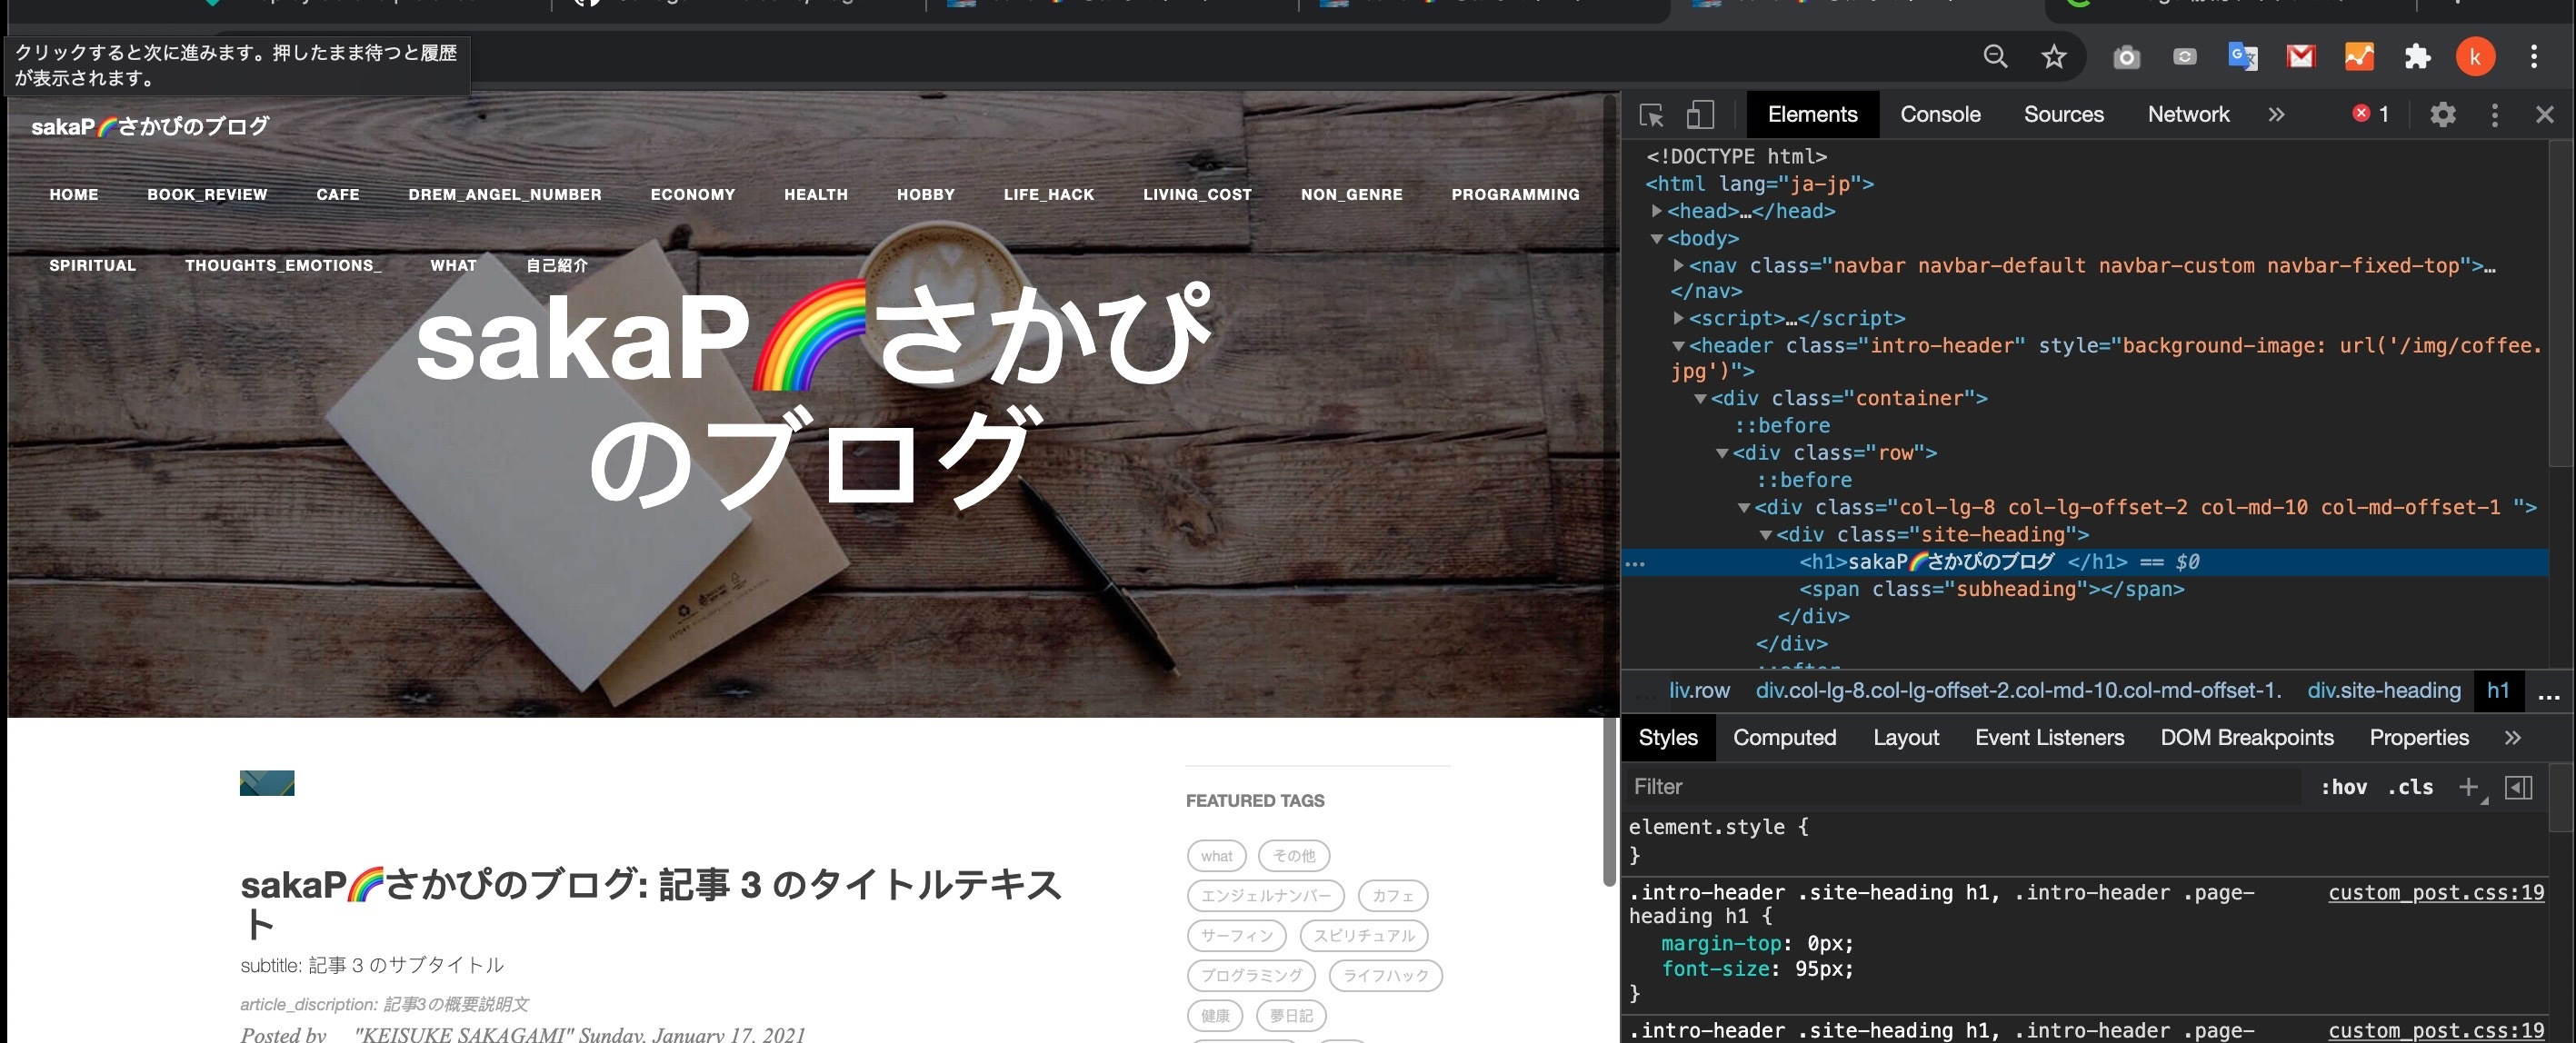
ブログタイトルh1が変な折り返しを起こしているので、これを直したいが、themes配下のcssを読み込んでいて、
themesをいじるのか、と途方に暮れた。。
(themesをいじるのは避けたい)
対策
こちらの記事が参考になりました。
HugoでCSSを編集し、見出しのデザインを変える
https://alpk.netlify.app/posts/015_css/
やったことは、
head.htmlにてconfig.tomlでカスタムCSSパス定義したものを読ませて、
修正したい要素のname属性かid属性を検証ツールで見つけ出して、直で修正する、です。
<!-- カスタムCSSを参照する -->
    {{ range .Site.Params.customCSS }}
    <link rel="stylesheet" href="{{ . | absURL}}">
    {{ end }}
range関数は反復処理
https://gohugo.io/functions/range/
config.tomlでカスタムCSSファイルパスを定義します
カスタムCSSの場所は、Blog/static/css/custom_post.css
[params]
customCSS    = ["/css/custom_post.css"]   (Blog/static/は省略)
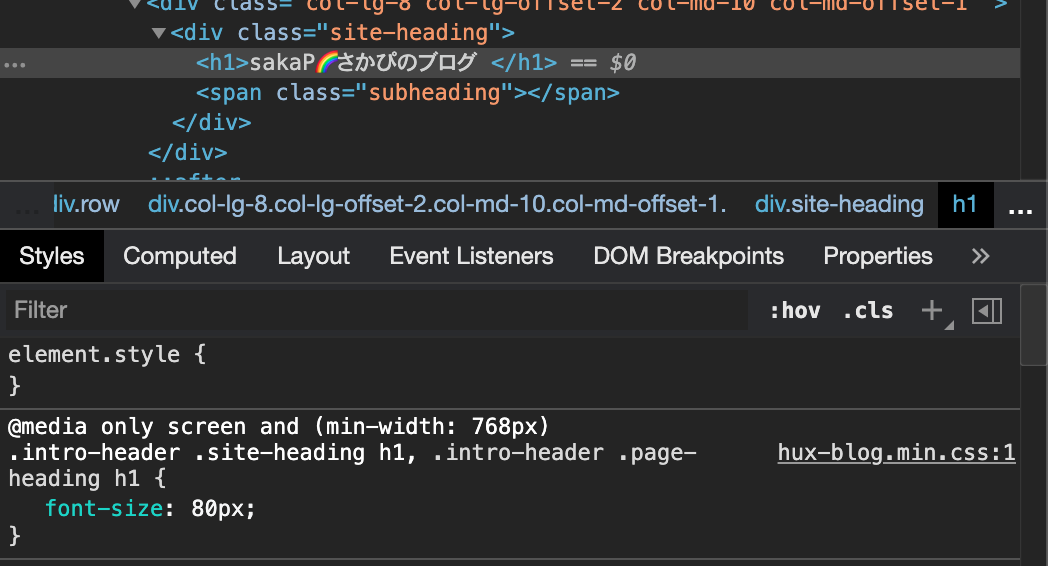
修正したい要素は検証ツールの表示を使う
.intro-header .site-heading h1, .intro-header .page-heading h1
CSSを微調整する
.intro-header .site-heading h1, .intro-header .page-heading h1 {
  margin-top: 60px;
  font-size: 65px;
}
気づいたこと
config.tomlのカスタムCSSパス定義をコメントアウトしても、CSS修正できた
[params]
# customCSS    = ["/css/custom_post.css"]   (Blog/static/は省略)
つまり、
追記 themesのcssを常に当て続ける謎設定を強制的に上書きして修正できた件
の記述はしなくてもよくて、
<!-- カスタムCSS -->
    <!--  Custom CSS  -->
    <link rel="stylesheet" href="{{ "css/custom_post.css" | relURL }}">
の記述とあわせて、正確な、id属性かname属性をカスタムCSSファイルで指定してあげれば修正は可能であった!

