Blenderで待ち行列を可視化すると面白いんじゃないかと思ってやってみたことの紹介です。
うまく動かすのが難しかったので、適当になってます。
待ち行列は、M/M/1でやってみたら、指数分布だと間延びするので、到着間隔とサービス時間は対数正規分布にしました。
ライブラリーはSimPyを使います。「Blenderのコマンドサンプル」を参考にBlenderのPythonにインストールしてください。
待ち行列とSimPyについては、「待ち行列について」も参考にしてください。
モデル作成
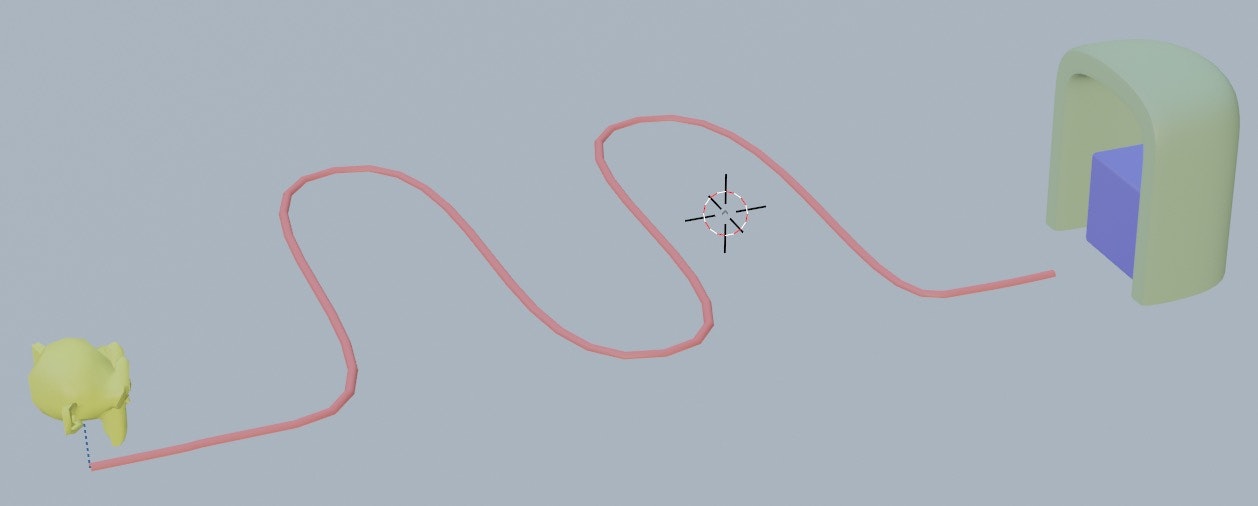
顧客と待ち行列とサーバーのモデルを作ります。
- 顧客は、サクッとスザンヌにしましょう。名前は
custにします。複製するので、適当なコレクションに入れておきます。 - 待ち行列は、並ぶ場所だけ作ります。ここではカーブを適当に作ります。名前は
pathにします。 - サーバーは、動かさないので何でもいいので作ります。名前も適当で構いません。
コンストレイントの設定
custをpathに沿うようにします。
cust、pathの順に選択し、Ctrl + P(ペアレント)のパス追従コンストレイントを選びます。
オブジェクトコンストレイントプロパティを以下のように設定します。

適当に色をつけると以下のようになります。

シミュレーションの実行とアニメーションの設定
Scriptingワークスペースで新規を押し、下記をコピペして実行します。
import bpy
import random
import simpy
from collections import deque

class Customer:
    def __init__(self, tim, pos):
        self.events = [(0, -1), (tim-1e-3, -1), (tim, pos)]  # 時刻と位置のリスト
    def __repr__(self):
        return str([(round(t, 2), p) for t, p in self.events])

class Sim:
    def __init__(self, la, mu, timwalk=1):
        self.la = la  # 平均到着率
        self.mu = mu  # 平均サービス率
        self.timwalk = timwalk  # 1つ詰める時間
        self.env = simpy.Environment()
        self.queue = deque()  # 待ち行列
        self.customers = []  # 到着した顧客

    def arrive(self):
        """到着イベント"""
        while True:
            yield self.env.timeout(random.lognormvariate(0, self.la))
            self.env.process(self.into_queue())

    def into_queue(self):
        """待ち行列に並ぶ"""
        global queue, customers
        self.customers.append(Customer(self.env.now, len(self.queue)))
        self.queue.append(self.customers[-1])
        if len(self.queue) > 1:
            return
        while len(self.queue) > 0:
            yield self.env.timeout(random.lognormvariate(0, self.mu))
            cust = self.queue.popleft()
            cust.events.append((self.env.now-1e-3, 0))
            cust.events.append((self.env.now, -1))
            for cust in self.queue:
                cust.events.append((self.env.now, cust.events[-1][1]))
            yield self.env.timeout(self.timwalk)
            for i, cust in enumerate(self.queue):
                cust.events.append((self.env.now, i))

    def run(self, simtim, seed=None):
        self.env.process(self.arrive())
        random.seed(seed)
        self.env.run(simtim)
        return self.customers

# シミュレーション実行
customers = Sim(0.2, 0.1).run(simtim=10, seed=0)

# アニメーションの設定
org = bpy.data.objects["cust"]
stp = 10
for customers in customers:
    bpy.ops.object.select_all(action="DESELECT")
    org.select_set(state=True)
    bpy.ops.object.duplicate_move_linked(OBJECT_OT_duplicate={"linked": True})
    obj = bpy.context.selected_objects[0]
    cns = obj.constraints[0]
    for tm, pos in customers.events:
        cns.offset = 0 if pos < 0 else -100 + pos * stp
        cns.keyframe_insert(data_path='offset', frame=tm * 30)
アニメーションでは、コンストレイントのオフセットを変えています。
オフセットが0だと開始位置、-100で終了位置になっています。
レンダリング
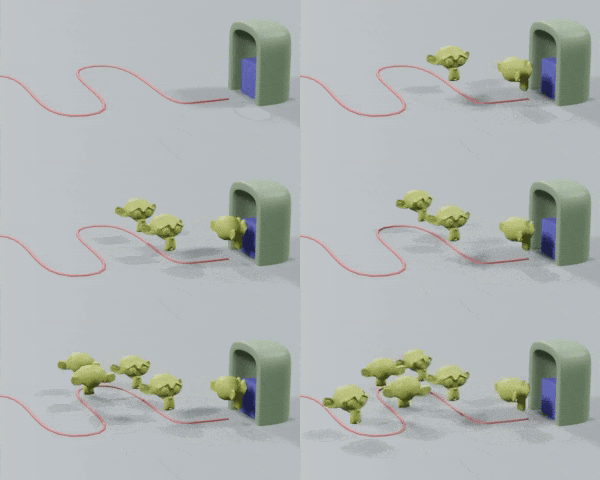
カメラとライトを設定してレンダリングしてみましょう。
ちょっと動きが変ですが、直せなかったのでこのままで。
以上
