目的
Blender2.93でPythonを実行するコマンドのサンプルを紹介します。
macOSの例ですが、適宜読み替えればWindowsでも動くはずです。
作成するコマンドの内容
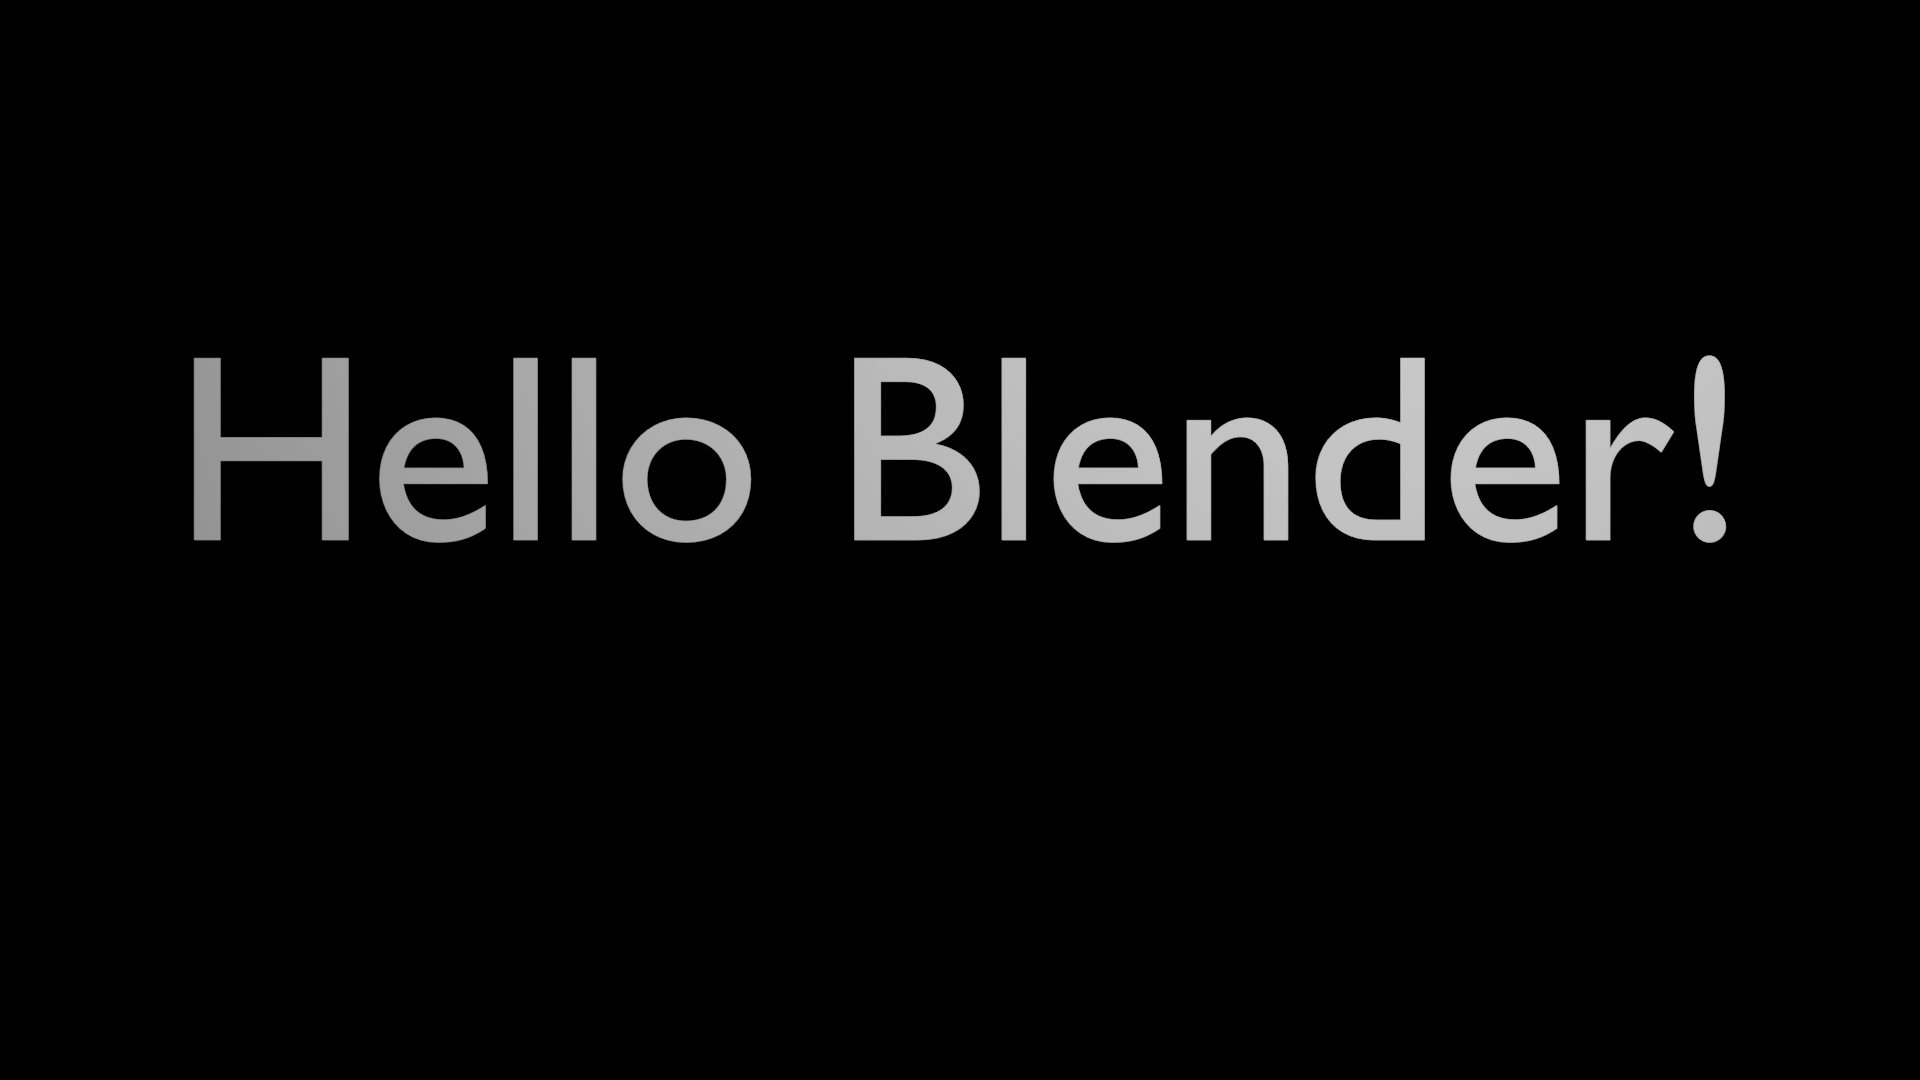
コマンドの引数にテキストを指定すると、Blenderでテキストオブジェクト、カメラ、ライトを作成しBlenderファイルとして保存したり、レンダリングしてPNGファイルを作成したりします。
コード
機能は、Scriptingの「テンプレート → Python → Background Job」のコードをベースに下記の2点を修正しました。
- argparseでなくFireを使うように修正。Fireについては「Python-Fireについて」を参照されたし。
- ライトの明るさを1000Wに修正。
import sys
import bpy
import fire


def example_function(text, render_path=None, save_path=None):
    # Clear existing objects.
    bpy.ops.wm.read_factory_settings(use_empty=True)
    scene = bpy.context.scene
    txt_data = bpy.data.curves.new(name="MyText", type="FONT")

    # Text Object
    txt_ob = bpy.data.objects.new(name="MyText", object_data=txt_data)
    scene.collection.objects.link(txt_ob)  # add the data to the scene as an object
    txt_data.body = text  # the body text to the command line arg given
    txt_data.align_x = "CENTER"  # center text

    # Camera
    cam_data = bpy.data.cameras.new("MyCam")
    cam_ob = bpy.data.objects.new(name="MyCam", object_data=cam_data)
    scene.collection.objects.link(cam_ob)  # instance the camera object in the scene
    scene.camera = cam_ob  # set the active camera
    cam_ob.location = 0.0, 0.0, 10.0

    # Light
    light_data = bpy.data.lights.new("MyLight", "POINT")
    light_ob = bpy.data.objects.new(name="MyLight", object_data=light_data)
    scene.collection.objects.link(light_ob)
    light_ob.location = 2.0, 2.0, 5.0
    light_data.energy = 1000

    bpy.context.view_layer.update()
    if save_path:
        bpy.ops.wm.save_as_mainfile(filepath=save_path)
    if render_path:
        render = scene.render
        render.use_file_extension = True
        render.filepath = render_path
        bpy.ops.render.render(write_still=True)


if __name__ == "__main__":
    sys.argv = sys.argv[:1] + sys.argv[(sys.argv + ["--"]).index("--") + 1 :]
    fire.Fire(example_function)
background_job.pyとして作成してください。
準備
コマンドをシンプルに記述するために、シェルで下記を設定しているとします。
alias blender=/Applications/Blender.app/Contents/MacOS/Blender
alias blender_pip="/Applications/Blender.app/Contents/Resources/2.93/python/bin/python3.9 -m pip"
下記のようにしてfireをインストールします。
blender_pip install -U fire
※ Windowsで、blender_pipでインストールできるのにimportでエラーになる場合は、一旦アンインストールしてから、Blenderのインストール先の中にあるpythonディレクトリにユーザのフルコントロールを与えるとうまくいくかもしれません。
実行
下記のようにしてシェルで実行します。
blender -b -P background_job.py -- 'Hello Blender!' img
-
-bは、バックグラウンド実行の指定です。 -
-P Pythonファイルで、Pythonファイルを実行します。 -
--以降に、Pythonファイル用のオプションを指定します。
下記のようにimg.pngが作成されます。
また、コマンドの最後にファイル名を指定すると、Blenderファイルとして保存できます。
補足
1つのblenderのファイルの内容をPythonで扱いたい場合
下記のようにすると、blenderのファイルを開いた状態でPythonを実行できます。
blender blenderのファイル -P Pythonファイル
オプションの順番通りに処理するので、注意が必要です。たとえば、blender -P Pythonファイル blenderのファイルとすると、ファイルを開く前にPythonを実行します。
複数のblenderのファイルの内容をPythonで扱いたい場合
Pythonのコードで、下記のようにすれば、blenderのファイルを開いて扱えます。
bpy.ops.wm.open_mainfile(filepath=ファイル名)
仮想環境で実行
2022/12/15追記
Blender 3.4、Python3.10では、通常のPythonにbpyをインストールして使えるようです。
macOSで下記のようにして実行できました。
python -m venv venv
. venv/bin/activate
pip install bpy fire
python background_job.py -- 'Hello Blender!' img
なお、dockerでは次のようなエラーが出て動きませんでした。
Traceback (most recent call last):
  File "background_job.py", line 2, in <module>
    import bpy
ImportError: libXxf86vm.so.1: cannot open shared object file: No such file or directory
以上
