ビルド愛は、世界のmicroSDカードを救う。
Tensorflow v1.14.0 / v1.15.0 / v2.0.0 の QEMUビルド用です。
1.Environment
- Ubuntu 16.04 / 18.04 x86_64 (Host PC)
- Debian Buster aarch64 (Guest)
- qemu 4.0.0
2.Reference articles
https://translatedcode.wordpress.com/2017/07/24/installing-debian-on-qemus-64-bit-arm-virt-board/
https://www.qemu.org/download/#source
3.Procedure
QEMU4.0.0の導入とDebianベースイメージの準備
$ sudo apt-get update

$ cd ~
$ wget https://download.qemu.org/qemu-4.0.0.tar.xz
$ tar xvJf qemu-4.0.0.tar.xz
$ cd qemu-4.0.0
$ ./configure
$ make -j8
$ sudo make install
$ qemu-system-aarch64 --version

QEMU emulator version 4.0.0
Copyright (c) 2003-2019 Fabrice Bellard and the QEMU Project developers


$ cd ~
$ mkdir qemu-system-debian-arm64
$ cd qemu-system-debian-arm64
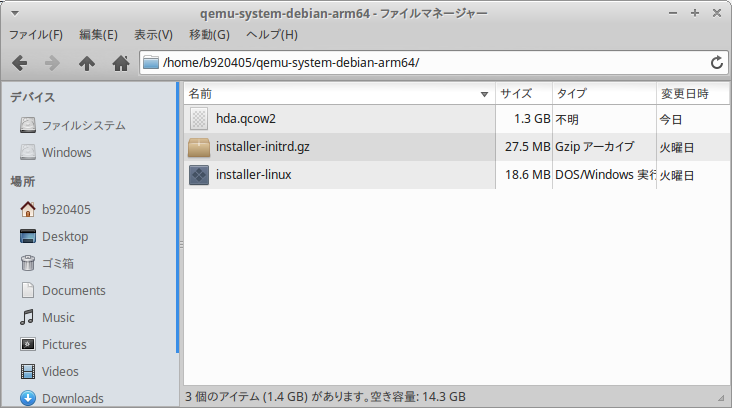
$ wget -O installer-linux http://http.us.debian.org/debian/dists/buster/main/installer-arm64/current/images/netboot/debian-installer/arm64/linux
$ wget -O installer-initrd.gz http://http.us.debian.org/debian/dists/buster/main/installer-arm64/current/images/netboot/debian-installer/arm64/initrd.gz
$ qemu-img create -f qcow2 hda.qcow2 40G
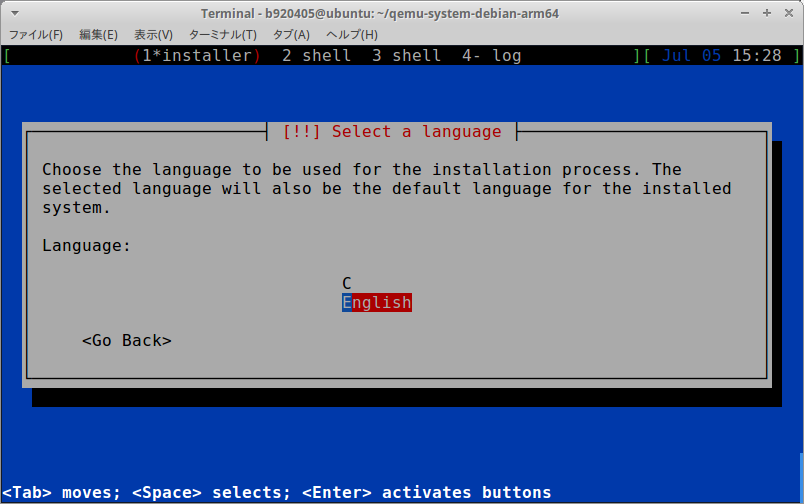
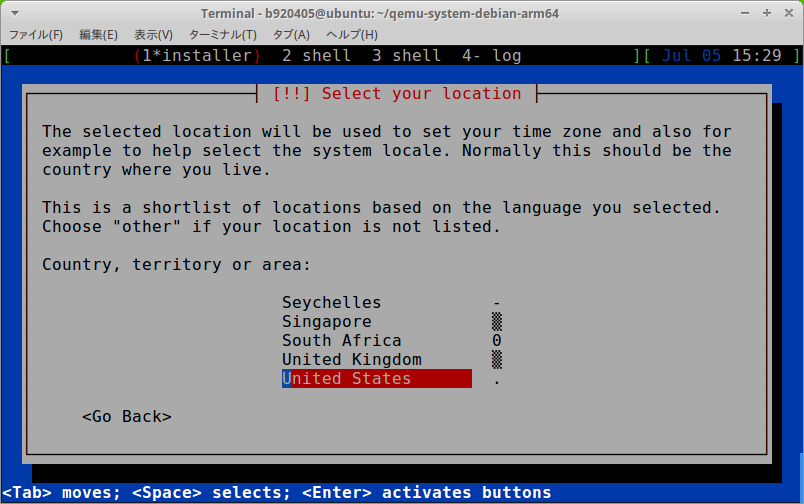
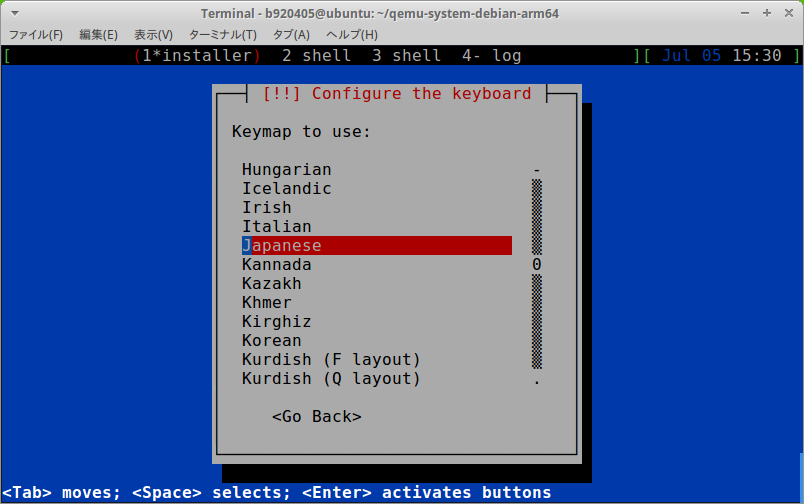
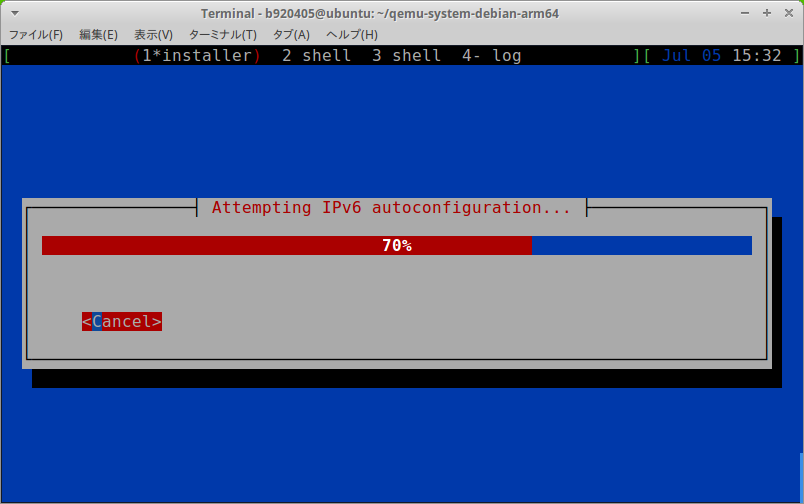
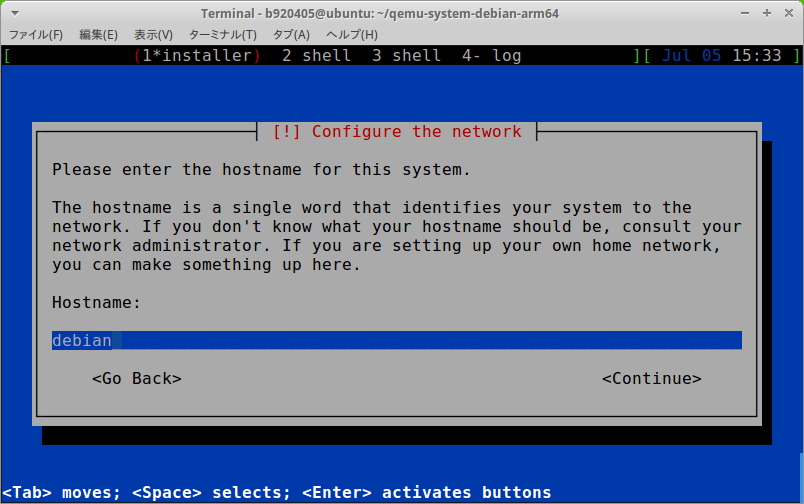
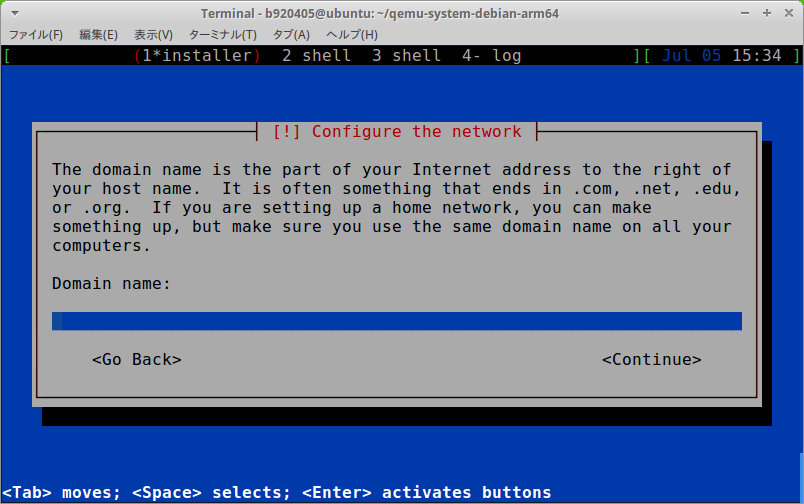
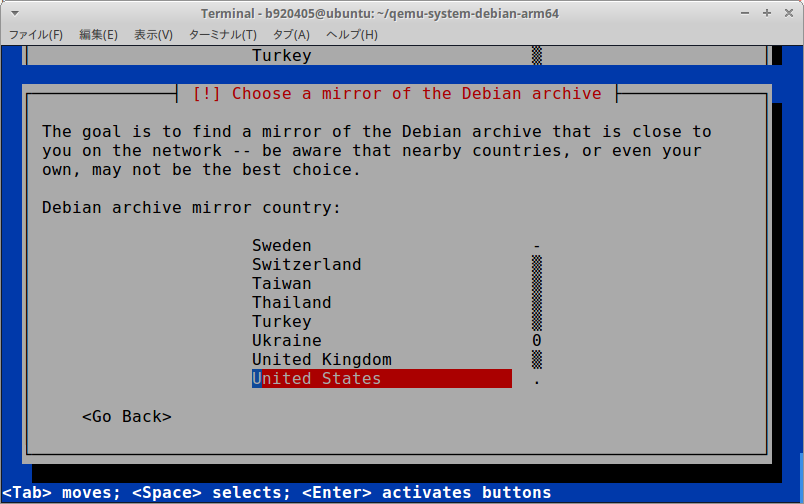
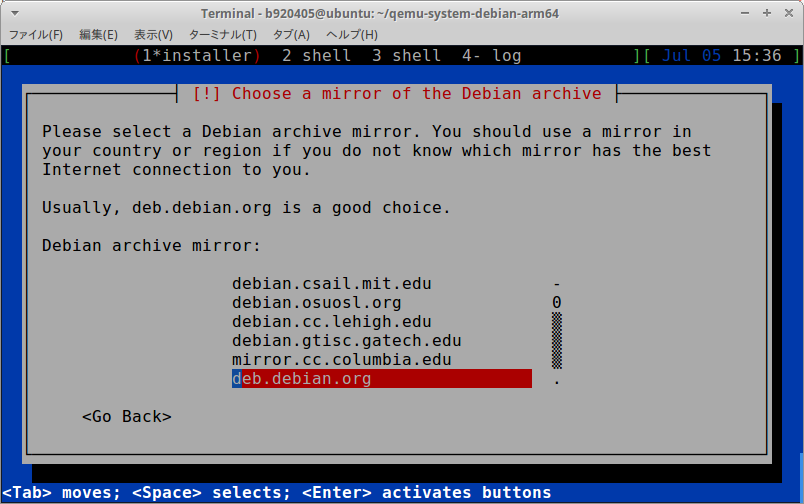
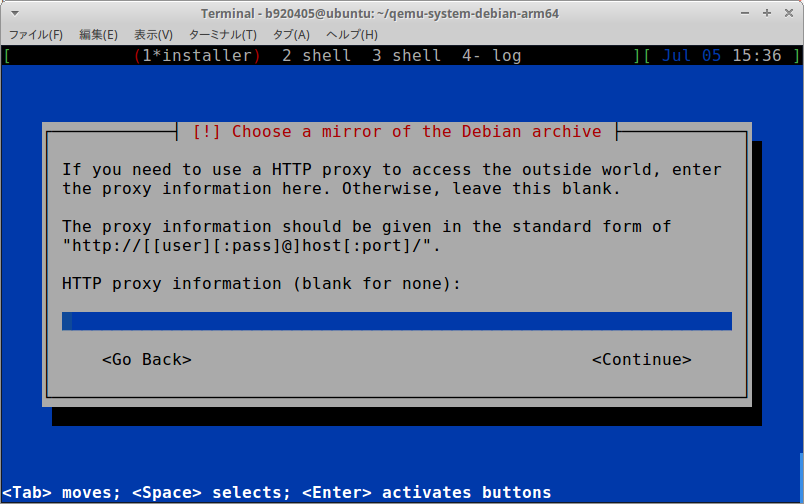
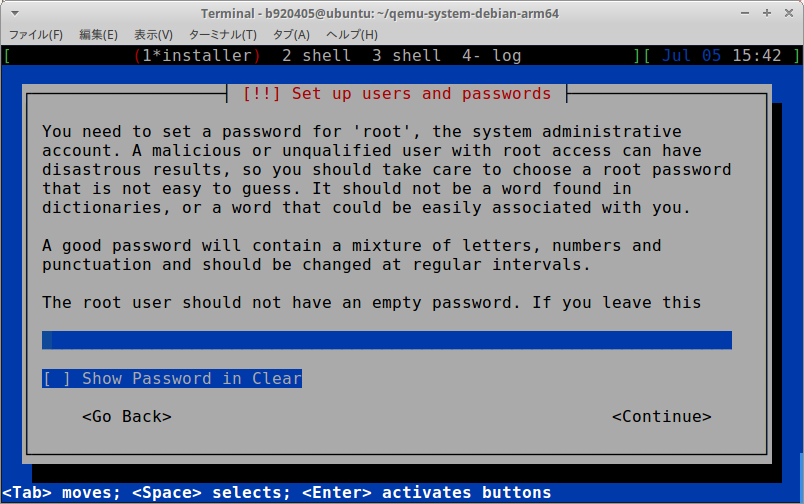
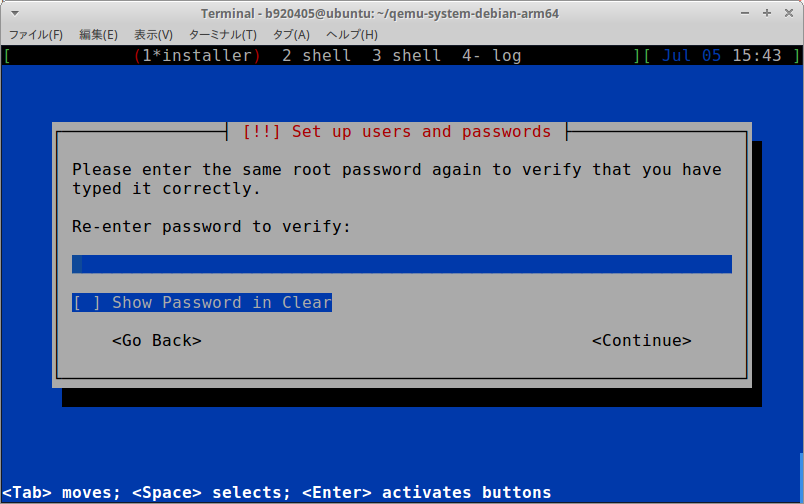
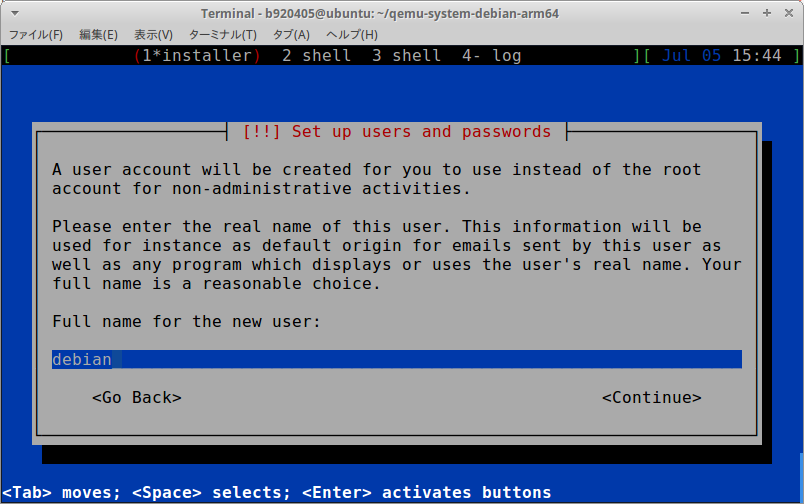
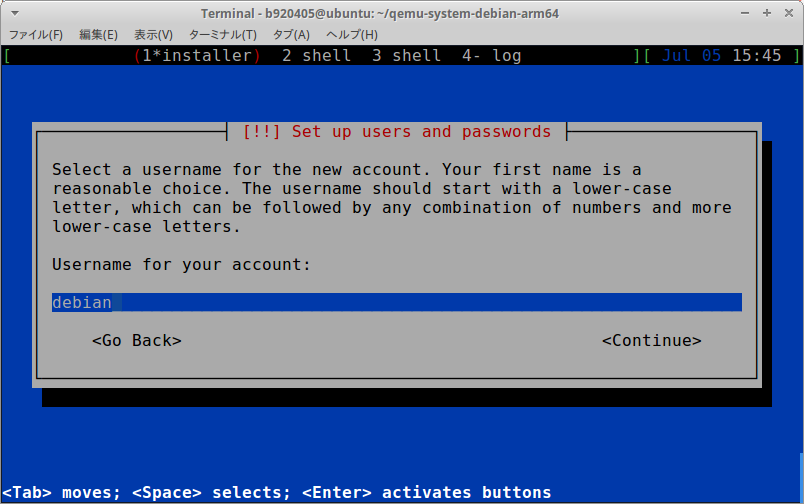
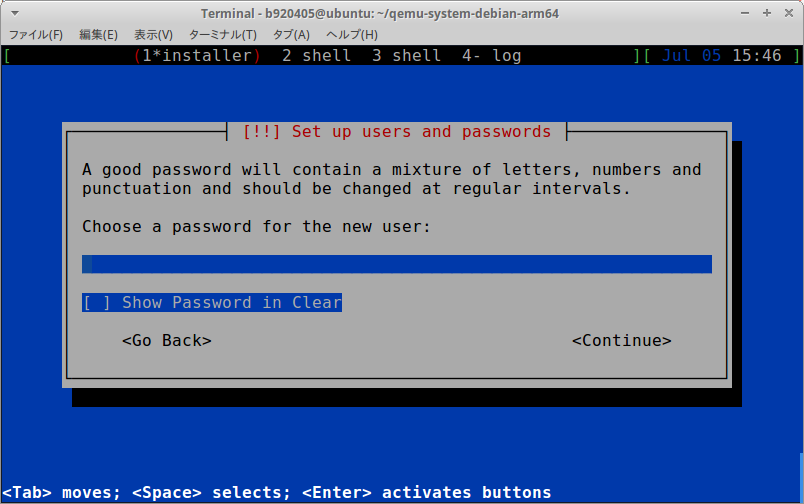
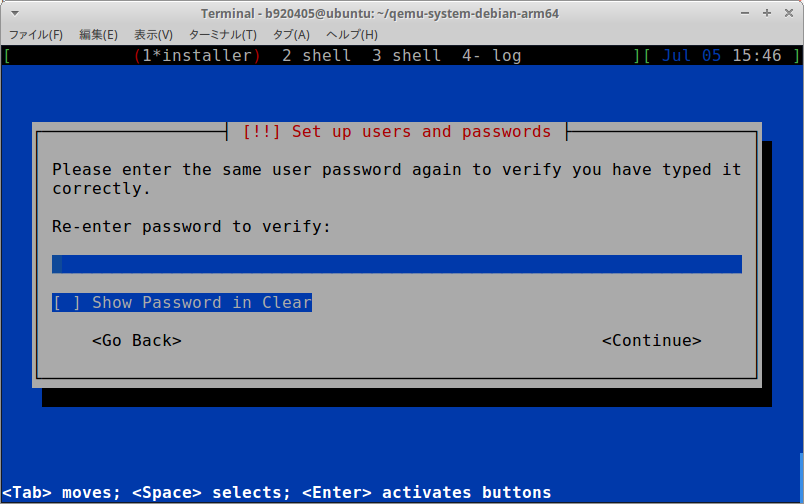
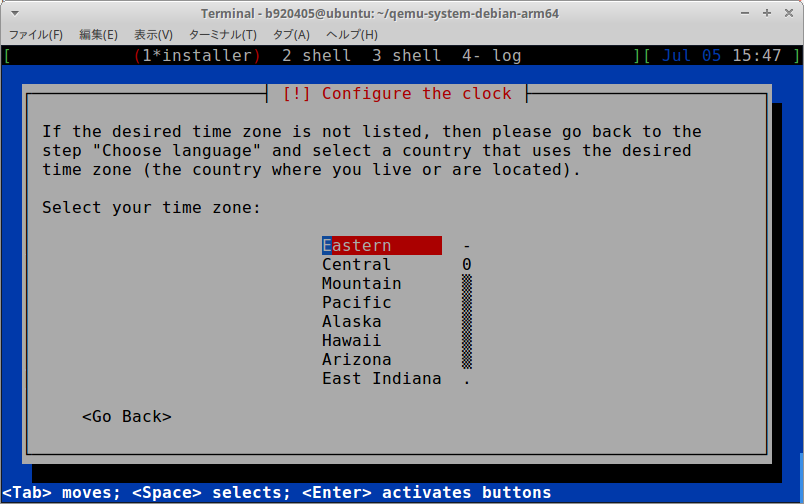
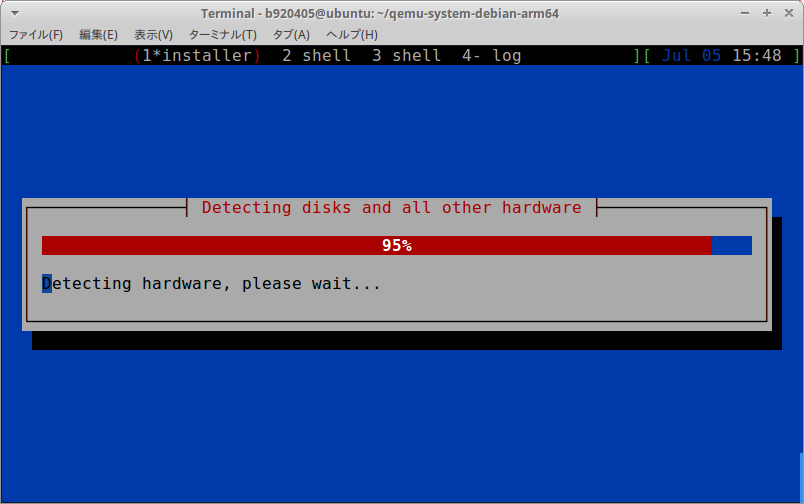
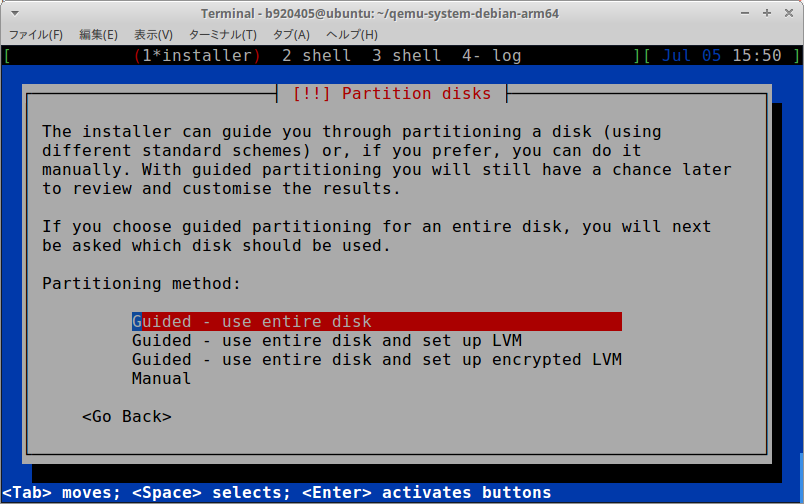
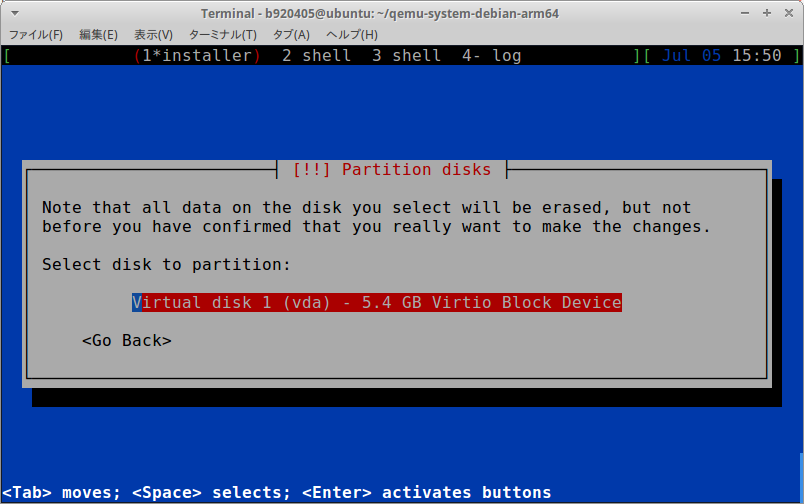
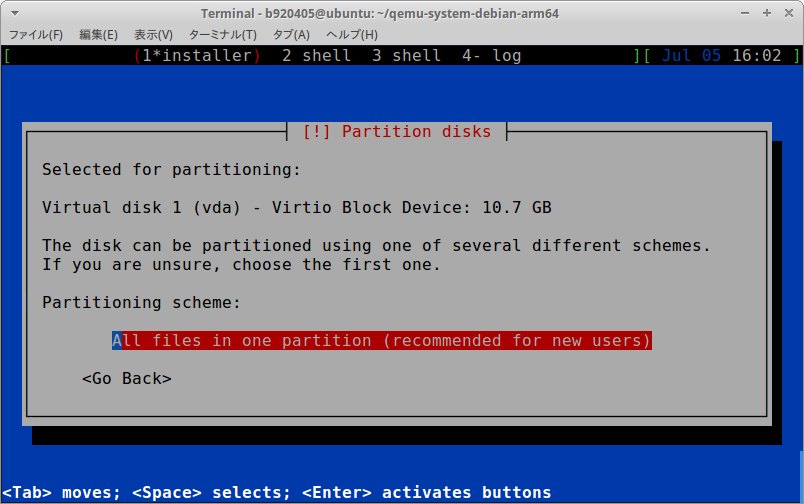
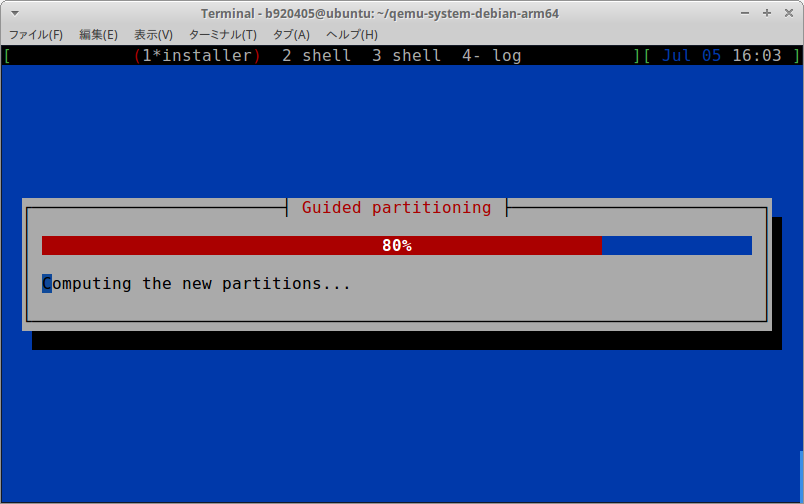
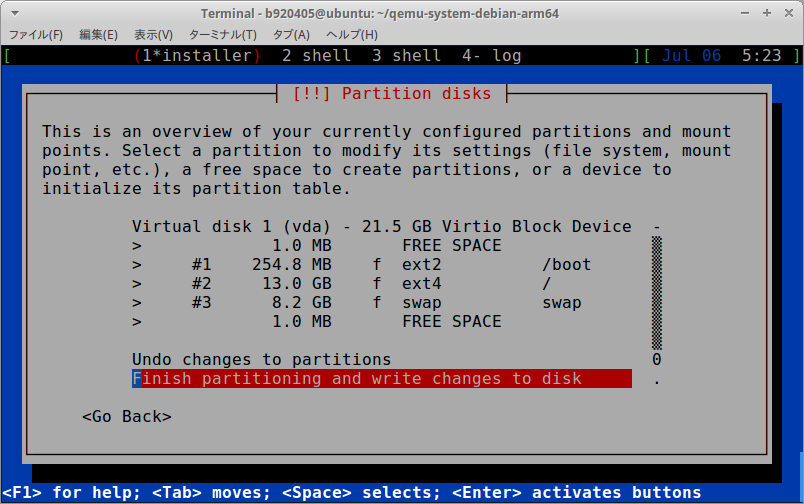
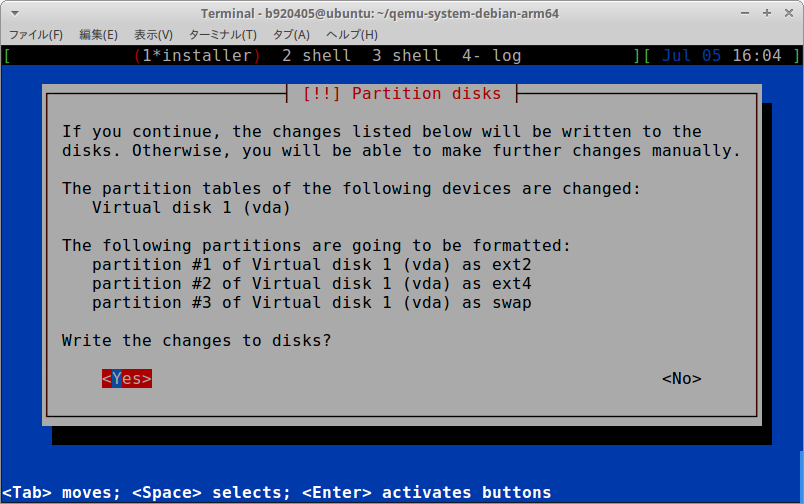
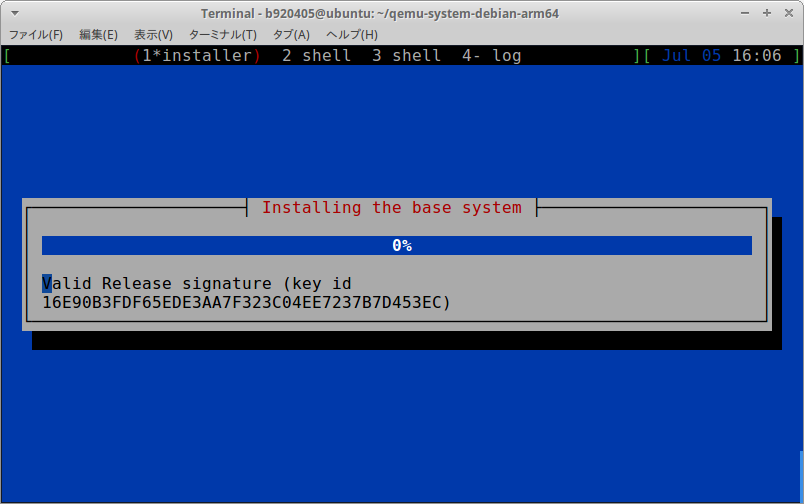
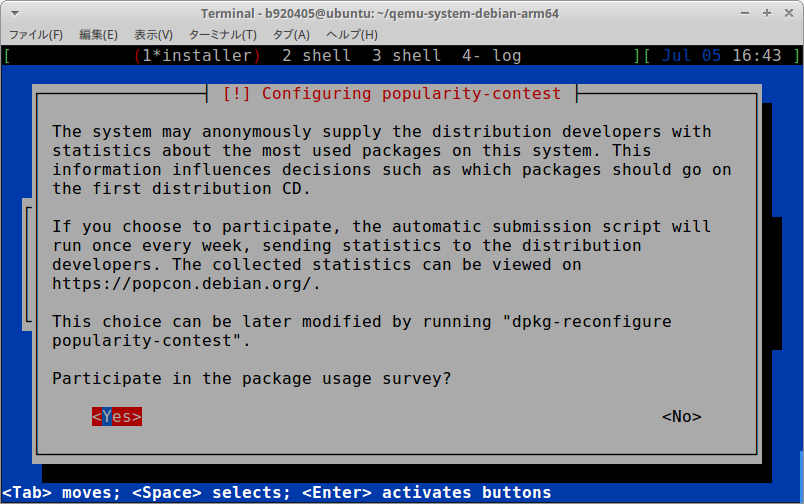
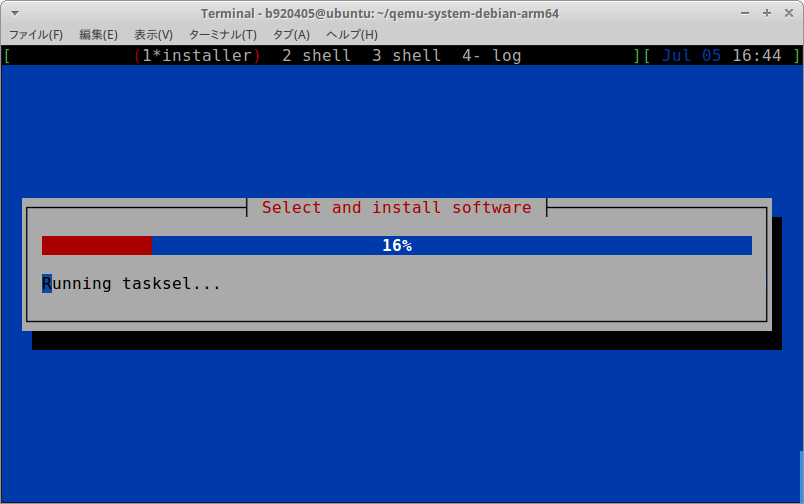
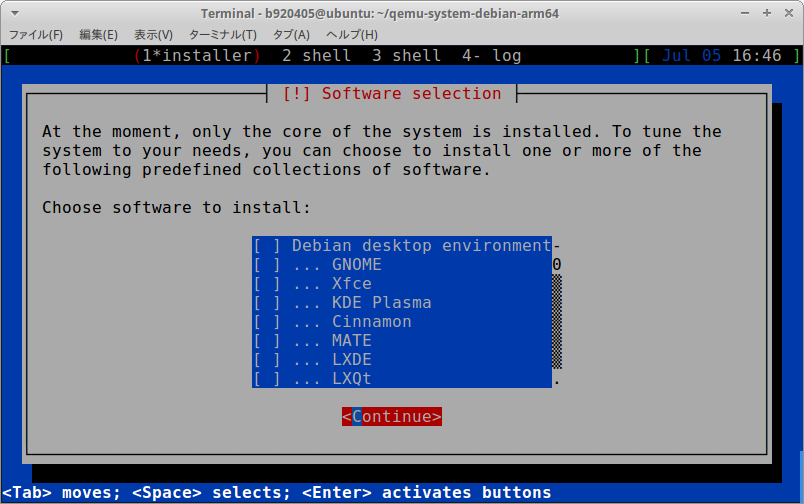
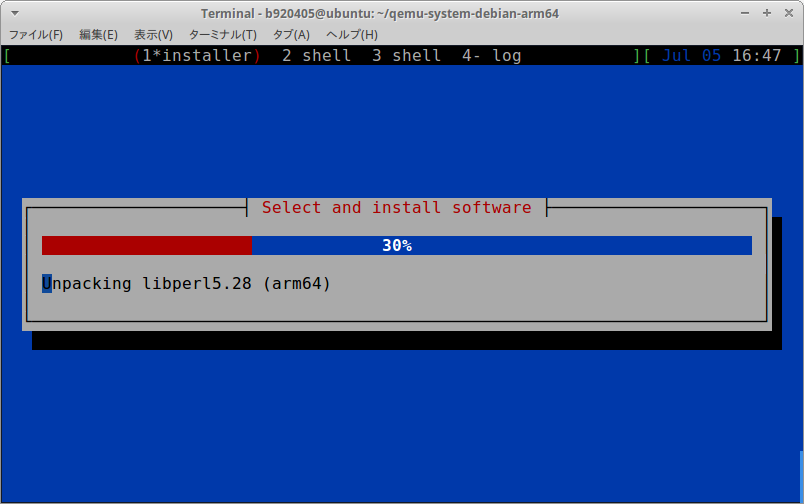
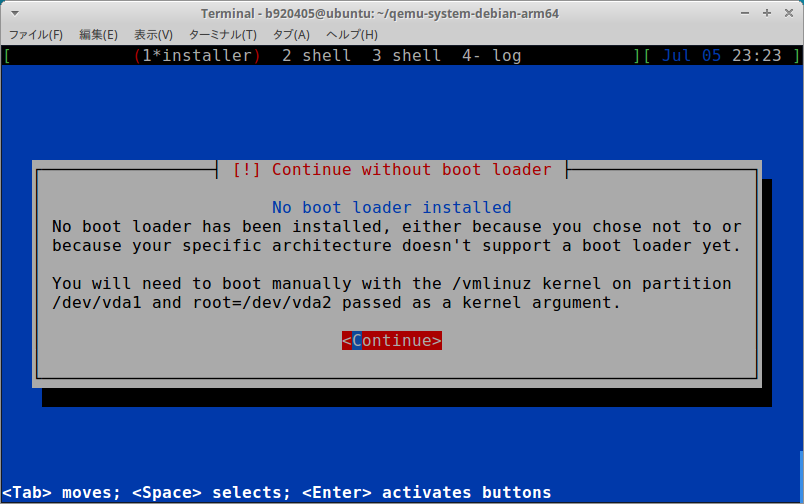
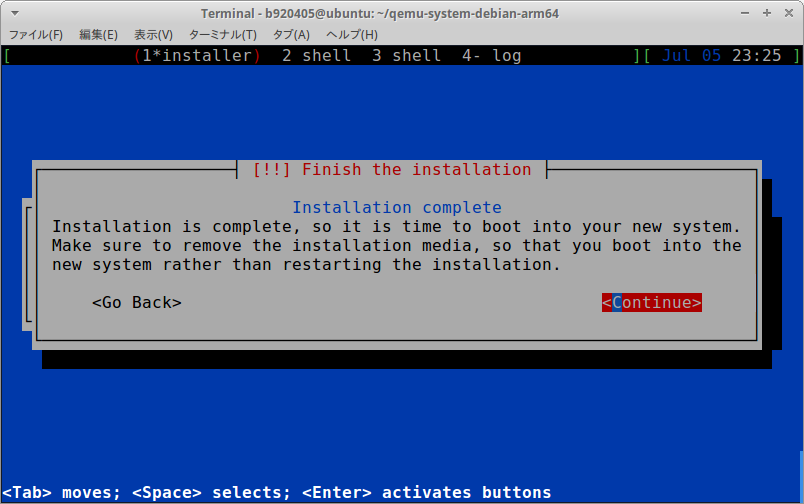
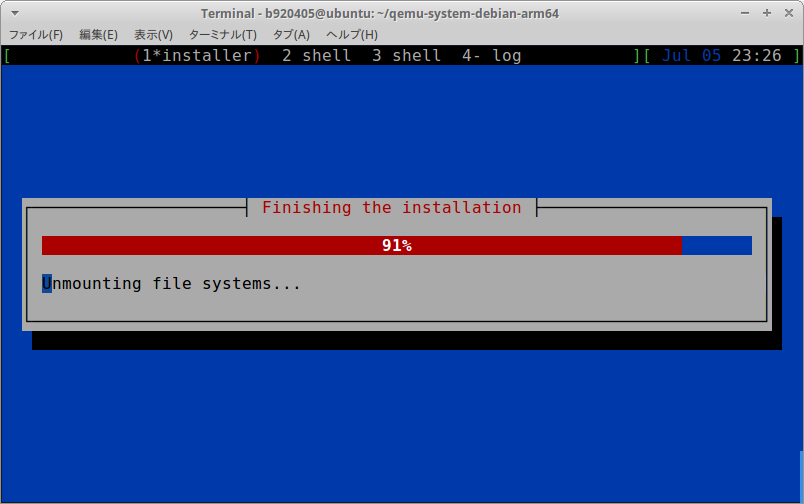
インストーラの起動
$ qemu-system-aarch64 -M virt -m 8192 -cpu cortex-a53 \
  -kernel installer-linux \
  -initrd installer-initrd.gz \
  -drive if=none,file=hda.qcow2,format=qcow2,id=hd \
  -device virtio-blk-pci,drive=hd \
  -netdev user,id=mynet \
  -device virtio-net-pci,netdev=mynet \
  -nographic -no-reboot
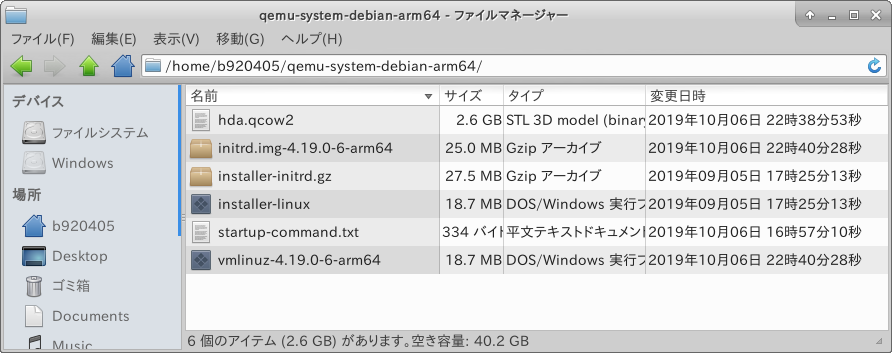
カーネルの抽出
$ sudo apt-get install -y libguestfs-tools

$ sudo virt-filesystems -a hda.qcow2
/dev/sda1
/dev/sda2

$ sudo virt-ls -a hda.qcow2 /boot/
System.map-4.19.0-6-arm64
config-4.19.0-6-arm64
initrd.img
initrd.img-4.19.0-6-arm64
initrd.img.old
lost+found
vmlinuz
vmlinuz-4.19.0-6-arm64
vmlinuz.old

$ sudo virt-copy-out -a hda.qcow2 /boot/vmlinuz-4.19.0-6-arm64 /boot/initrd.img-4.19.0-6-arm64 .
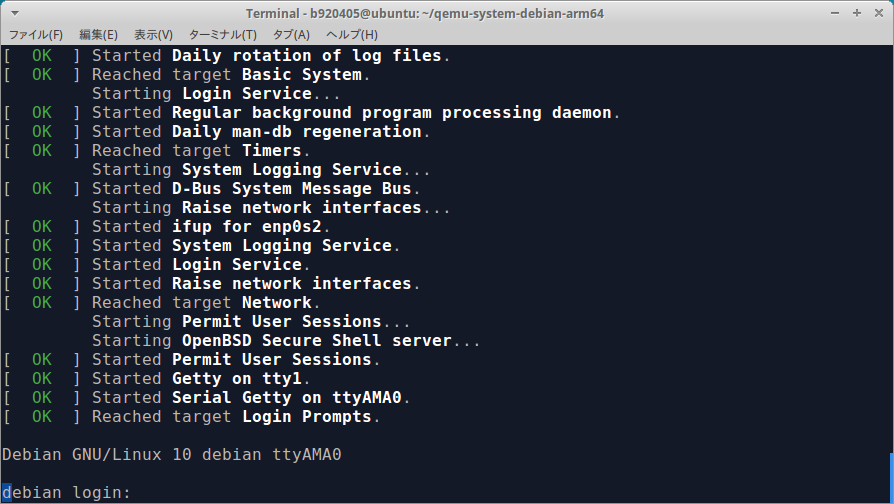
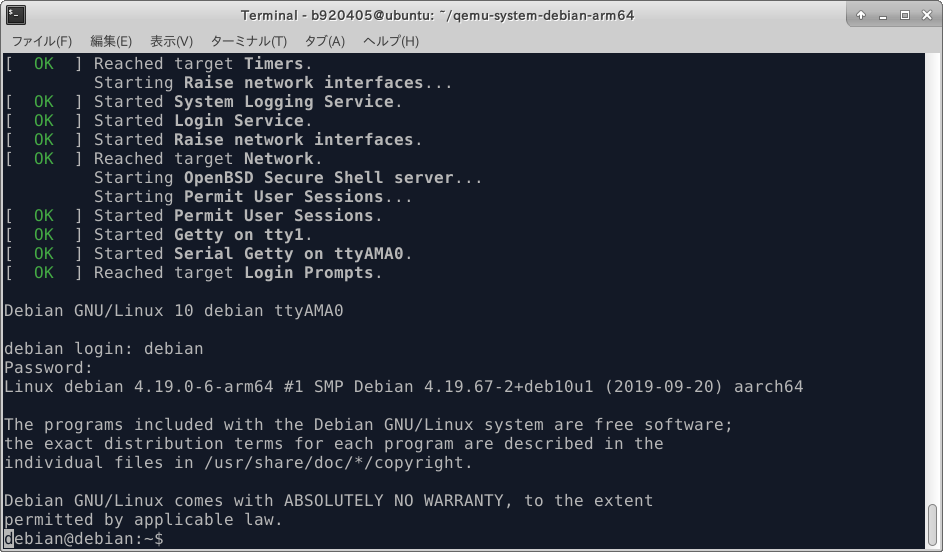
Debian_Buster_起動
$ cd ~/qemu-system-debian-arm64
$ qemu-system-aarch64 -M virt -m 10240 -cpu cortex-a53 -smp 8 \
  -kernel vmlinuz-4.19.0-6-arm64 \
  -initrd initrd.img-4.19.0-6-arm64 \
  -append 'root=/dev/vda2' \
  -drive if=none,file=hda.qcow2,format=qcow2,id=hd \
  -device virtio-blk-pci,drive=hd \
  -netdev user,id=mynet \
  -device virtio-net-pci,netdev=mynet \
  -nographic
カーネルとアーキテクチャの確認
$ uname -a
Linux debian 4.19.0-6-arm64 #1 SMP Debian 4.19.67-2+deb10u1 (2019-09-20) aarch64 GNU/Linux
sudoコマンドの有効化
$ su -
# apt-get update
# apt-get install sudo
# visudo

====================================
# User privilege specification
root    ALL=(ALL:ALL) ALL
debian  ALL=(ALL) ALL
====================================

# exit
