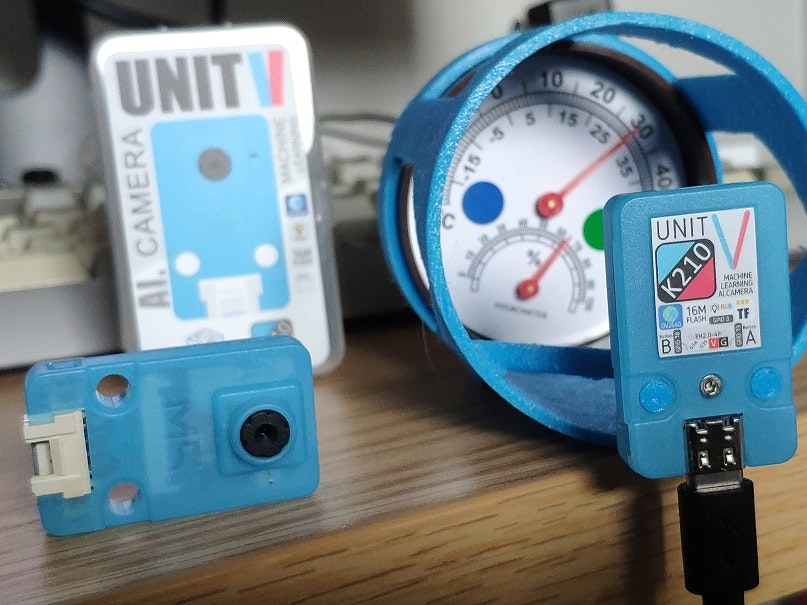
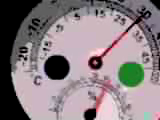
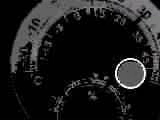
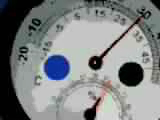
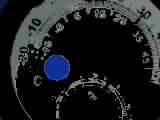
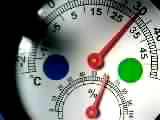
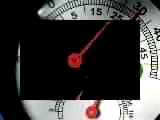
カメラでアナログ・メーターの画像を取得し,メーターの示す数値を読み取ります.
光の当たり方で,画像が大きく変化するので,ハードウェアの工夫も必要となります.ソフトで出来る事はソフトでやる方が楽ですが,この手の画像処理領域に関しては,ハード側で対処した方がシステムのコストが低くなることも多いと思われます.
メーターにはカバー・レンズが装着されていることが多いですが,レンズは光の当たる角度によっては反射をおこすため,邪魔になります.今回はレンズを外して対処しています.
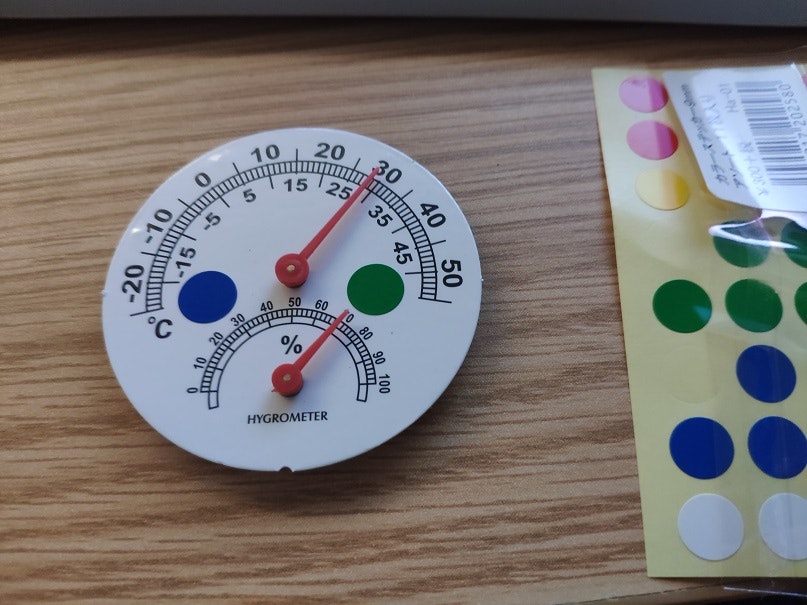
メーターの傾きに対する補正も,当初は文字認識などを利用してやろうとしましたが,最終的にはメーターにカラーの丸シールを張ることで,傾き量検出を簡単にできるようにしました.
●今後の課題
micropythonで2段のforループを回すと,かなり遅いです.この部分はCで書いて,モジュールとした方がよさそうです.今回フィルタのパラメータ調整などで,何度も実行したので,パラメータ調整にかなり時間がかかりました.
●カラーの丸シールで傾き取得
汎用性を上げるため,初めにメーターの傾きを調べています.この処理があるので,メーターに対してカメラをラフに設置できます.
初めはメーターの文字を読んで傾きを調べようと思いましたが,そうすると使用するメーターに特化した仕様となってしまうため止めました.
対案として,画像を使った処理ではあるものの,色違いのシールを利用して,水平出しする仕様としました.
micropythonには「画像から円を検索する」メソッドがあり,色ごとに処理を行えば,それぞれの丸シールの中心座標を取得し,メーターの傾きを取得できると考えたためです.
使ったもの
ハードウェア:
UNIT V(M5Stack社)
温湿度計(Daiso)
開発環境:MaixPy IDE
開発言語:microPython
処理概要
-
温度計の傾きを調べる
-
画像を取得(
img) -
imgに対して緑を残して,あとは黒にする
- カートゥーンフィルタ(
image.cartoon()) - バイラテラルフィルタ(
image.bilateral()) - ハイパスフィルタ
- ローパスフィルタ
- グレースケール化
- カートゥーンフィルタ(
-
画像から円を検索(
image.find_circles()) -
円の中心座標を保存(
xy1) -
新たに画像を取得(
img) -
imgに対して青を残して,あとは黒にする
- カートゥーンフィルタ(
image.cartoon()) - バイラテラルフィルタ(
image.bilateral()) - ハイパスフィルタ
- ローパスフィルタ
- グレースケール化
- カートゥーンフィルタ(
-
画像から円を検索
-
円の中心座標を保存(
xy2) -
緑円と青円の中心をつないで,温度計の傾きを算出(
angle) -
赤い針の角度を調べる
-
画像を取得(
img) -
処理が重いので画像を切り出し(
img2) -
画像をフィルタリングして赤だけ残す
- ハイパスフィルタ
- ローパスフィルタ
- カートゥーンフィルタ
- バイラテラルフィルタ
-
画像から線分を検索
-
線分と温度計の傾き(
angle)との差から温度を算出
プログラム
import sensor, image, time, gc, math

def highPassFilter(img1, limit, rgb):
    for pixel_y in range(img1.height()):
        for pixel_x in range(img1.width()):
            pixel = img1.get_pixel(pixel_x, pixel_y)
            if(limit > pixel[rgb]):
                img1.set_pixel(pixel_x, pixel_y,(0,0,0))
    return img1

def lowPassFilter(img1, limit, rgb):
    rgb1 = (rgb + 1) % 3
    rgb2 = (rgb + 2) % 3
    for pixel_y in range(img1.height()):
        for pixel_x in range(img1.width()):
            pixel = img1.get_pixel(pixel_x, pixel_y)
            if(limit < pixel[rgb1] or limit < pixel[rgb2]):
                img1.set_pixel(pixel_x, pixel_y,(0,0,0))
    return img1

def findAngle(inImg):
    #lines = inImg.find_lines(threshold=1400, x_stride=2, y_stride=2, theta_margin=4, rho_margin=5)
    lines = inImg.find_line_segments(threshold=5000, merge_distance=5, max_theta_difference=2)
    angle = 0
    maxLength = 0
    for item in lines:
        if(item[4] > 4):
            inImg.draw_line(item[0], item[1], item[2], item[3], color=(0,255,0), thickness=1)
            print(item)
            if(maxLength < item[4]):
                maxLength = item[4]
                angle = item.theta()
    return angle

def findCircleXY(img, highpass, lowpass, rgb):
    workImg = img.copy()
    workImg = workImg.cartoon(0.3, 0.2)
    workImg = workImg.bilateral(1, color_sigma=1.0, space_sigma=0.5)
    highPassFilter(workImg, highpass, rgb)

    img.draw_image(workImg,0,0)
    sensor.snapshot()

    print("lowPassFilter")
    lowPassFilter(workImg, lowpass, rgb)
    img.draw_image(workImg,0,0)
    sensor.snapshot()

    workImg = workImg.to_grayscale()
    gc.collect()

    obj = workImg.find_circles(x_stride=1, y_stride=1, threshold=2800)
    print(obj);
    circleX = 0
    circleY = 0
    if len(obj) > 0:
        for index, item in enumerate(obj):
            if(item[2] < 25 and item[2] > 10):
                workImg.draw_circle(item[0], item[1], item[2], thickness=2);
                circleX = item[0]
                circleY = item[1]

    img.draw_image(workImg,0,0)
    sensor.snapshot()
    print("X: " + str(circleX) + ",    Y: " + str(circleY))
    return [circleX, circleY]

# program start
print("0")
gc.collect()
sensor.reset()
sensor.set_vflip(True)
sensor.set_pixformat(sensor.RGB565)
sensor.set_framesize(sensor.QQVGA)
sensor.skip_frames(time = 1000)
clock = time.clock()
clock.tick()

# Recognize Green circle
img = sensor.snapshot()
xy1 = findCircleXY(img, 60, 140, 1)    #for green circle
print(xy1)
# Recognize Blue circle
img = sensor.snapshot()
xy2 = findCircleXY(img, 60, 150, 2)    #for blue circle
print("green: " + str(xy1))
print(xy2)

img.draw_line(xy1[0],xy1[1],xy2[0],xy2[1])
angle = math.atan2(xy2[1] - xy1[1], xy2[0] - xy1[0])
angle = -angle * math.pi    #convert radian to degree
print("C1-C2 angle: " + str(angle))


while(True):
    clock.tick()

    img = sensor.snapshot()
    img2 = img.copy((40,20,img.width(), img.height()-40))
    #img2 = img2.flood_fill(0,0)
    #img2 = img2.cartoon(0.3, 0.2)
    img2 = highPassFilter(img2, 50, 0)    #0:r, 1:g, 2:b
    img2 = lowPassFilter(img2, 100, 0)

    img.draw_image(img2, 20,20)    #writing image to framebuffer to see throughting MaixPy IDE
    sensor.snapshot()    #It should be called to see image through MaxiPy IDE
    time.sleep(2)

    img2 = img2.cartoon(0.5, 0.5)
    img.draw_image(img2, 20,20)
    sensor.snapshot()
    time.sleep(2)

    img2 = img2.bilateral(1, color_sigma=0.8, space_sigma=1.1)
    img.draw_image(img2, 20,20)
    sensor.snapshot()
    time.sleep(2)

    #img2 = img2.dilate(2, threshold=10)
    #img2 = img2.flood_fill(0,0, seed_threshold=0.05, floating_threshold=0.1, clear_backgroud=False)
    #img.find_edges(image.EDGE_CANNY)
    #img = red2white(img, 100, 0)
    gc.collect()
    findResult = findAngle(img2)
    print("angle: " + str(findResult))
    temp = 0.3889 * (findResult + angle) + 15
    print(str(temp) + "`C")
    img.draw_image(img2,20,20)
    sensor.snapshot()

    time.sleep_ms(500)
    print(clock.fps())
解説
1.円の認識
2.メーター針の認識
ハイパスフィルタ
def highPassFilter(img1, limit, rgb):
    for pixel_y in range(img1.height()):
        for pixel_x in range(img1.width()):
            pixel = img1.get_pixel(pixel_x, pixel_y)
            if(limit > pixel[rgb]):
                img1.set_pixel(pixel_x, pixel_y,(0,0,0))
    return img1
画像の全ピクセルを走査してRGBの内,指定した色のみを残すフィルタです.
次の通り,色は<int> rgbで指定します.
- rの場合:0
- gの場合:1
- bの場合:2
highPassFilter(img1, 100, 0)
とした場合,画像img1の全ピクセルを走査し,R要素が100以下のピクセルを黒[color(0,0,0)]にします.
ローパスフィルタ
def lowPassFilter(img1, limit, rgb):
    rgb1 = (rgb + 1) % 3
    rgb2 = (rgb + 2) % 3
    for pixel_y in range(img1.height()):
        for pixel_x in range(img1.width()):
            pixel = img1.get_pixel(pixel_x, pixel_y)
            if(limit < pixel[rgb1] or limit < pixel[rgb2]):
                img1.set_pixel(pixel_x, pixel_y,(0,0,0))
    return img1
画像の全ピクセルを走査してRGBの内,指定した色のみを残すフィルタです.
次の通り,色は<int> rgbで指定します.
- rの場合:0
- gの場合:1
- bの場合:2
lowPassFilter(img1, 120, 2)
とした場合,画像img1の全ピクセルを走査し,RもしくはG要素が120を超えるピクセルを黒[color(0,0,0)]にします.
今回,処理が重かったため,必要な部分だけを切り出して処理しています.
切り出し,ハイパス,ローパスフィルタ通過後

カートゥーン・フィルタ
img2 = img2.cartoon(0.5, 0.5)
バイラテラル・フィルタ
ハイパス,ローパス,カートゥーン,バイラテラル・フィルタ通過後

img2 = img2.bilateral(1, color_sigma=0.8, space_sigma=1.1)
デバッグ用にフレームバッファに書く
    img2 = img2.cartoon(0.5, 0.5)
    img.draw_image(img2, 20,20)
    sensor.snapshot()    #framebuffer更新の為に呼ぶ
    time.sleep(2)
フレームバッファに書き込むことで,MaixPy IDEから画像を確認できます.
が! ,この方法は裏技的なやり方だと思われます.タイミングによって表示されたり,されなかったりします.
治具があると便利
繰り返し撮影とパラメータ調整を行うので,カメラと被写体を固定できると便利です.
今回は見送りましたが,照明も付ければソフト側の処理が楽になると思われます.

結果
光の当たり方が同じであれば,かなり安定して読み取りますが,少し光が変わっただけで読み取り値が変化してしまいます.2℃位は簡単に振れるので,まだ実用には遠い感じです.
QVGAではimage.find_line_segments()がメモリ不足で使えず,QQVGAの画像を使っていますが,この辺りは工夫すれば,なんとかなるかもしれませんし,micropythonには,画像処理系のメソッドがほかにもたくさん用意されており,工夫する余地はかなり ありそうに感じました(micropythonでの処理と違って速いです).
UNIT Vで使われているSoCのK210は,400MHzのデュアル・コアなので,うまく使えば色々できそうです.
