VSCodeでM5stack開発環境構築(中編)
この記事ではVSCodeでM5Stack開発環境構築を行った手順を示します.
動作環境
Windows 11
M5Stack BASIC
3. Arduino IDEの設定
-
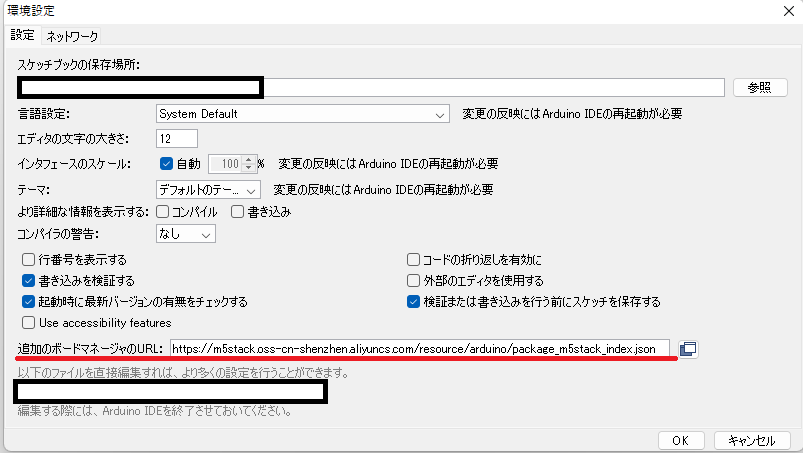
Arduino IDEを開いて「ファイル→環境設定」を選択してください.
そこから追加のボードマネージャのURLにリンク[https://m5stack.oss-cn-shenzhen.aliyuncs.com/resource/arduino/package_m5stack_index.json]を追加してください.
-
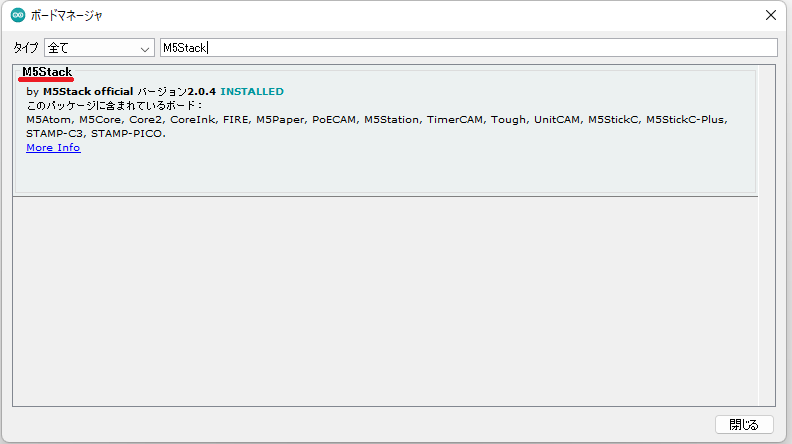
次に,「ツール→ボード:→ボードマネージャ」を選択してください.
そこから検索欄にM5Stackと入力してM5Stackをお使いのバージョンに合わせてインストールしてください.
インストールされればINSTALLEDと表示されます.
-
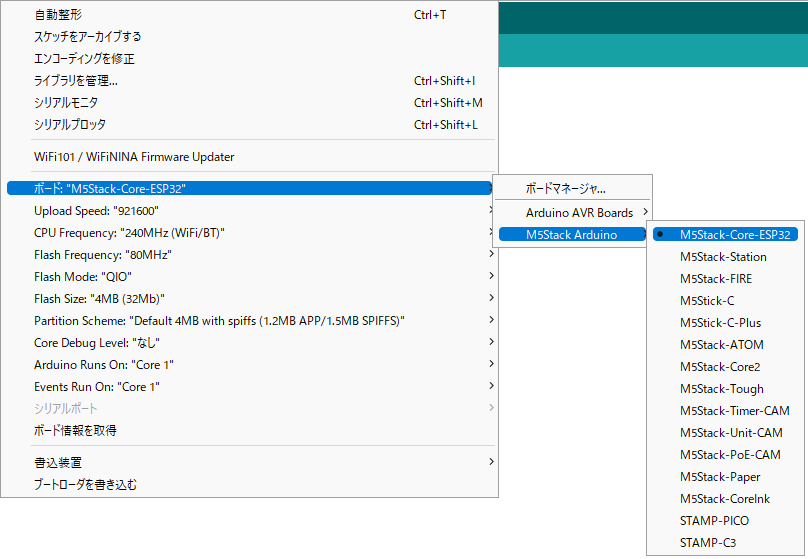
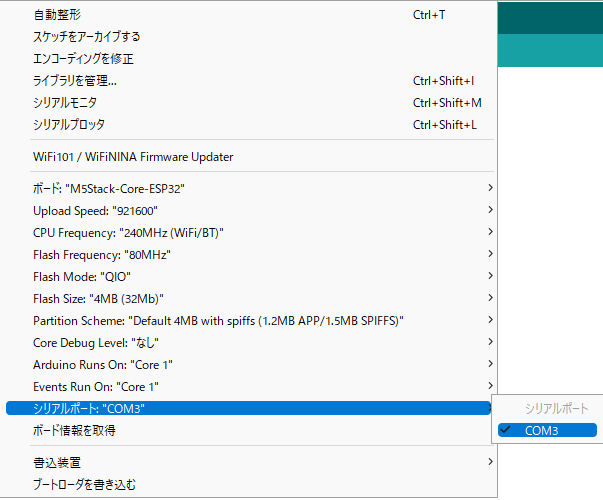
次に,「ツール→ボード:→M5Stack Arduino」からM5Stack-Core-ESP32を選択してください.
その後,前編のシリアル通信のドライバインストールのところでタスクマネージャーで確認したポート番号を「ツール→ボード:→シリアルポート:」から選択します.
-
次に,
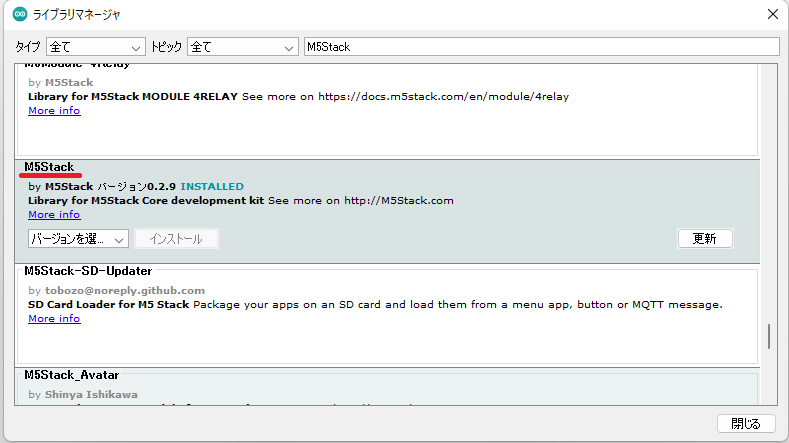
M5Stack Libraryをインストールするために 「スケッチ→ライブラリをインクルード→ライブラリ管理」を選択してください.
そこから検索欄にM5Stackと入力してM5Stackをお使いのバージョンに合わせてインストールしてください.
インストールされればINSTALLEDと表示されます.
-
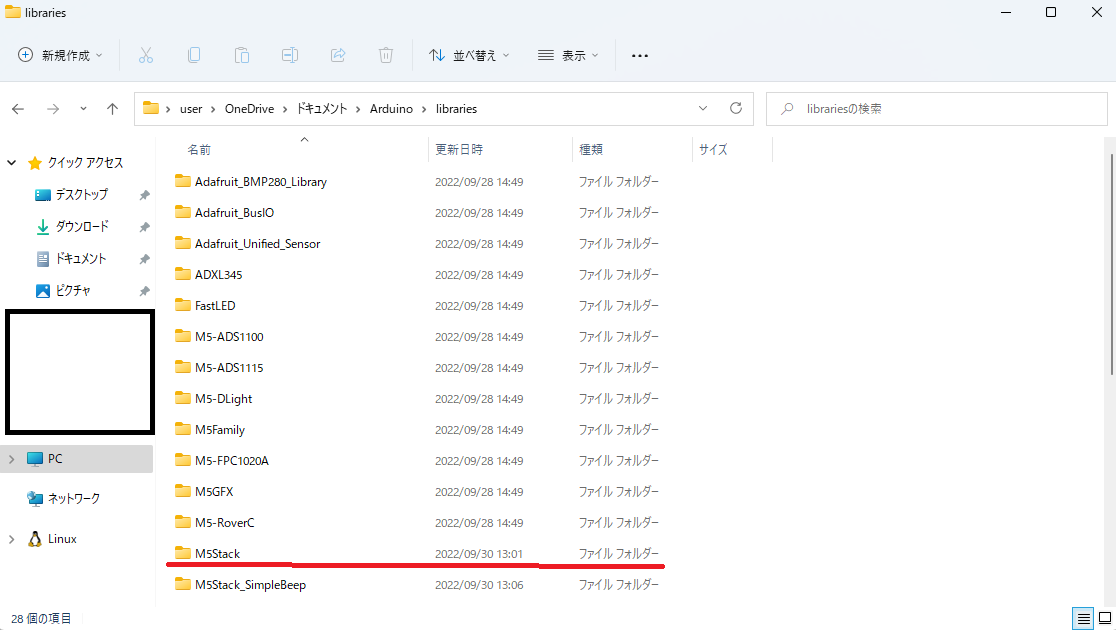
先ほどインストールしたライブラリが保存されているかパス[C:\Users\username\Document\Arduino]を確認しましょう.
私の端末ではOneDriveの中に入っていました.各自の端末でどこに入っているか必ず確認してください.今後使用します.
