やりたいこと
Pythonのプロジェクトに
- docstring(google style)形式で記述した内容を
- Sphinxを利用してhtmlドキュメントを作成して
- GitHub Pagesを利用して公開する
が目標です。
用語説明
docstringとは
モジュールやクラス、メソッドの直後に記載される"""で囲まれた文字列リテラル。参考
docstringの書き方はこのページでは紹介しません。
"""The module's docstring"""

class MyClass:
    """The class's docstring"""

    def my_method(self):
        """The method's docstring"""

def my_function():
    """The function's docstring"""
Sphinxとは
Sphinxは知的で美しいドキュメントを簡単に作れるようにするツール。参考
Github Pagesとは
Githubが公式に提供する静的なホスティングサービスのこと。参考
実際にやってみる
早速やってみよう。
環境
ubuntu: 20.04.1 LTS
python: 3.8.5
pip: 20.0.2
プロジェクト構成
完成予想図
こんな感じのプロジェクト構成を目指します。
ここに完成後のサンプルを置いておきます。
project/
 |- package1/
 |   |- __init__.py
 |   |- package1.py
 |   |- package2/
 |       |- __init__.py
 |       |- package2.py
 |- docs_src/
 |   |- ...
 |- docs/
 |   |- ...
 |- main.py
 |- README.md
 |- dockerfile/
     |- Dockerfile
package1
サンプル用モジュールです。
package2
サンプル用サブモジュールです。
docs_src
documentを作るための作業ディレクトリです。
docs
htmlを保存するためのディレクトリです。
dockerfile
今回試した環境のDockerファイルが置いてあります。
開始時の構成
project/
 |- package1/
 |   |- __init__.py
 |   |- package1.py
 |   |- package2/
 |       |- __init__.py
 |       |- package2.py
 |- docs/
 |- main.py
 |- README.md
手順
このページを参考にさせていただいました。
環境構築
以下のコマンドでsphinxをインストールします。
sphinx_rtd_themeは見た目をイイ感じにするときに使います。
$ pip install sphinx sphinx_rtd_theme
※サンプルのDockerfileを使う場合には既にインストール済みなので不用。
作業ディレクトリ生成
sphinx-quickstartを利用して、html作成の作業ディレクトリを生成します。
projectディレクトリにいる状態で以下を実行します。
> sphinx-quickstart docs_src
すると色々聞かれるので回答します。
> Separate source and build directories (y/n) [n]:
ビルドとソースのディレクトリを分けるか聞かれています。
今回は分けたいので、そのままEnterを押下。
> Project name: test
> Author name(s): Bob
プロジェクト名と作者の名前。
ここは省略不可なので適当に入力してください。
> Project release []:
> Project language [en]:
バージョンと言語。
そのままEnterでOKです。
conf.pyの編集
ここまででやると、docs_srcディレクトリ下にconf.pyができています。
conf.pyを開いて、ドキュメント生成のための設定を追記します。
pythonプロジェクトへのパスを通す
conf.pyから見たパスになるので、一つ上のディレクトリを指定します。
# import os
# import sys
# sys.path.insert(0, os.path.abspath('.'))
import os
import sys
sys.path.insert(0, os.path.abspath('..'))
拡張機能の設定
extensions = [
]
extensions = [
    'sphinx.ext.autodoc',
    'sphinx.ext.napoleon',
    'sphinx.ext.githubpages'
]
sphinx.ext.autodoc
docstringを自動で読み込むために必要。
sphinx.ext.napoleon
Googleスタイルのdocstringを整形するために必要。
sphinx.ext.githubpages
作成するhtmlドキュメントをGitHub Pagesで公開するために必要。
テーマ変更
html_theme = 'alabaster'
html_theme = 'sphinx_rtd_theme'
他にも色々あります。
https://www.sphinx-doc.org/ja/1.4/theming.html
ドキュメント生成
rstファイル作成
sphinx-apidocを使用してhtmlの元となる、rstファイルを作成します。
以下のコマンドを実行するとdocs_src下にモジュール毎のrstファイルが作成されます。
$ sphinx-apidoc -f -o ./docs_src .
htmlページ作成
先ほど作ったrstを使用して、docsディレクトリ下にhtmlファイルを作成します。
GitHub Pagesでページを公開するためには、docsディレクトリ下にhtmlファイルを作成しなければならない事に注意。
$ sphinx-build -b html ./docs_src ./docs
ドキュメント確認
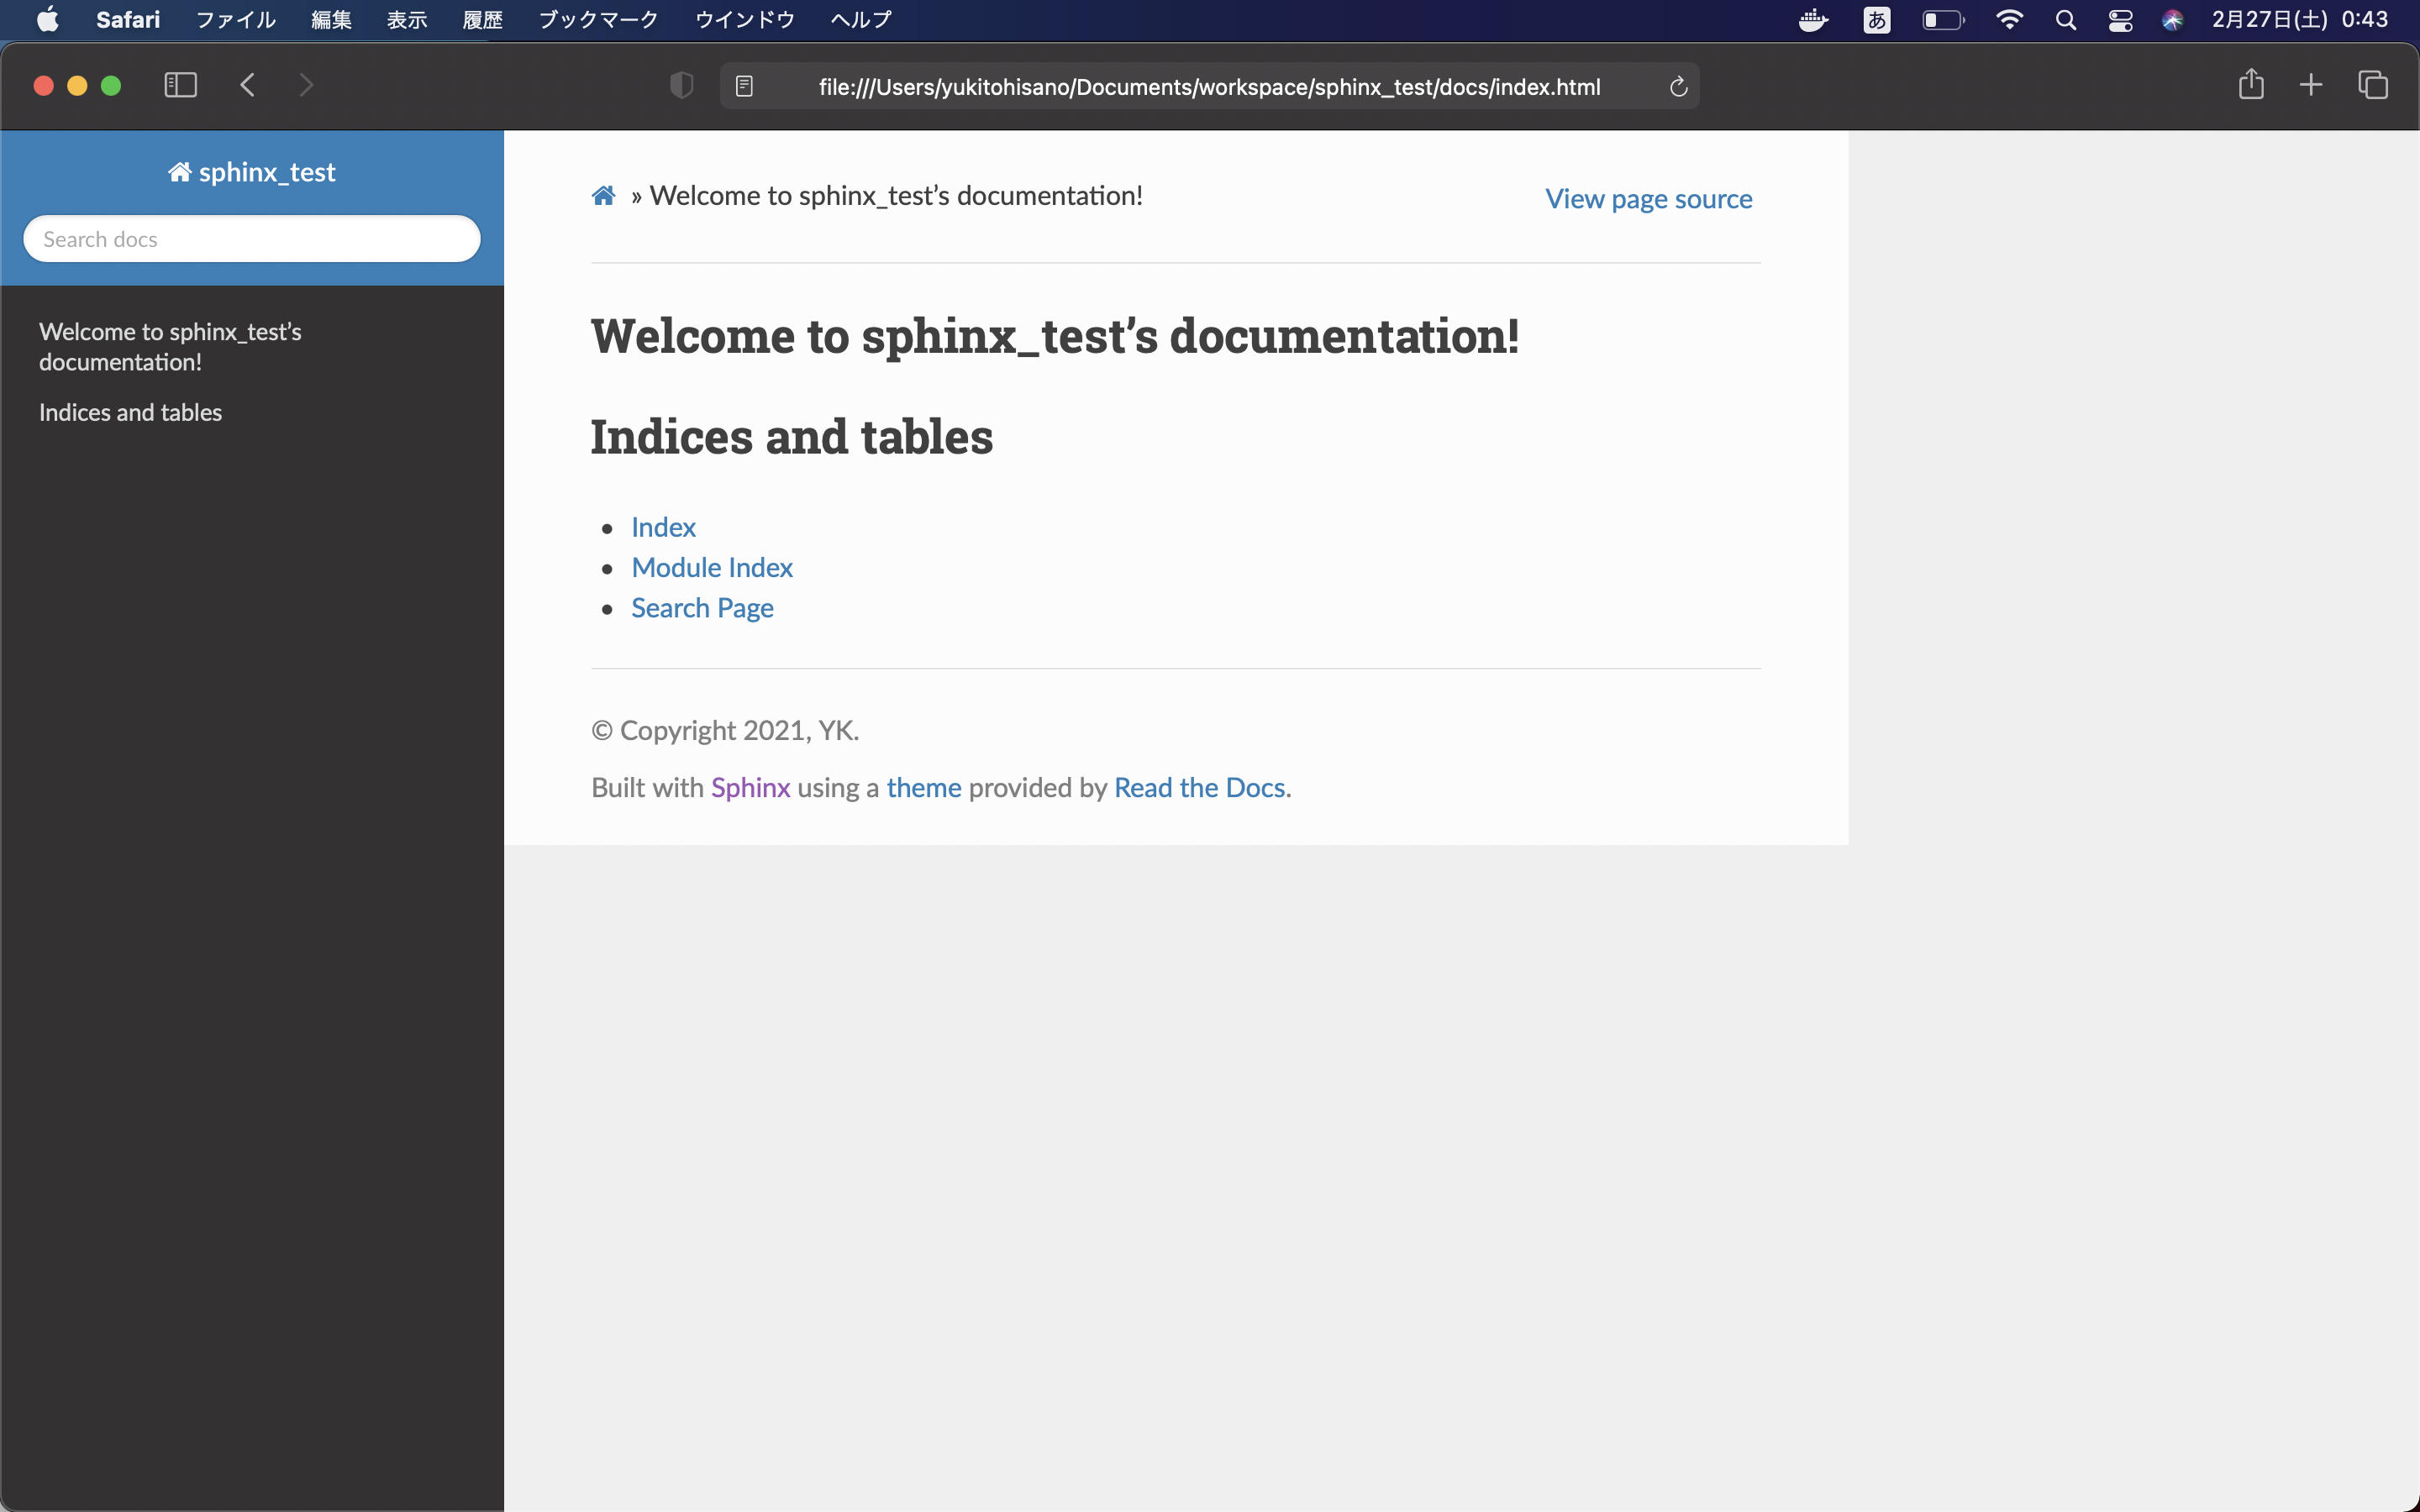
作成されたindex.htmlを適当なブラウザで開いてください。
こんな感じに表示されていれば成功です。

Githubで公開
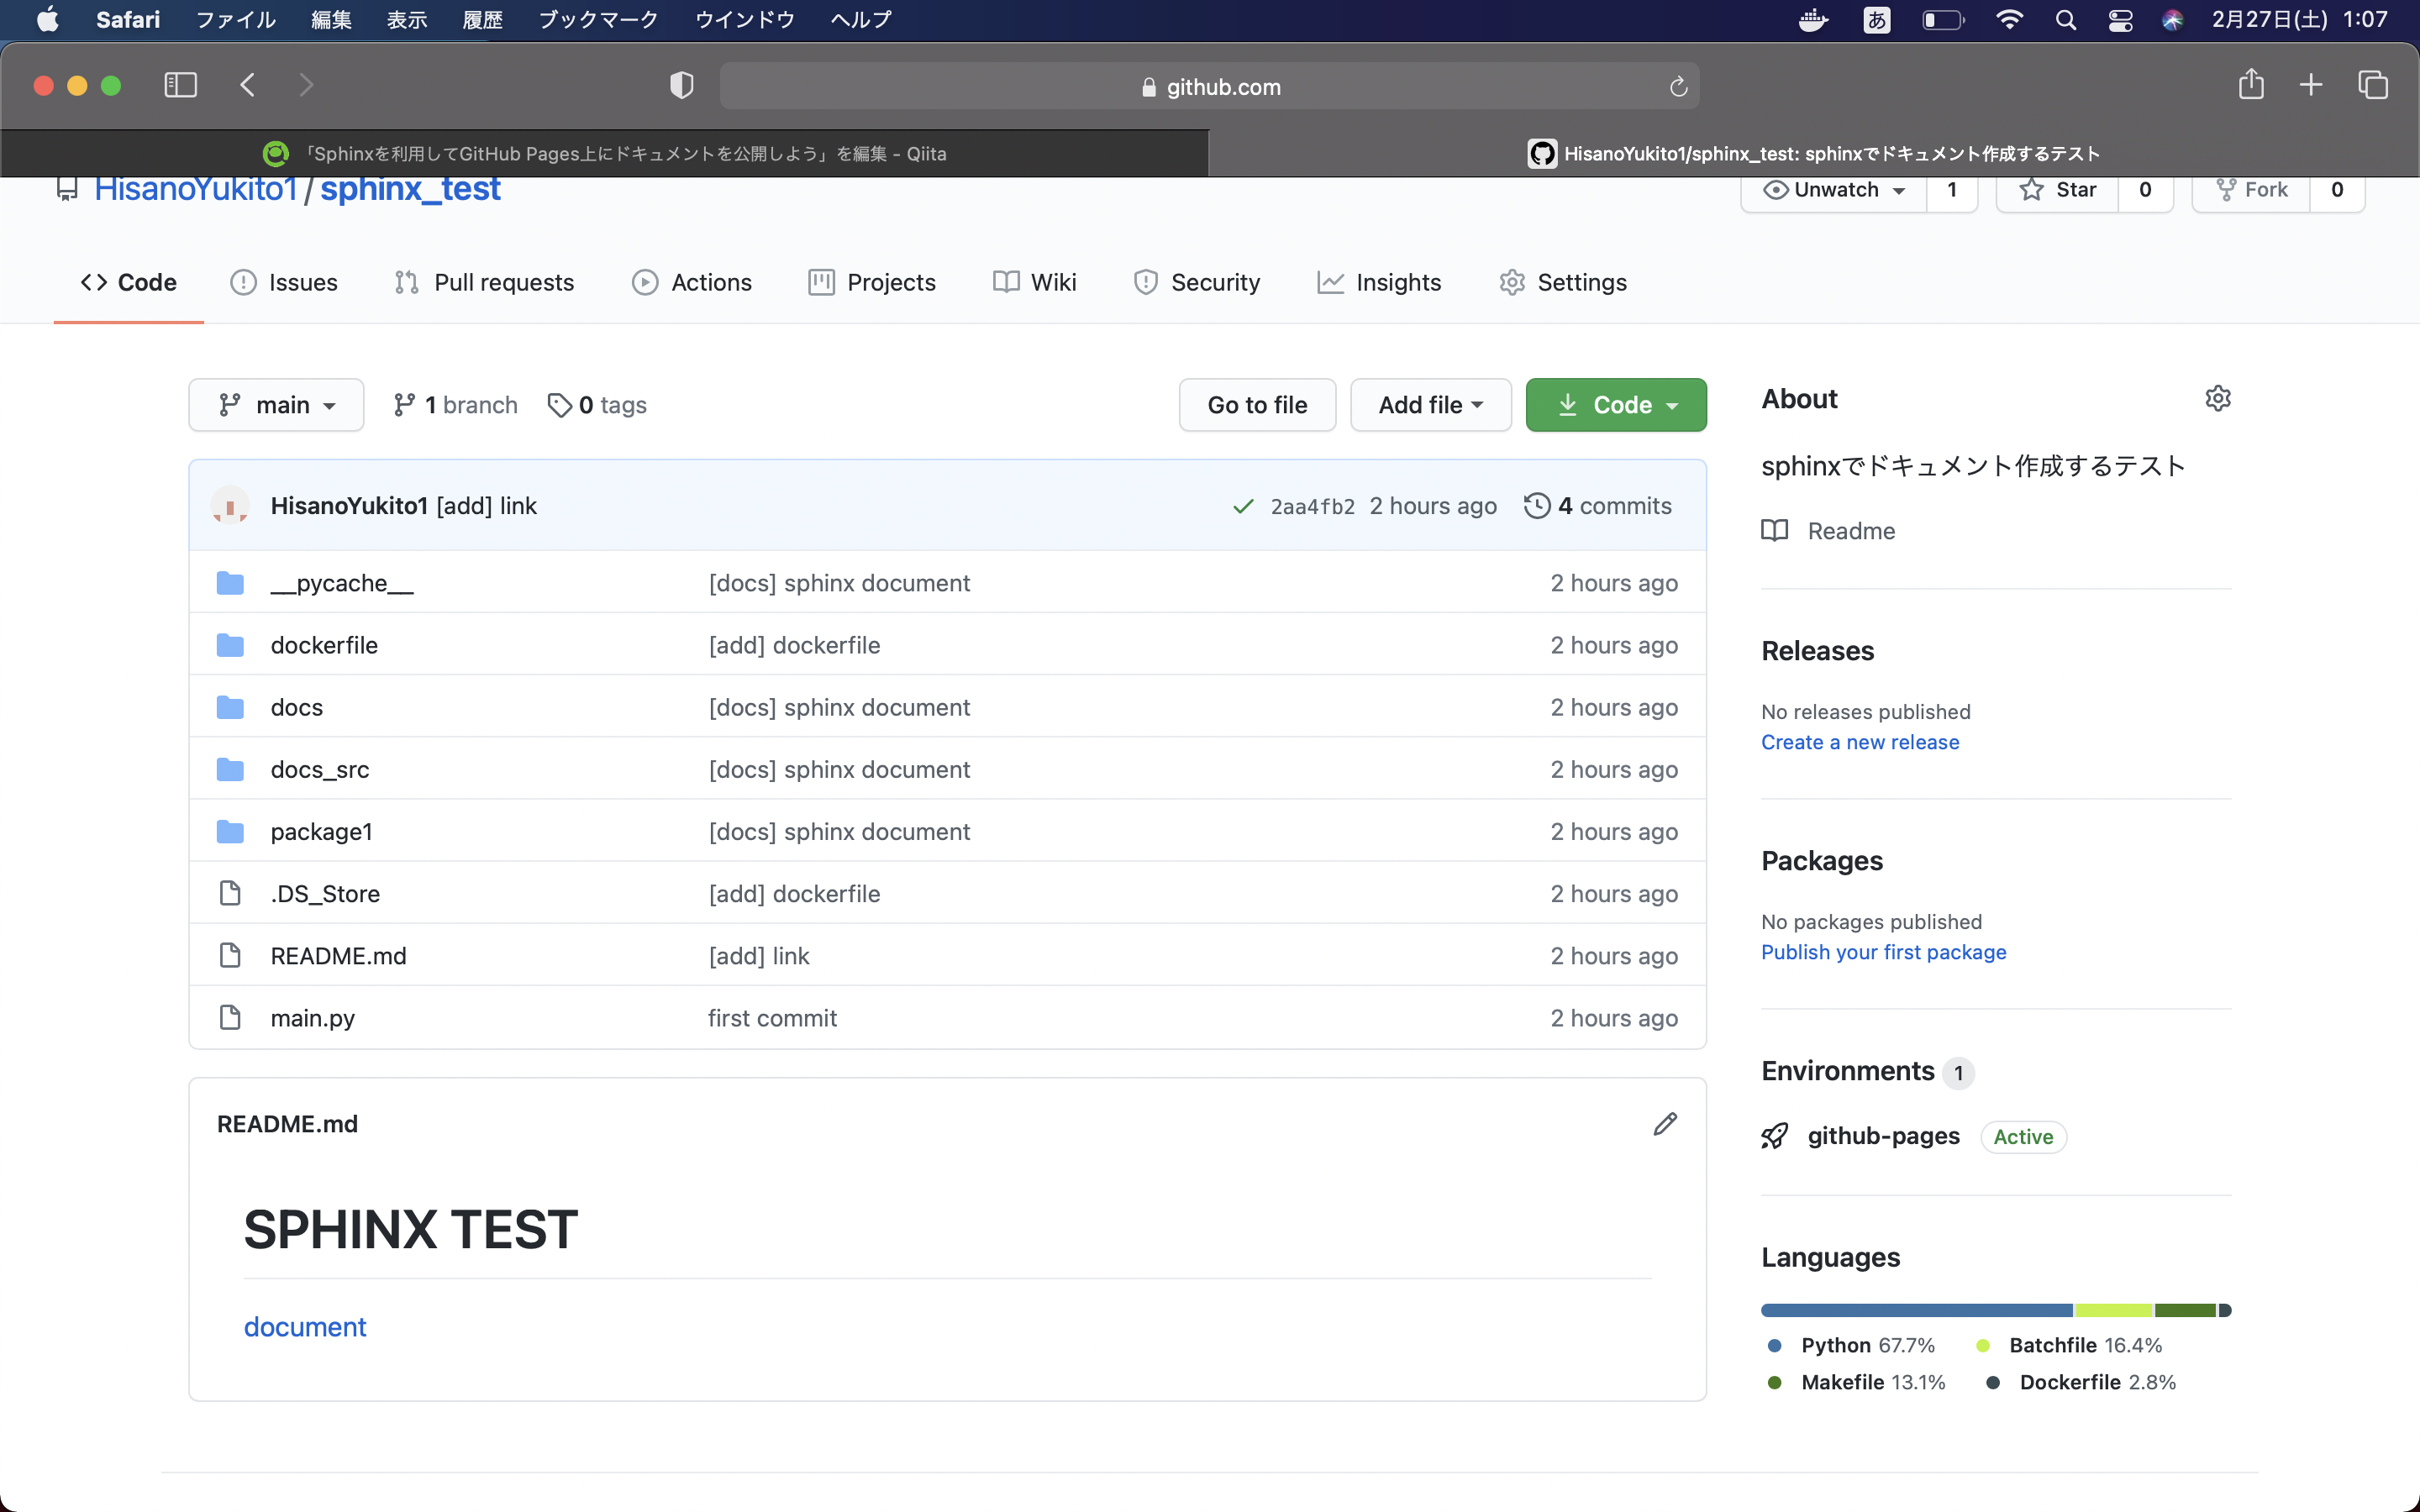
ここまでできたら、プロジェクトをgithubへプッシュ。
githubのプロジェクトページへ移動し、Settingsをクリック。
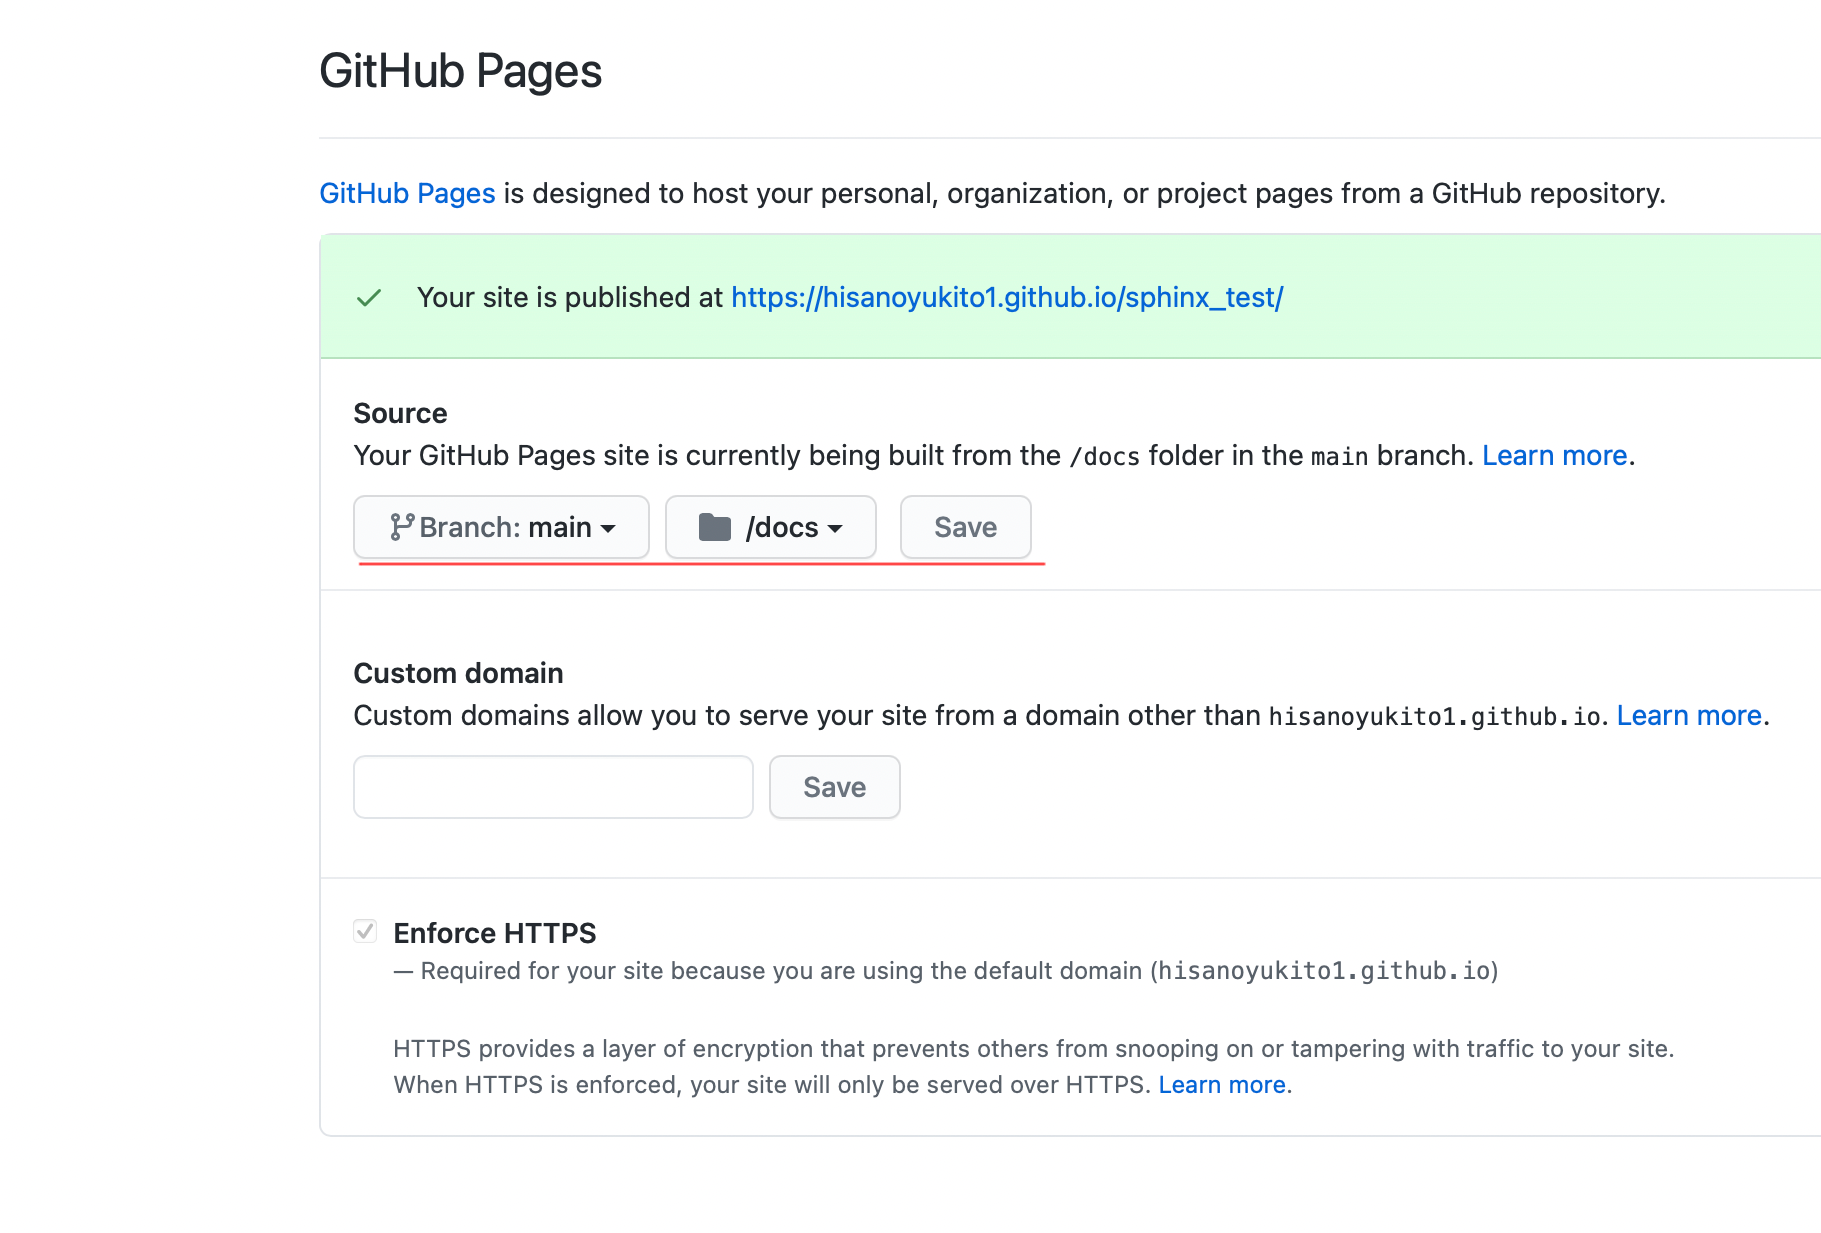
下にスクロールして、Github Pagesの項目を探します。
見つけたら、Sourceをmain branchのdocsディレクトリに変更します。
ここに記載されている、公開したいGitHub Pagesのアドレスはコピーしておきます。
最後に、README.mdにGithub Pagesのアドレスを貼り付けて完了です!!

まとめ
これでドキュメント自動化への第一歩が踏み出せた。

