Artillery は yaml ファイルに宣言的にシナリオを記述し、シンプルなインタフェースで負荷をかけることができる Nodejs 製の負荷テストツールです。
本記事では Artillery を使用して簡単に WebSocket サーバの負荷テストを実行する方法を紹介します。
最小構成の WebSocket サーバ
まずはじめに WebSocket サーバを実装しましょう。今回は Node.js を使用します。
必要最小限の機能だけを提供します。ws ライブラリを使用して簡単に実装しましょう。
const WebSocket = require("ws");

const wss = new WebSocket.Server({ port: 3000 }, () => {
  console.log("server is now listening localhost:3000");
});

let connections = [];

wss.on("connection", ws => {
  connections.push(ws);
  console.log(`new connection established. connections: ${connections.length}`);
  ws.on("close", () => {
    console.log(`connection closeed: ${connections.length}`);
    connections = connections.filter((conn, i) => conn !== ws);
  });
  ws.on("message", message => {
    broadcast(JSON.stringify(message));
  });
});

const broadcast = message => {
  connections.forEach((con, i) => {
    con.send(message);
  });
};
起動して以下のメッセージが表示されれば準備完了です。
$ node server.js
server is now listening localhost:3000
wscat で接続を確認する
サーバを起動したらまず wscat を使用して動作の確認をしましょう。wscat は npm でインストールできます。
$ npm install -g wscat
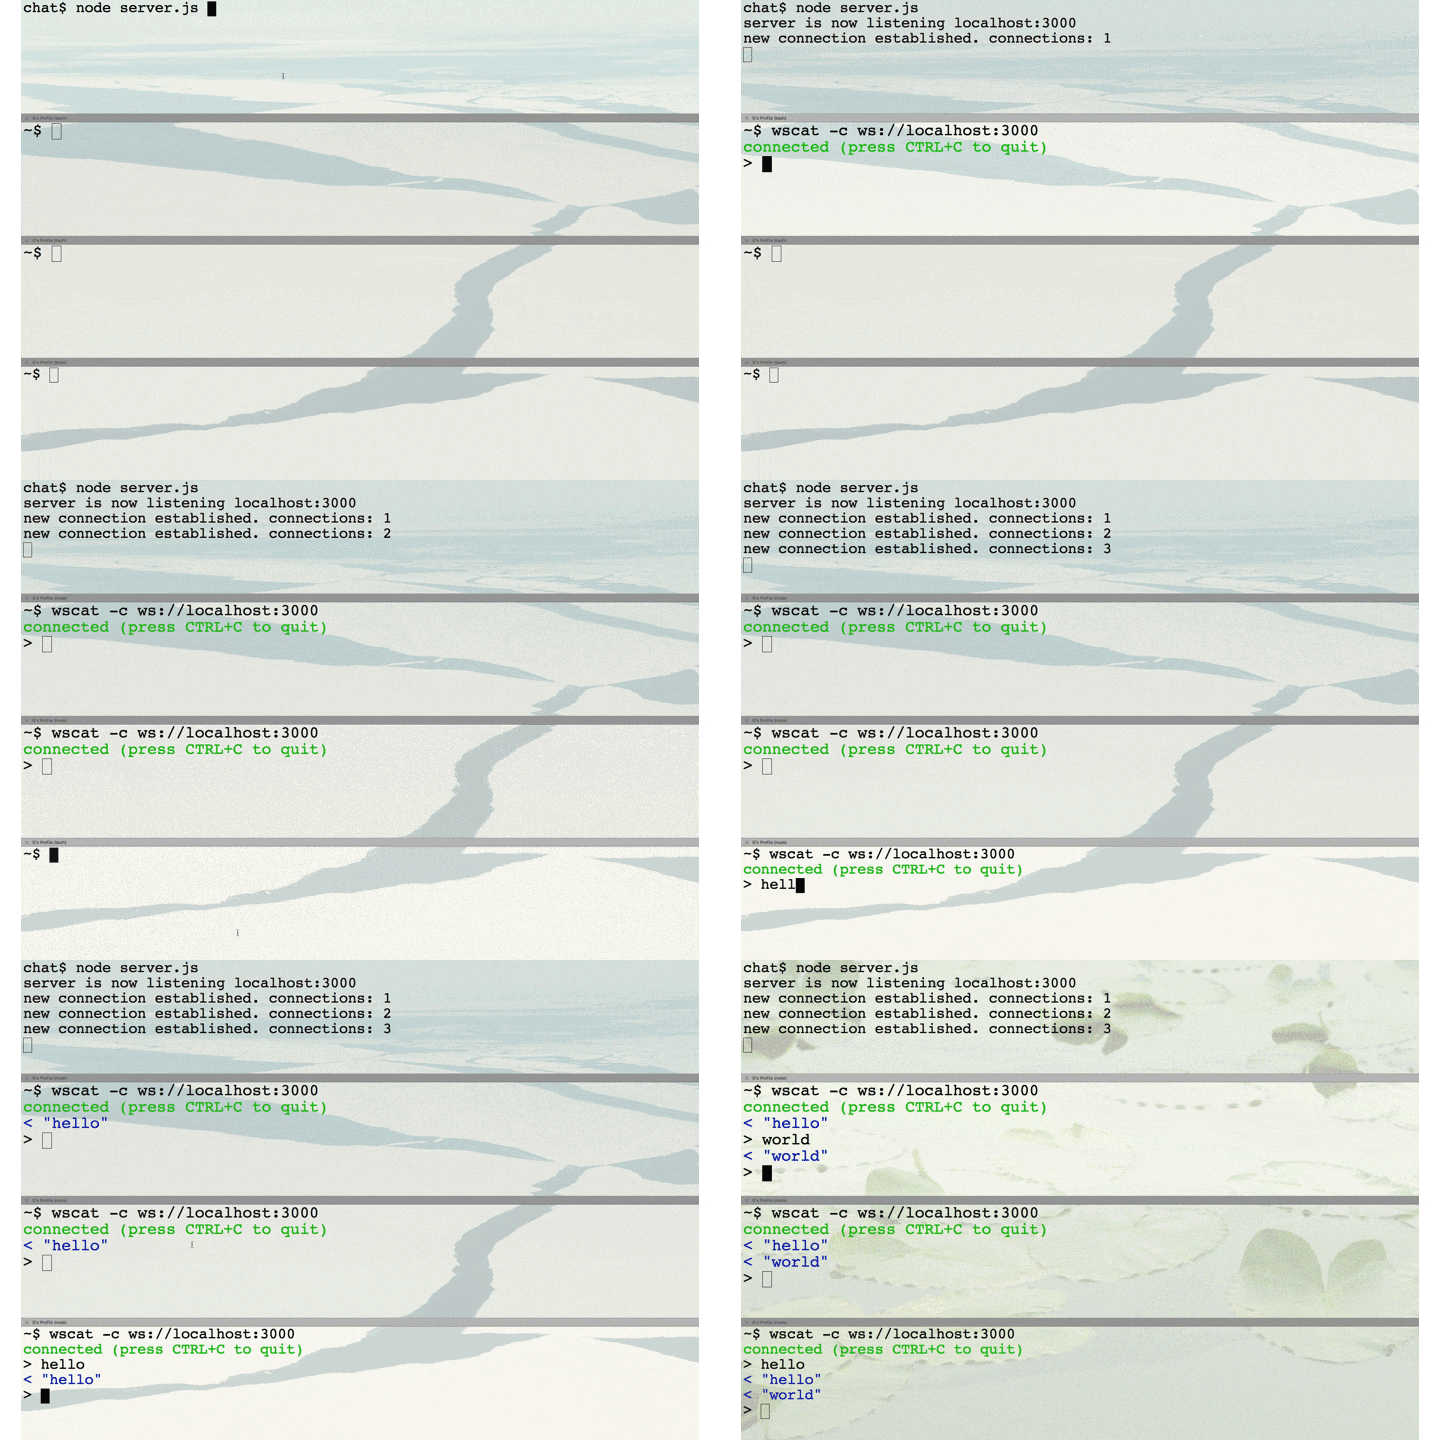
WebSocket サーバを起動し、wscat で接続したら任意のメッセージを送信してみましょう。1つのクライアントからの送信を受けて、他のクライアントへ broadcast していることがわかります。
Artillery を使用して負荷テストを実行する
さて、ようやく本題です。Artillery を使用して負荷テストをかけてみましょう。
最小限のシナリオファイルのサンプルです。シナリオファイルは senario.yml のような名前をつけておきます。
config:
  target: "ws://localhost:3000"
  phases:
    - duration: 20
      arrivalRate: 10
scenarios:
  - engine: "ws"
    flow:
      - send: "hello"
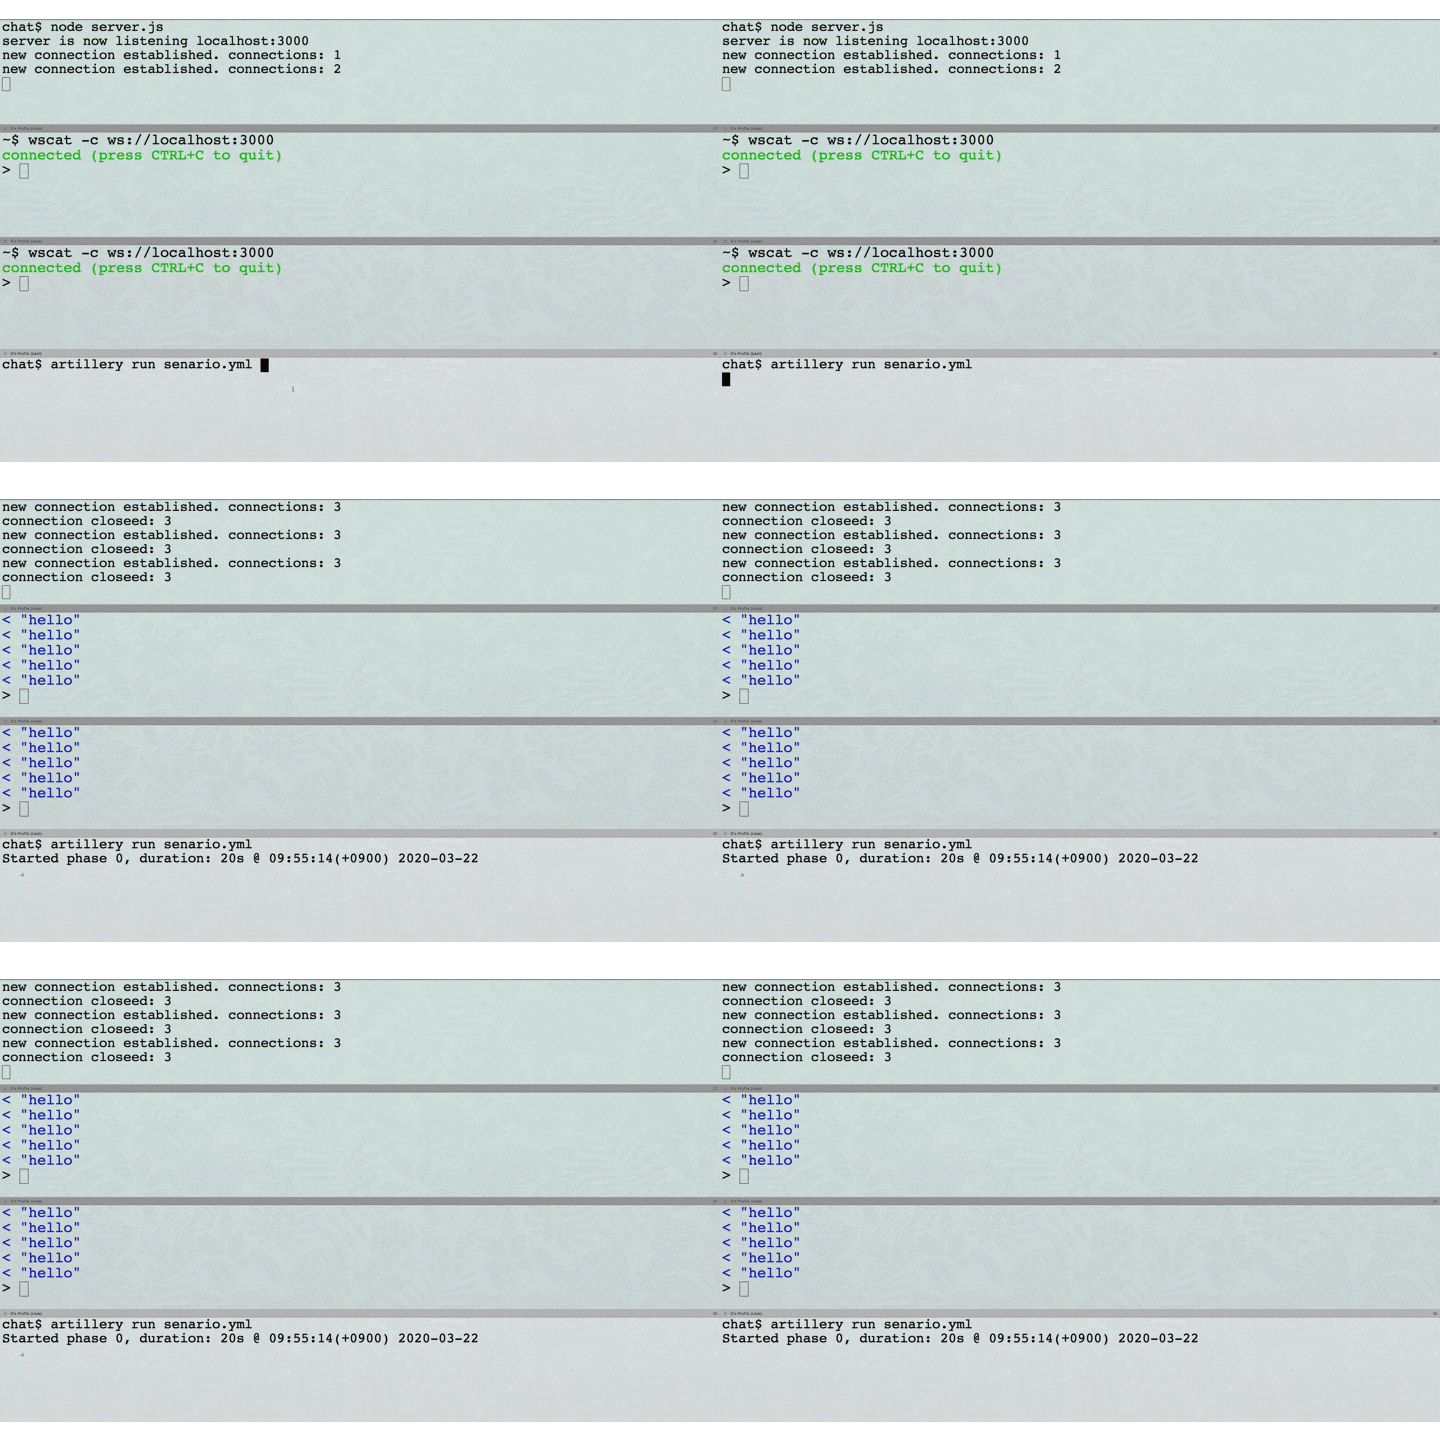
以下、コマンドで実行します。
$ artillery run senario.yml
アクティブなコネクション数を調整する
実際に WebSocket を用いたアプリケーションでは、常に多くのコネクションが張られていることが一般的です。上記のシナリオでは hello というメッセージを送ったらすぐにコネクションを切断してしまうので、常時アクティブなコネクションが少ない状態であまり現実的ではありません。まずは、think を指定してアクティブなコネクション数が増えるように調整しましょう。また、同じメッセージを繰り返し送信する loop も指定できます。
scenarios:
  - engine: "ws"
    flow:
      - send: "hello"
      - think: 1 # pause for 1 second
      - loop:
          - send: "world"
        count: 5
オブジェクトの送信に対応する
さて先ほどまでは string 形式のデータだけに限定していましたが、{"name":"john", "age":24} のようにオブジェクト形式で送信する方が良いこともあるでしょう。以下のように記述すれば、送信時に Stringify してくれます。
scenarios:
  - engine: "ws"
    flow:
      # the following will be stringified and sent as '{"name":"john","age":24}'
      - send:
          name: "john"
          age: 24
カスタムコードを使用してタイムスタンプを付与する
また、送信したタイムスタンプを付与したいこともあります。このようなケースに対応するためにはカスタムコードを使用して柔軟に値を差し込むことができます。
config:
  target: "ws://localhost:3000"
  processor: "./custom.js"
scenarios:
  - engine: "ws"
    flow:
      # custom code for timestanp
      - function: "createTimestampedObject"
      - send: "{{ data }}"
非常にシンプルに記述し、シュッと実装することができました。Artillery は WebSocket だけではなく、HTTPのプロトコルもサポートしています。本記事は公式ドキュメントから参照していますので、詳細に理解されたい方は一度ドキュメントに目を通してみるのも良いでしょう。
また、CircleCIで継続的に負荷テストを実行するTipsをこちらの記事で紹介していますのでぜひご参照ください。

