はじめに
DreamHanksのMOONです。
前回は画面を遷移させる方法と遷移させる場合、値も送る方法について説明をしました。
3. 【Android/Kotlin】画面遷移
今回は「リストビュー」というViewについて説明をしていきます。
ListViewとは
ListViewは、スクロール可能な項目を表す時に使用されるビューグループです。
リストビューを使うためには下記の項目が必要です。
・データークラス
・xmlにリストビュー
・アイテム作成
・アダプター作成
・アダプター設定
ListView追加
xml生成及びListView追加
xmlを生成し、リストビューを追加します。
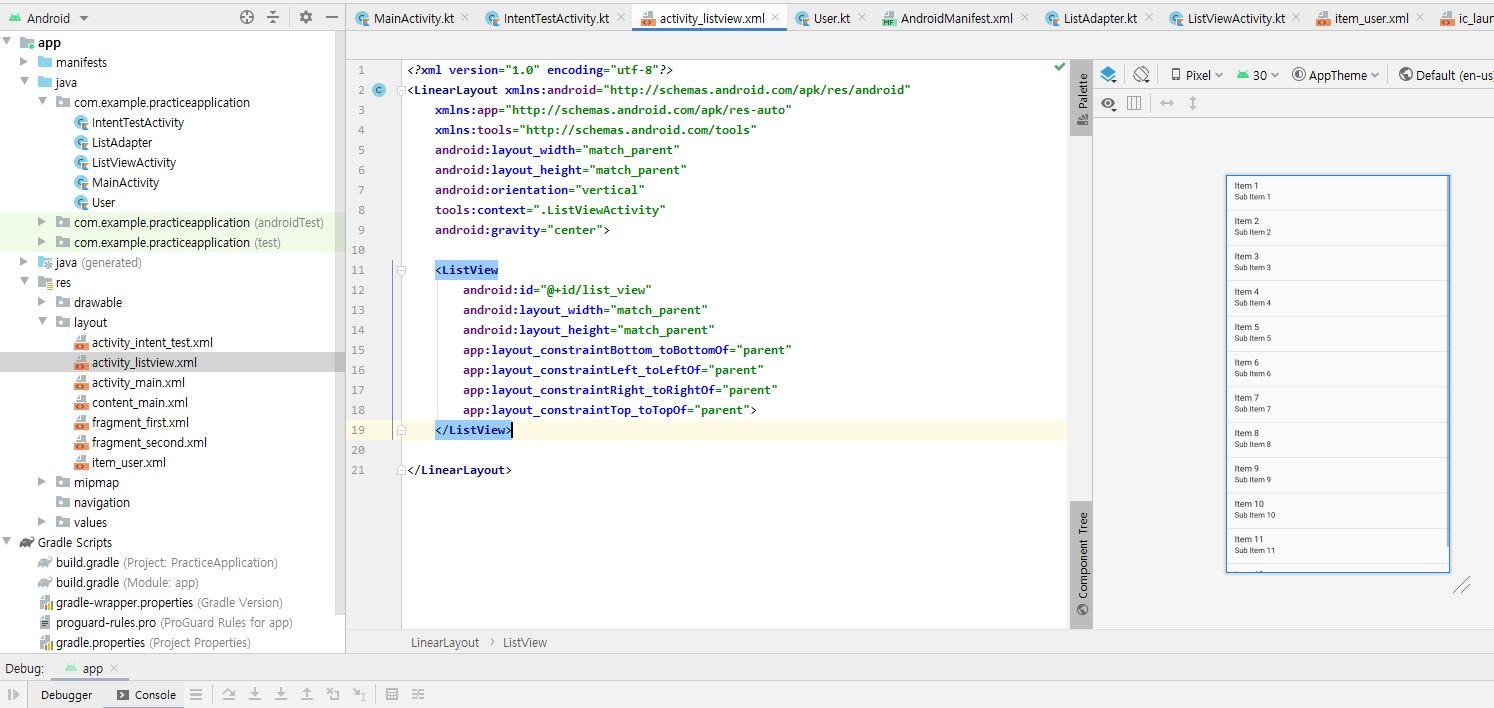
activity_listview.xml
<?xml version="1.0" encoding="utf-8"?>
<LinearLayout xmlns:android="http://schemas.android.com/apk/res/android"
    xmlns:app="http://schemas.android.com/apk/res-auto"
    xmlns:tools="http://schemas.android.com/tools"
    android:layout_width="match_parent"
    android:layout_height="match_parent"
    android:orientation="vertical"
    tools:context=".ListViewActivity"
    android:gravity="center">

    <ListView
        android:id="@+id/list_view"
        android:layout_width="match_parent"
        android:layout_height="match_parent"
        app:layout_constraintBottom_toBottomOf="parent"
        app:layout_constraintLeft_toLeftOf="parent"
        app:layout_constraintRight_toRightOf="parent"
        app:layout_constraintTop_toTopOf="parent">
    </ListView>

</LinearLayout>
データークラス追加
データークラスを追加(テストするため、ユーザー(名前、メール)のクラス)
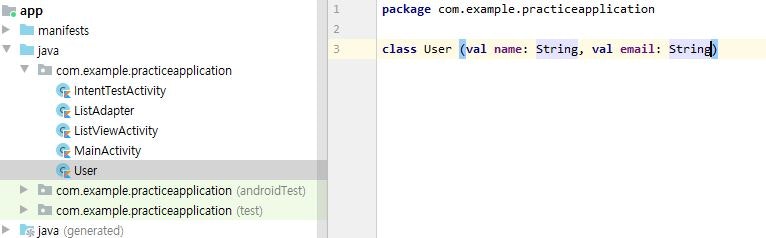
User.kt
package com.example.practiceapplication

class User (val name: String, val email: String)
アイテムのxml追加
リストビューに表示されるアイテムのxmlを追加
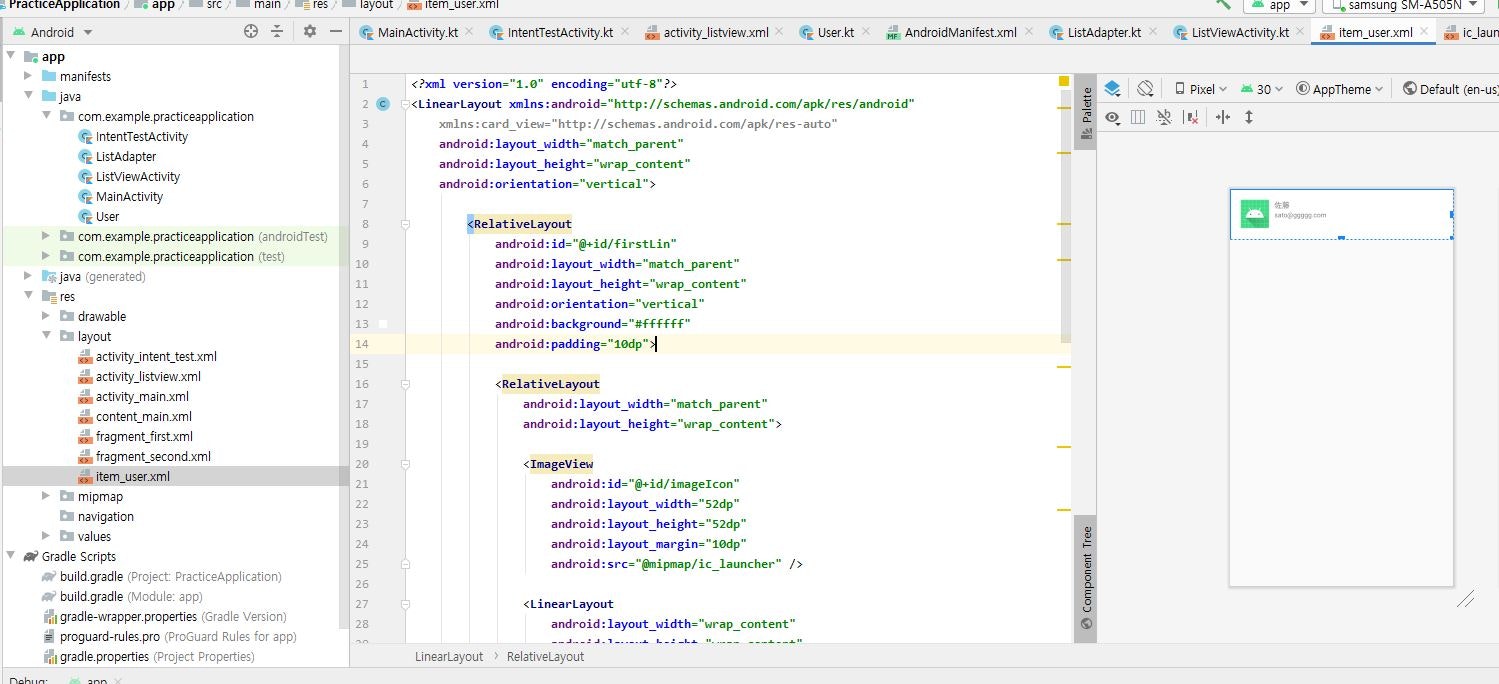
item_user.xml
<?xml version="1.0" encoding="utf-8"?>
<LinearLayout xmlns:android="http://schemas.android.com/apk/res/android"
    xmlns:card_view="http://schemas.android.com/apk/res-auto"
    android:layout_width="match_parent"
    android:layout_height="wrap_content"
    android:orientation="vertical">

        <RelativeLayout
            android:id="@+id/firstLin"
            android:layout_width="match_parent"
            android:layout_height="wrap_content"
            android:orientation="vertical"
            android:background="#ffffff"
            android:padding="10dp">

            <RelativeLayout
                android:layout_width="match_parent"
                android:layout_height="wrap_content">

                <ImageView
                    android:id="@+id/imageIcon"
                    android:layout_width="52dp"
                    android:layout_height="52dp"
                    android:layout_margin="10dp"
                    android:src="@mipmap/ic_launcher" />

                <LinearLayout
                    android:layout_width="wrap_content"
                    android:layout_height="wrap_content"
                    android:layout_gravity="center"
                    android:layout_marginTop="10dp"
                    android:layout_toRightOf="@+id/imageIcon"
                    android:orientation="vertical">


                    <TextView
                        android:id="@+id/name_tv"
                        android:layout_width="match_parent"
                        android:layout_height="wrap_content"
                        android:textSize="14sp"
                        android:text="佐藤" />

                    <TextView
                        android:id="@+id/email_tv"
                        android:layout_width="match_parent"
                        android:layout_height="wrap_content"
                        android:textSize="12sp"
                        android:text="sato@ggggg.com"/>
                </LinearLayout>

            </RelativeLayout>


        </RelativeLayout>

</LinearLayout>
Adapter追加
リストビューとデーターのアイテム間の連結するためにアダプター追加
ListAdapter.kt
package com.example.practiceapplication

import android.content.Context
import android.view.LayoutInflater
import android.view.View
import android.view.ViewGroup
import android.widget.BaseAdapter
import android.widget.TextView

class ListAdapter (val context: Context, val UserList: ArrayList<User>) : BaseAdapter() {

    override fun getView(position: Int, convertView: View?, parent: ViewGroup?): View {
        val view: View = LayoutInflater.from(context).inflate(R.layout.item_user, null)
        val Name = view.findViewById<TextView>(R.id.name_tv)
        val Email = view.findViewById<TextView>(R.id.email_tv)

        val user = UserList[position]

        Name.text = user.name
        Email.text = user.email

        return view
    }

    override fun getItem(position: Int): Any {
        return UserList[position]
    }

    override fun getItemId(position: Int): Long {
        return 0
    }

    override fun getCount(): Int {
        return UserList.size
    }
}
Activity設定
Activityにリストビューとアダプターを作成及び設定
ListViewActivity.kt
package com.example.practiceapplication

import android.content.Intent
import androidx.appcompat.app.AppCompatActivity
import android.os.Bundle
import android.widget.*
import kotlinx.android.synthetic.main.activity_listview.*
import javax.xml.validation.Validator

class ListViewActivity : AppCompatActivity() {
    override fun onCreate(savedInstanceState: Bundle?) {
        super.onCreate(savedInstanceState)
        setContentView(R.layout.activity_listview)

        //ユーザーリストでデーターを追加
        var UserList = arrayListOf<User>(
            User("佐藤","sato@ggggg.com"),
            User("鈴木","suzuki@aaaaa.com"),
            User("高橋","takahasi@yyyyy.com"),
            User("伊藤","ito@fffff.com"),
            User("渡辺","watanabe@bbbbb.com"),
            User("山本","yamamoto@zzzzz.com"),
            User("中村","nakamura@ccccc.com"),
            User("小林","kobayasi@xxxxx.com"),
            User("加藤","gato@wwwww.com")
        )

        var list_view = findViewById<ListView>(R.id.list_view)
        //アダプターにユーザーリストを導入
        val Adapter = ListAdapter(this, UserList)
        //リストビューにアダプターを設定
        list_view.adapter = Adapter
    }
}
・ユーザーリストを作成し、データーをリストに追加します。
・アダプターにそのリストを設定します。
・リストビューに設定されているアダプターを設定します。
アプリ起動

終わりに
今回は「リストビュー」というViewについて説明をしました。
次回は「ダイアログ」について説明をしていきます。
5. 【Android/Kotlin】ダイアログ(Dialog)
最新内容については下記のリンク(DreamHanksのブログ)で確認することができます。
DreamHanksブログ(Android/Kotlinアプリ開発)