In this blog post, we are going to learn how to deploy flows using enebular.com on enebular-runtime-agents.
Installed enebular-runtime-agent on the device you want to deploy the flow? If no, quickly install it using the link, https://qiita.com/BSatyaKishore/items/3ee6cf9d5ad89310855d
STEP 1: Setting up on enebular.com
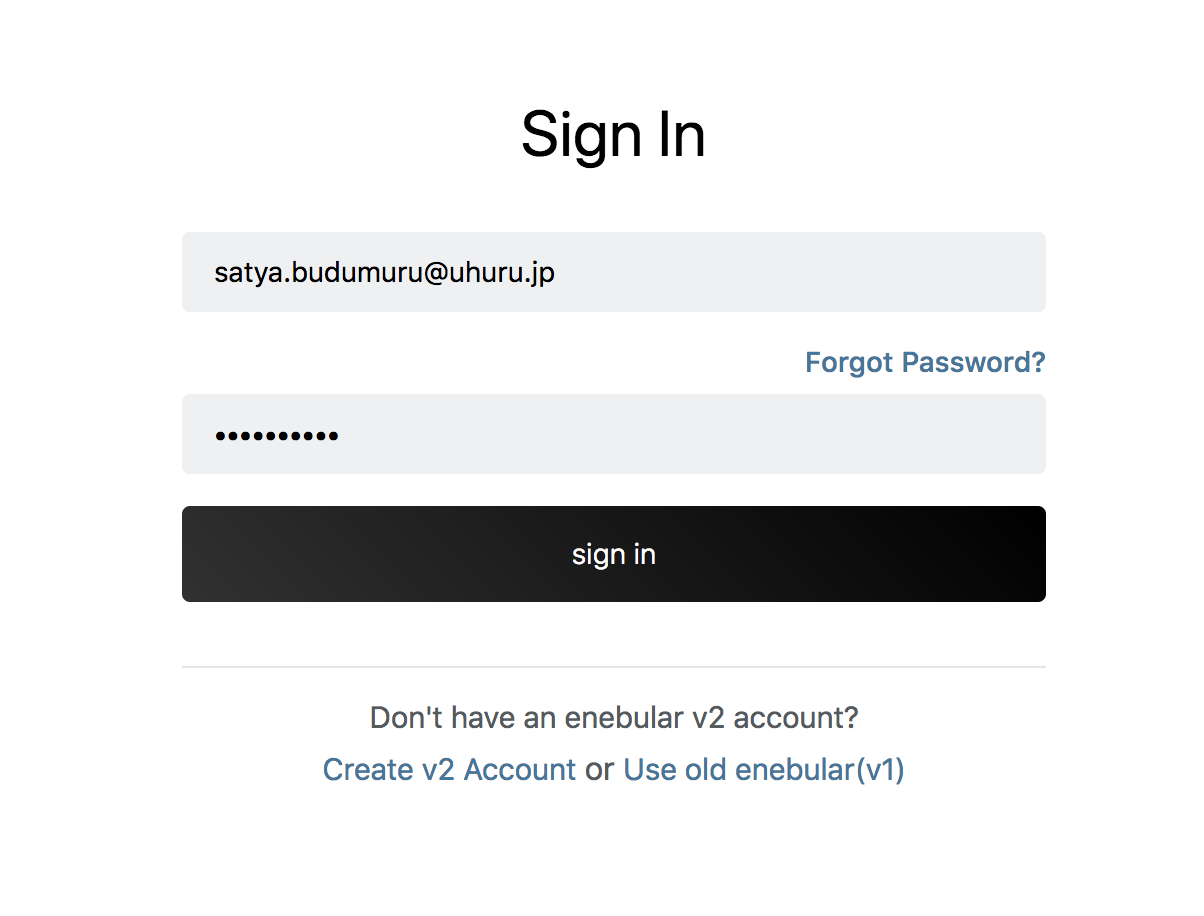
- Goto enebular.com. And sign in or sign up if needed and then sign in.
- You'll see something similar to this.
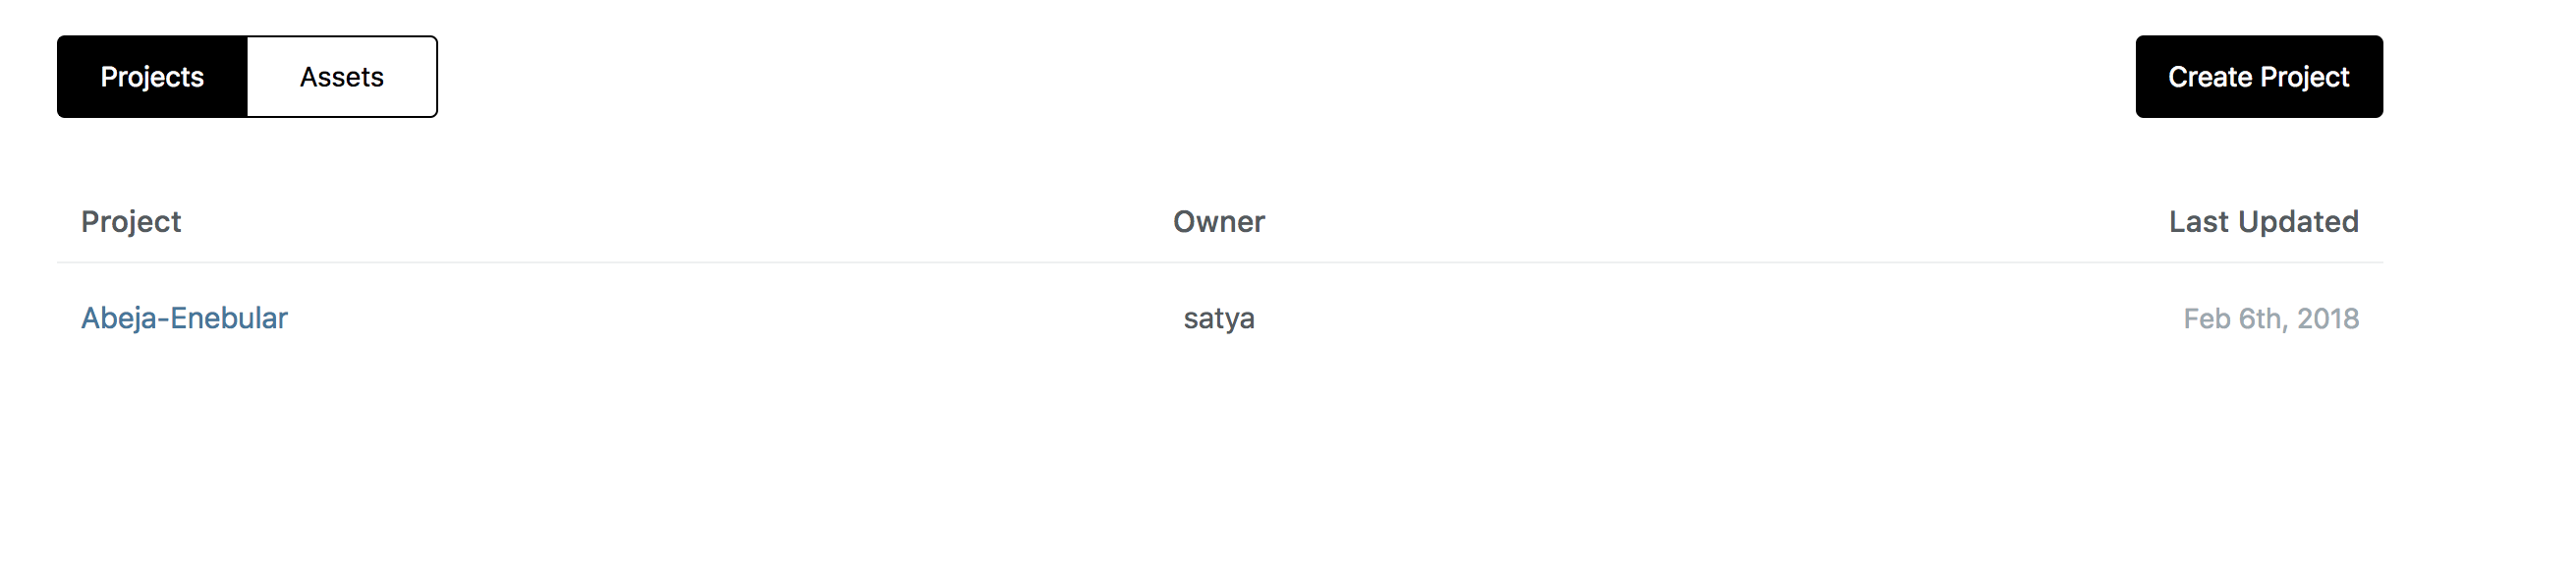
- Then click on Projects. You'll see something similar to this.
- Click on Create Project. And enter the name of your project. You'll see something similar to this.
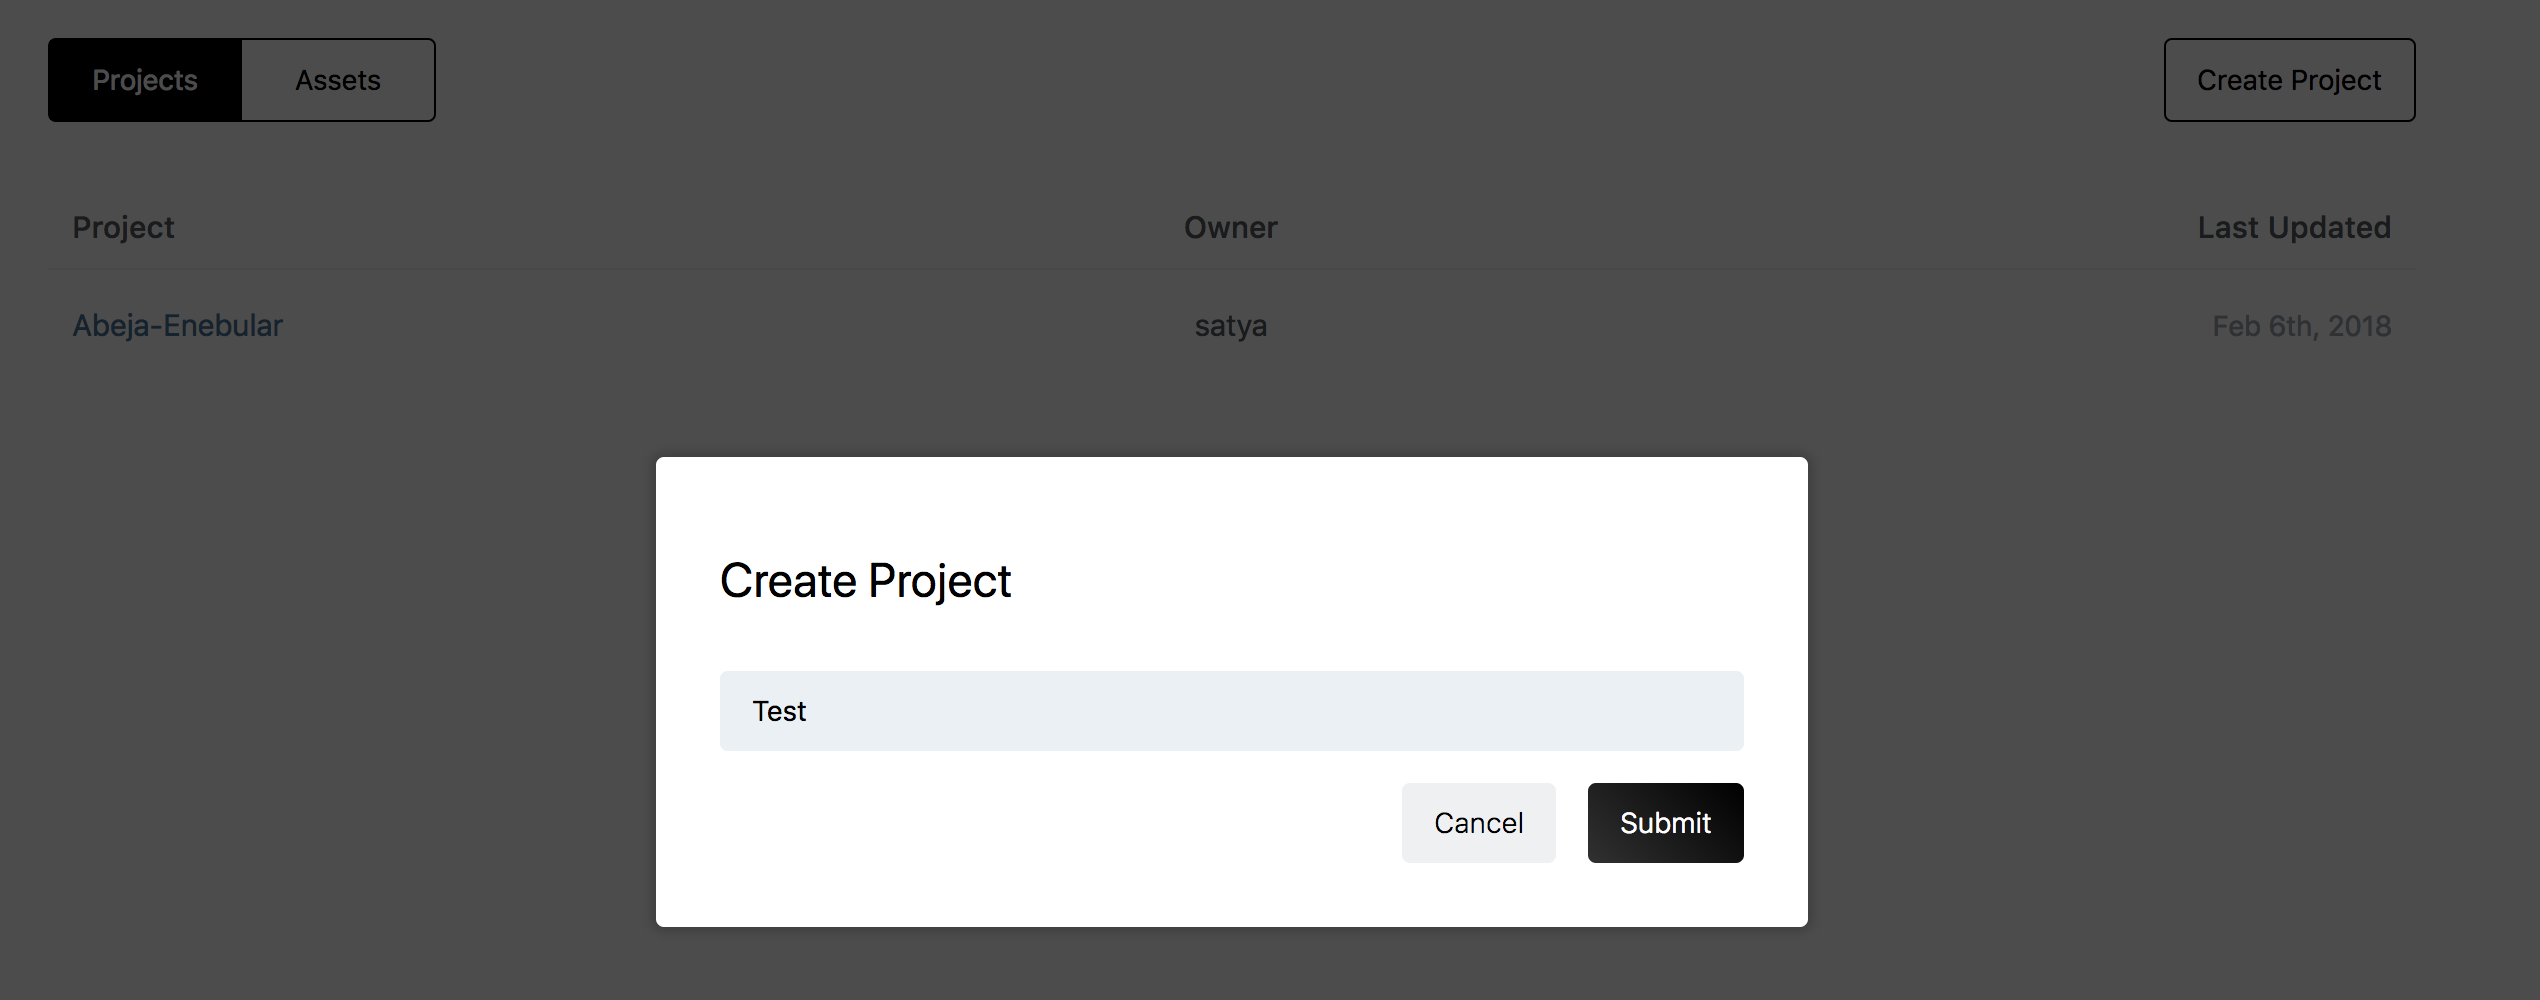
- Click on Submit. Something like below should appear.

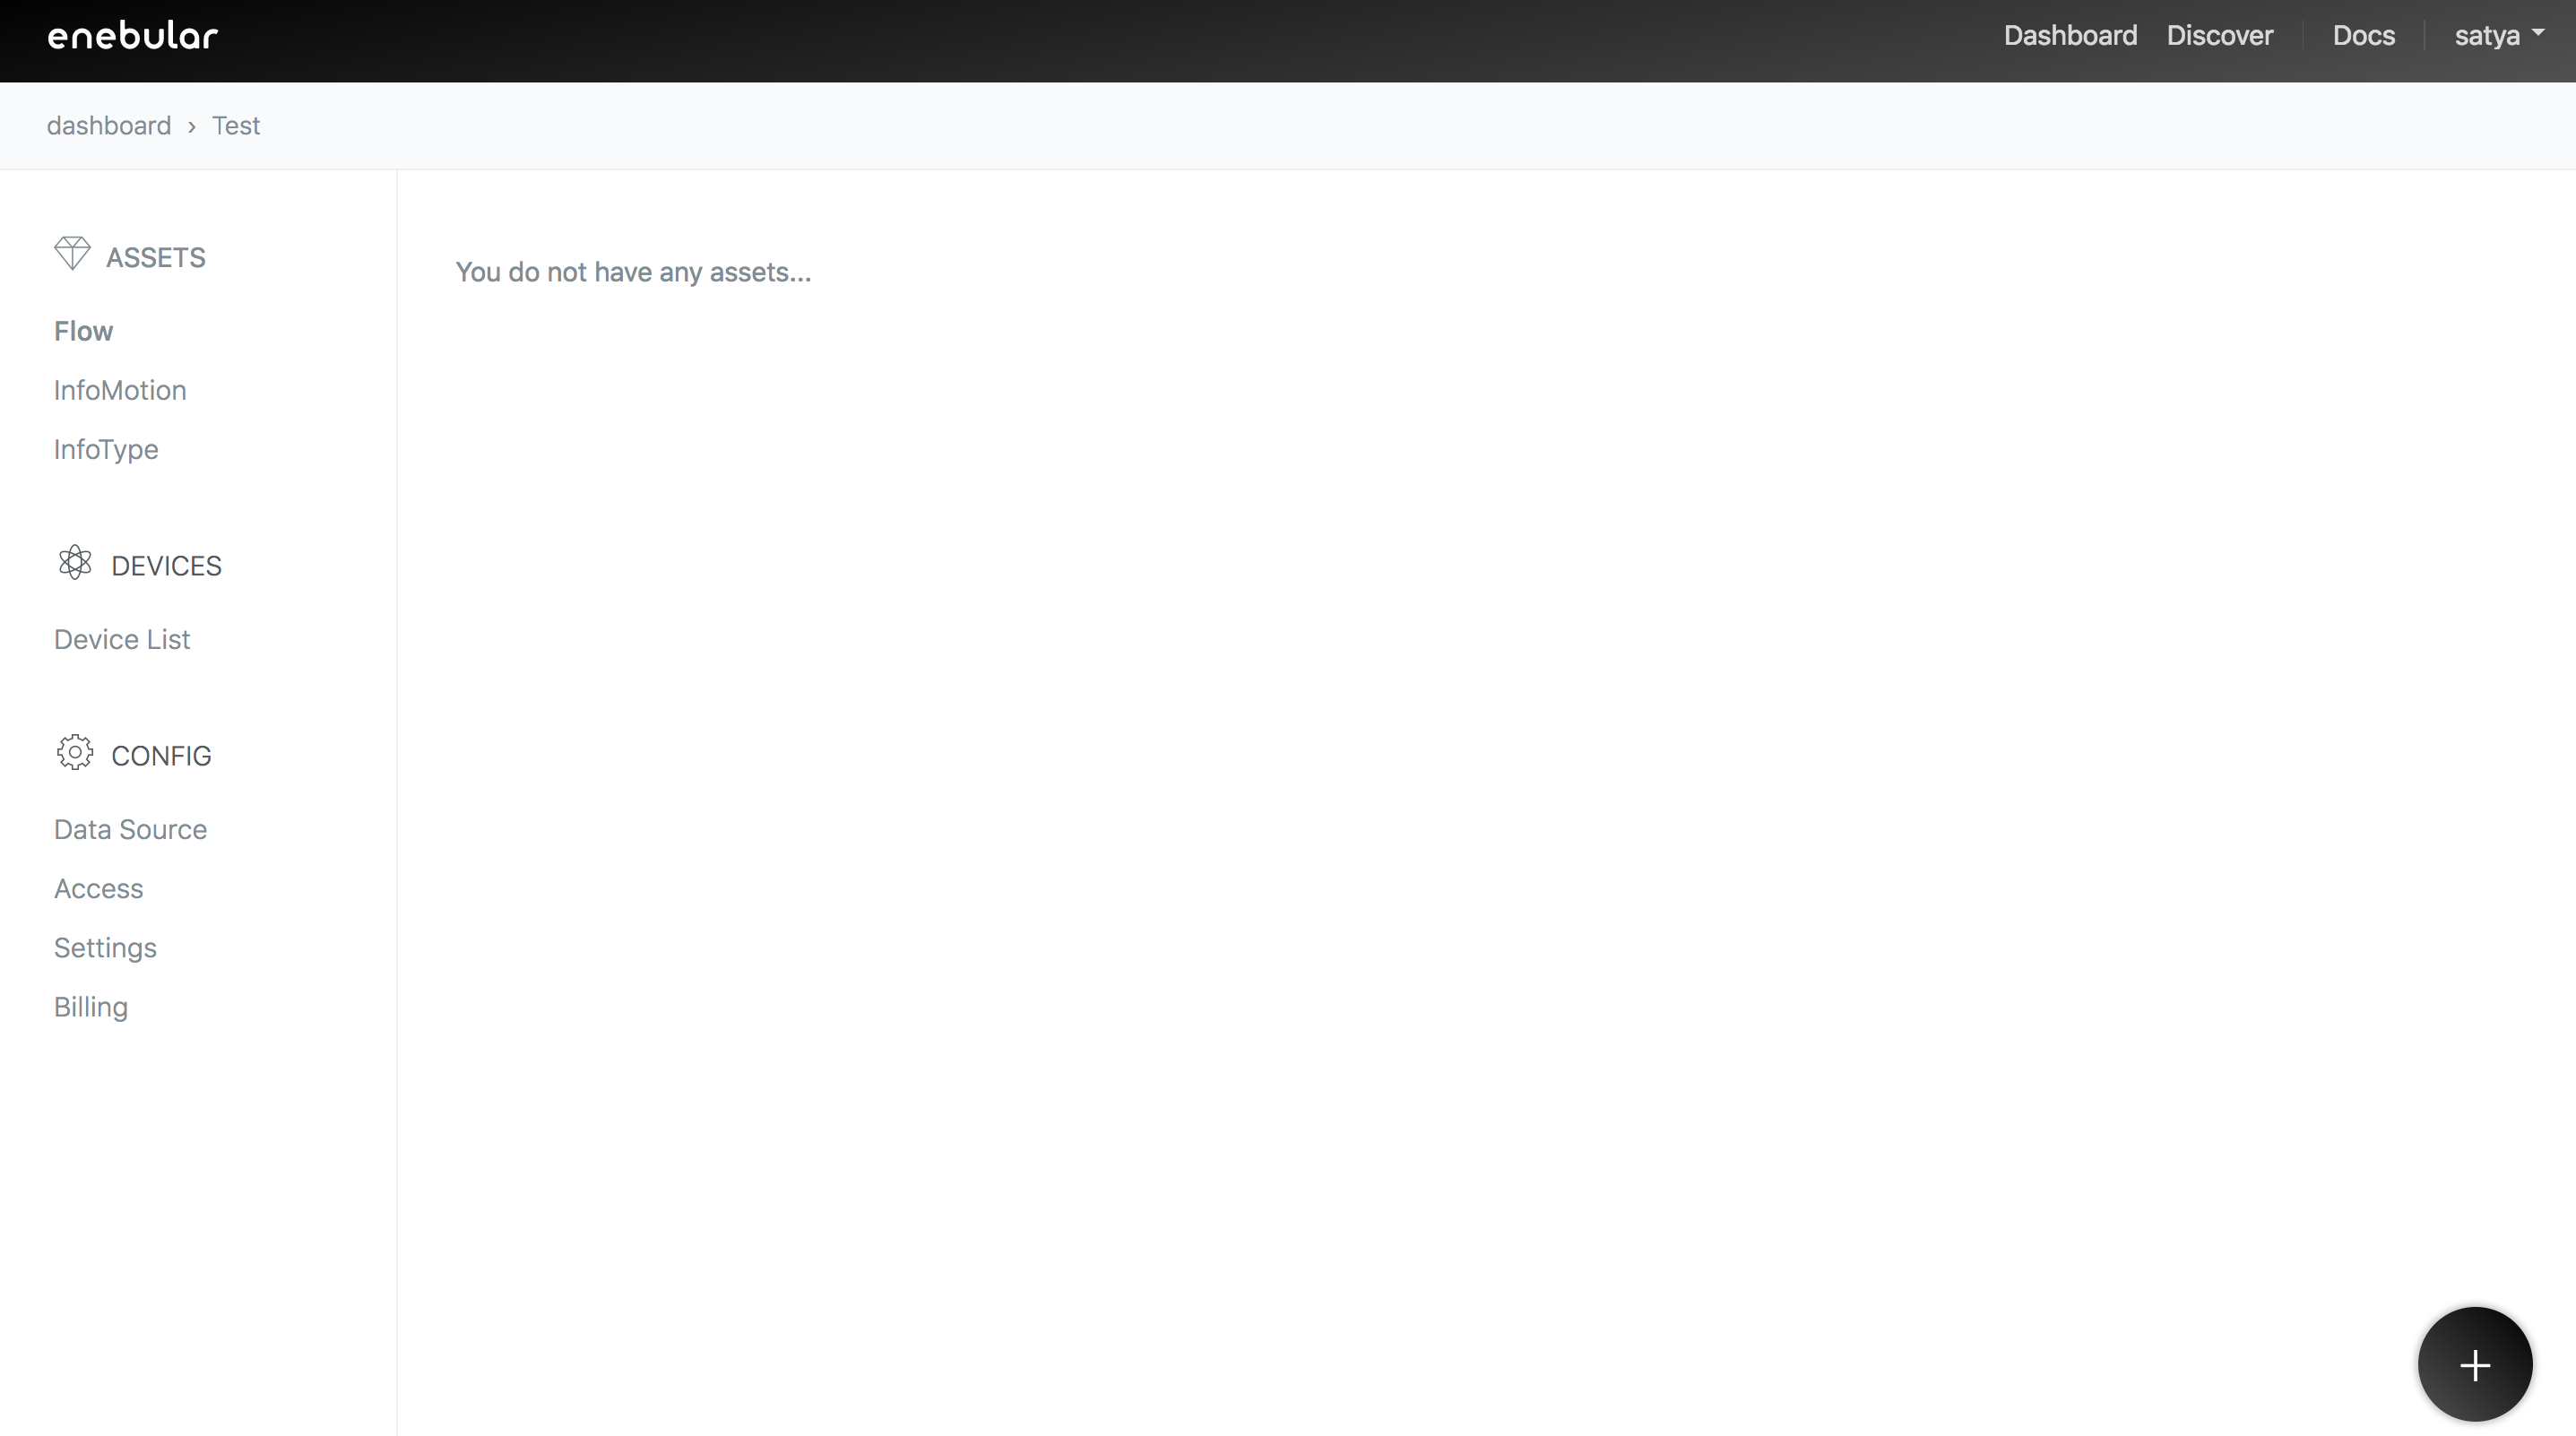
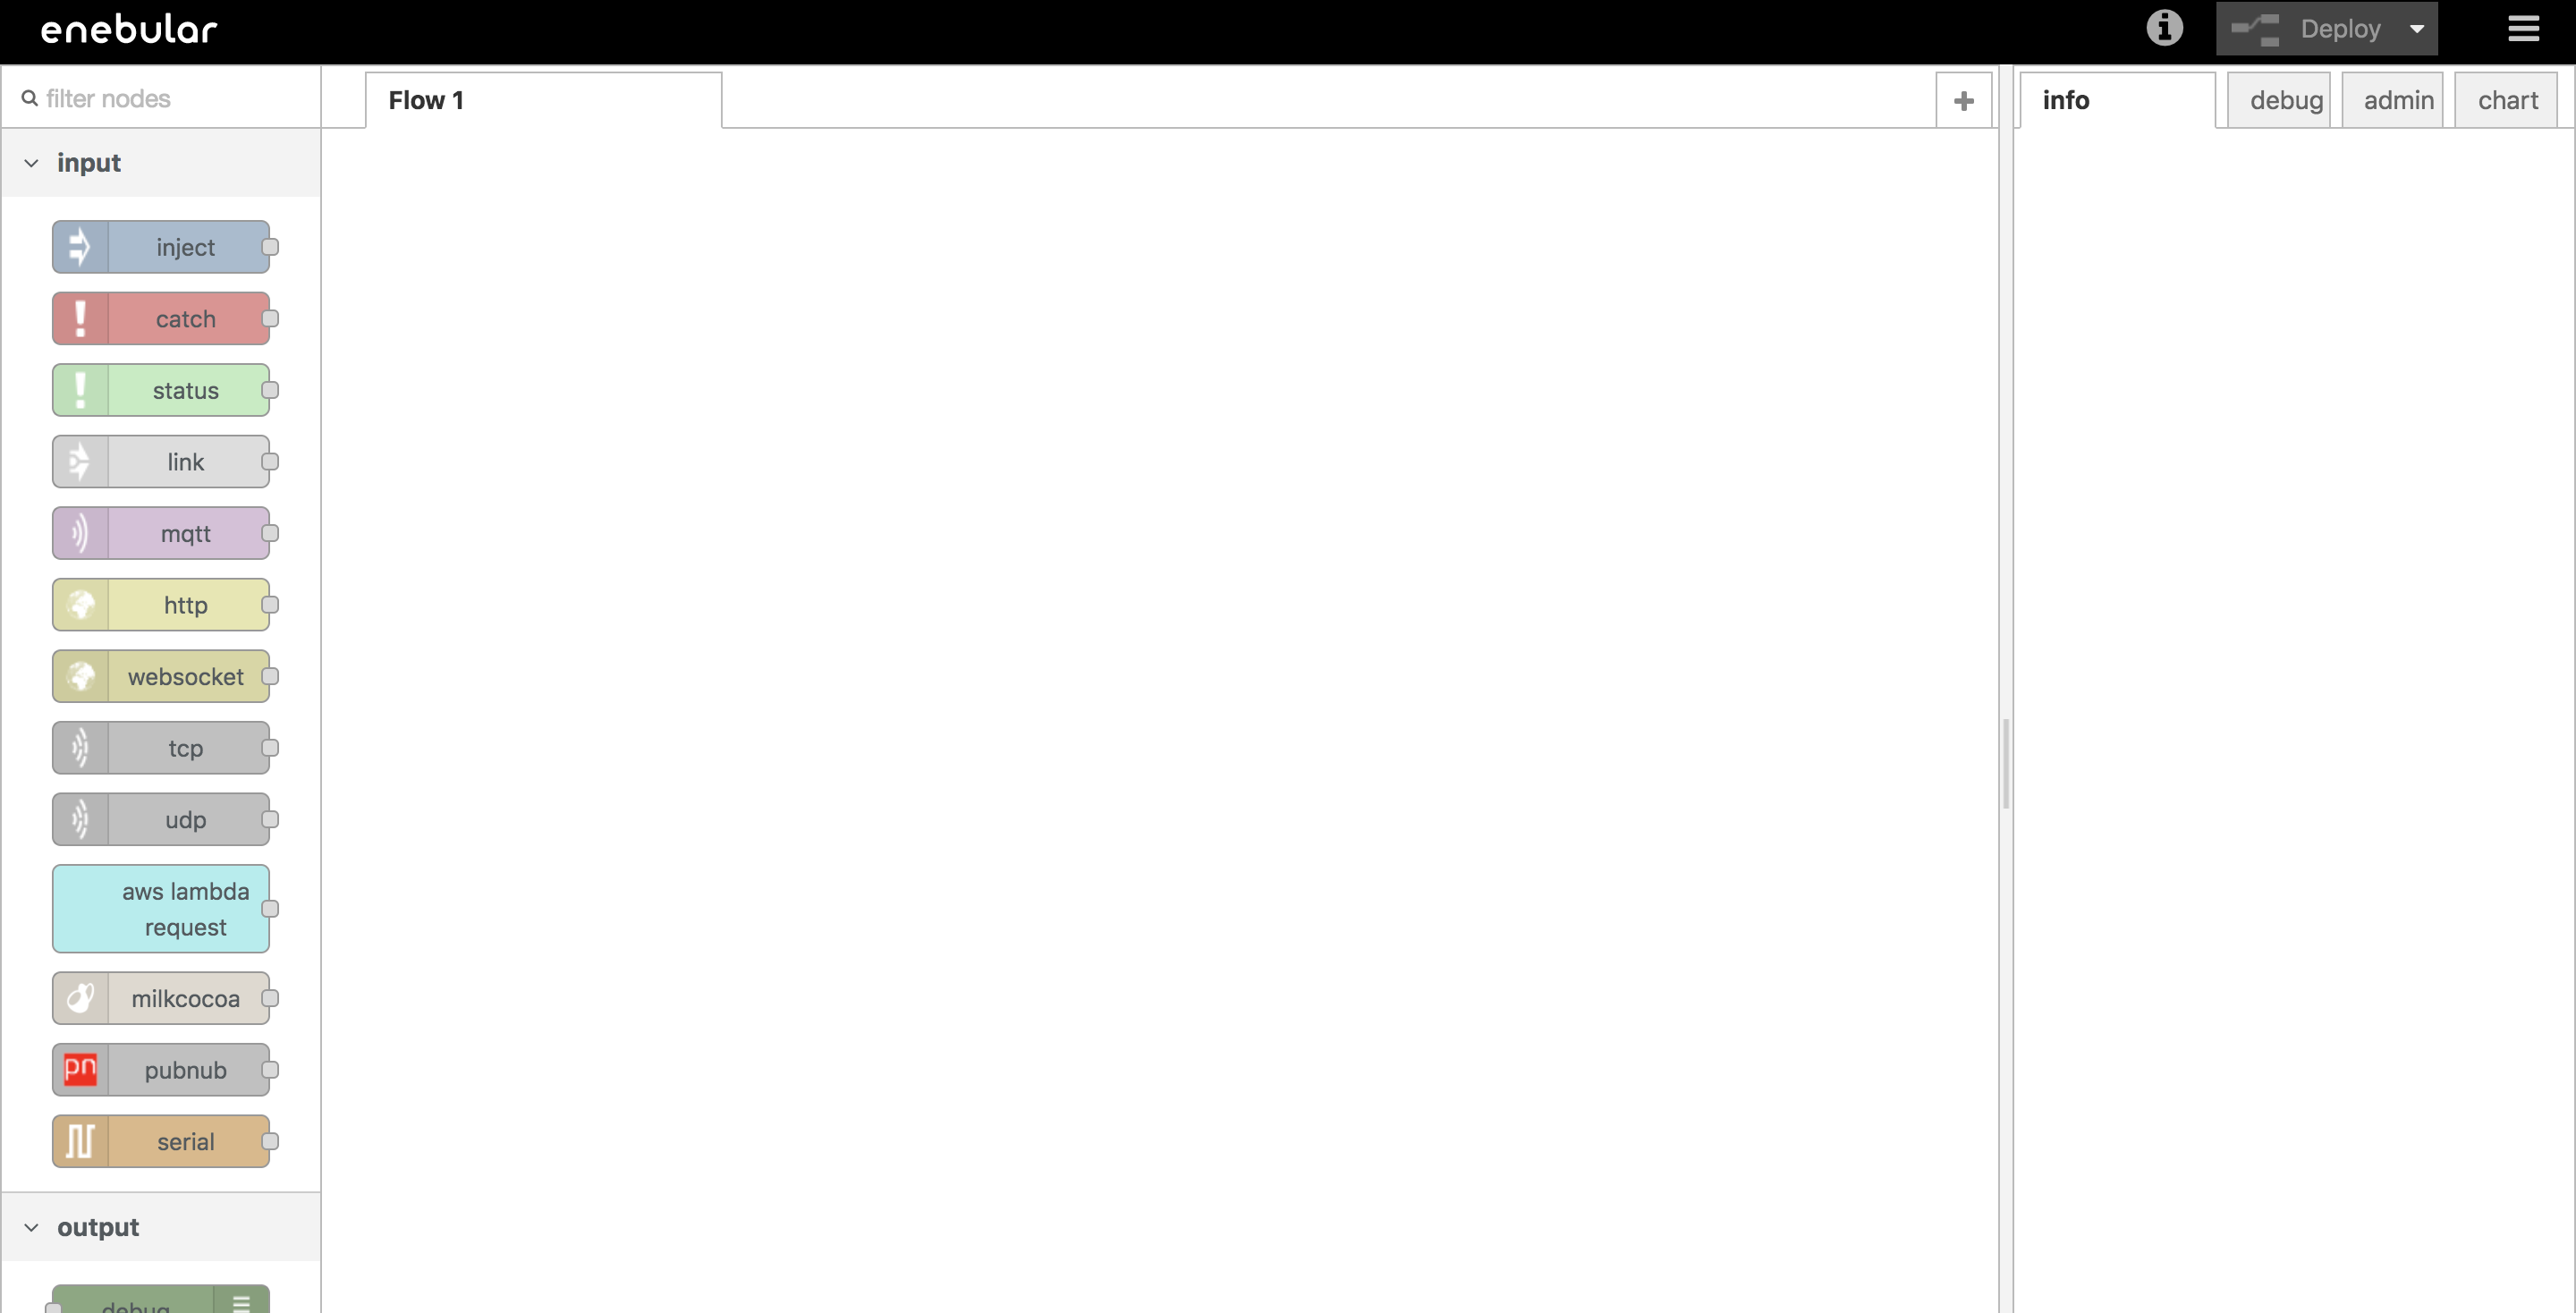
- Click on Flow in the left panel.
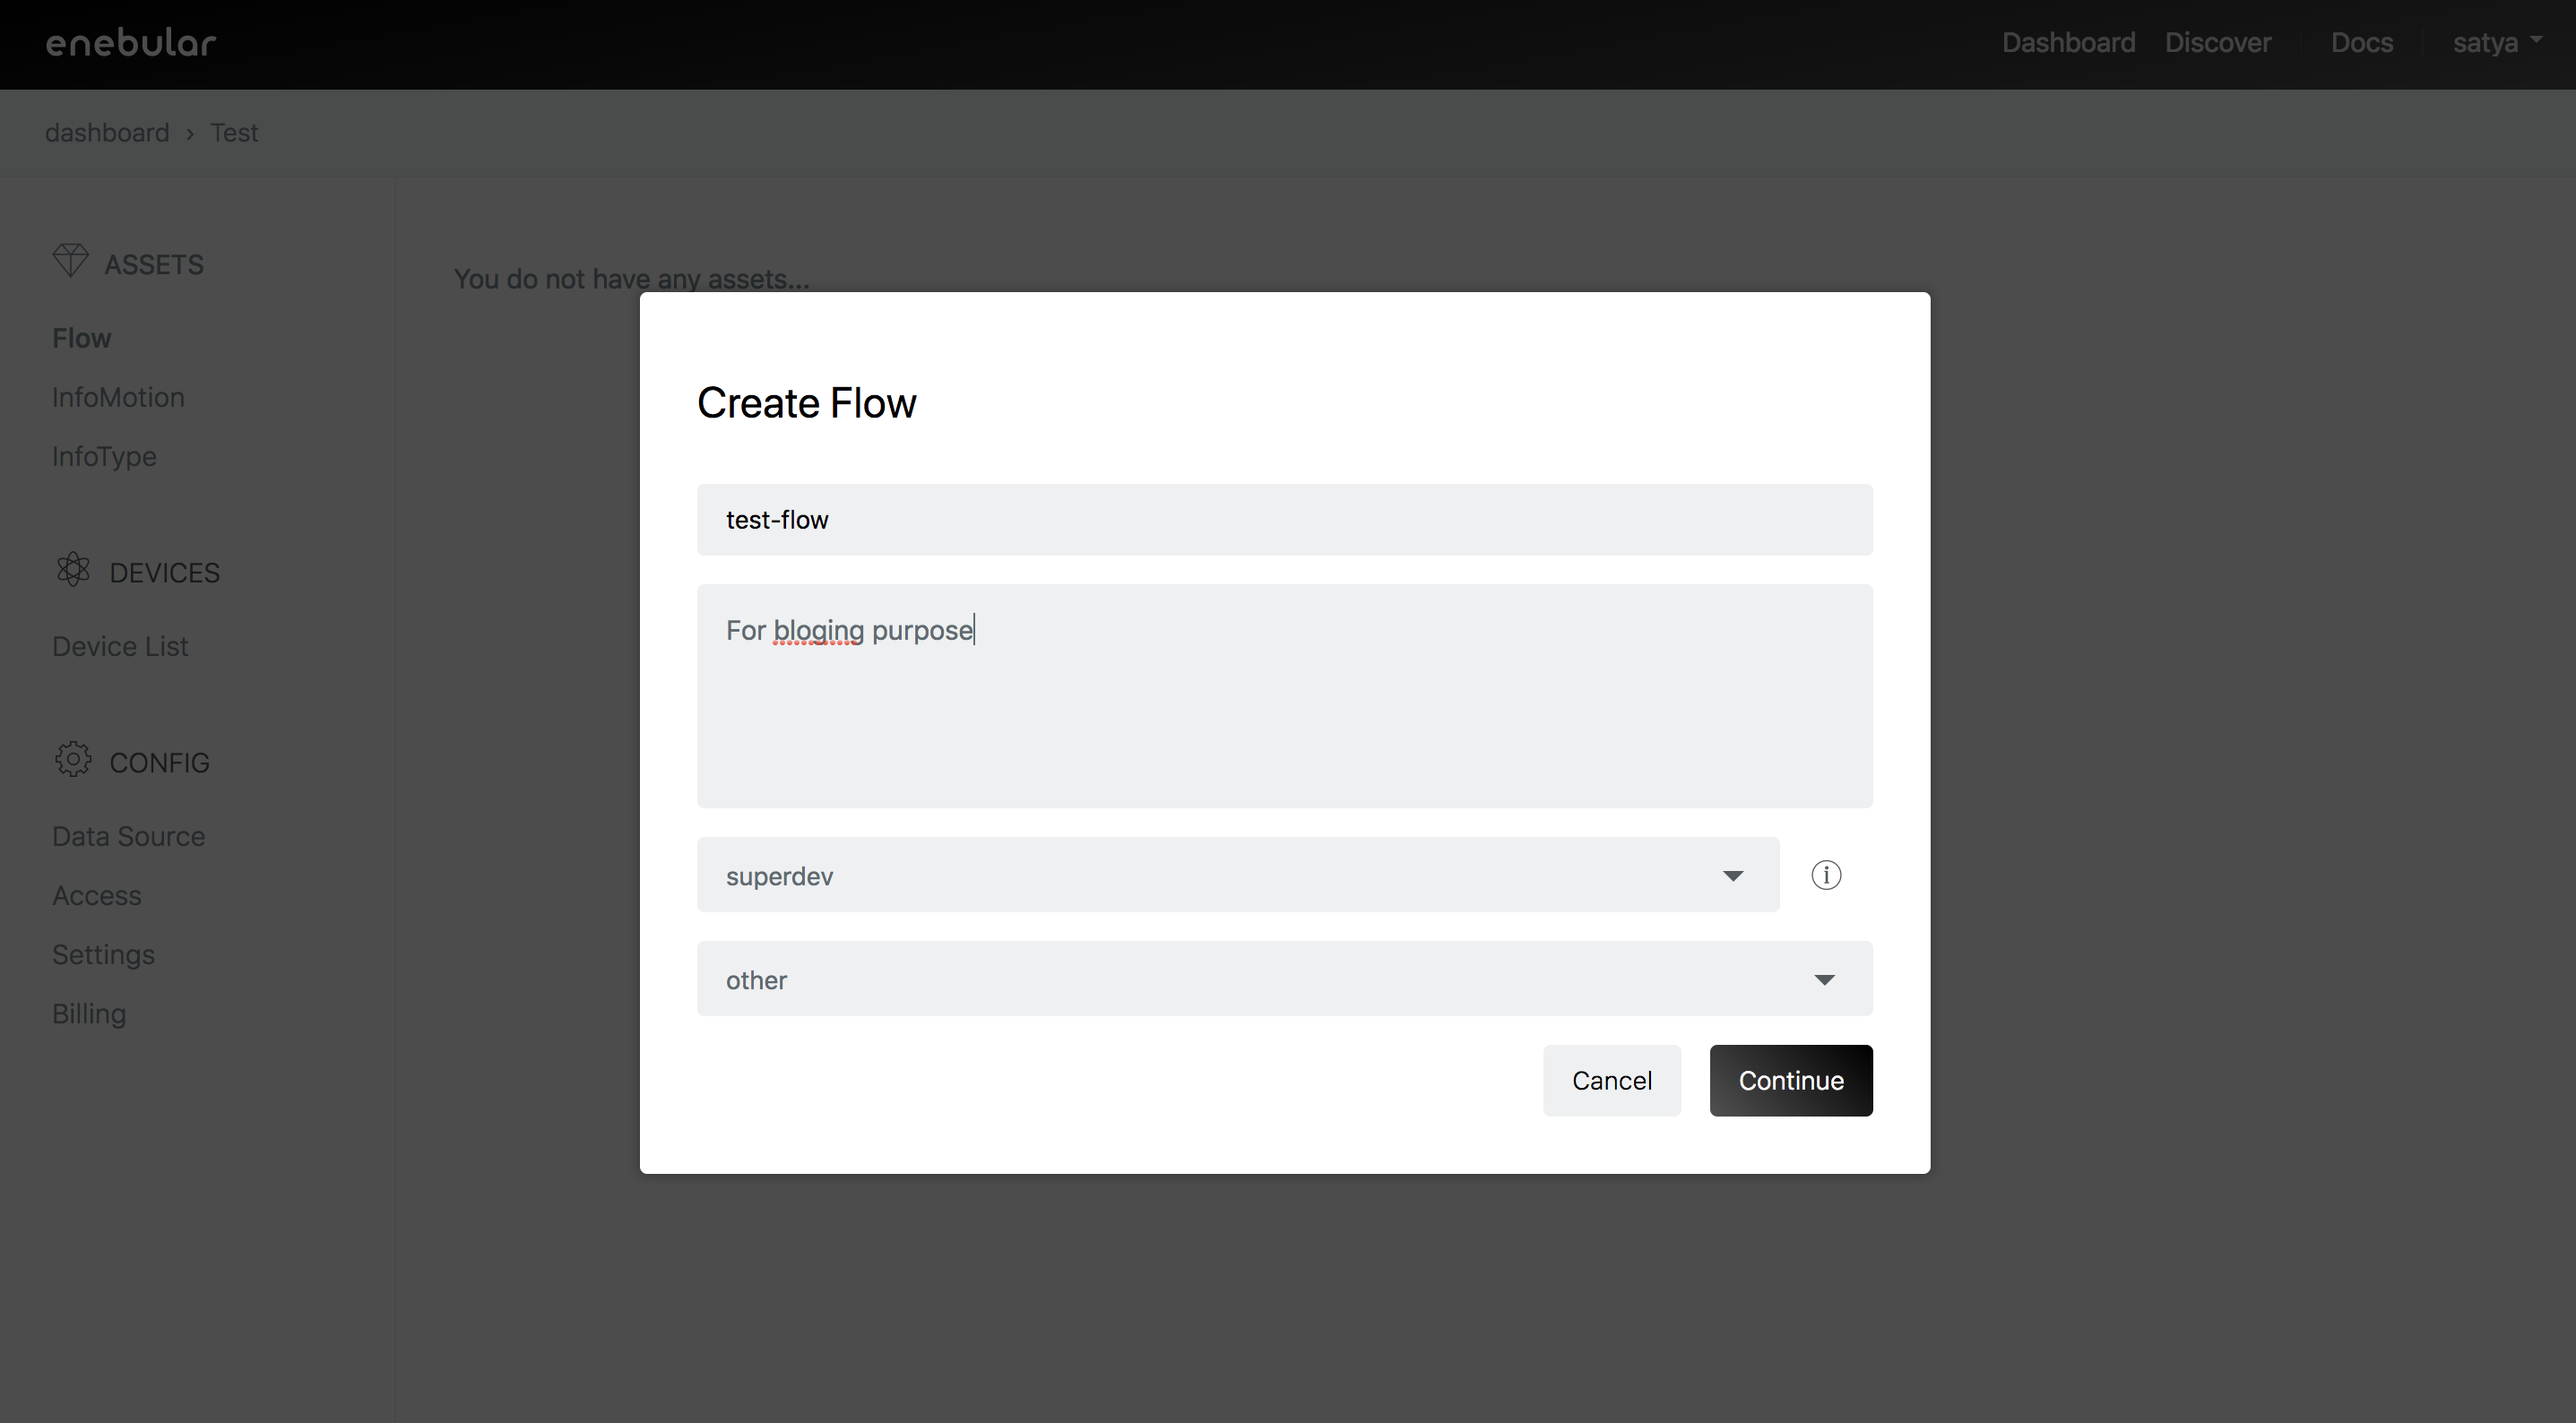
- Click on + in the bottom right**. You should see something like this. Fill out that pop-up. And click Continue
- You should see something similar to this.
STEP-2: Creating a flow on enebular.
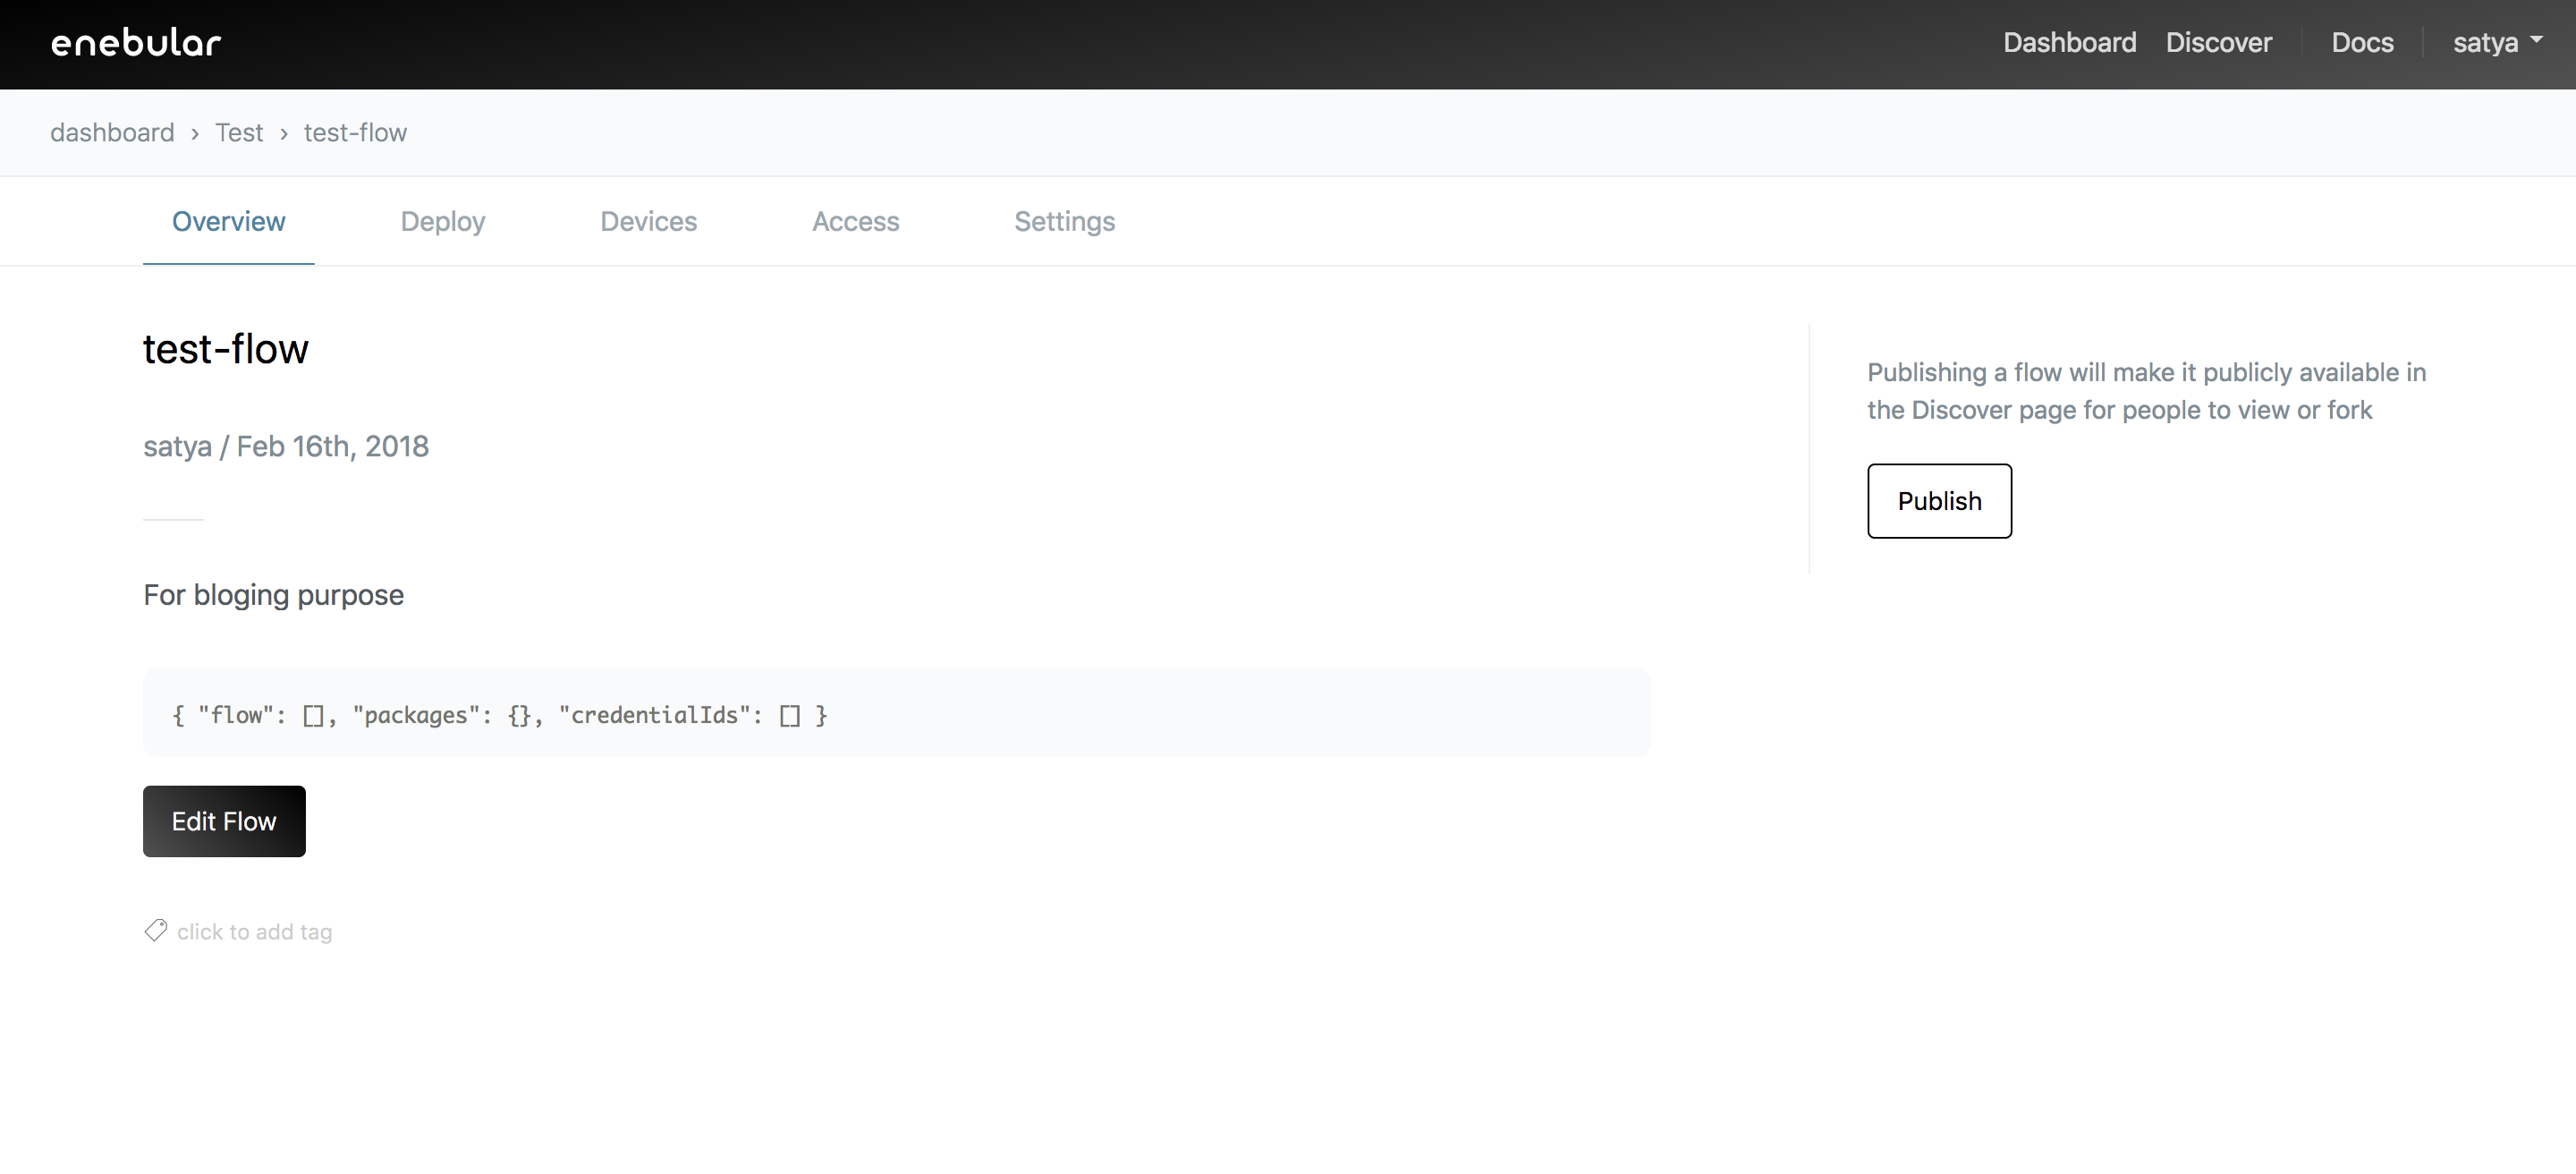
- Click on Edit Flow. A new tab should open and you should see something similar to this.
 - Use the **nodes** in the left panel to create flows. As an example, I created a simple flow as below.
 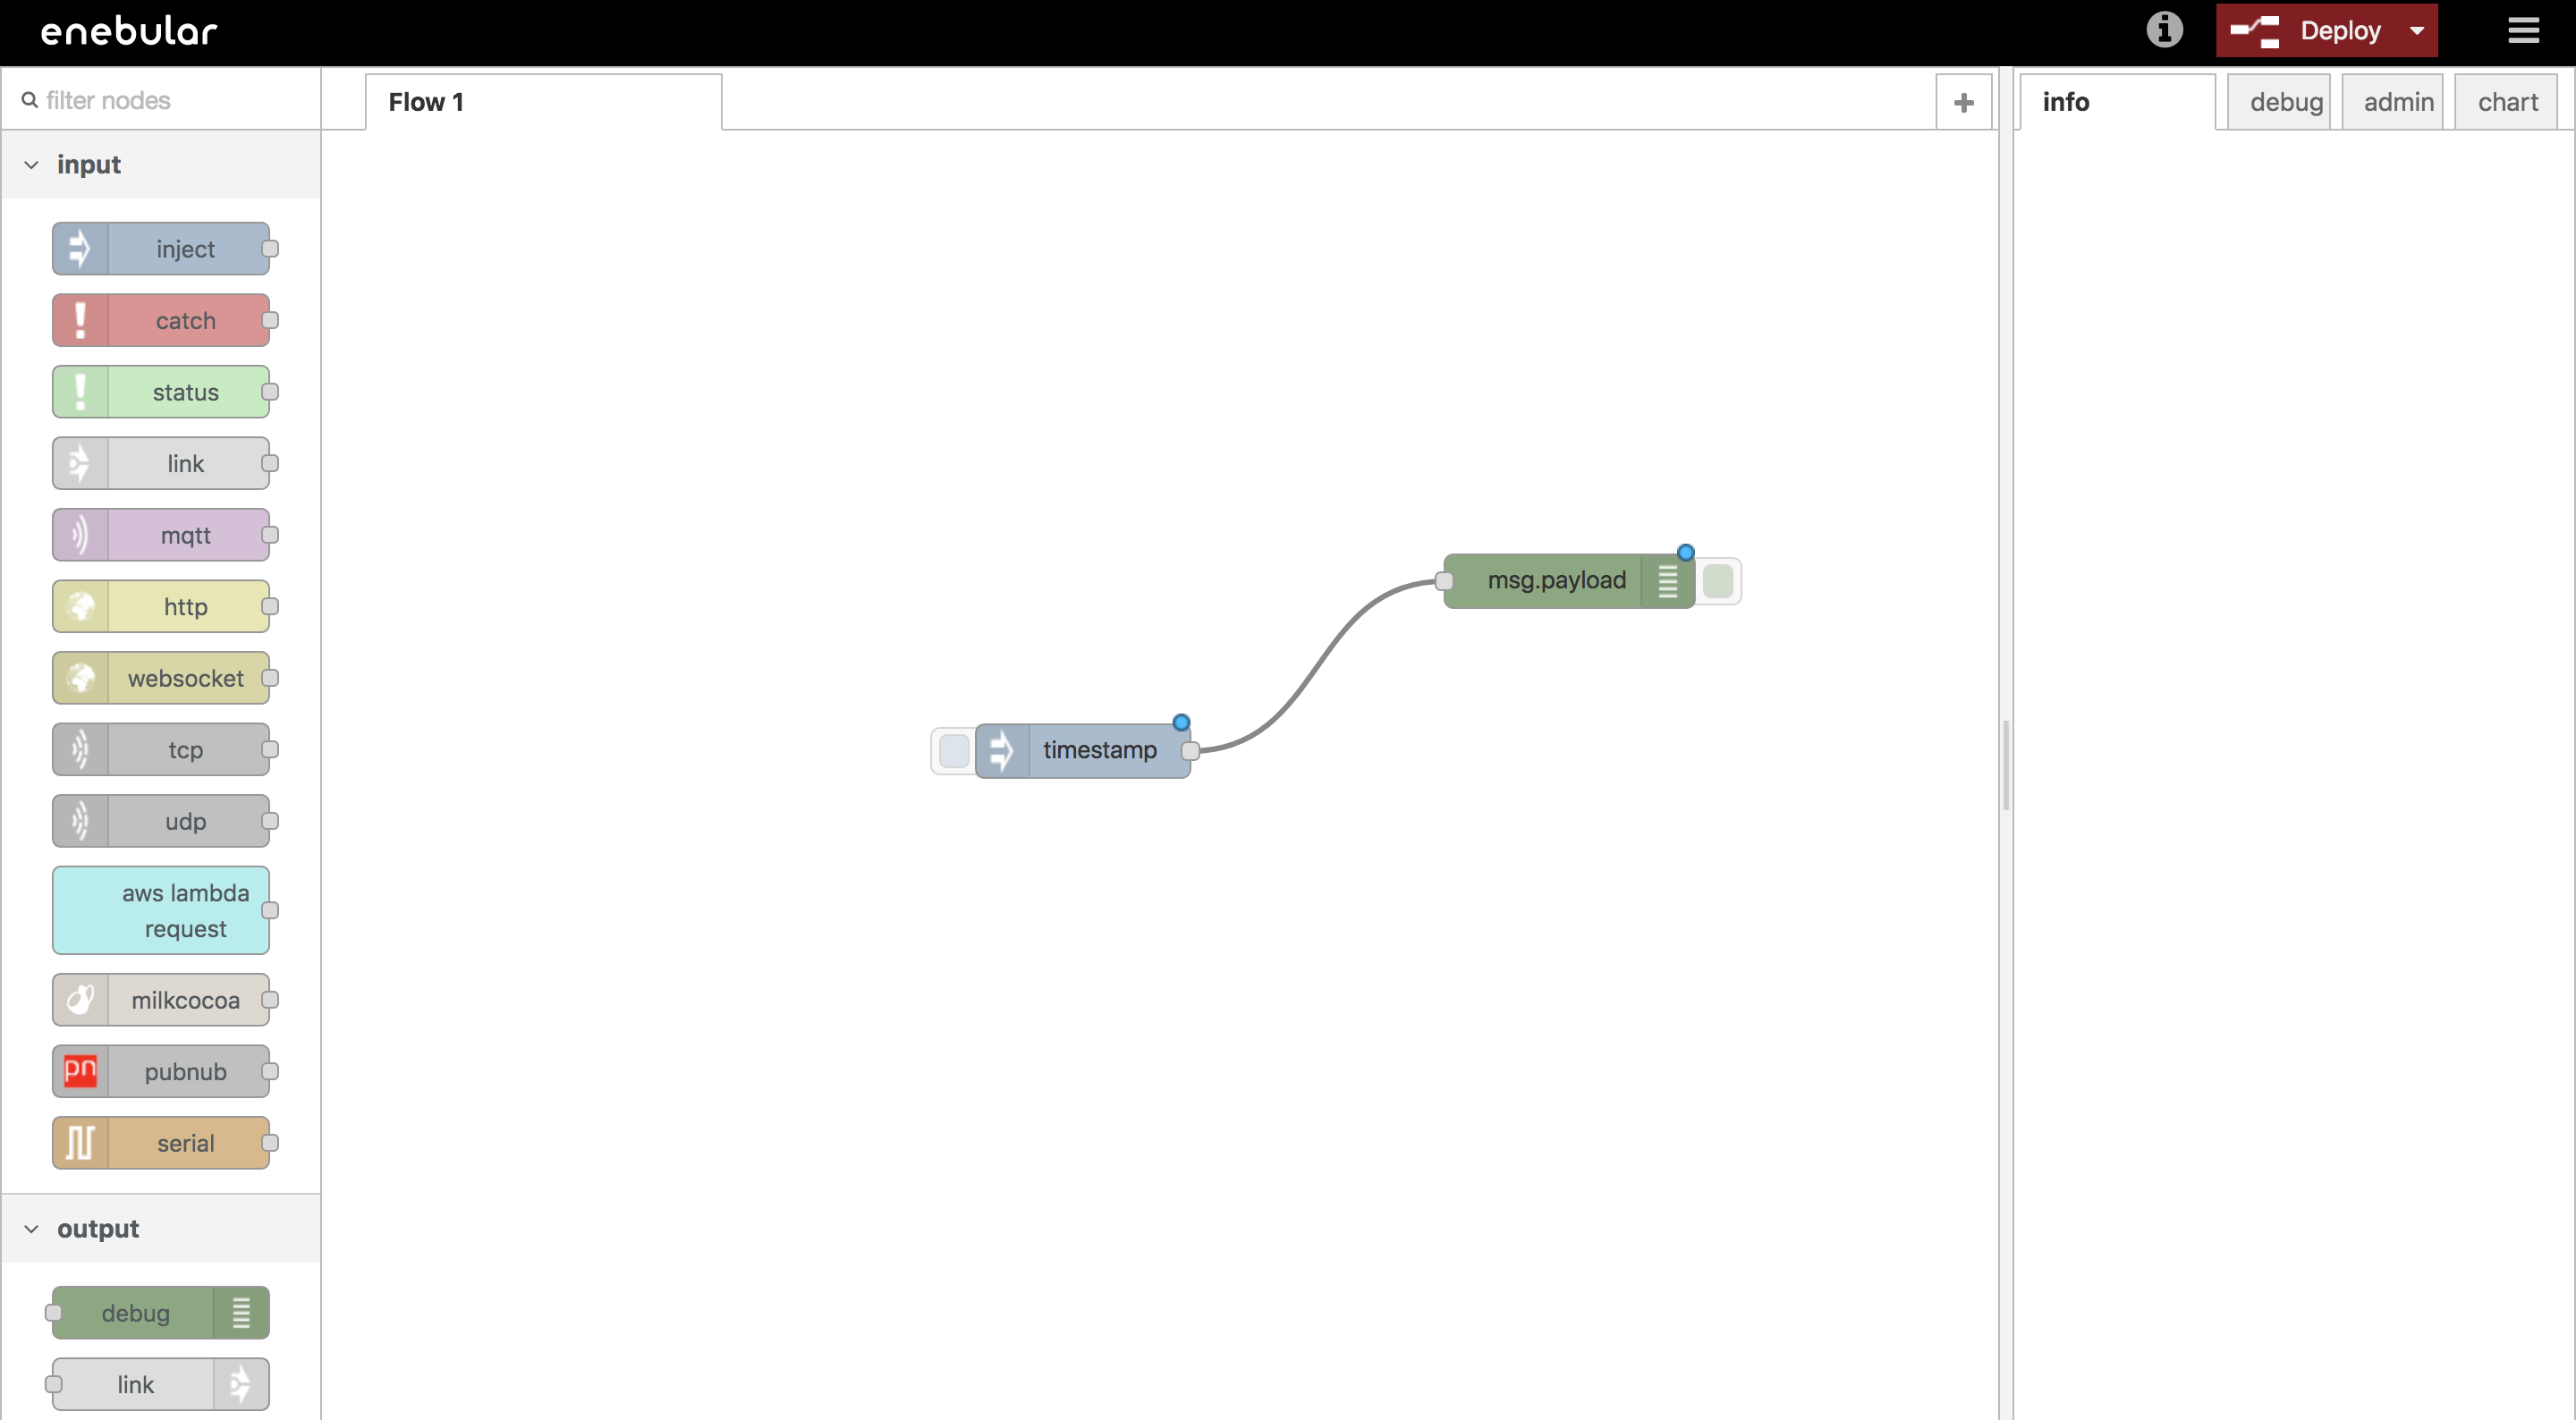 - The **Deploy** button on the top right appears red. It means there are unsaved changes in the flow. Click on this **Deploy** button. It should change it's color to grey, which means all changes are saved on enebular.com
 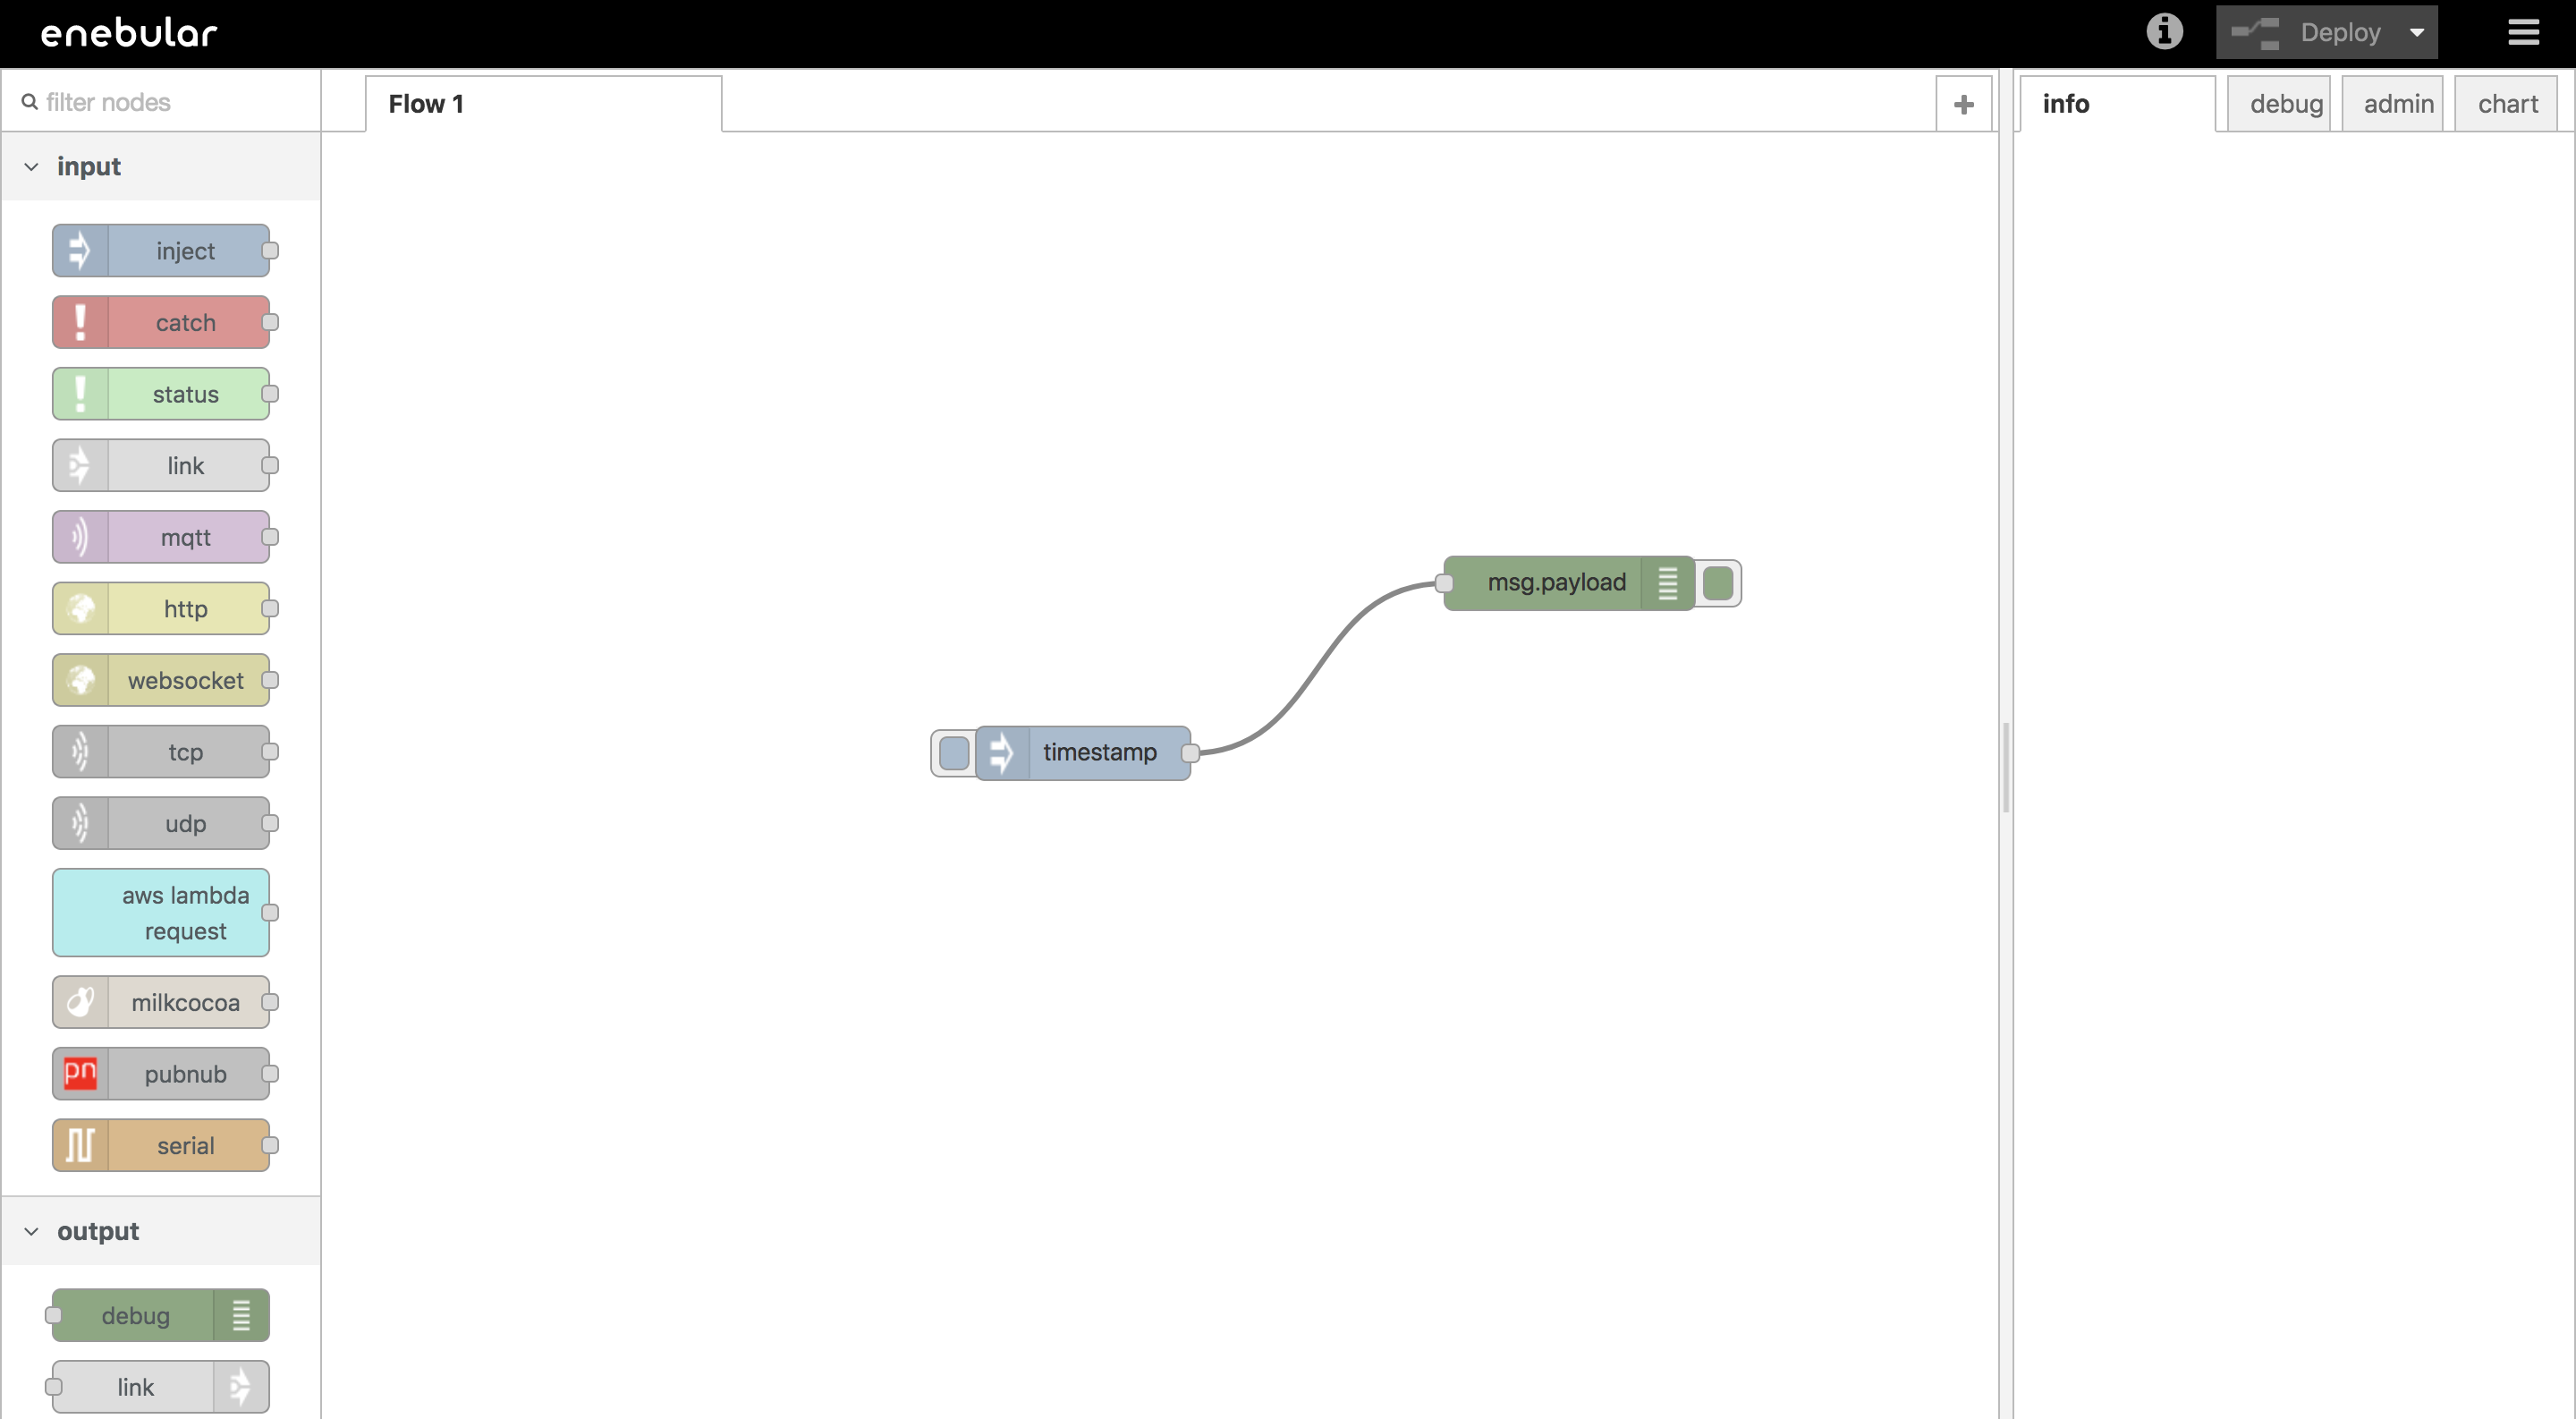 - Now, close this tab and go to the tab from where you got here. **Refresh** it. You should some text in the grey area.
STEP-3: Getting Deploy Keys from AWS-IoT
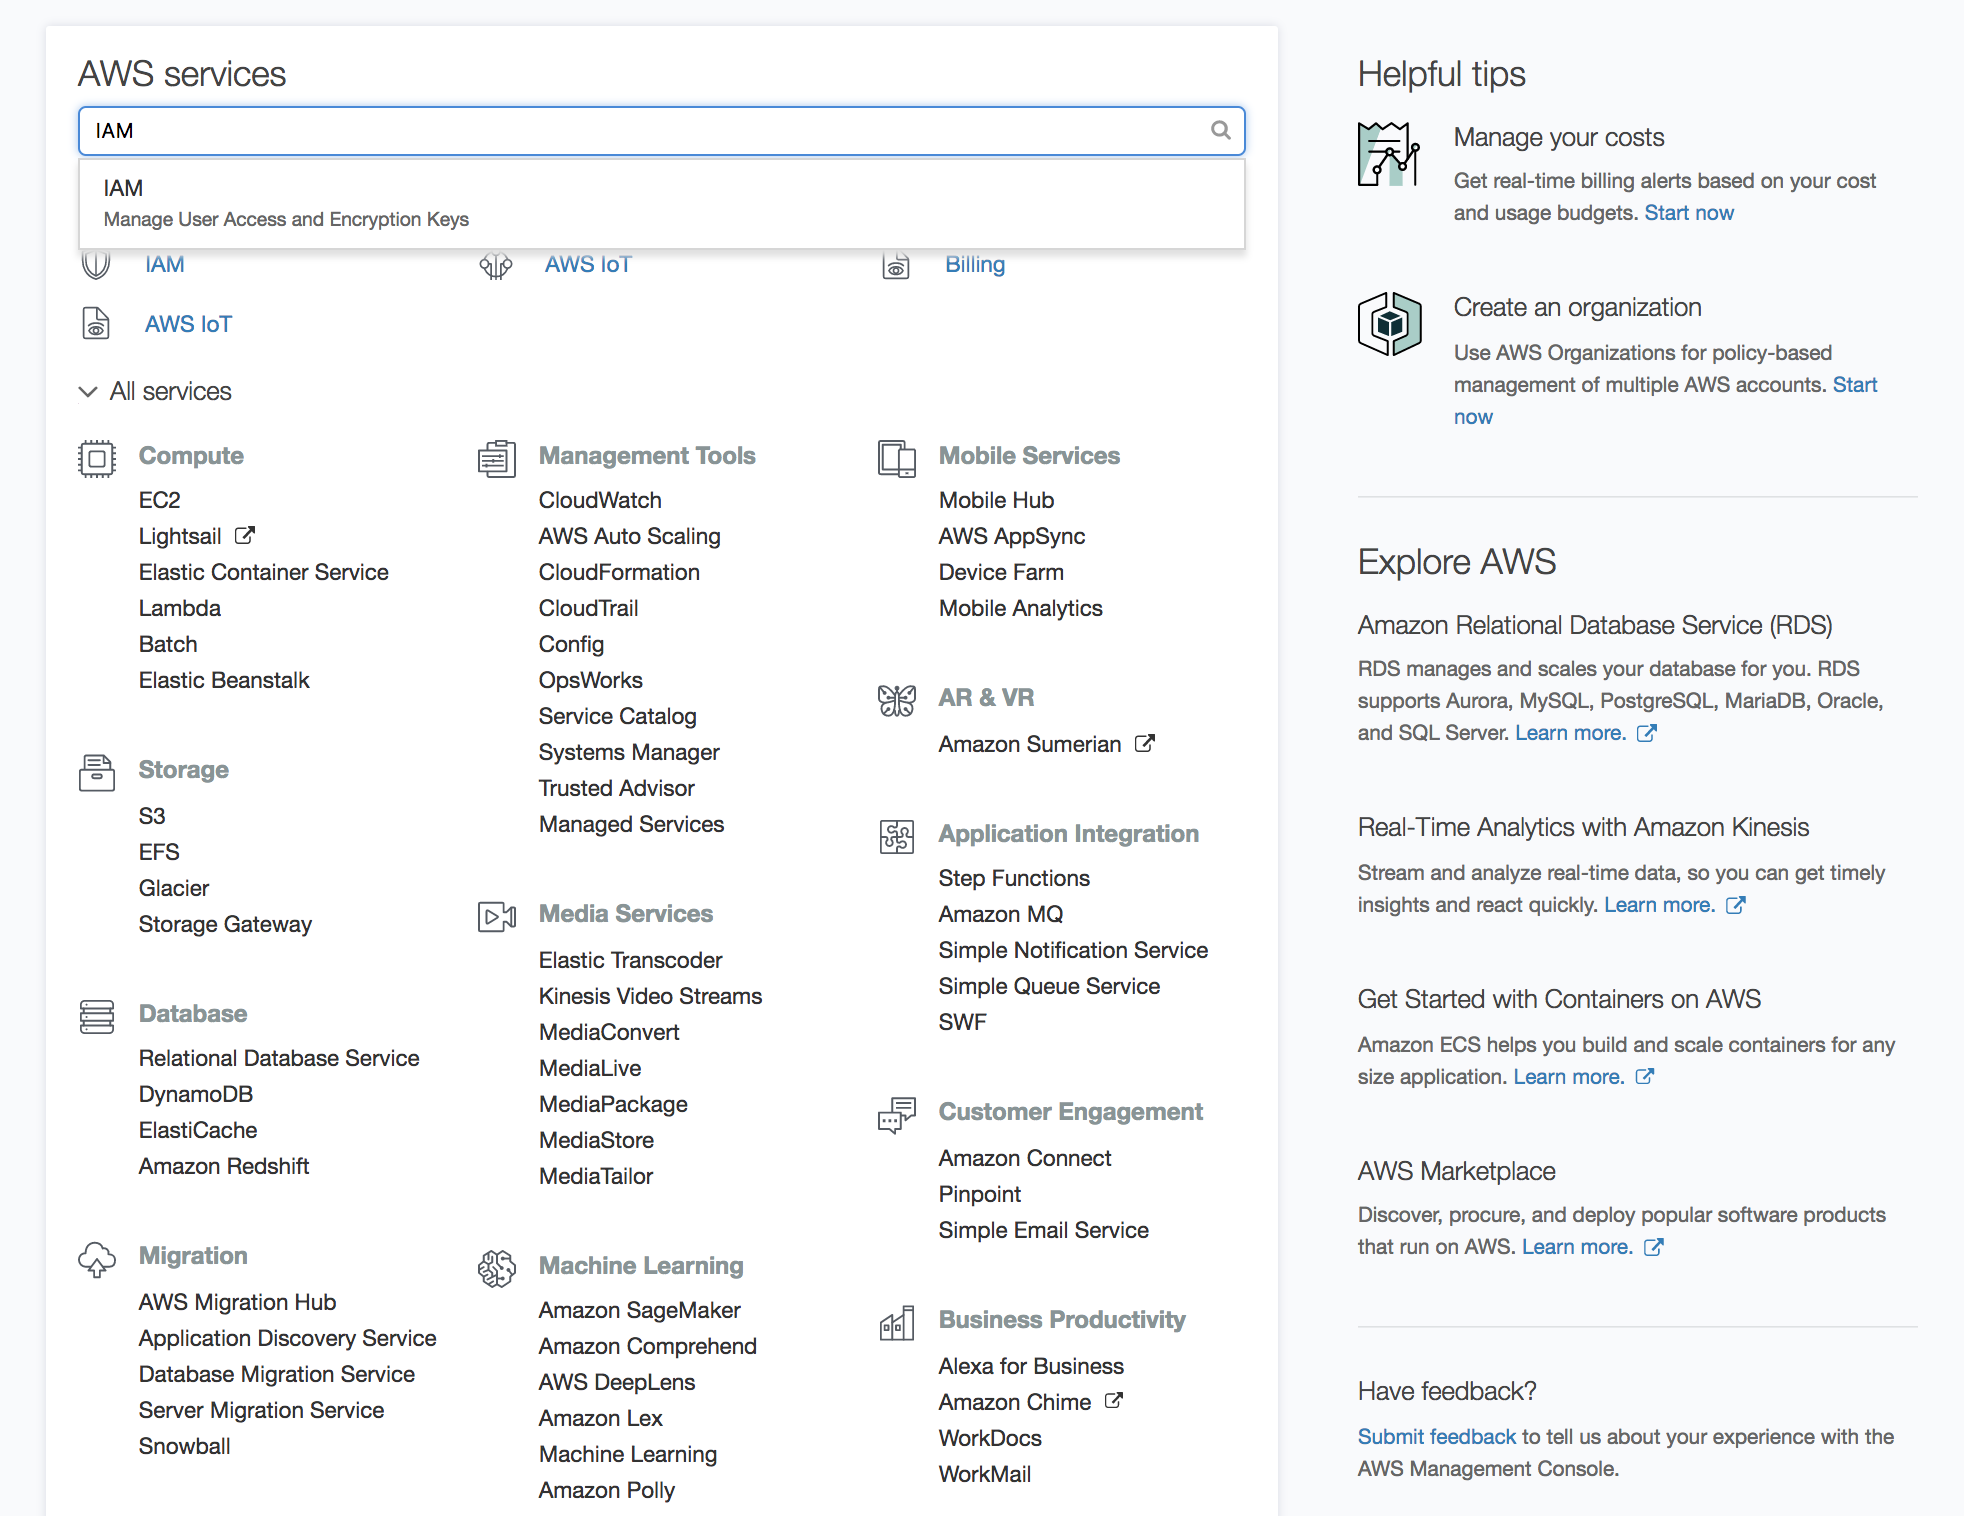
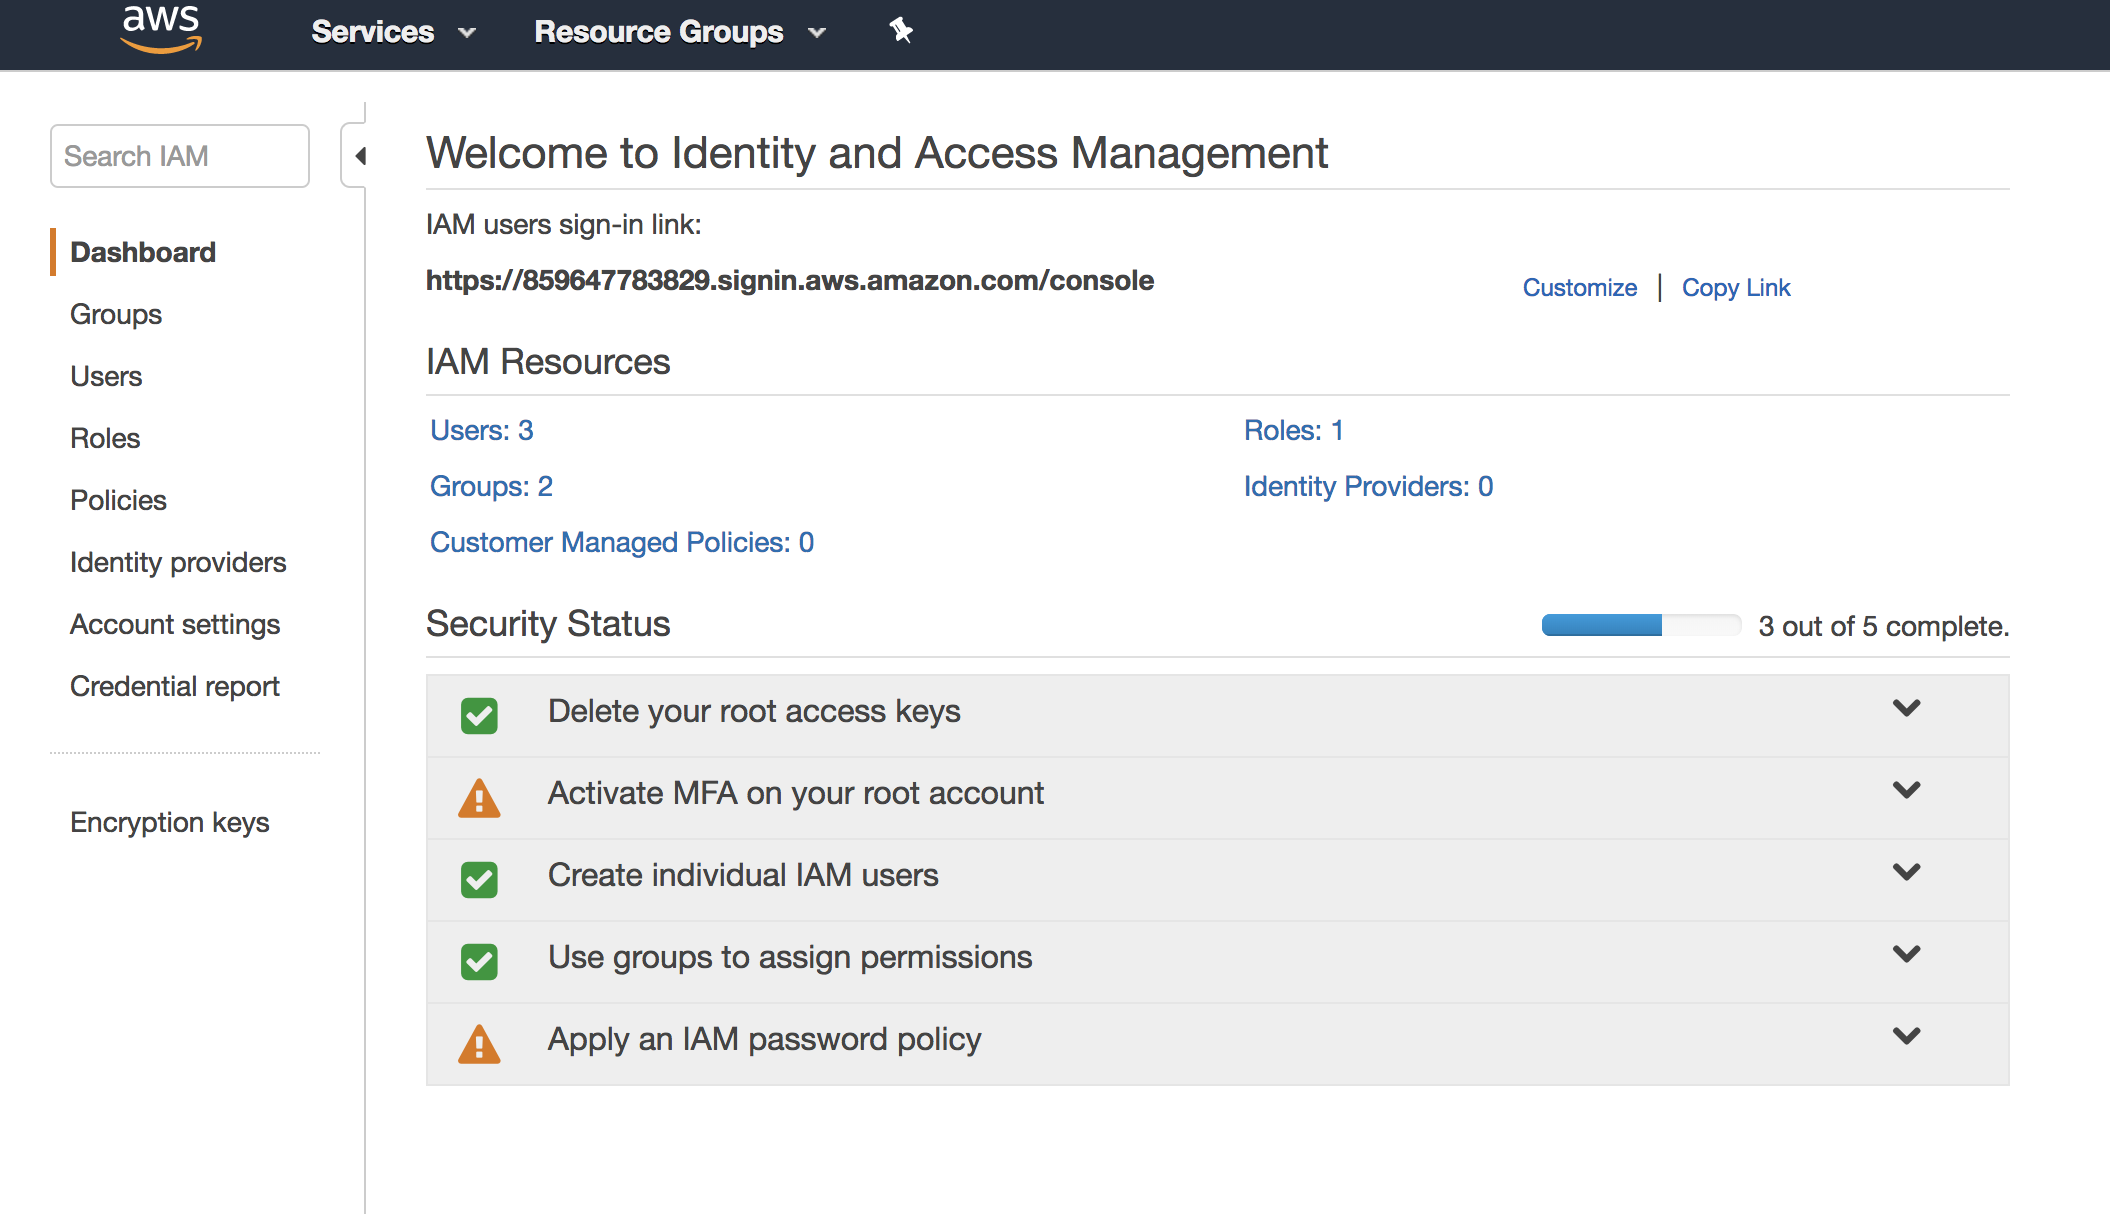
- Open IAM console on amazon AWS.
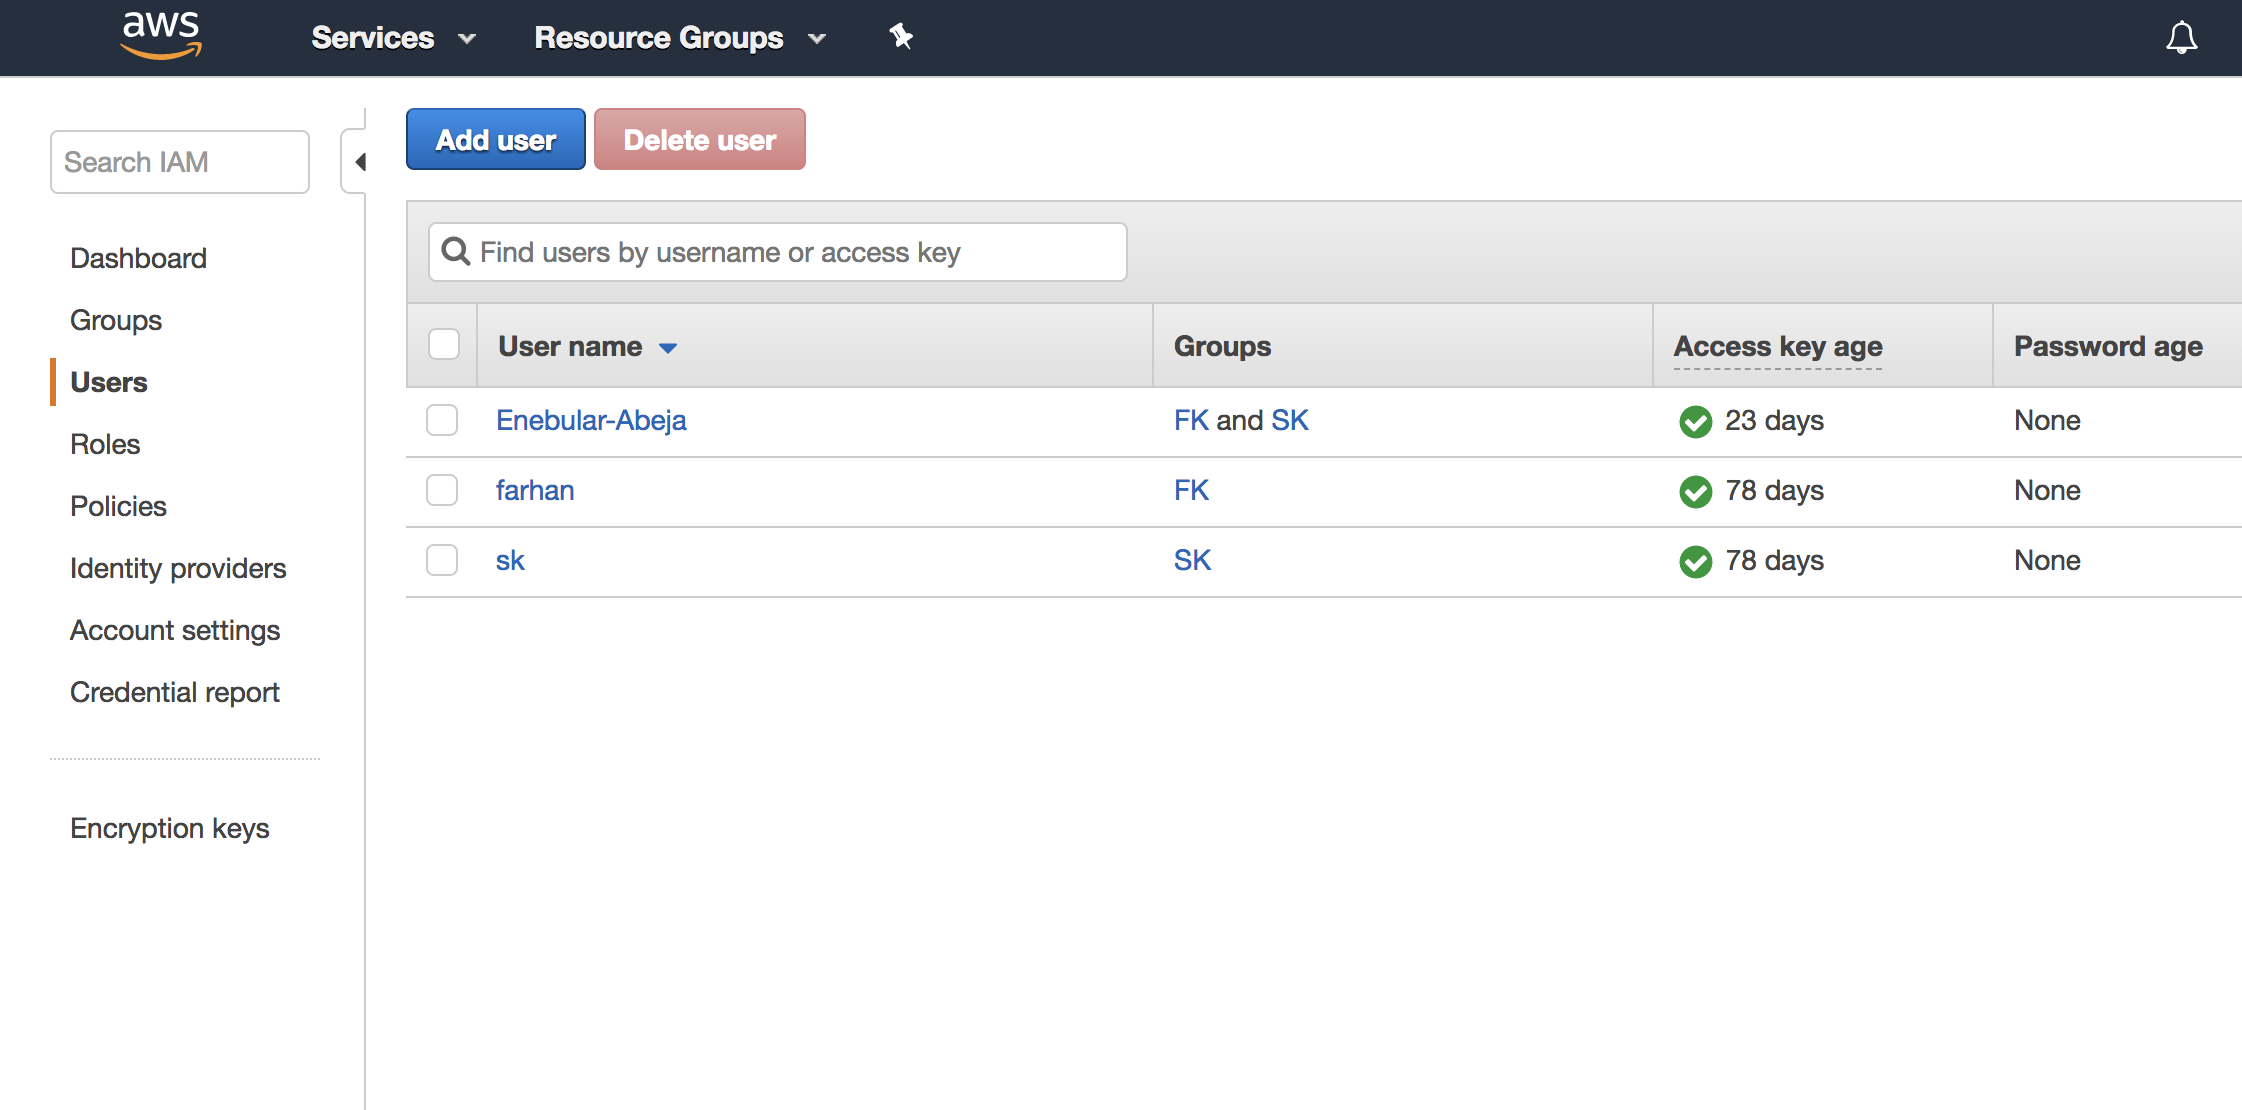
- In the left panel click on Users. You should see something like this.
- Click on Add User
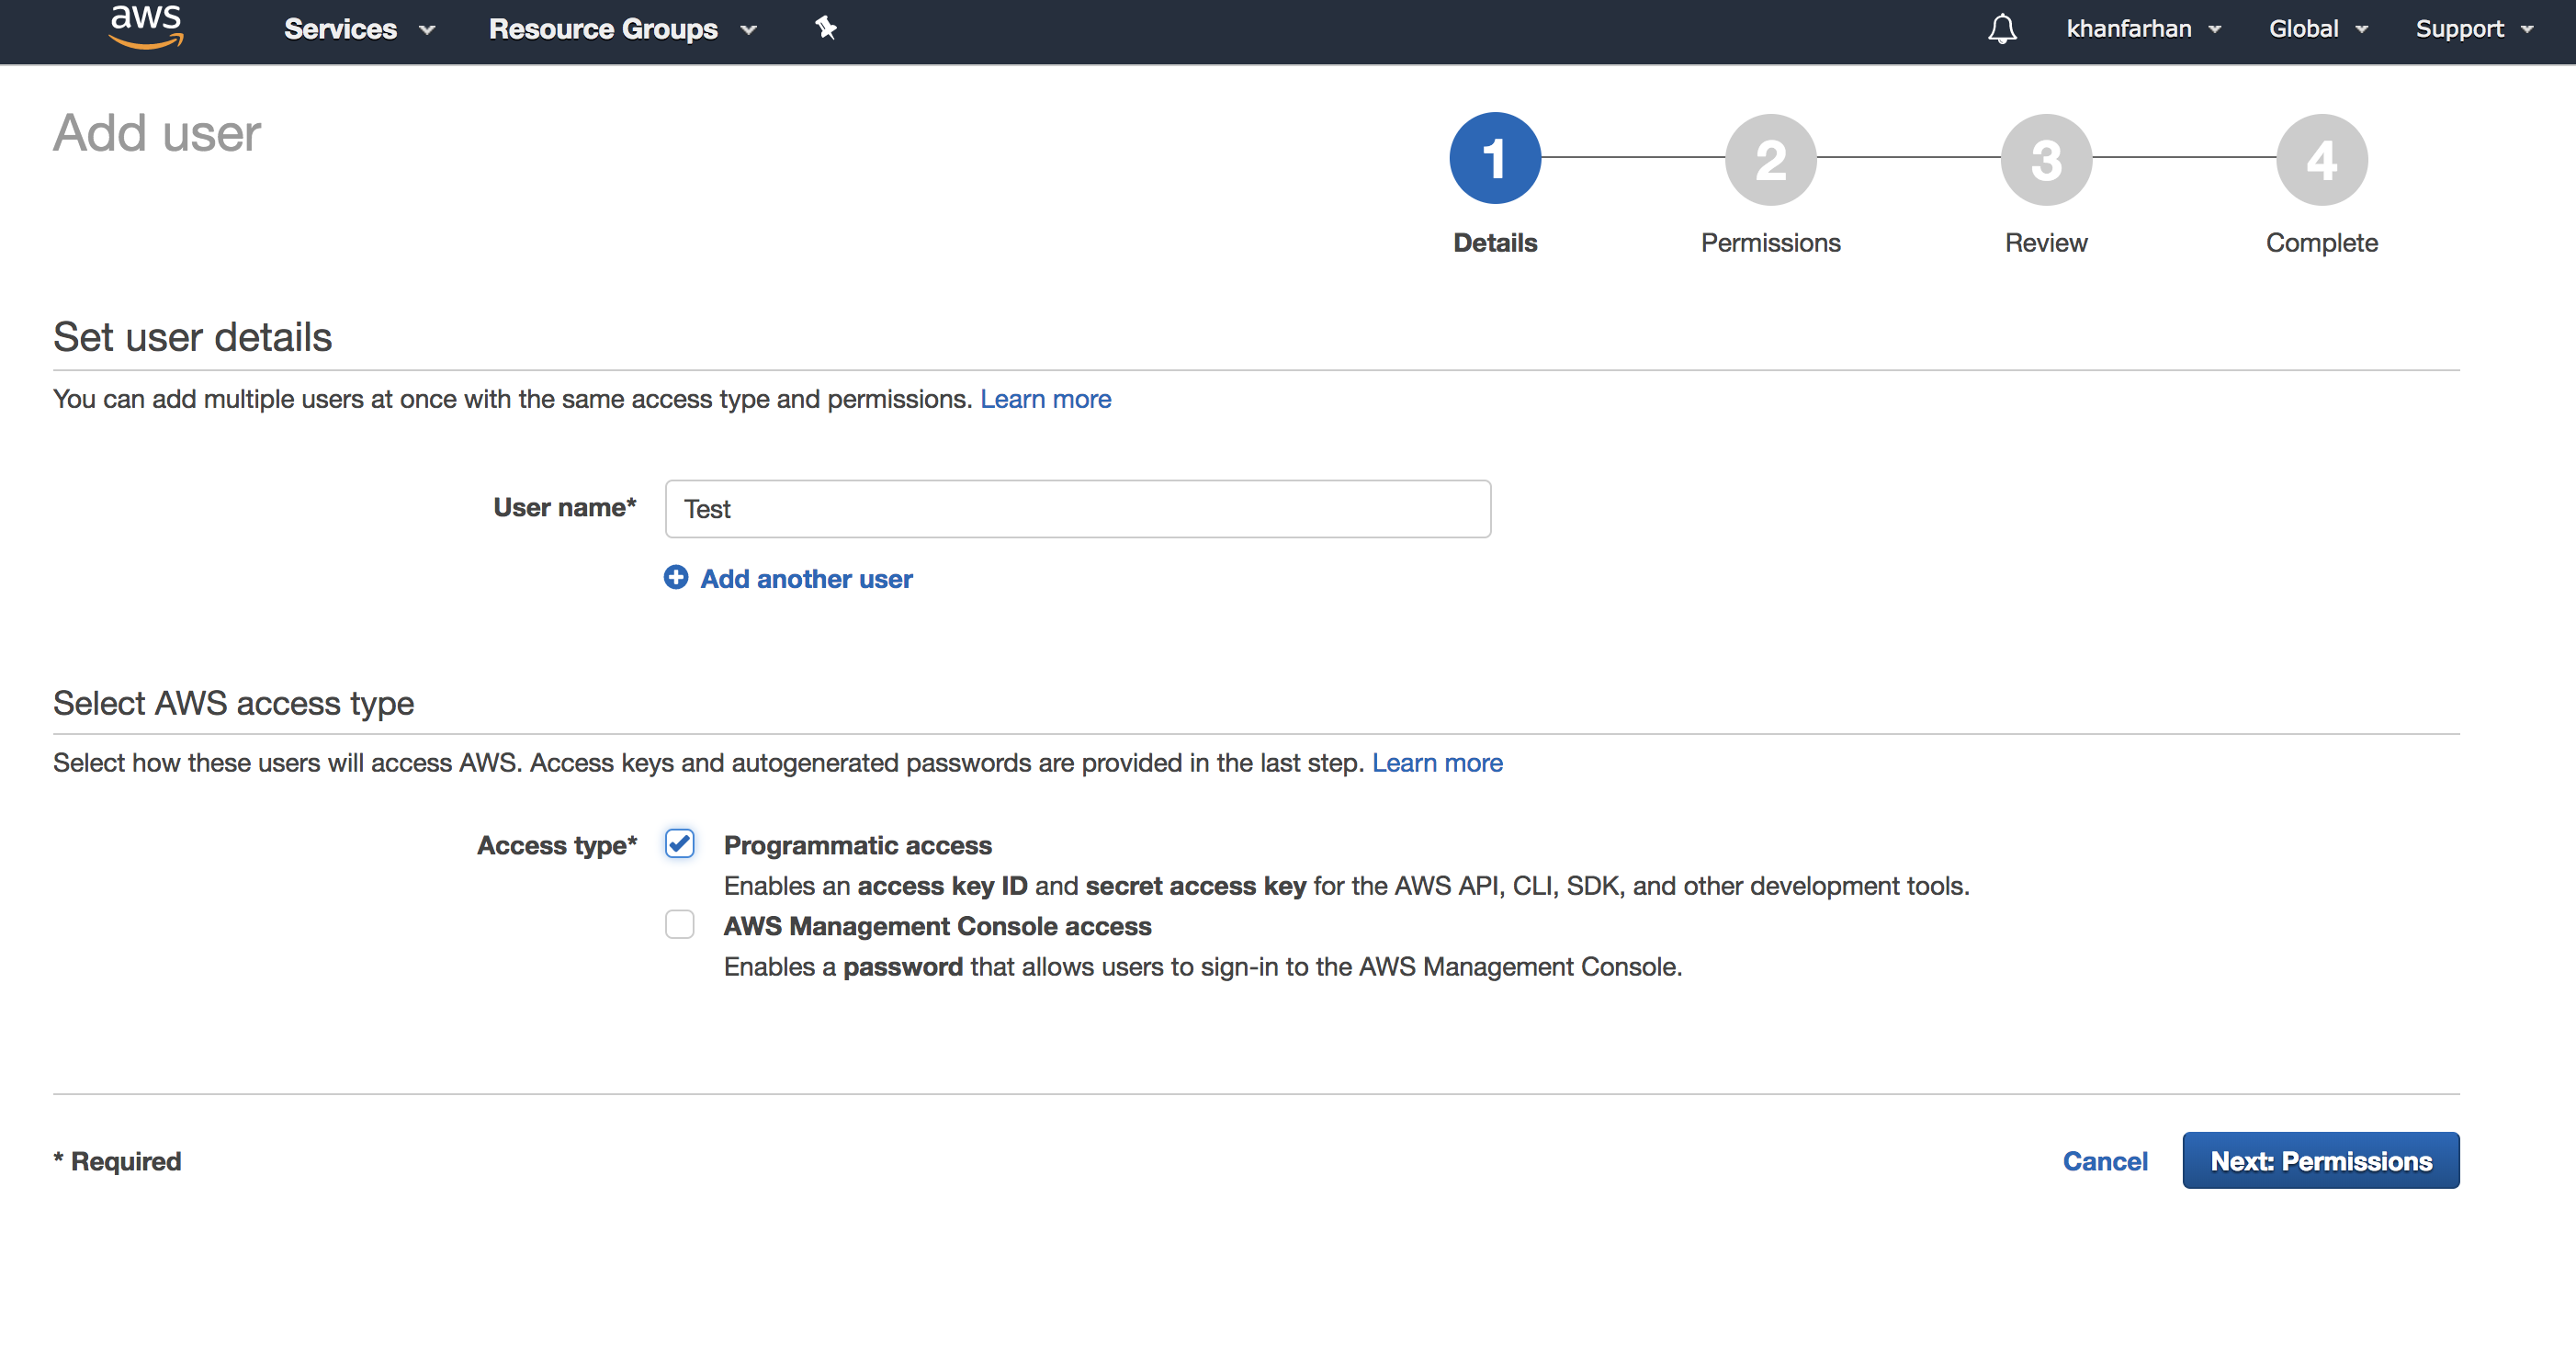
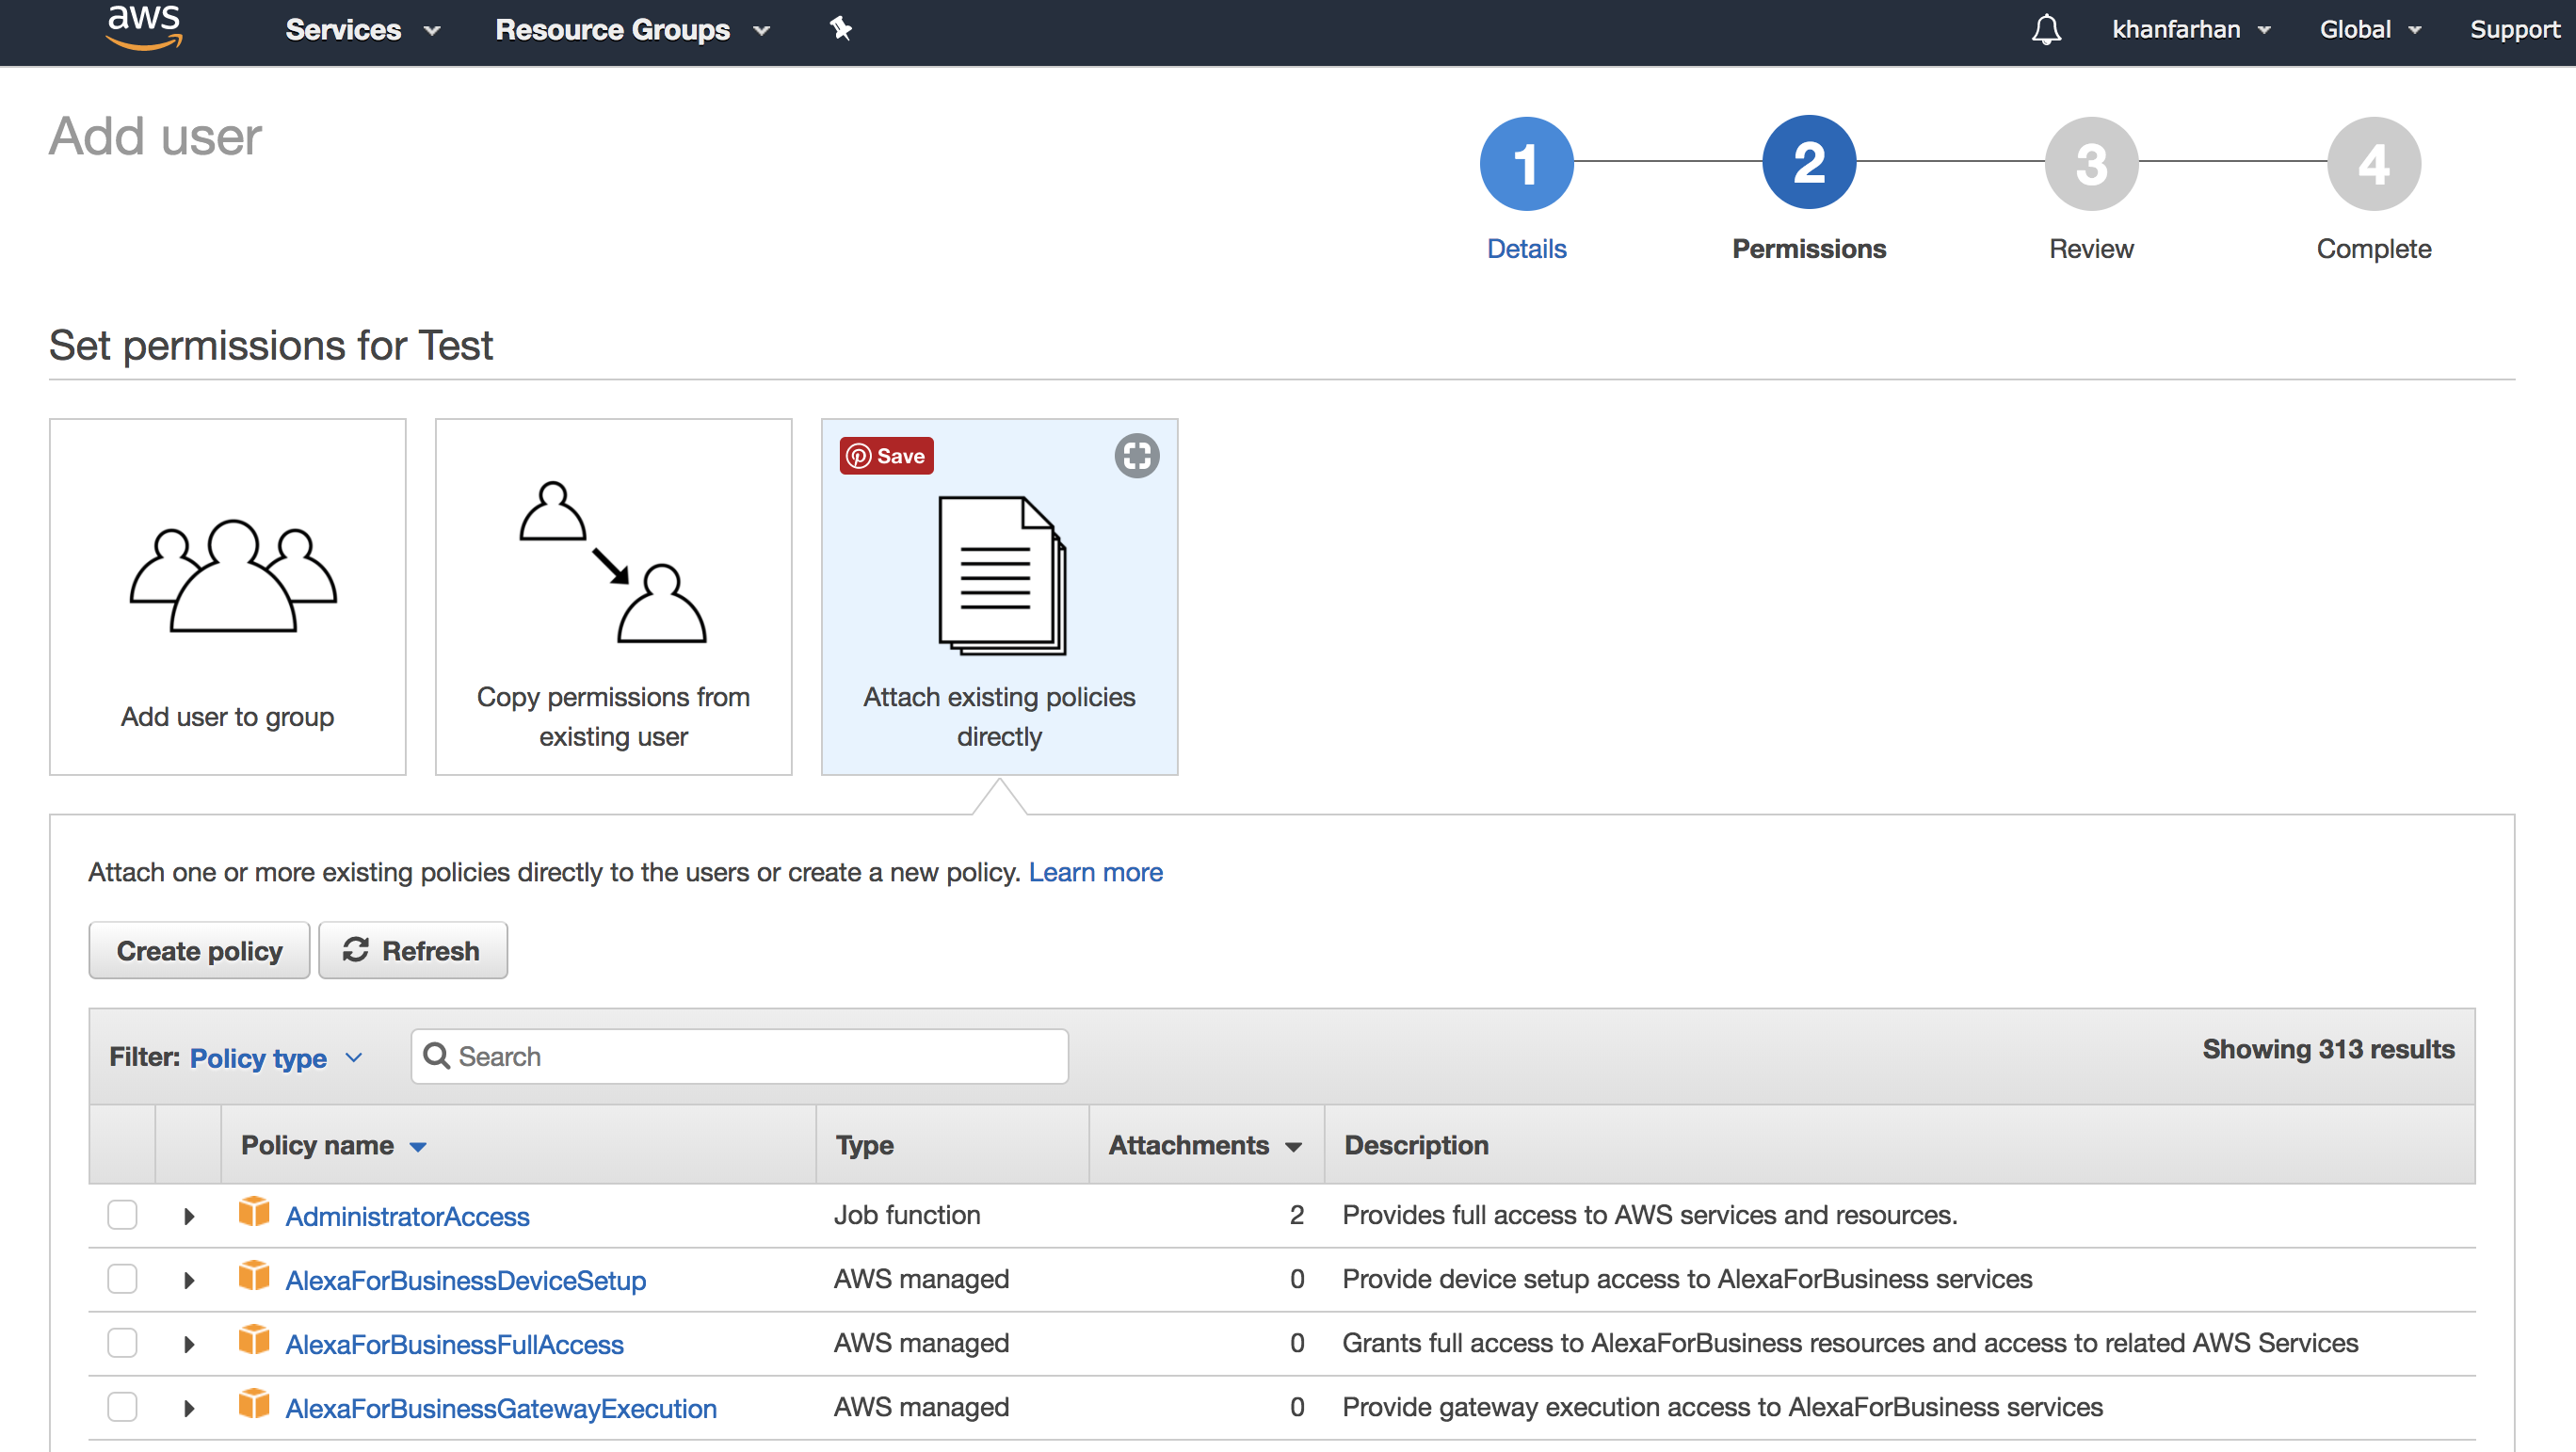
- You should see something like this. Fill with a User name and make sure that Access type* is set to Programmatic access. And Click on Next: Permissions.
- It should appear something like this, Click on Attach existing policies directly
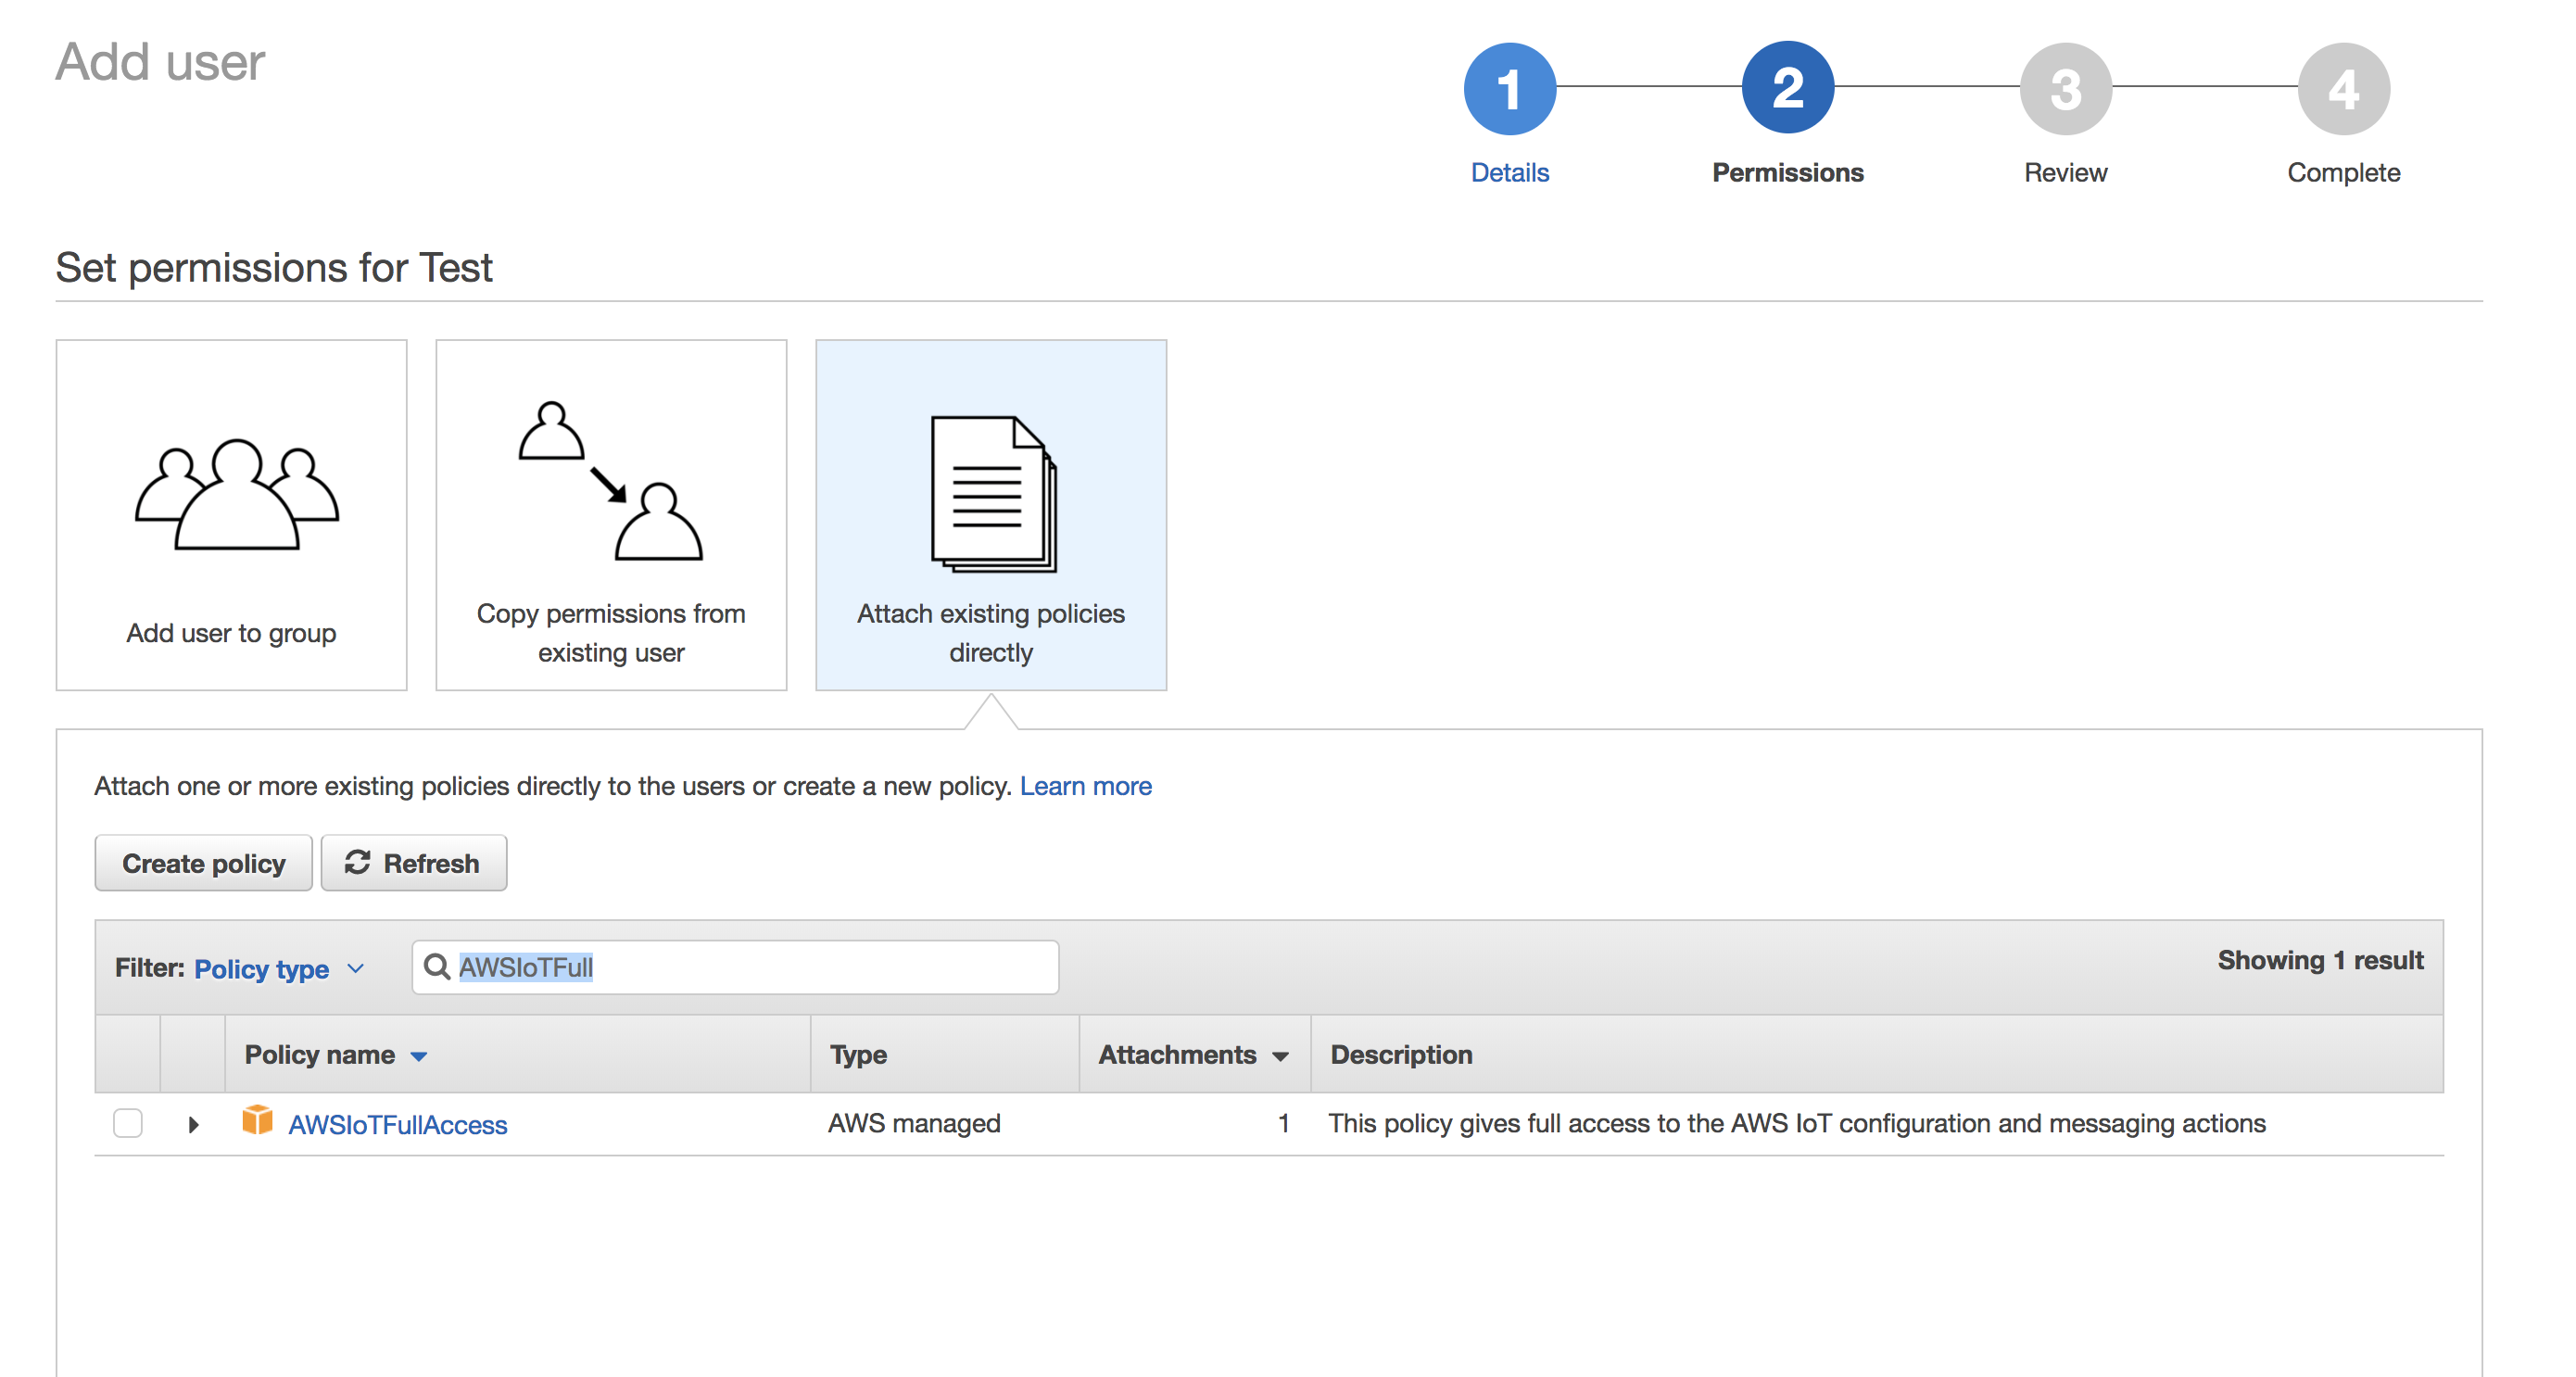
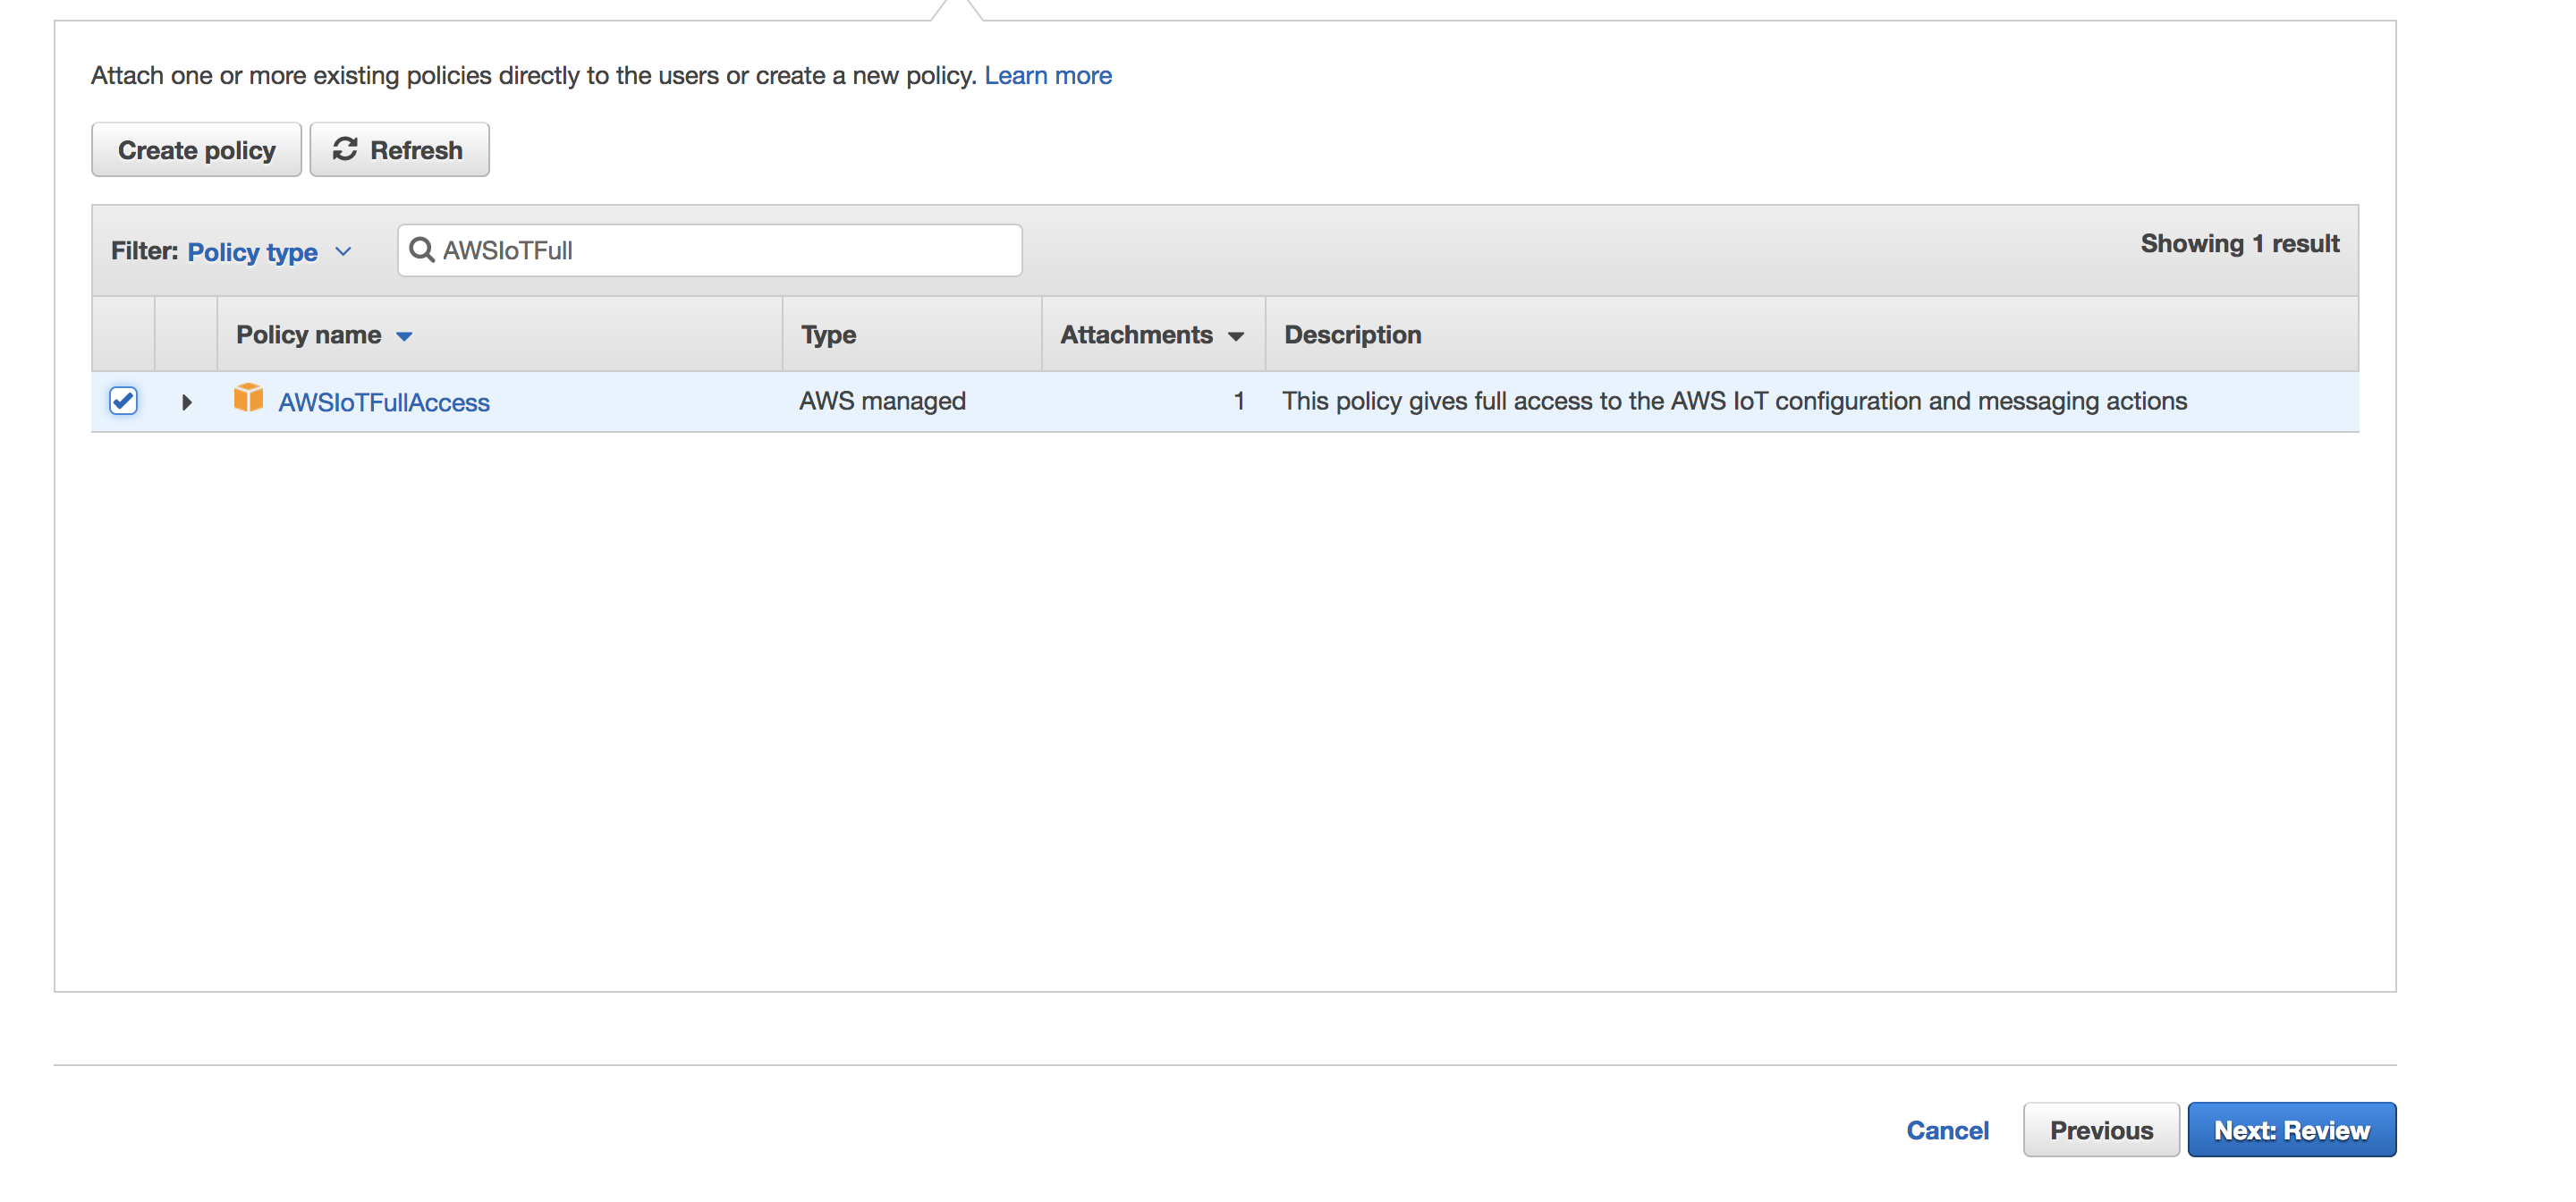
- In the search bar, search for AWSIoTFullAccess select it.
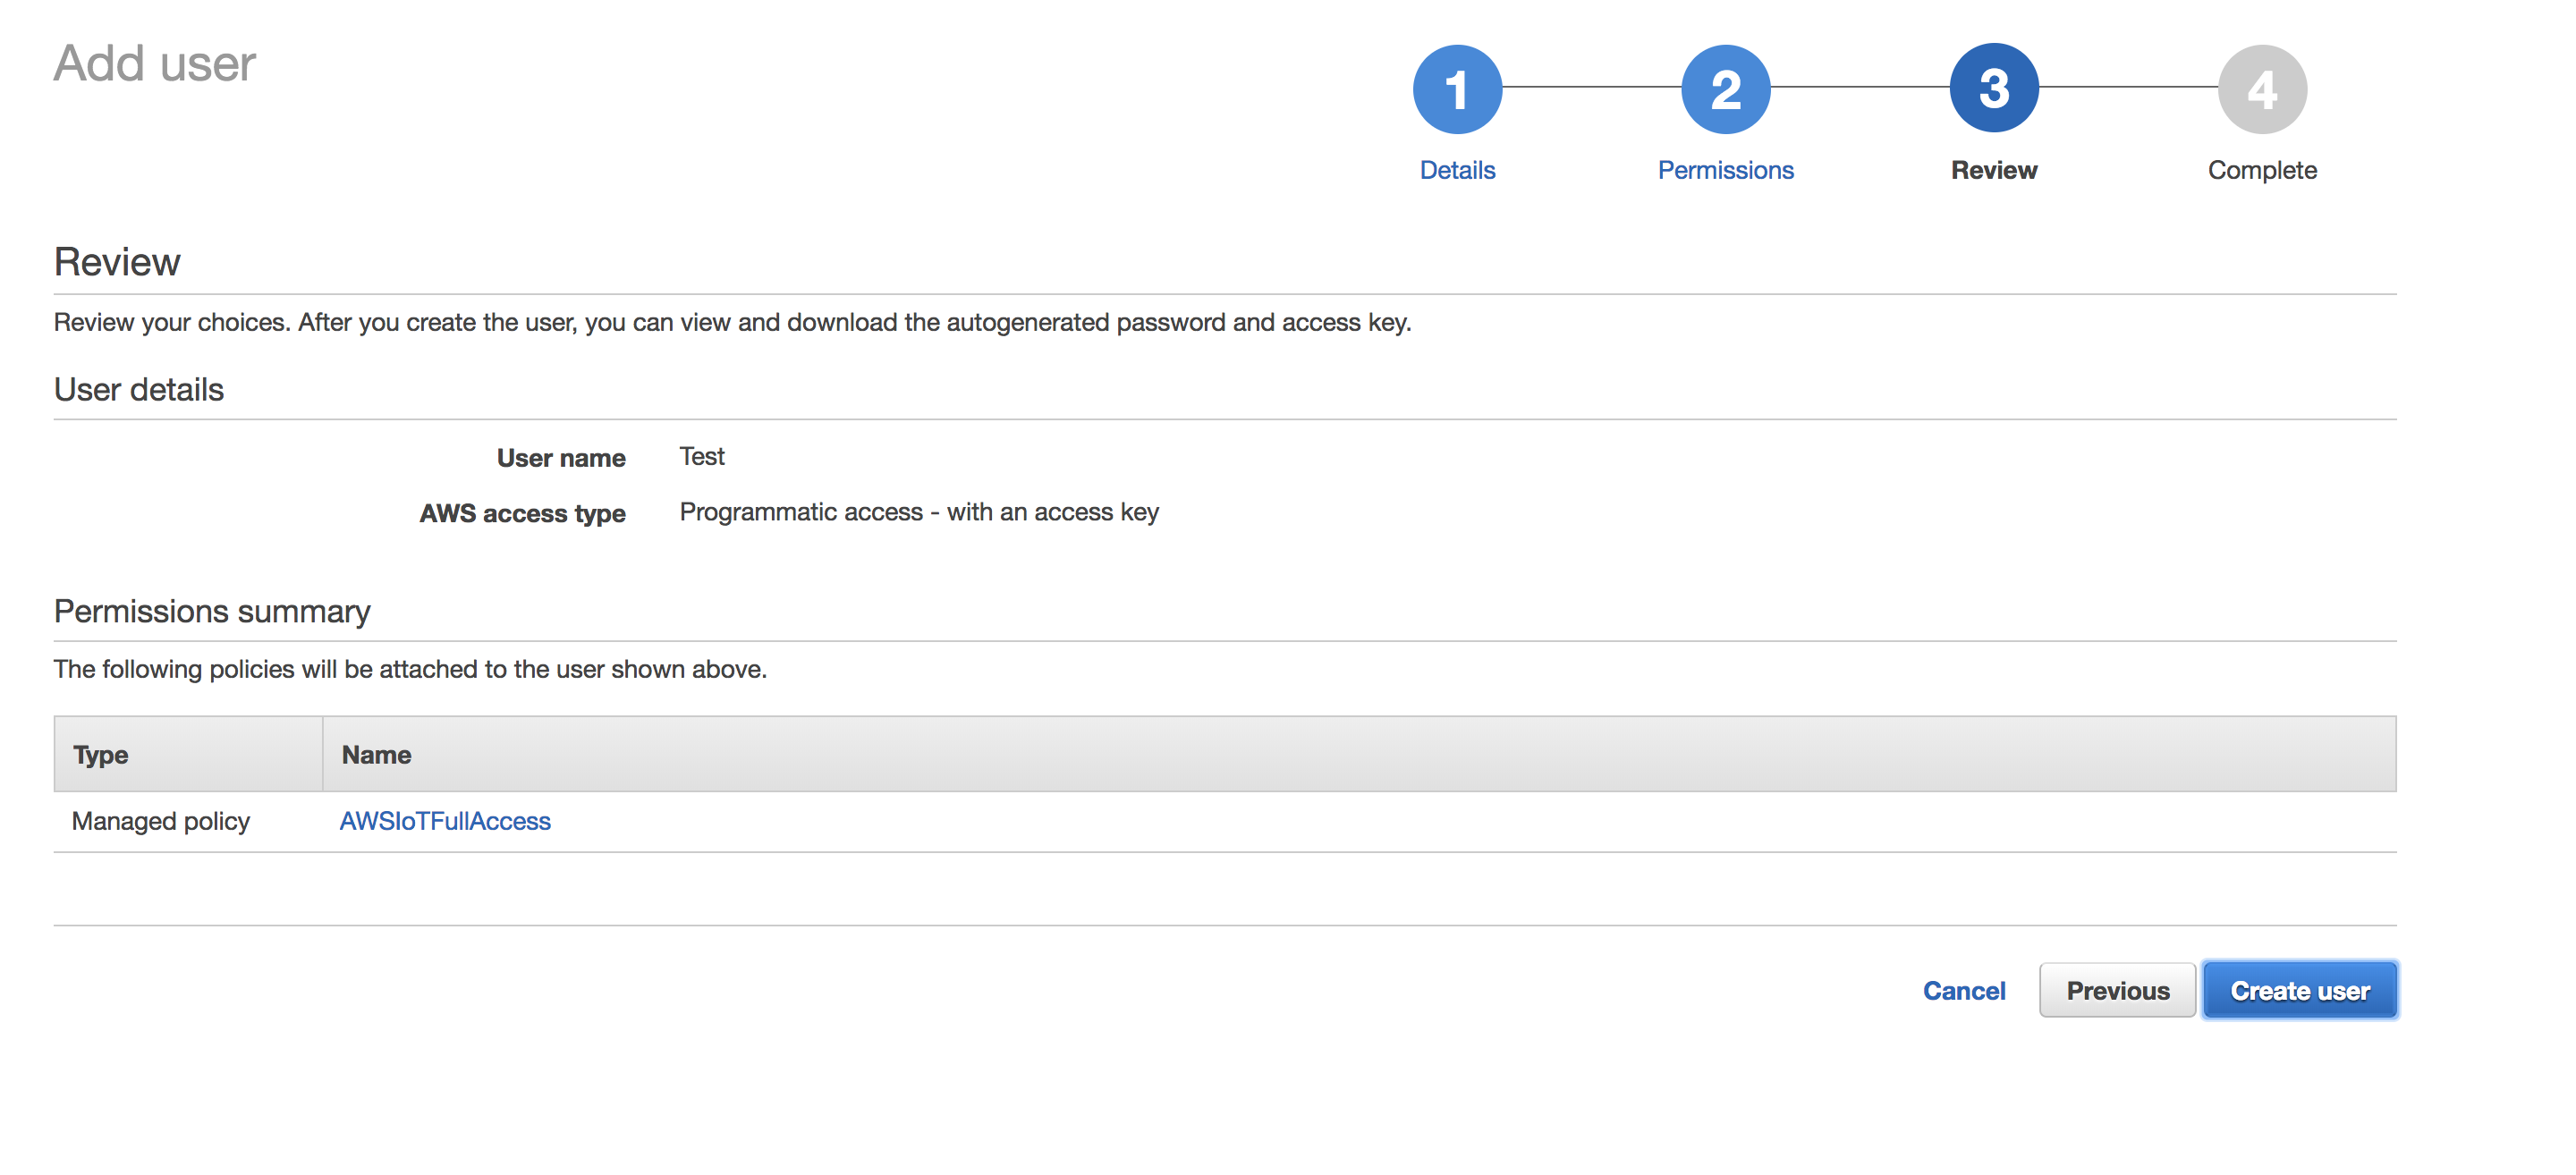
- Click on Next: Review
- Click on Create User.
- You should see something like this. Copy these keys. And save it for further usage in adding devices on enebular.com.
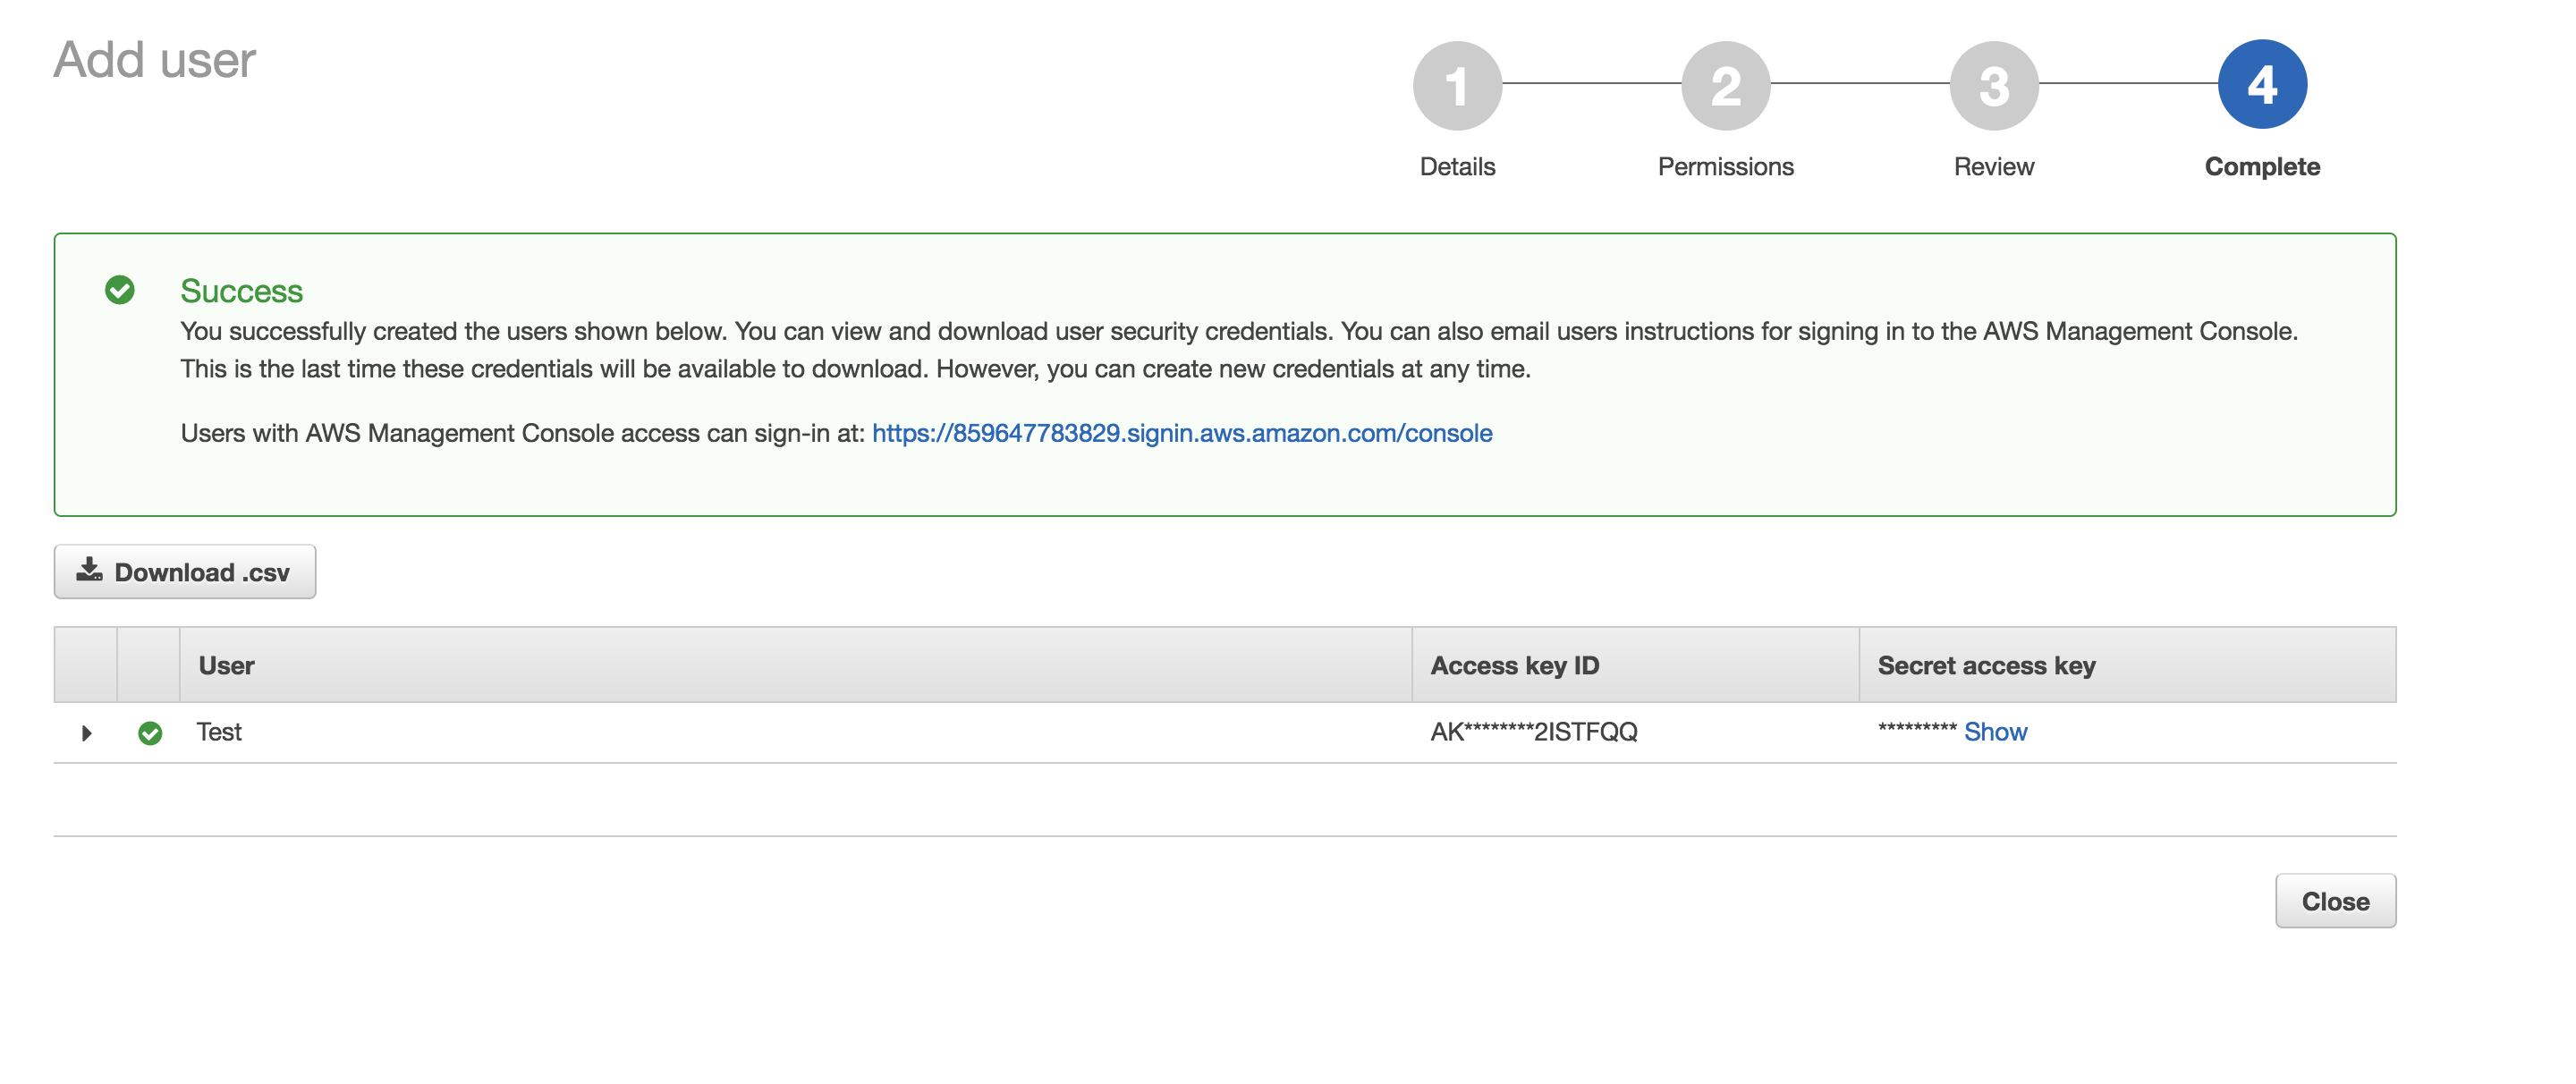
- Copy those keys and end-point url which we got in the https://qiita.com/BSatyaKishore/items/3ee6cf9d5ad89310855d.
STEP-4: Adding these keys on enebular.com
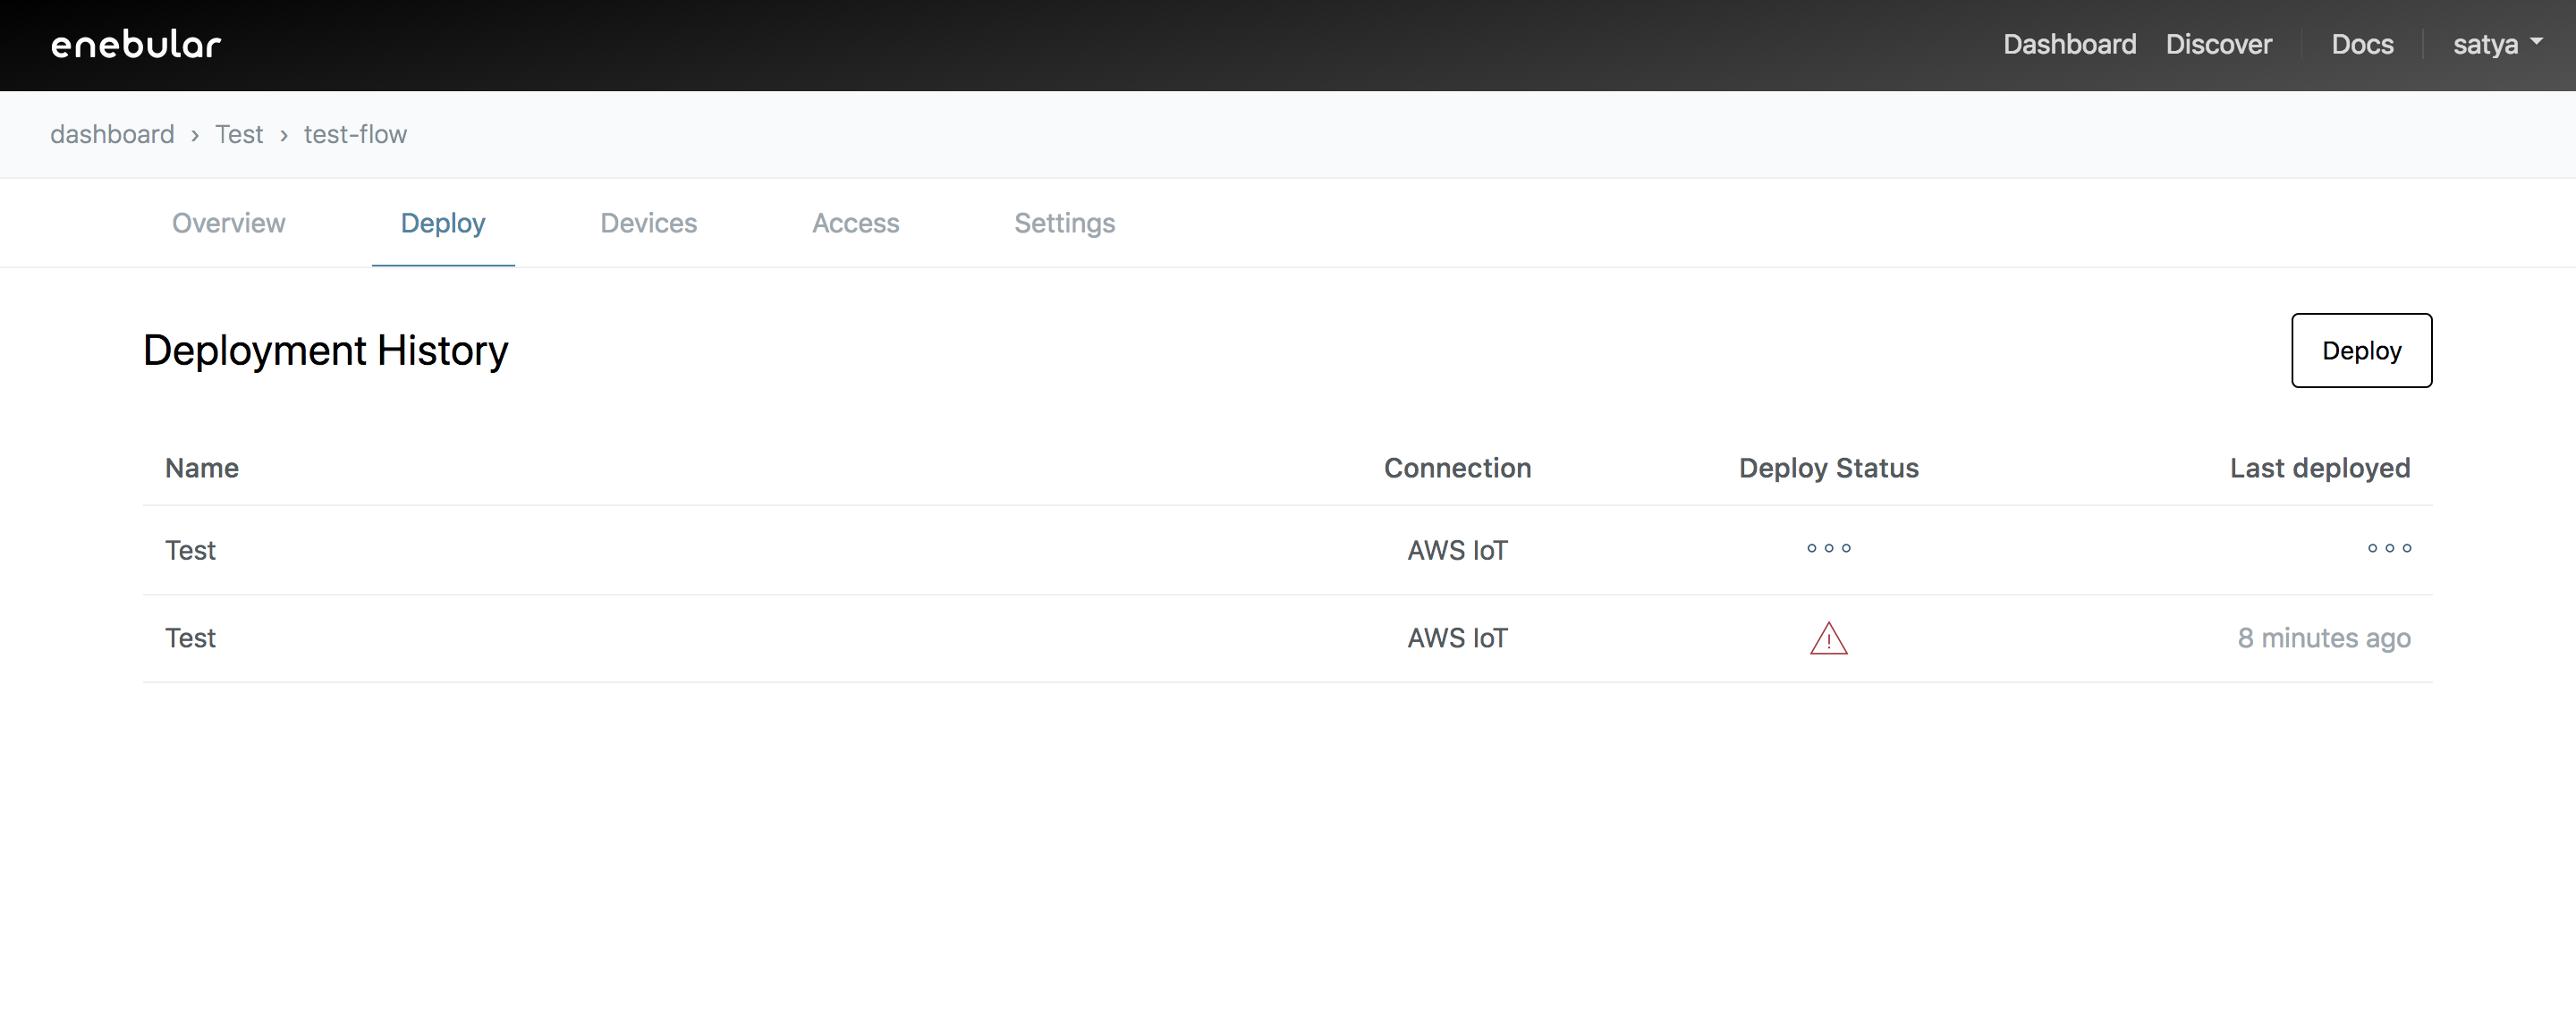
- You were here. Click on Deploy on the top panel.
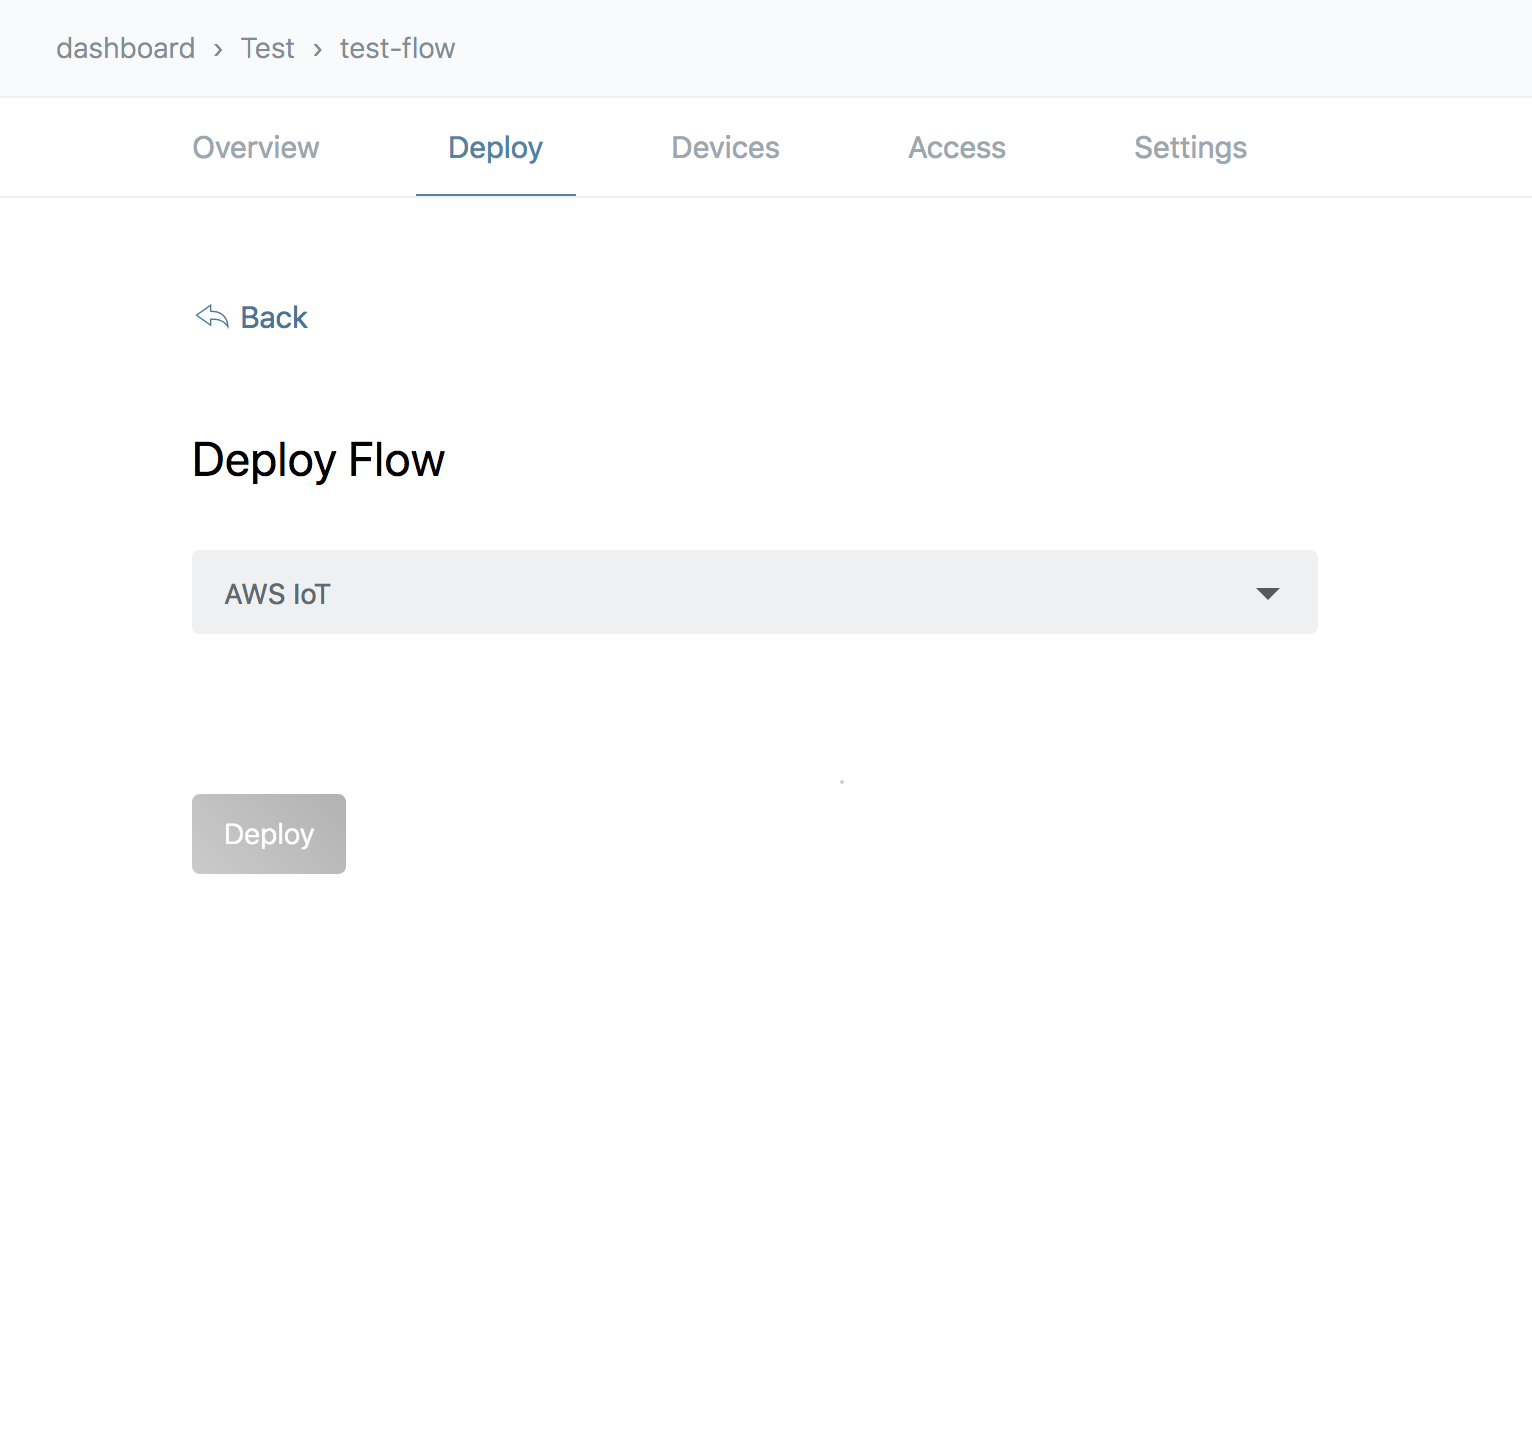
 - You should see something similar to this. Click on **Deploy** button on the right.
 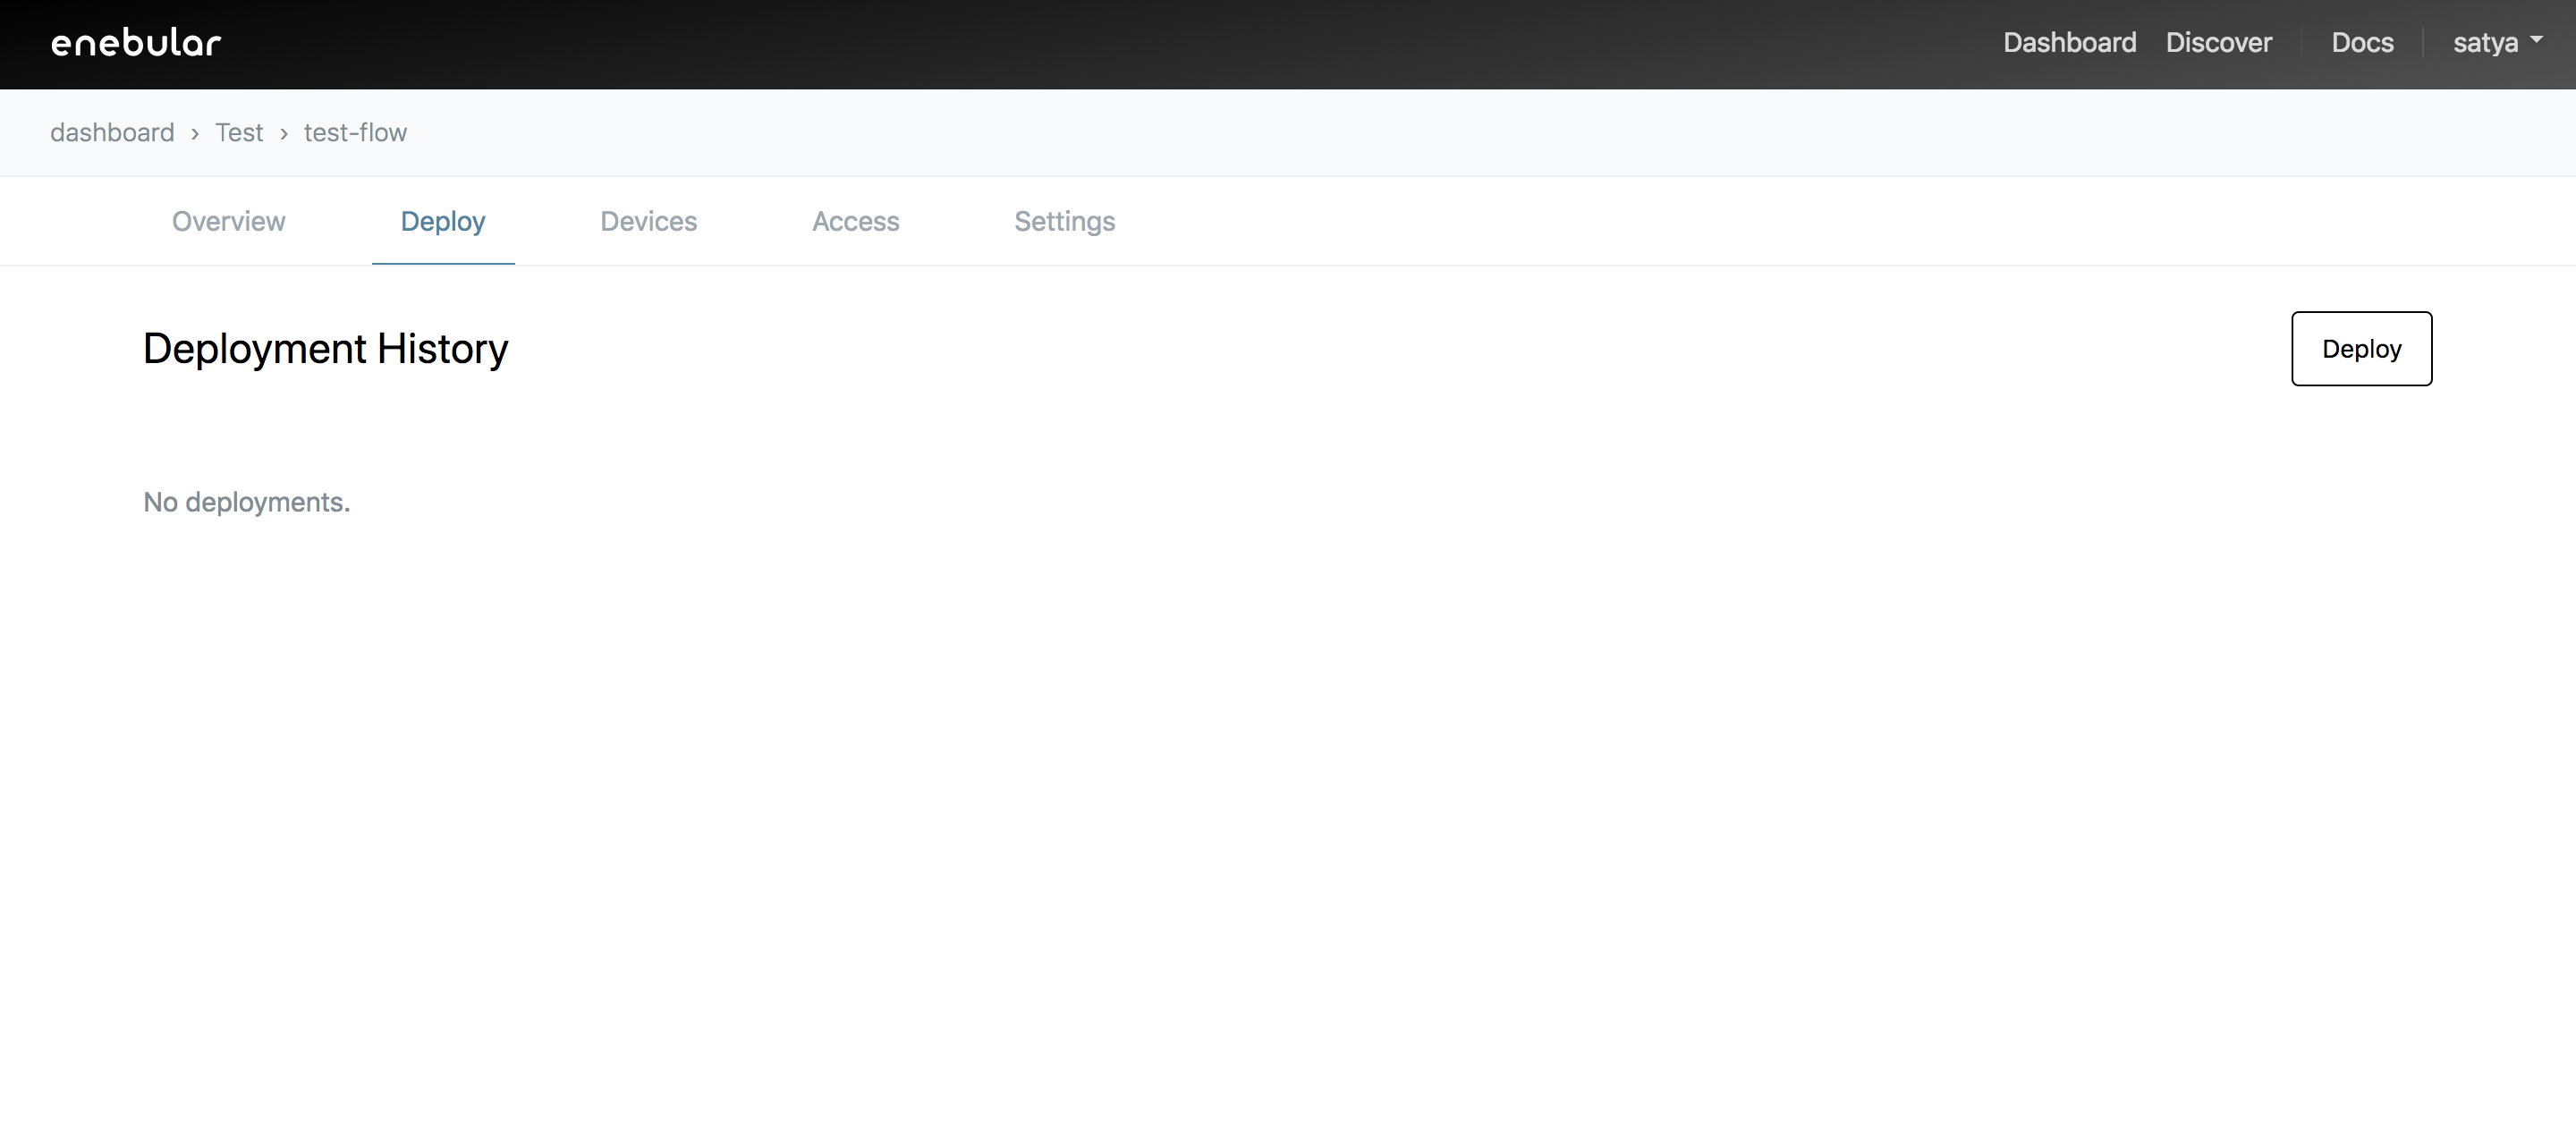 - You should see thing like this. Select **AWS IoT** in the connection type.
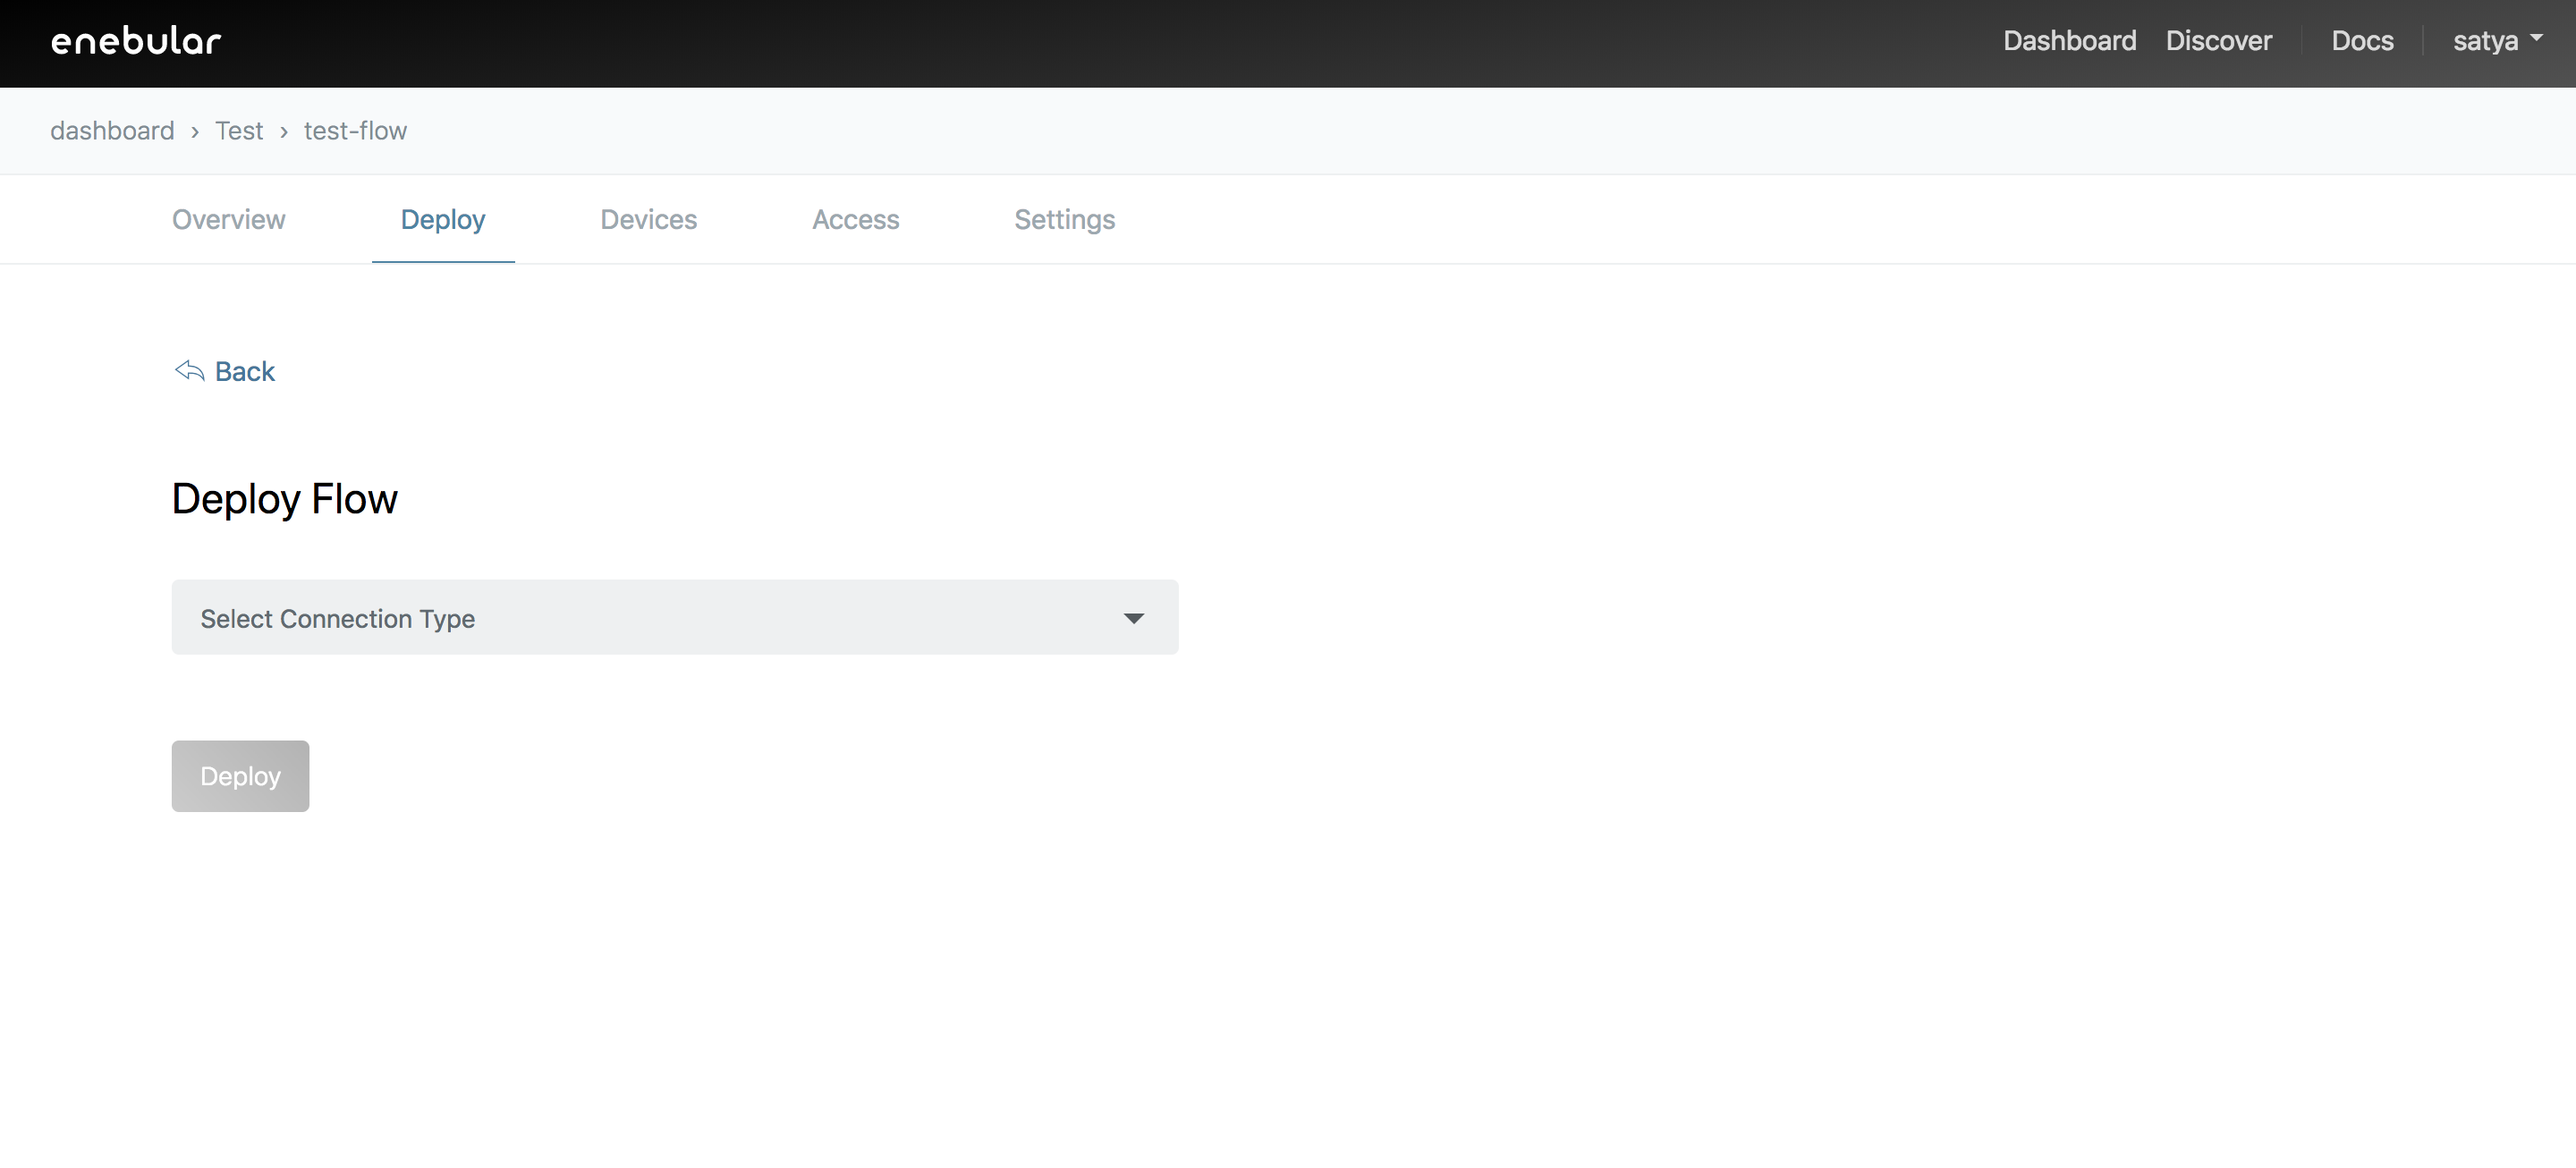 - You should see something like these. Click on **New**
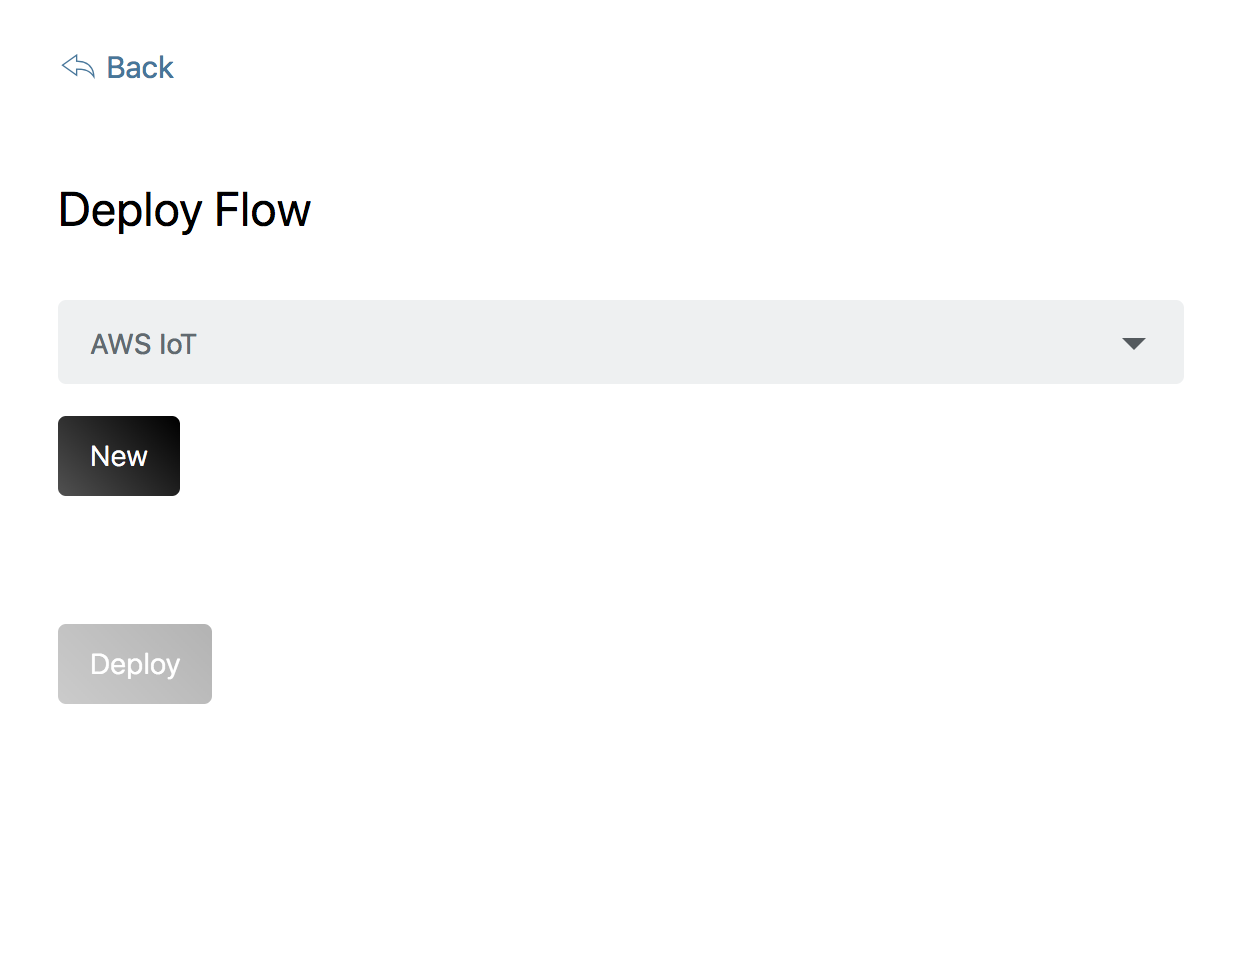 - Fill the details which we obtained using **STEP-3**. Region is available on AWS IoT EndPoint URL between 'iot.' and 'amazonaws'. Fill it and click on **Save**
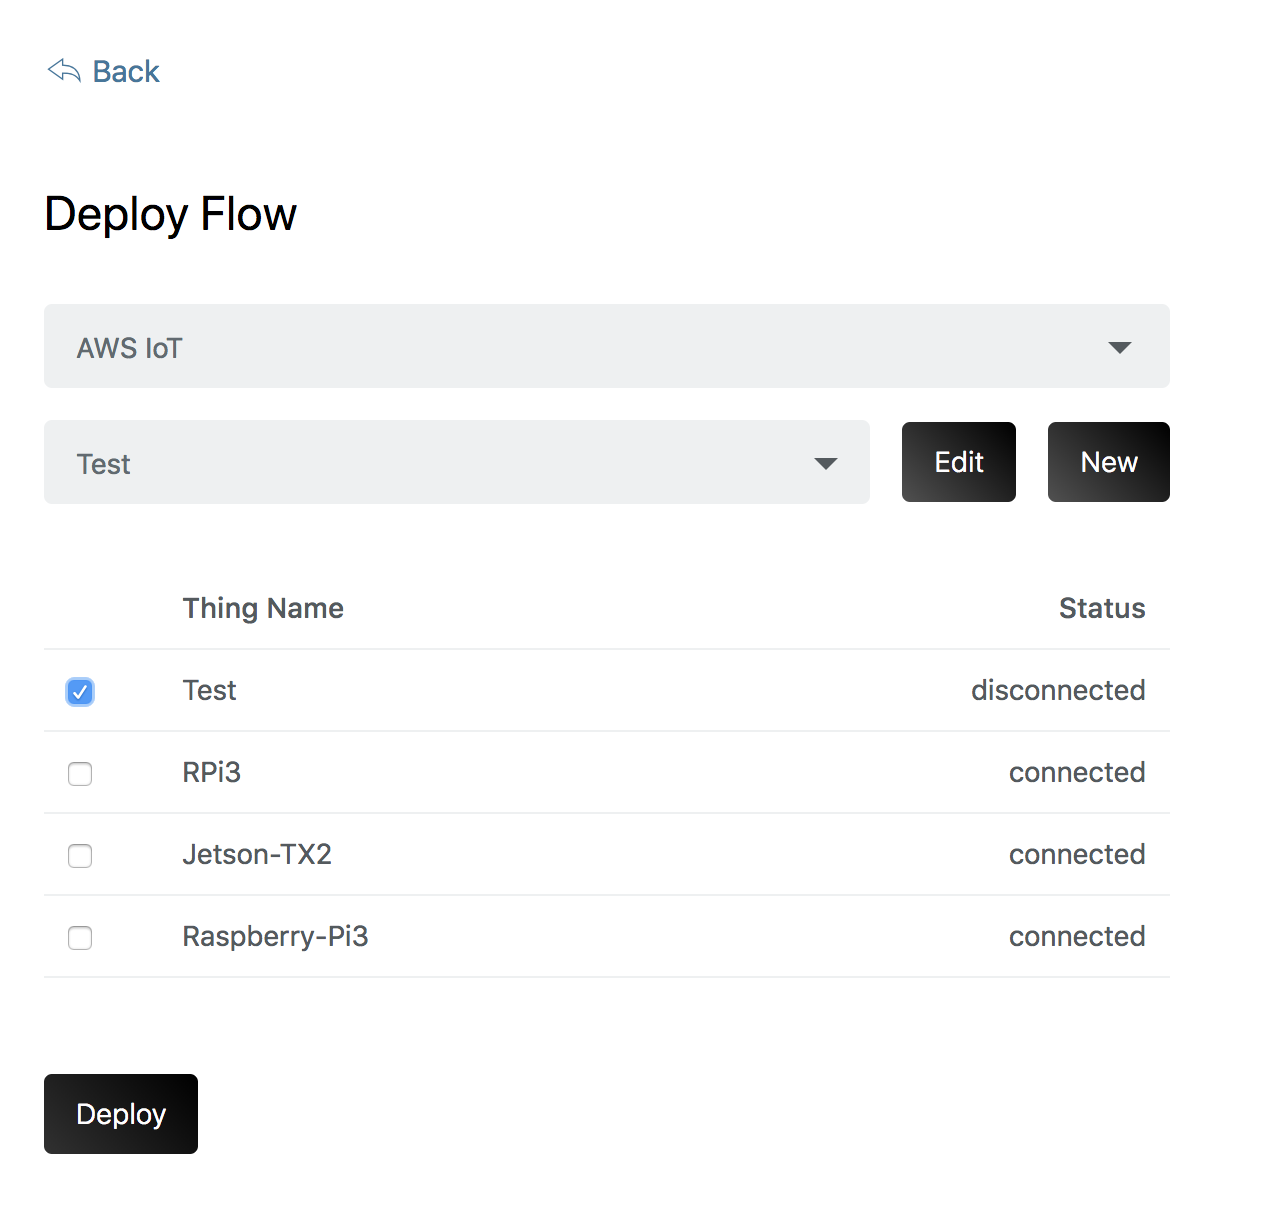
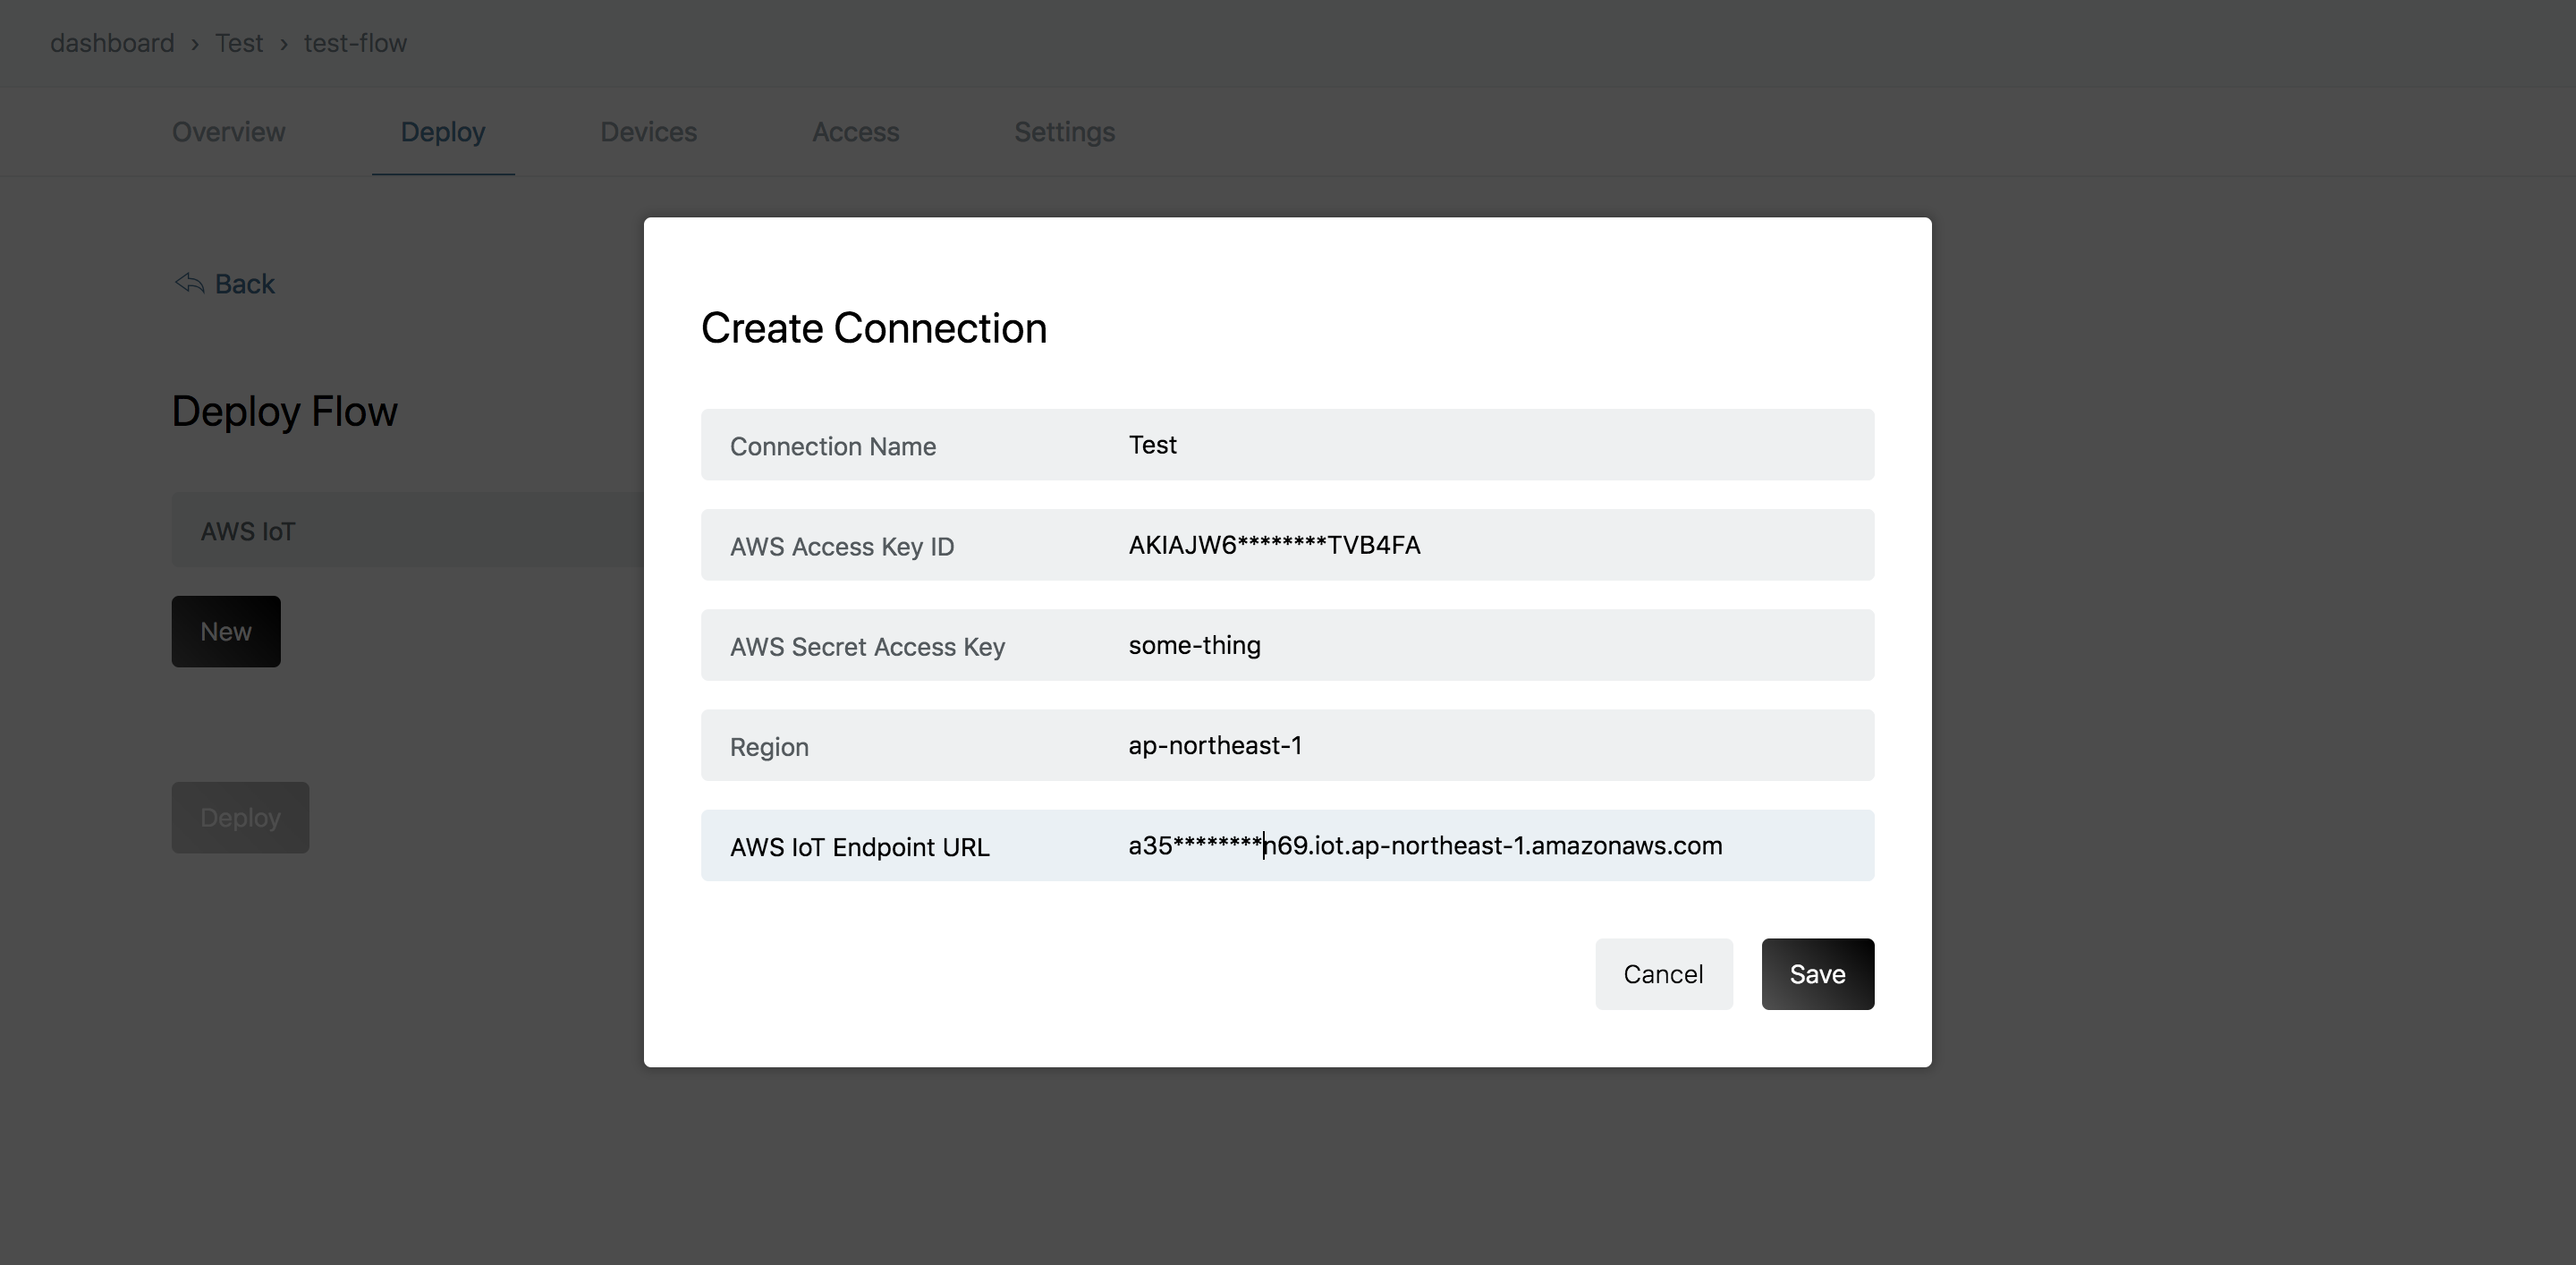 - You should see all your things like this.
 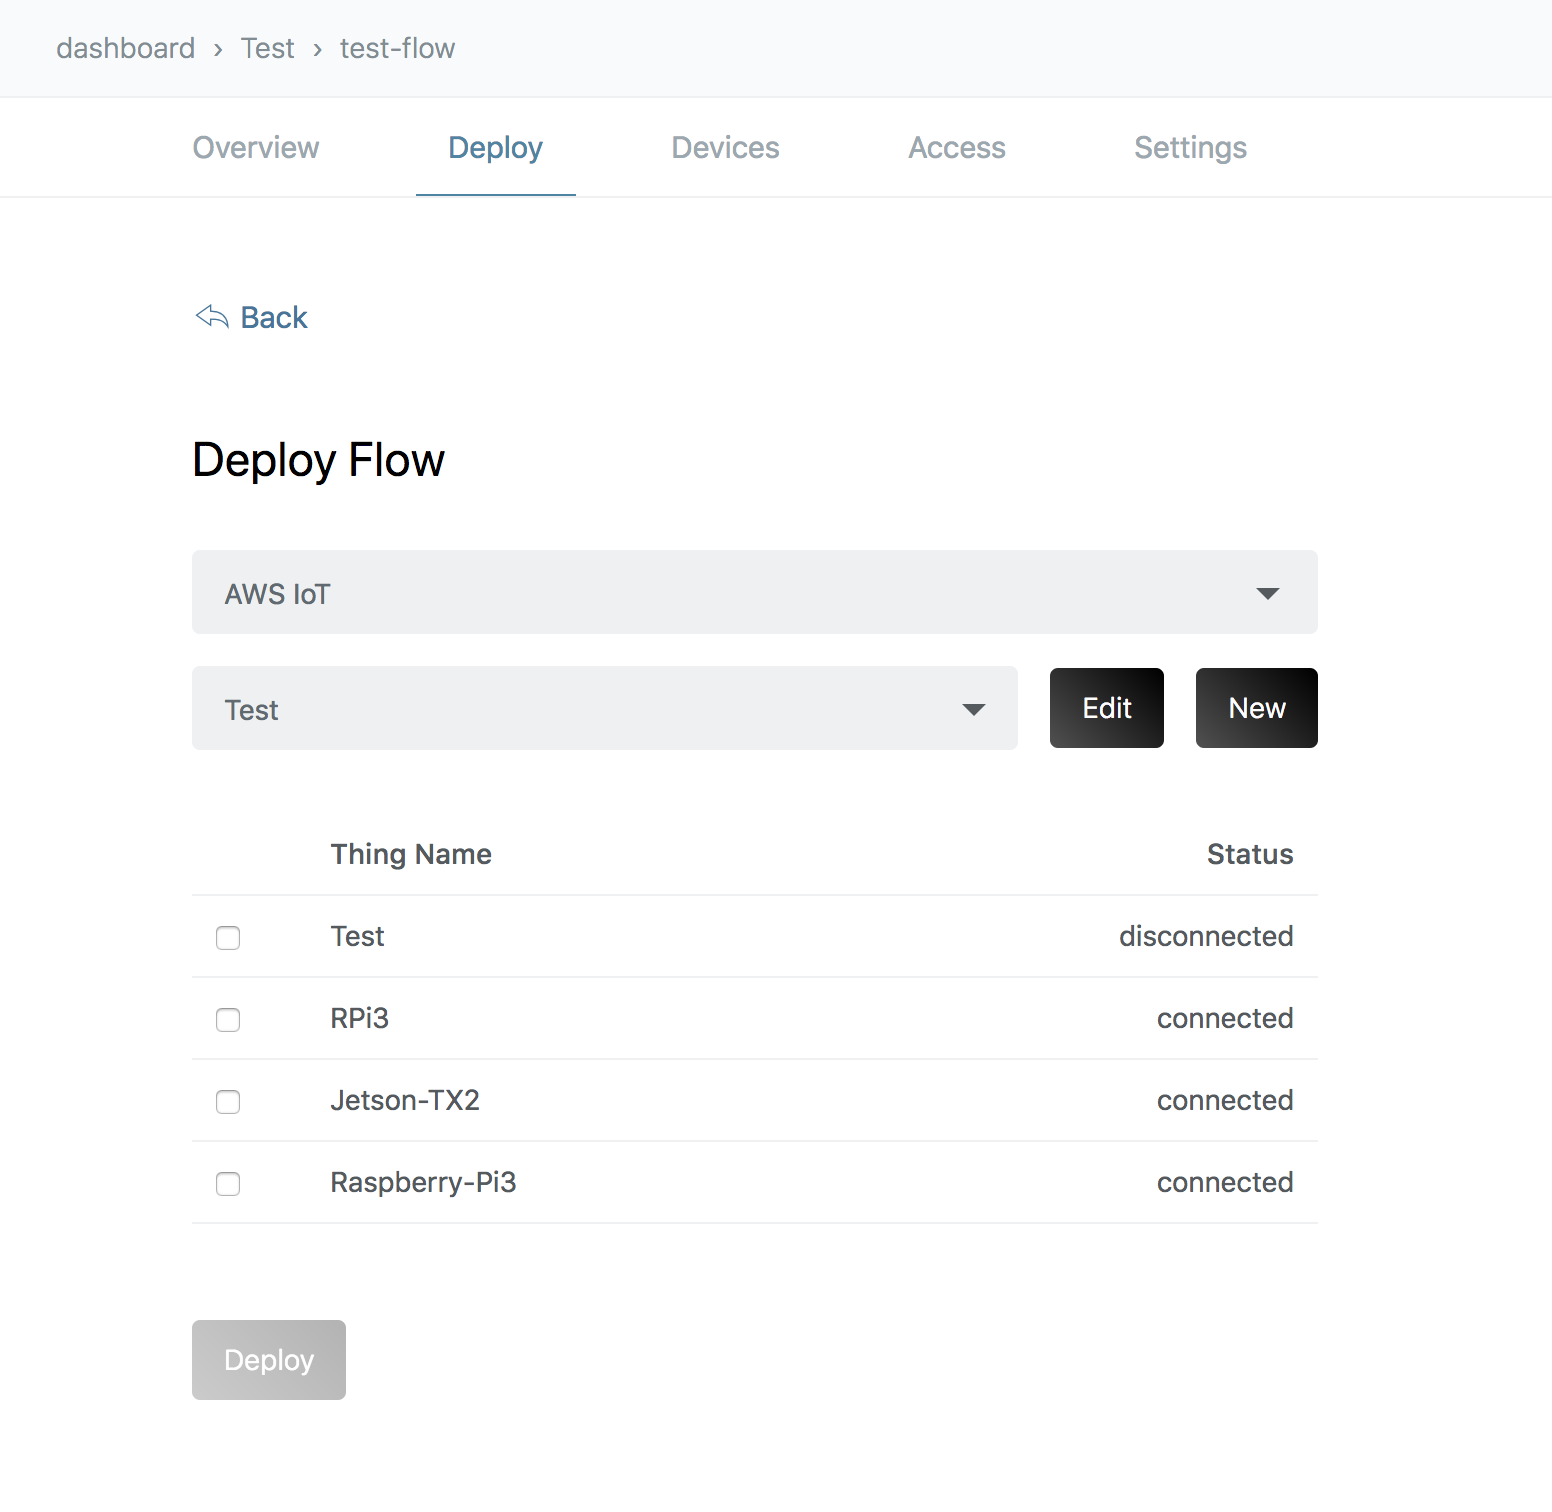 - Select **Test** and click **Deploy**. You should see something like this. And your flow will be deployed on the device. **Congratulations**
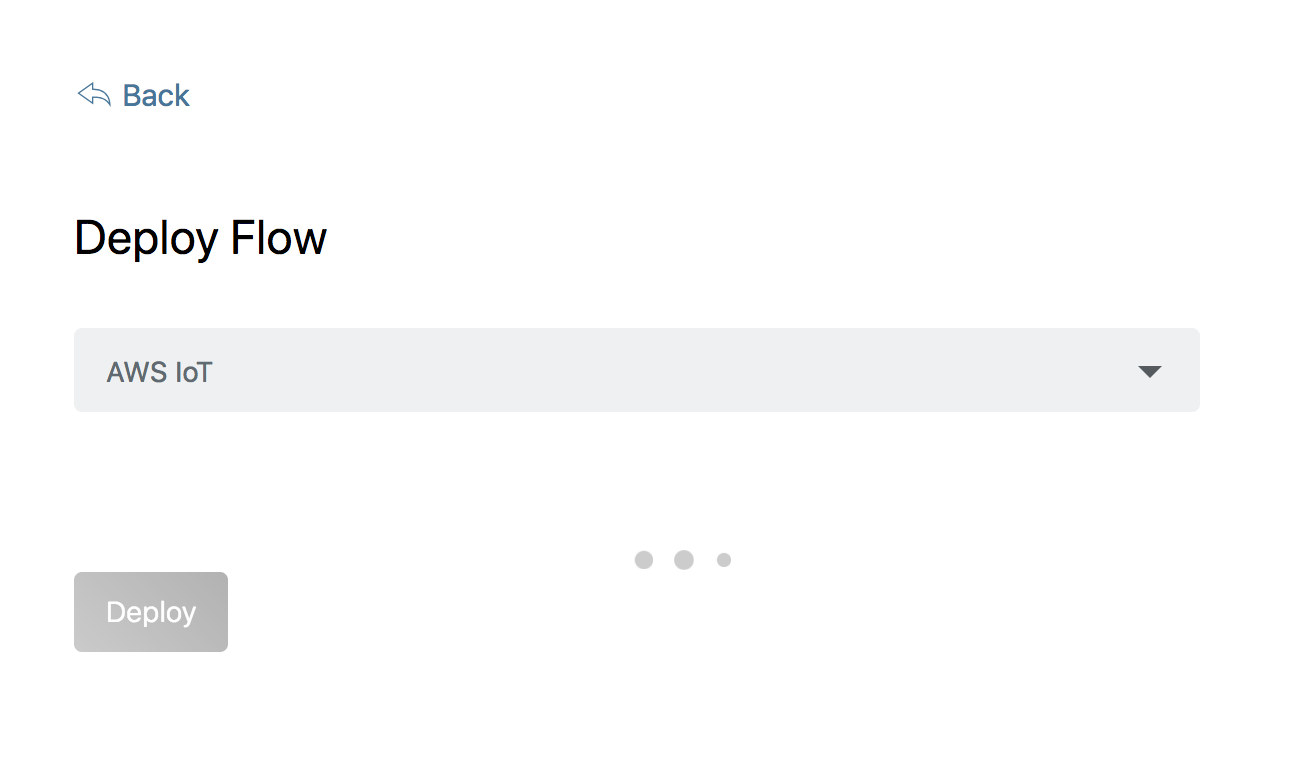
STEP-MISC: Deploying after setting up.
- Your Deploy screen should appear like this after you setup. Click on Deploy button.
- Something like this will appear. Select AWS Iot.
- Wait for a moment. You should be able to select your connection in the new list.
 - Select your thing and click **Deploy**. You flow will be deployed on your thing.