In this post, we will learn how to install enebular-runtime-agent on mac etc etc real quick. Takes 5 min of your time and 15 min of your computer time.
Prereqs: Downloading AWS IoT thing certificates for enebular-runtime-agent (https://qiita.com/BSatyaKishore/items/bf168cb2c7c759e751f2)
STEP 1:
Install docker.
Mac Users, use this link. https://docs.docker.com/docker-for-mac/install/
STEP 2:
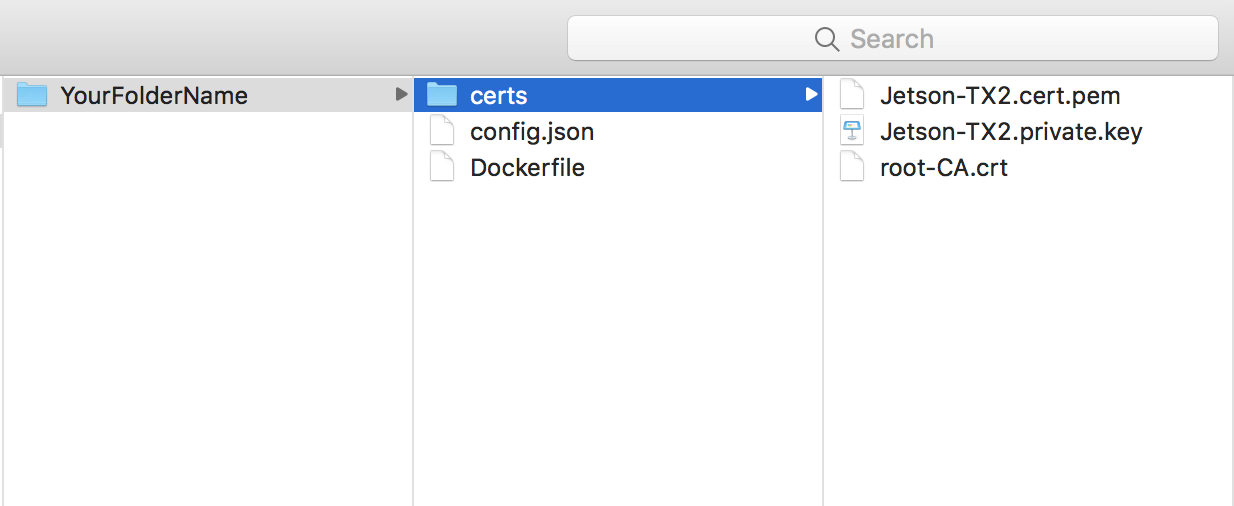
- Create a folder. And add Certificates which you download from the AWS console in a certs folder. Download the root-CA.cert of amazon and add to this folder. Now, in the folder you created, create a new file called
Dockerfile. Add the below lines of code in that file.
FROM satyakishore/enebularagent

COPY ./certs/ /enebular-runtime-agent/ports/awsiot/example/certs/
COPY ./config.json /enebular-runtime-agent/ports/awsiot/example/

CMD cd /enebular-runtime-agent/ports/awsiot/example/ && DEBUG=info npm run start
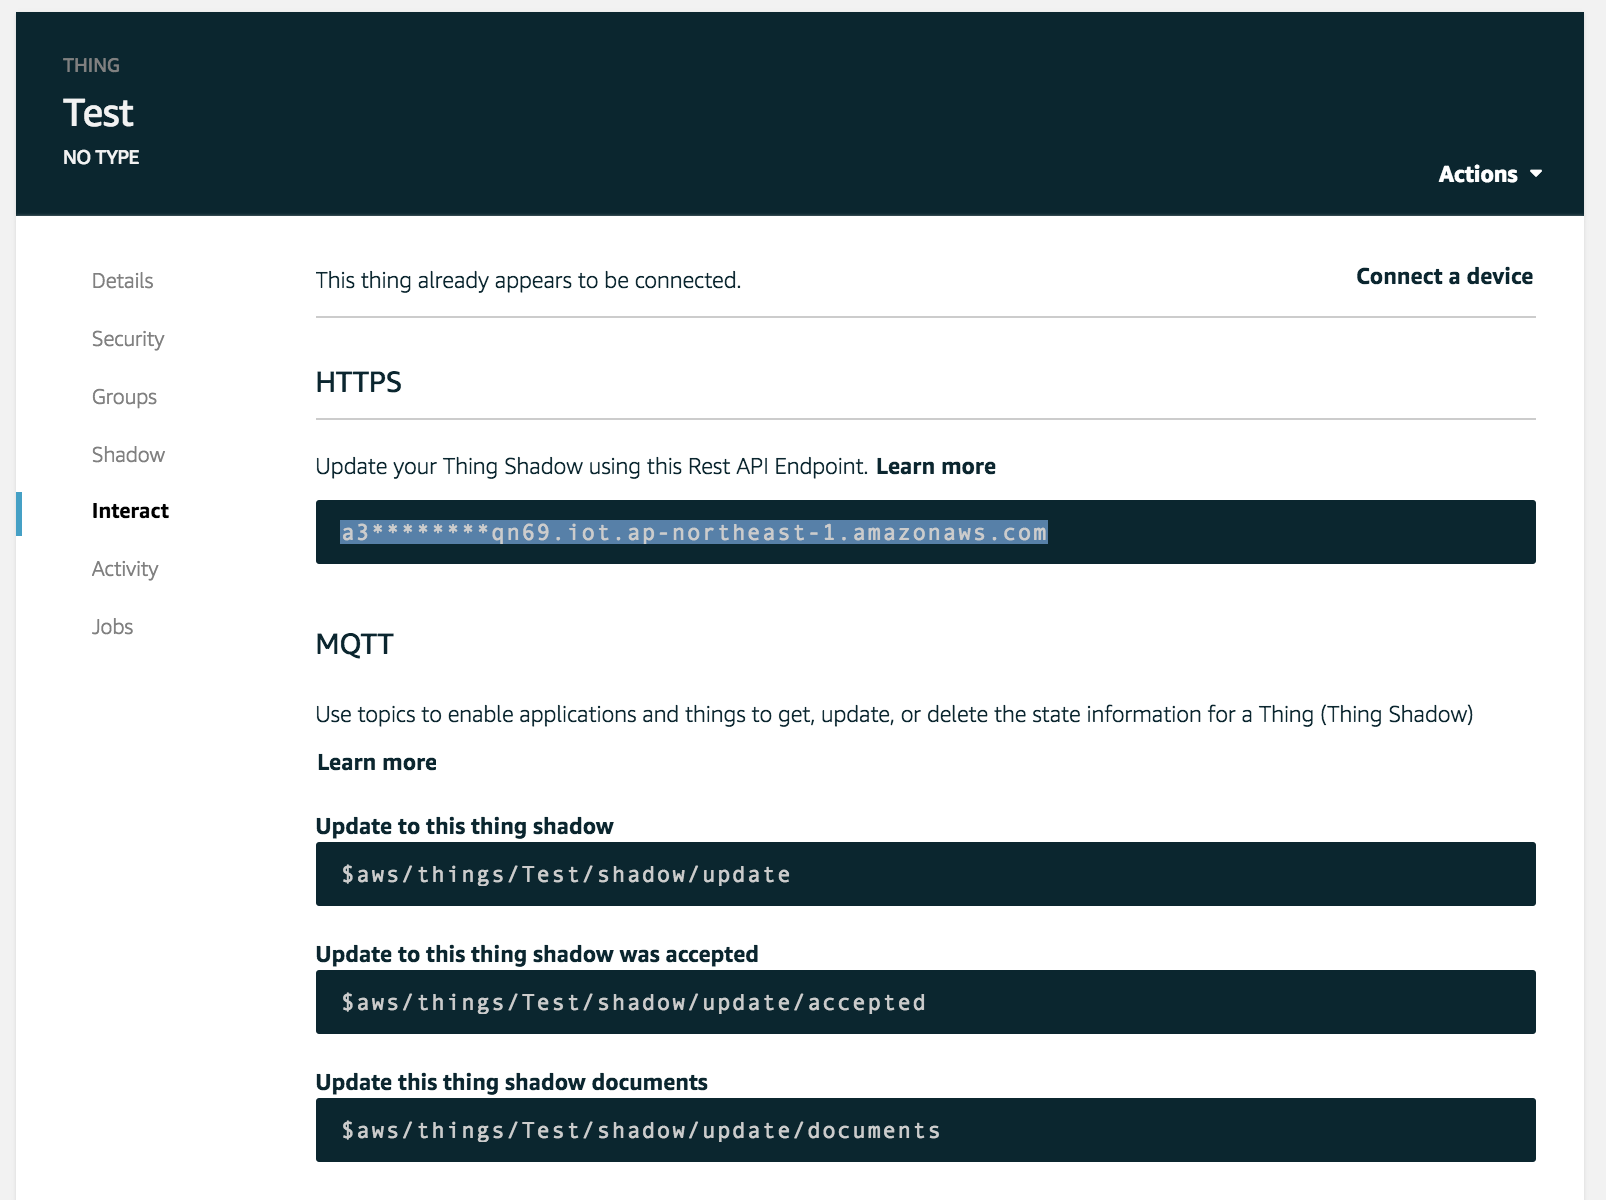
- Next create a config.json file add contents like this. Replace the <> with the thing name you created. Forgot? No worries, you can get it from the certificates folder. Replace the host address from see step MISC below.
{
  "host": "a3********qn69.iot.ap-northeast-1.amazonaws.com",
  "port": 8883,
  "clientId": "<<Test>>",
  "thingName": "<<Test>>",
  "caCert": "./certs/root-CA.crt",
  "clientCert": "./certs/<<Test>>.cert.pem",
  "privateKey": "./certs/<<Test>>.private.key",
  "topic": "aws/things/<<Test>>/shadow/update"
}
- Open terminal in this folder and run
docker build -t enebularagentv2 .
- Running the agent
docker run --privileged -it enebularagentv2
- You should see something like
internal: aws-iot: Connected to AWS IoT
Checks:
Folder Structure should be something similar to

STEP MISC:


