「IBM Cloud : virt-v2vを使ったVMware OVAからVSI for VPCへのサーバー移行手順」で、VMwareのVMをVSI for VPCに移行しました。
今回は、補足の検証としてBoot Diskの他に追加Diskを持った環境を検証してみます。
「IBM Cloud : virt-v2vを使ったVMware OVAからVSI for VPCへのサーバー移行手順」では基本的に、OVAでテストしていました。あとからRHLEのOVFの検証も追記しました。
しかし、WindowsのOVFの検証は、この記事ではしていなかったので、今回、ついでにOVFからの移行の検証もしました。
検証結果はこちらです。
- 追加ディスクの変換先名が、[VM名]-sdb、[VM名]-sdc…になること
- 移行先VMへの追加ディスクの接続は、移行先VMのオーダー後に必要なこと
- 今回の環境ではOSからの追加ディスクの認識の調整が不要であったこと(ここは、移行パターン毎に確認した方がいいかもしれません)
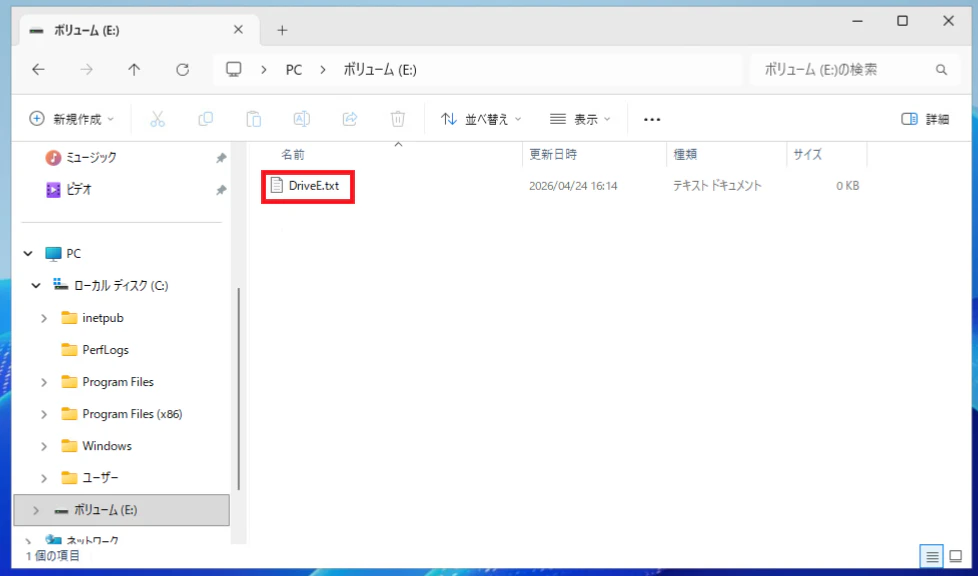
今回の環境: Windows Server 2025 / C: 50GB / E: 10GB
おなじみのWindows Server 2025評価版の環境です。
基本の50GBの他、10GBの追加ディスクを追加した環境を用意しました。

10GBの追加ディスクは「Eドライブ」として認識されています。「Dドライブ」はCD/CVDとして、あらかじめ割り当てられていたのだと思います。

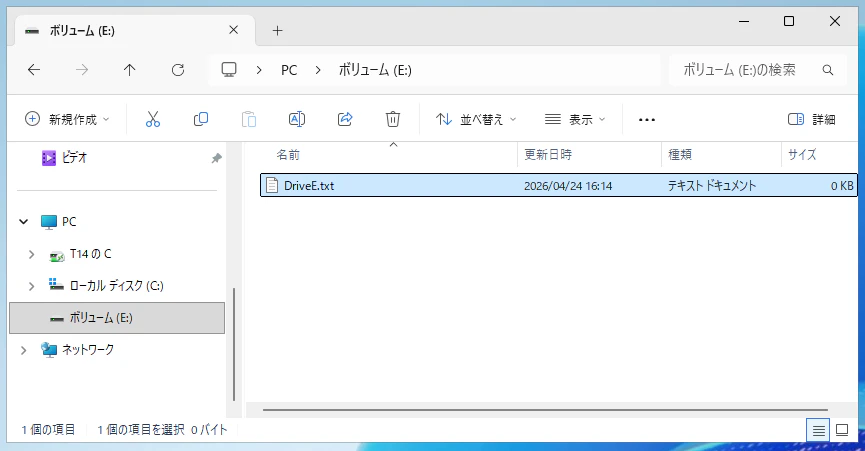
確認用に「Eドライブ」にファイルを用意しておきます。
移行の実施
移行します。
Boot Diskの用意
通常の移行通りBoot Diskを用意します。カスタム・イメージから50GBのものを作成しました。
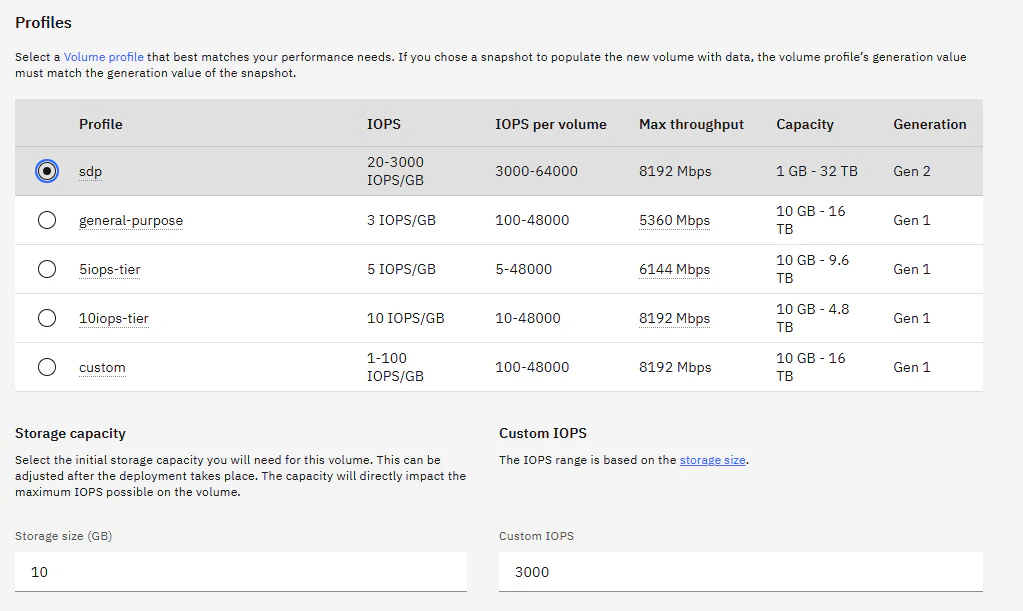
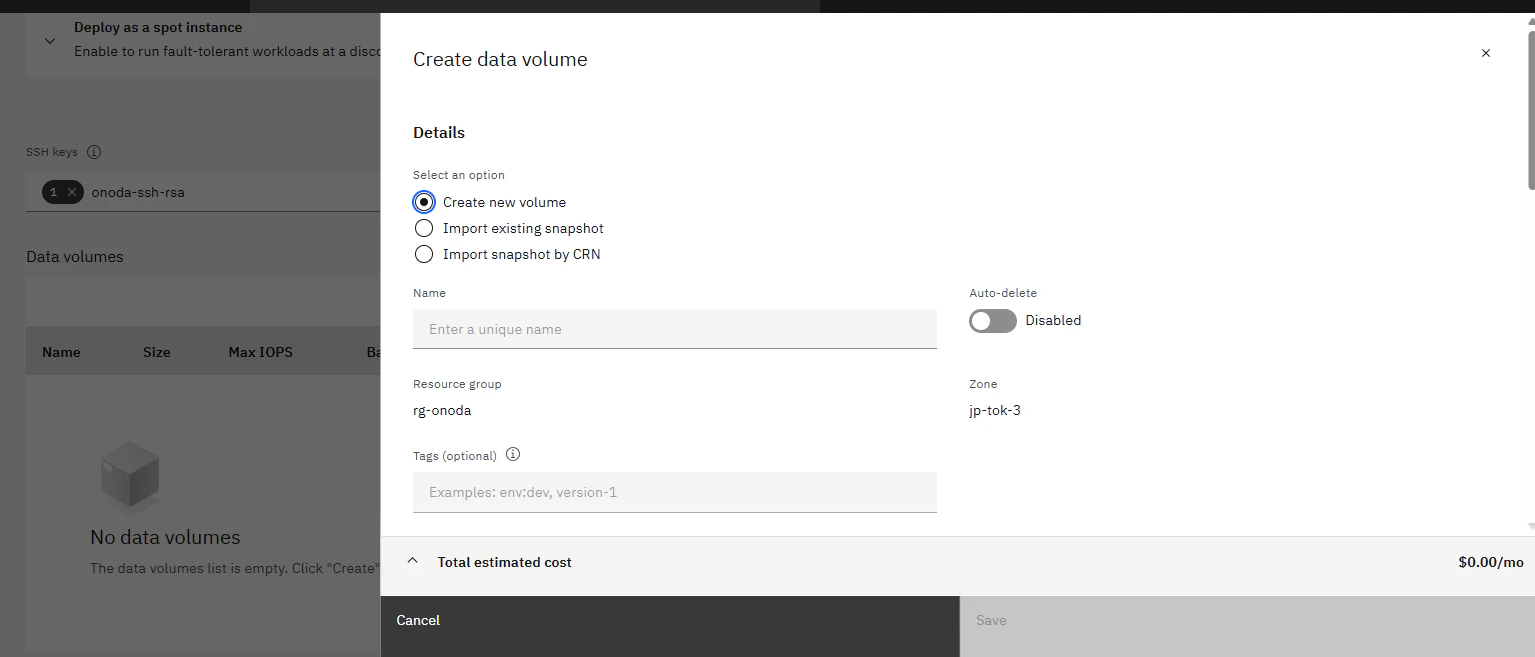
追加ディスクは、こちらから作成しました。
今回は移行元に合わせ10GBで作成しました。
作成されました。

Convert VSIに接続
両方をConvert VSIに接続します。

「vdd」と「vde」として接続されました。
core@onoda-converter-fedora:~$ lsblk
NAME   MAJ:MIN RM  SIZE RO TYPE MOUNTPOINTS
vda    253:0    0  100G  0 disk
├─vda1 253:1    0    1M  0 part
├─vda2 253:2    0  127M  0 part
├─vda3 253:3    0  384M  0 part /boot
└─vda4 253:4    0 99.5G  0 part /var
                                /sysroot/ostree/deploy/fedora-coreos/var
                                /sysroot
                                /etc
vdb    253:16   0  366K  0 disk
vdc    253:32   0   44K  0 disk
vdd    253:48   0   50G  0 disk
vde    253:64   0   10G  0 disk
出力Disk用のリンクの作成
出力Disk用のリンクを作成します。
一つ目は、これまでどおり[VM名]-sdaで、追加ディスクは[VM名]-sdbです。ご想像のおりの指定です。
接続された「vdX」に対応させます。
ln -fs /dev/vdd /tmp/Win2025-sda
ln -fs /dev/vdd /tmp/Win2025-sdb
root@onoda-converter-fedora:~# ln -fs /dev/vdd /tmp/Win2025-sda
root@onoda-converter-fedora:~# ln -fs /dev/vde /tmp/Win2025-sdb
root@onoda-converter-fedora:~# ls -l /tmp/Win2025-sd*
lrwxrwxrwx. 1 root root 8 Apr 24 09:38 /tmp/Win2025-sda -> /dev/vdd
lrwxrwxrwx. 1 root root 8 Apr 24 09:38 /tmp/Win2025-sdb -> /dev/vde
変換元はOVFとして「/home/core/win2025-ovf」ディレクトリーに用意しました。
DISKが二つなのでvmdkファイルも2つあります。
root@onoda-converter-fedora:~# ls -l /home/core/win2025-ovf
total 12955844
-rw-r--r--. 1 core core 13266378112 Apr 24 09:38 Win2025-0.vmdk
-rw-r--r--. 1 core core      385024 Apr 24 09:38 Win2025-1.vmdk
-rw-r--r--. 1 core core       15539 Apr 24 09:38 Win2025.ovf
変換の実施
変換を実施します。
移行元の指定がOVFなのでディレクトリーを指定します。
export LIBGUESTFS_BACKEND=direct
export VIRTIO_WIN=/root/virtio-win-1.9.53.iso

virt-v2v \
-i ova /var/home/core/win2025-ovf \
-o disk -os /tmp \
--block-driver virtio-scsi
root@onoda-converter-fedora:~# export LIBGUESTFS_BACKEND=direct
root@onoda-converter-fedora:~# export VIRTIO_WIN=/root/virtio-win-1.9.53.iso
root@onoda-converter-fedora:~# virt-v2v \
-i ova /var/home/core/win2025-ovf \
-o disk -os /tmp \
--block-driver virtio-scsi
[   0.0] Setting up the source: -i ova /var/home/core/win2025-ovf
[   2.0] Opening the source
[  11.4] Checking filesystem integrity before conversion
[  12.7] Detecting if this guest uses BIOS or UEFI to boot
[  14.1] Inspecting the source
[  21.5] Detecting the boot device
[  21.5] Checking for sufficient free disk space in the guest
[  21.5] Converting Windows Server 2025 Standard Evaluation (win2k25) to run on KVM
virt-v2v: This guest has virtio drivers installed.
[  39.4] Setting a random seed
virt-v2v: warning: random seed could not be set for this type of guest
[  39.4] SELinux relabelling
[  40.6] Fixing NTFS permissions
[  40.7] Mapping filesystem data to avoid copying unused and blank areas
[  45.4] Checking filesystem integrity after conversion
[  46.7] Closing the overlay
[  46.8] Assigning disks to buses
virt-v2v: warning: removable CD-ROM device in slot 0 clashes with another
disk, so it has been moved to a higher numbered slot on the same bus.  This
may mean that this removable device has a different name inside the guest
(for example a CD-ROM originally called /dev/hdc might move to /dev/hdd, or
from D: to E: on a Windows guest).
[  46.8] Checking if the guest needs BIOS or UEFI to boot
virt-v2v: This guest requires UEFI on the target to boot.
[  46.8] Setting up the destination: -o disk -os /tmp
[  47.9] Copying disk 1/2
█ 100% [****************************************]
[1139.8] Copying disk 2/2
█ 100% [****************************************]
[1280.4] Creating output metadata
[1280.4] Finishing off
実行されました。
Converter VSIからディスクを切り離し
Converter VSIからディスクを切り離します。
ターゲットVMをオーダー
ターゲットVMをオーダーします。
OSの選択で今書き込んだBood Diskを選びます。


Data DiskはVSIのオーダー時に接続できず、ここでは新規作成しかできないようです。
接続しないでVSIをオーダーします。
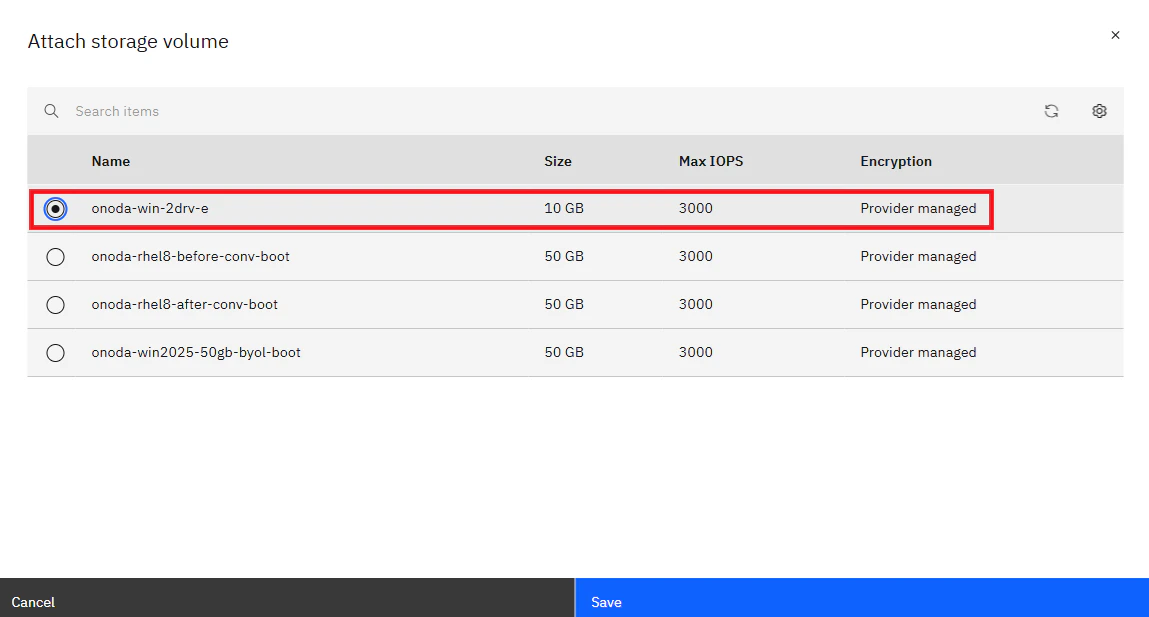
Data Diskとして追加ドライブの接続
VSIのデプロイ後、Data Diskとして追加ドライブを接続します。


OSからの確認
デプロイしたWindoewsにRDPで入り「コンピューターの管理」の「ディスクの確認」では、このように表示されました。
今回の環境は「GDP」なので「OK」します。

「OK」イメージでも後ろに見えますが、期待通り「Eドライブ」として接続されていました。

なお「ディスク1」と「ディスク2」はVPC仮想化環境用に認識されているもののようです。
エクスプローラーからも移行確認ように作成したファイルが見えます。
追加ディスクは変換先名として、[VM名]-sdb、[VM名]-sdc…でいいことが確認できました。