はじめに
この記事はFlutter初心者の筆者が学習のために書いている記事です。
間違っていたら温かくご指摘いただけるとありがたいです。
動作環境
- PC:Macbook
- CPU:Intel
- OS:MacOS Ventura 13.3.1
Flutter SDKをインストール
Flutter公式サイトからインストーラーを使ってインストールするという手もありますが、今回はHomebrewを使ってインストールしていきます。
ターミナルで以下のコマンドを実行します。
brew install flutter
以下のコマンドを実行してバージョンが表示されれば完了です。
flutter --version
次に、以下のコマンドを実行してみます。
flutter doctor
すると、私の場合は以下のようなメッセージが返ってきました。
iOSとAndroidのセットアップが必要になります。

iOSをセットアップ
私は既にインストール済みでしたので割愛しますが、Xcodeがインストールされていない場合はAppStoreからインストールしてください。
インストールが終わったら、flutter doctorでも出てきているように以下の2つのコマンドを実行します。
sudo xcode-select --switch /Applications/Xcode.app/Contents/Developer
sudo xcodebuild -runFirstLaunch
ターミナルで以下のコマンドを実行します。
brew install cocoapods
Androidのセットアップ
Homebrewを使ってインストールしていきます。
ターミナルで以下のコマンドを実行します。
brew install android-studio
Android Studioを立ち上げて初期設定を行なっていきます。

→「Do not import setting」のままOK

→どちらを選んでもOK
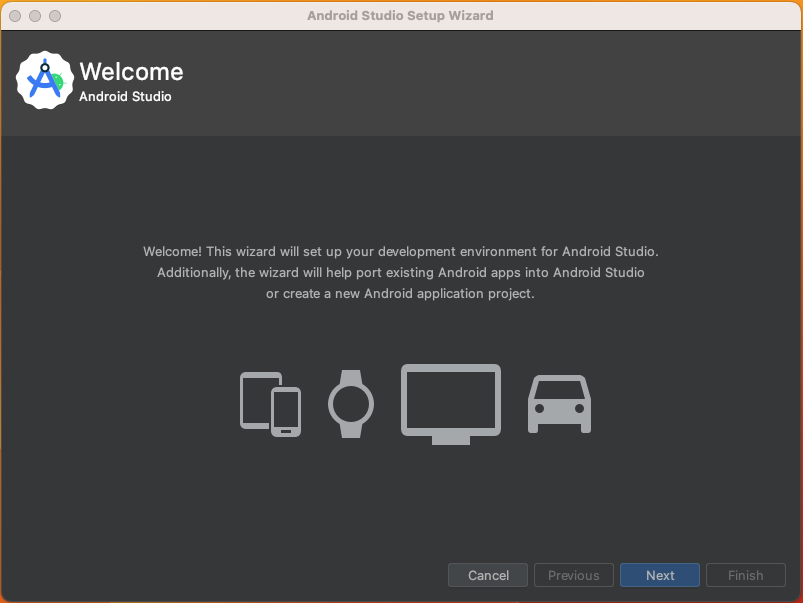
→そのままNext

→StandardのままNext

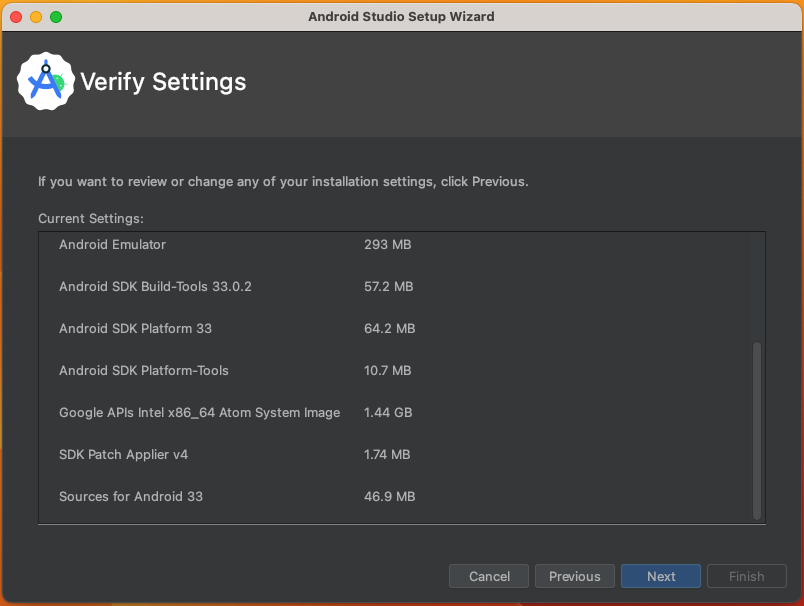
→どちらかを選んでNext
→そのままNext
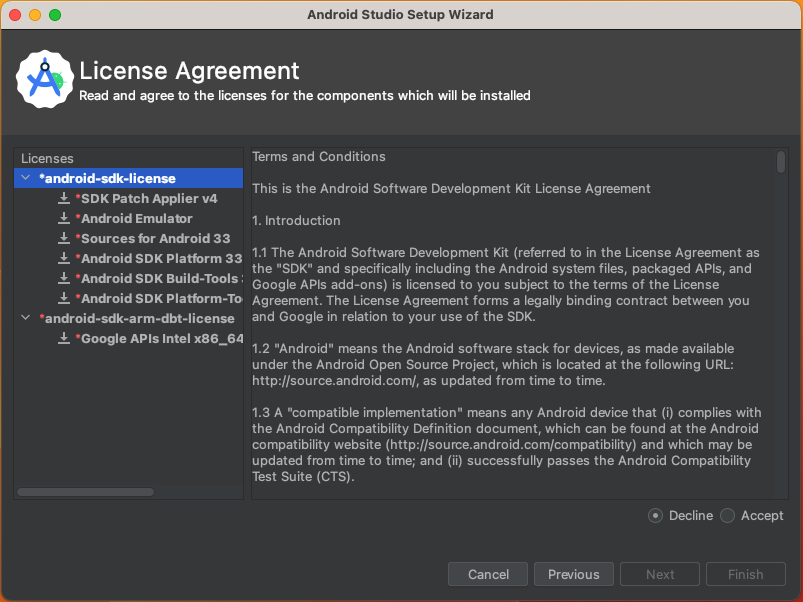
→Acceptを選択してFinish
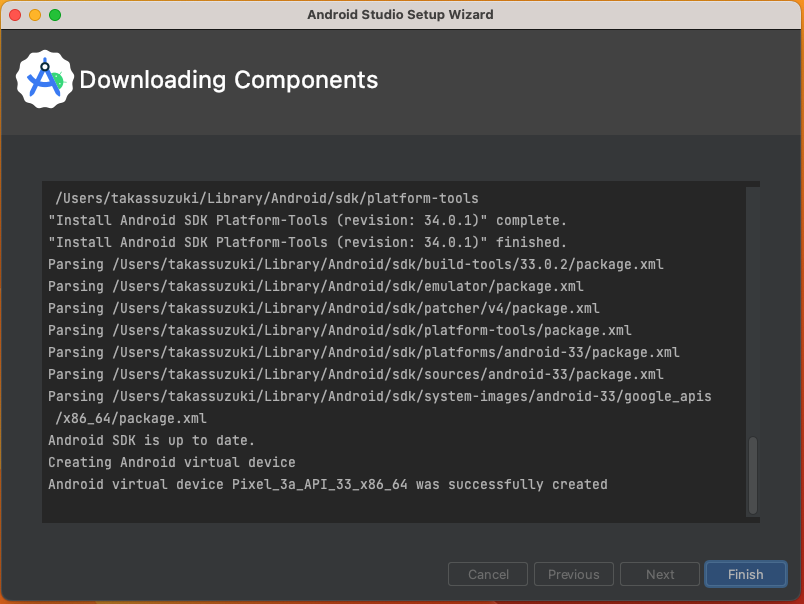
これでコンポーネントのダウンロードが始まりますので、終わるまで待ってください。
→Finishを押して終了
次に、Welcome to Android Studioという画面が出るのでSDK Managerを選択します。
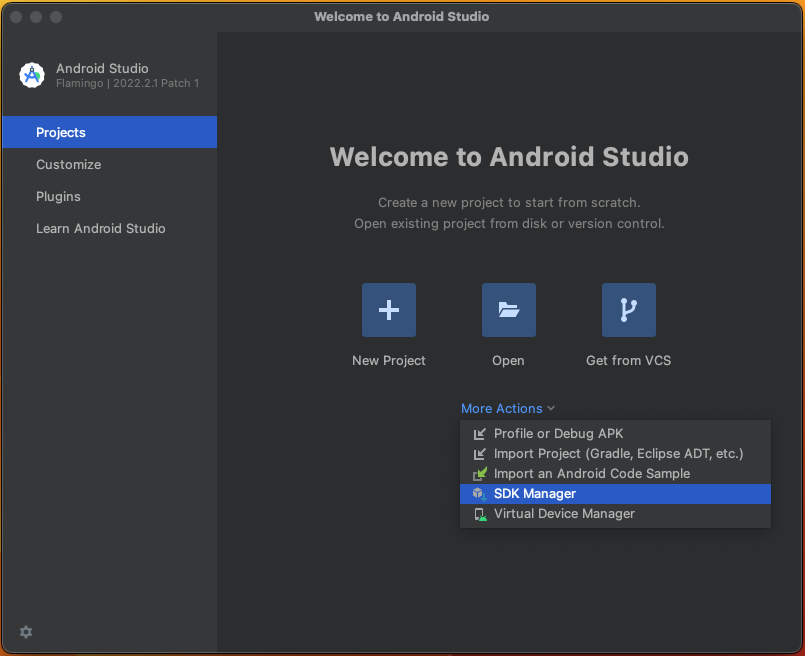
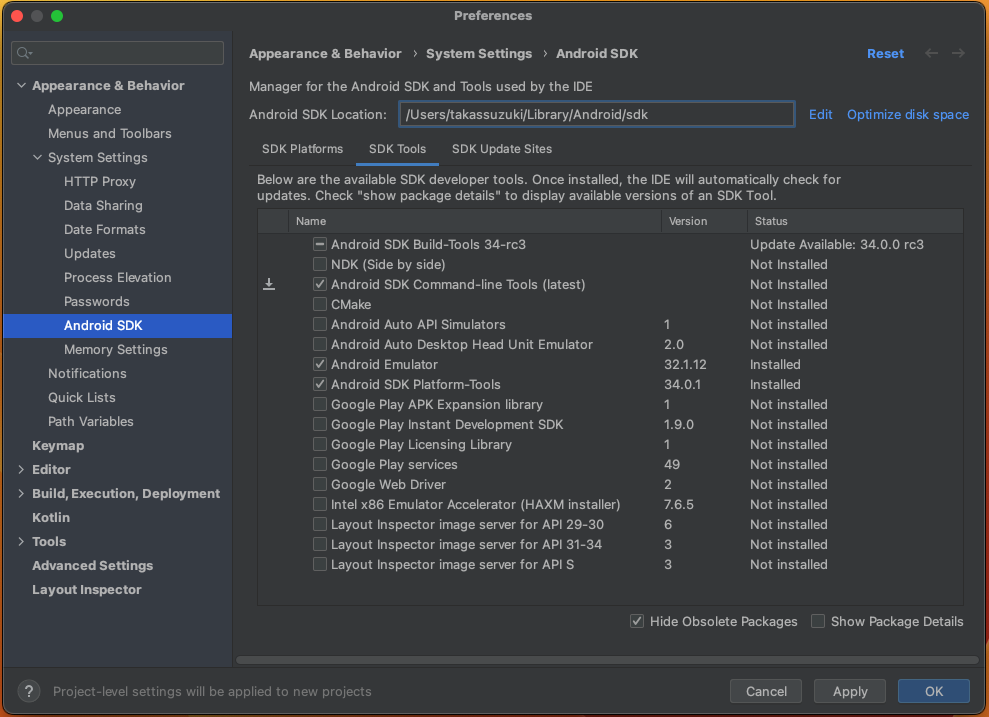
→Android SDK Command-line Toolsにチェックを入れてOK
インストールが終わったらFinishを押して終了です。
ターミナルで以下のコマンドを実行します。
flutter doctor --android-licenses
何回も同意を求められますが、全部「y」を入力して同意してください。
確認
最後に、再度以下のコマンドを実行して確認します。
flutter doctor
オールクリアです!

これでFlutterのインストールは完了です。
長くなってしまったので、プロジェクトの作成以降は次回にしたいと思います。
最後に
急遽業務で使うことになったのでFlutterの勉強も始めてみたのですが、環境構築からなかなかめんどいですね。とはいえ、新しい技術を学ぶことはとても楽しいことなので、楽しみながらFlutterの学習記録の記事も上げていきたいと思います。