1. はじめに
今回は、自分自身への備忘録を兼ねて、WindowsPC に Stable Diffusion ComfyUI をインストールする方法を、お伝えしたいと思います。
2. この記事を読んでできること
- WindowsPC に Stable Diffusion ComfyUI をインストールできるようになる
- モデルファイルの参照際は、Stable Diffusion 側のパスを参照するようにできる
3. 注意事項
- 18歳以上であること
4. 必要なもの
- WindowsPC(この記事では Windows11 を利用)
- グラフィックボード(NVIDIAの「GeForce RTX20」シリーズ以降、VRAM8GB以上)
- HDD または SSD(十分なディスク容量があること)
- インターネット環境(有線LAN推奨)
- キーボード
- マウス
- HDMIディスプレイ
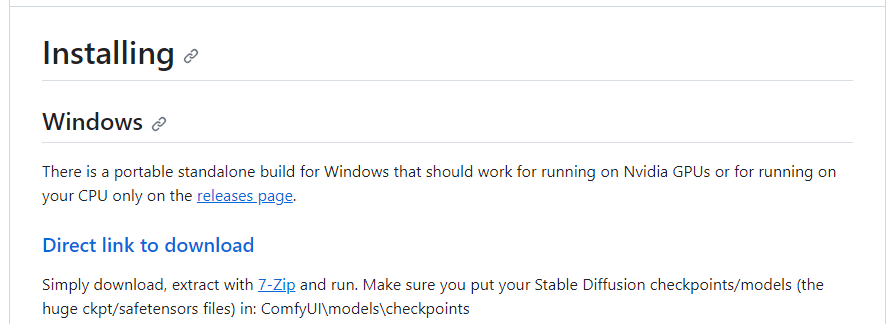
5. Stable Diffusion ComfyUI (.7zファイル)のダウンロード
- GitHubサイトを開き、Direct link to download リンクから「ComfyUI_windows_portable_nvidia_cu121_or_cpu.7z」ファイルをダウンロードする
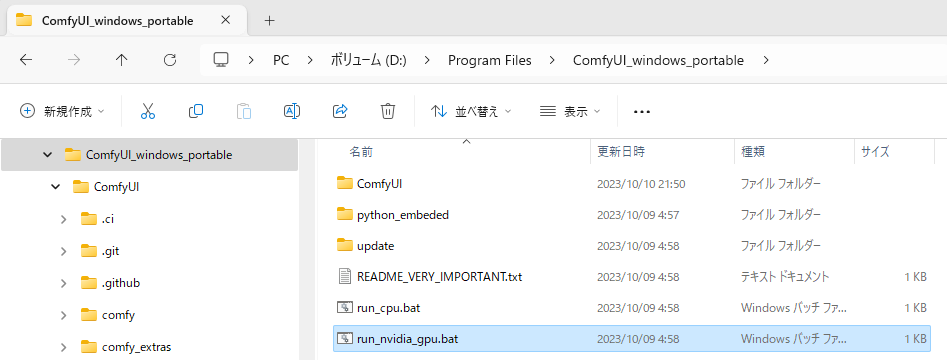
- .7zファイルを解凍する
6. モデルファイル の 格納
-
自力で、StableDiffusion のモデルファイルを入手し、
ComfyUI_windows_portable\ComfyUI\models\checkpointsフォルダ配下に格納する
7. VAE ファイル の格納
-
自力で、StableDiffusion のVAEファイルを入手し、
ComfyUI_windows_portable\ComfyUI\models\vaeフォルダ配下に格納する
8. Stable Diffusion web UI と モデルファイルを共有したい場合
-
ComfyUI_windows_portable\ComfyUIディレクトリに移動し、extra_model_paths.yaml.exampleファイルをコピーし、ファイル拡張子を.yaml(ヤムル)extra_model_paths.yamlにリネームする -
extra_model_paths.yamlファイルをテキストエディタで編集し、base_path:の値を StableDiffusion のインストール先ディレクトリフルパスに書き換える - 必要に応じて、
controlnet:の値を StableDiffusion の controlnet保存先ディレクトリフルパスに書き換える
extra_model_paths.yaml
#Rename this to extra_model_paths.yaml and ComfyUI will load it
#config for a1111 ui
#all you have to do is change the base_path to where yours is installed
a111:
    base_path: D:\Program Files\stable-diffusion-webui\webui
    checkpoints: models/Stable-diffusion
    configs: models/Stable-diffusion
    vae: models/VAE
    loras: |
         models/Lora
         models/LyCORIS
    upscale_models: |
                  models/ESRGAN
                  models/RealESRGAN
                  models/SwinIR
    embeddings: embeddings
    hypernetworks: models/hypernetworks
    controlnet: extensions\sd-webui-controlnet\models
#other_ui:
#    base_path: path/to/ui
#    checkpoints: models/checkpoints
#    gligen: models/gligen
#    custom_nodes: path/custom_nodes
9. Stable Diffusion ComfyUI の初回環境構築
-
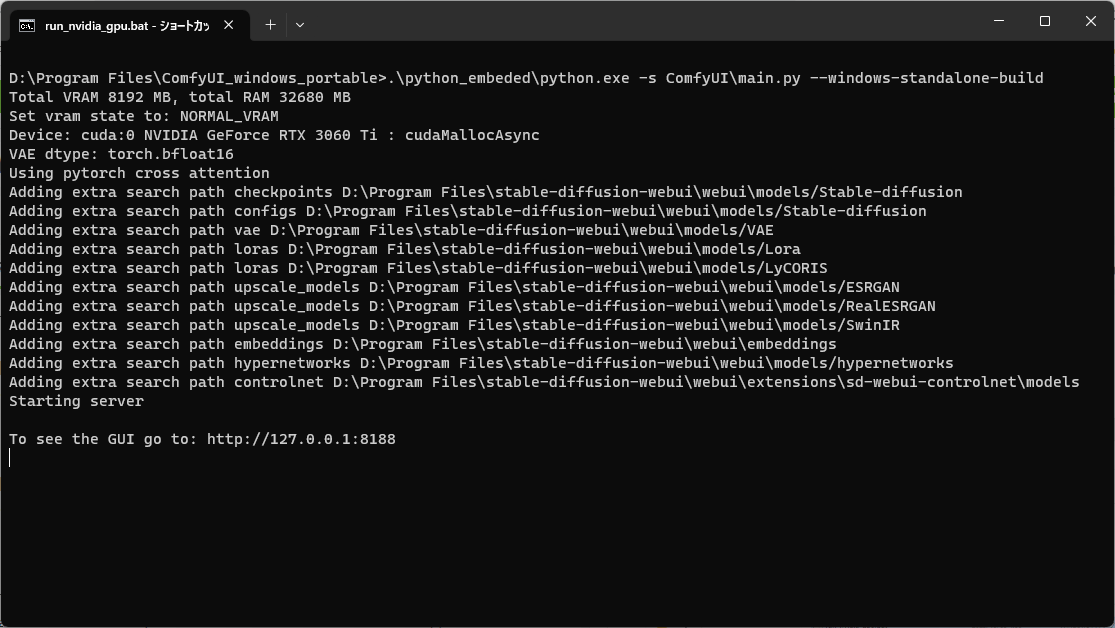
ComfyUI_windows_portableフォルダ配下のrun_nvidia_gpu.batファイルを実行する - ほんの一瞬でブラウザが起動し
http://127.0.0.1:8188/アドレス&ポート番号にて、ローカルPC上に Stable Diffusion ComfyUI が起動します
エラー内容
To see the GUI go to: http://127.0.0.1:8188
10. Stable Diffusion ComfyUI をブラウザで開く
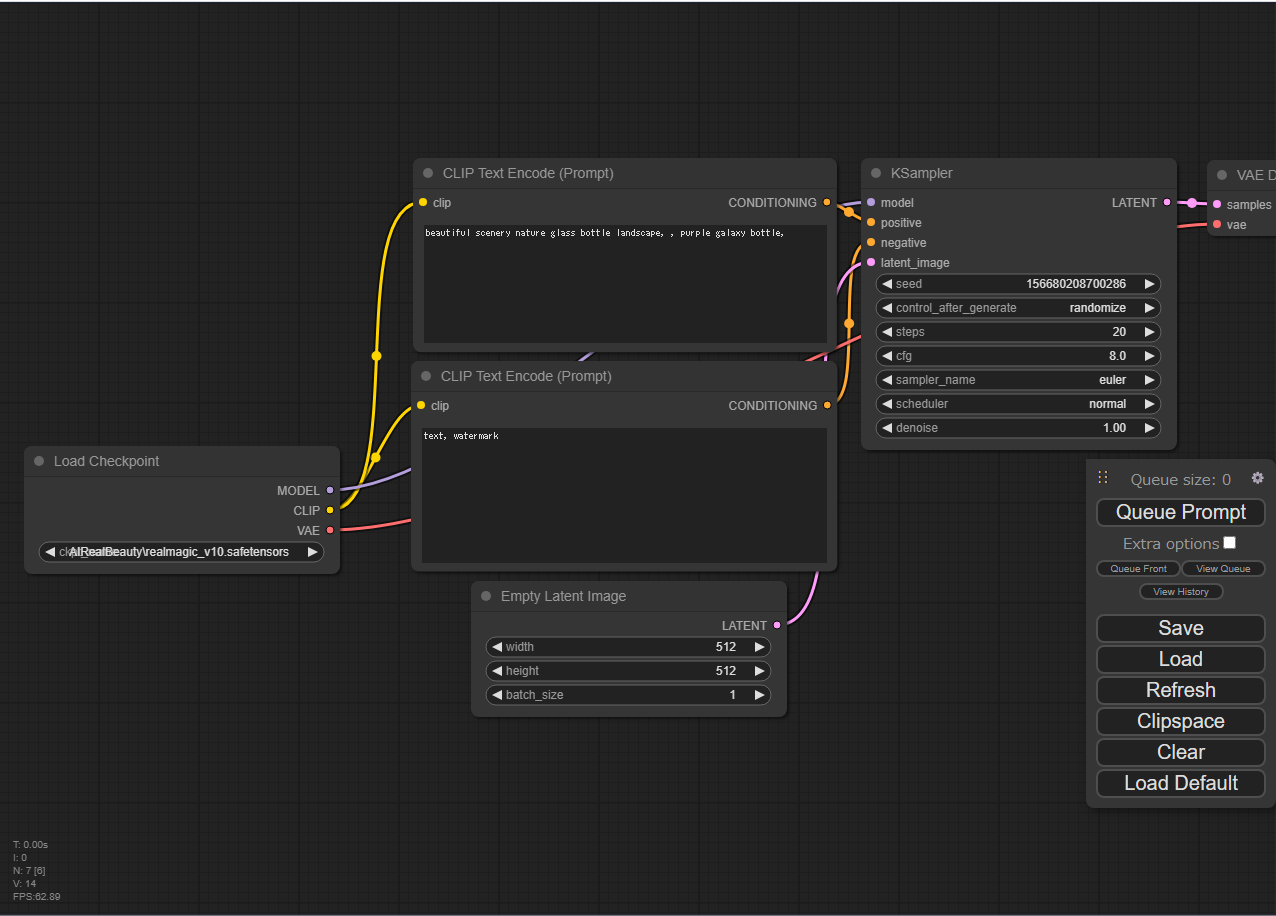
- ブラウザを開き、http://127.0.0.1:8188/ にアクセスする
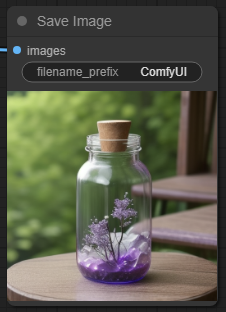
11. Stable Diffusion ComfyUI の 実行
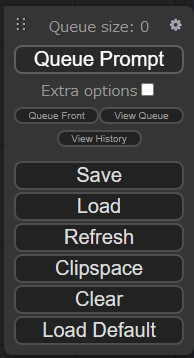
- 「Queue Prompt」ボタンをクリックする
12. おわりに
いかがでしたでしょうか?WindowsPC に Stable Diffusion ComfyUI をインストールし、Stable Diffusion を実行することができたのではないかと思います
Stable Diffusion web UI に 7か月間慣れて親しんだ身としては、ノードフローのComfyUIは難しくかんじました
2023/10/10 TAKAHIRO NISHIZONO
