3行まとめ
- Ubuntu Server 20.04 LTS ARM64版はRaspberry Pi 4でも問題なく動作する。
- Ubuntu標準のDockerパッケージも問題なく動作する。
- 「Raspberry Pi Imager」はHomebrewでインストールできる。
1. はじめに
2020年4月23日に「Ubuntu 20.04 LTS」(開発コード: Focal Fossa)がリリースされました。
おうちKubernetes環境をアップデートすべく、Ubuntu 20.04 LTSをRaspberry Pi 4にインストールし、さらにDockerをインストールしました。
特に問題には遭遇しませんでしたが、一応記録しておきます。
2. 構成
今回の構成は以下の通りです。
- ハードウェア: Raspberry Pi 4 2GB版
- OS: Ubuntu Server 20.04 LTS ARM64(64ビット)版
イメージの書き込みは、macOS 10.14.6(Mojave)環境で行いました。
mac$ sw_vers
ProductName:	Mac OS X
ProductVersion:	10.14.6
BuildVersion:	18G103
3. Ubuntu Serverイメージをダウンロードする
Raspberry Pi用の「Ubuntu Server」のイメージ「Install Ubuntu Server on a Raspberry Pi 2, 3 or 4」からダウンロードします。
xz形式で圧縮されていますが、後述の「Raspberry Pi Imager」を使用する場合、展開は不要です。
今回ダウンロードしたイメージのサイズ、ハッシュ値(SHA-256)は以下の通りです。約667MiB。
mac$ ls -l ubuntu-20.04-preinstalled-server-arm64+raspi.img.xz
-rw-r--r--@ 1 yuya  staff  699424400 May  4 18:01 ubuntu-20.04-preinstalled-server-arm64+raspi.img.xz

mac$ shasum -a 256 ubuntu-20.04-preinstalled-server-arm64+raspi.img.xz
48167067d65c5192ffe041c9cc4958cb7fcdfd74fa15e1937a47430ed7b9de99  ubuntu-20.04-preinstalled-server-arm64+raspi.img.xz
4. Ubuntu ServerイメージをmicroSDカードへ書き込む
ダウンロードしたイメージを「Raspberry Pi Imager」を使ってmicroSDカードに書き込みます。
Raspberry Pi ImagerはRaspberry Pi公式のイメージ書き込みツールで、「Raspberry Pi Downloads」からダウンロードすることができます。
Homebrewを使っている場合、caskを使ってインストールできます。
mac$ brew cask install raspberry-pi-imager
...
==> Downloading https://downloads.raspberrypi.org/imager/imager.dmg
######################################################################## 100.0%
==> No SHA-256 checksum defined for Cask 'raspberry-pi-imager', skipping verification.
==> Installing Cask raspberry-pi-imager
==> Moving App 'Raspberry Pi Imager.app' to '/Applications/Raspberry Pi Imager.app'.
🍺  raspberry-pi-imager was successfully installed!
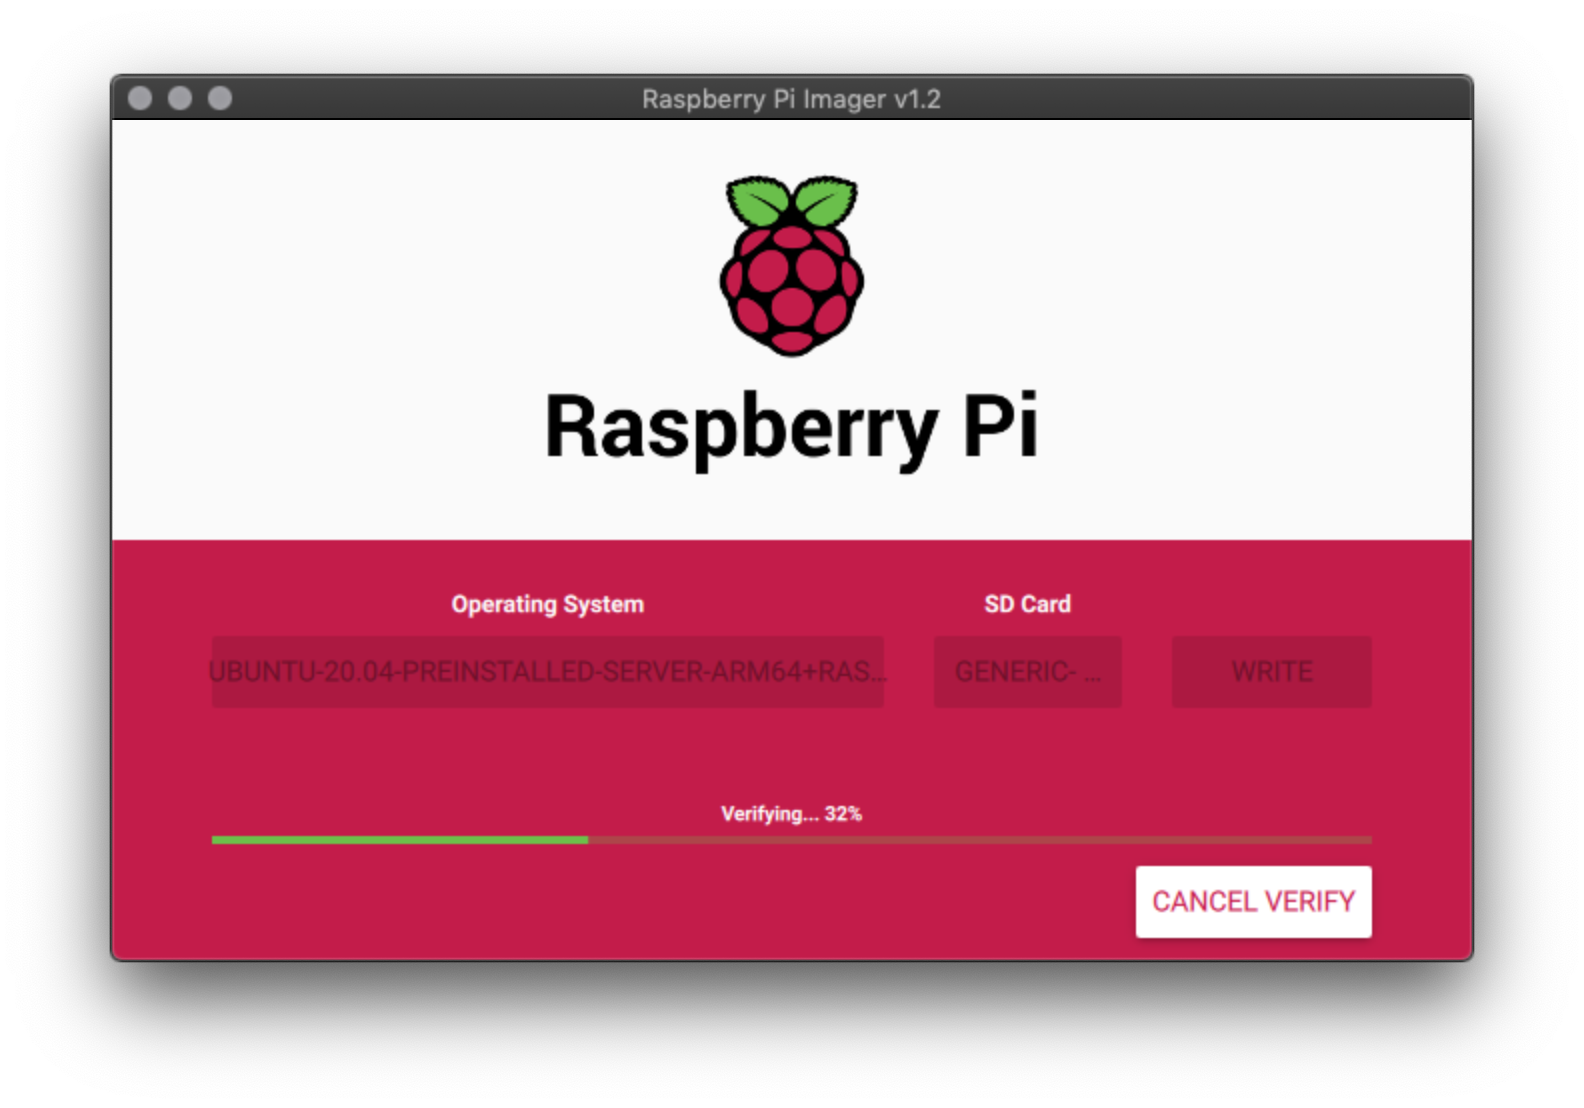
Raspberry Pi Imagerを起動し、イメージファイル、書き込み先デバイスを選択し、書き込みを実行します。
このRaspberry PiにはKubernetesも導入する予定のため、イメージの書き込み後、cgroupの設定も書き込んでおきます。
mac$ sed -i -e 's/$/ cgroup_enable=cpuset cgroup_enable=memory cgroup_memory=1/' /Volumes/system-boot/cmdline.txt
mac$ cat /Volumes/system-boot/cmdline.txt
net.ifnames=0 dwc_otg.lpm_enable=0 console=serial0,115200 console=tty1 root=LABEL=writable rootfstype=ext4 elevator=deadline rootwait fixrtc cgroup_enable=cpuset cgroup_enable=memory cgroup_memory=1
5. Ubuntu Serverの環境を確認する
イメージを書き込んだmicroSDカードをRaspberry Piに挿入し、ブートします。初回のブートには時間がかかるので、ログイン画面が表示されるまでしばらく待ちます。(Enterキーを押さないと、ログイン画面が表示されないかもしれません)
なお、デフォルトのユーザ名はubuntu、パスワードも同じくubuntuです。
初回ログイン時にはパスワードの変更を求められますので、新しいパスワードを設定します。
参考に、起動直後の環境を以下に示します。
ubuntu@ubuntu:~$ cat /etc/os-release
NAME="Ubuntu"
VERSION="20.04 LTS (Focal Fossa)"
ID=ubuntu
ID_LIKE=debian
PRETTY_NAME="Ubuntu 20.04 LTS"
VERSION_ID="20.04"
HOME_URL="https://www.ubuntu.com/"
SUPPORT_URL="https://help.ubuntu.com/"
BUG_REPORT_URL="https://bugs.launchpad.net/ubuntu/"
PRIVACY_POLICY_URL="https://www.ubuntu.com/legal/terms-and-policies/privacy-policy"
VERSION_CODENAME=focal
UBUNTU_CODENAME=focal

ubuntu@ubuntu:~$ uname -a
Linux ubuntu 5.4.0-1008-raspi #8-Ubuntu SMP Wed Apr 8 11:13:06 UTC 2020 aarch64 aarch64 aarch64 GNU/Linux

ubuntu@ubuntu:~$ df -h
Filesystem      Size  Used Avail Use% Mounted on
udev            876M     0  876M   0% /dev
tmpfs           185M  3.9M  181M   3% /run
/dev/mmcblk0p2   30G  2.0G   26G   7% /
tmpfs           925M     0  925M   0% /dev/shm
tmpfs           5.0M     0  5.0M   0% /run/lock
tmpfs           925M     0  925M   0% /sys/fs/cgroup
/dev/mmcblk0p1  253M   62M  191M  25% /boot/firmware
/dev/loop0       24M   24M     0 100% /snap/snapd/7267
/dev/loop1       49M   49M     0 100% /snap/core18/1708
/dev/loop2       62M   62M     0 100% /snap/lxd/14808
/dev/loop3       49M   49M     0 100% /snap/core18/1753
tmpfs           185M     0  185M   0% /run/user/1000
/dev/loop4       62M   62M     0 100% /snap/lxd/14894

ubuntu@ubuntu:~$ cat /proc/cmdline
 coherent_pool=1M 8250.nr_uarts=1 cma=64M bcm2708_fb.fbwidth=1824 bcm2708_fb.fbheight=984 bcm2708_fb.fbswap=1 smsc95xx.macaddr=DC:A6:32:0A:62:1B vc_mem.mem_base=0x3ec00000 vc_mem.mem_size=0x40000000  net.ifnames=0 dwc_otg.lpm_enable=0 console=ttyS0,115200 console=tty1 root=LABEL=writable rootfstype=ext4 elevator=deadline rootwait fixrtc cgroup_enable=cpuset cgroup_enable=memory cgroup_memory=1 quiet splash

ubuntu@ubuntu:~$ cat /proc/cpuinfo | grep Model
Model		: Raspberry Pi 4 Model B Rev 1.1

ubuntu@ubuntu:~$ cat /proc/meminfo | head -n 3
MemTotal:        1892576 kB
MemFree:          864424 kB
MemAvailable:    1557632 kB
6. Dockerをインストールする
Ubuntu標準のパッケージリポジトリには、最新のDocker(2020年5月4日現在、v19.03.8)のパッケージが含まれています。
そのため、Docker社のUbuntuパッケージではなく、Ubuntu標準のパッケージからDockerをインストールしました。
apt show docker.ioの結果には以下の記述が含まれていますが、少なくともARM64環境では正常に動作しているようです。
Using docker.io on non-amd64 hosts is not supported at this time.
ubuntu@ubuntu:~$ sudo apt update
ubuntu@ubuntu:~$ apt show docker.io
Package: docker.io
Version: 19.03.8-0ubuntu1
Built-Using: glibc (= 2.31-0ubuntu4)
Priority: optional
Section: universe/admin
Origin: Ubuntu
Maintainer: Ubuntu Developers <ubuntu-devel-discuss@lists.ubuntu.com>
Original-Maintainer: Paul Tagliamonte <paultag@debian.org>
Bugs: https://bugs.launchpad.net/ubuntu/+filebug
Installed-Size: 151 MB
Depends: adduser, containerd (>= 1.2.6-0ubuntu1~), iptables, debconf (>= 0.5) | debconf-2.0, libc6 (>= 2.17), libdevmapper1.02.1 (>= 2:1.02.97), libseccomp2 (>= 2.1.0), libsystemd0 (>= 209~)
Recommends: ca-certificates, cgroupfs-mount | cgroup-lite, git, pigz, ubuntu-fan, xz-utils, apparmor
Suggests: aufs-tools, btrfs-progs, debootstrap, docker-doc, rinse, zfs-fuse | zfsutils
Breaks: docker (<< 1.5~)
Replaces: docker (<< 1.5~)
Homepage: https://www.docker.com/community-edition
Download-Size: 25.9 MB
APT-Sources: http://ports.ubuntu.com/ubuntu-ports focal/universe arm64 Packages
Description: Linux container runtime
 Docker complements kernel namespacing with a high-level API which operates at
 the process level. It runs unix processes with strong guarantees of isolation
 and repeatability across servers.
 .
 Docker is a great building block for automating distributed systems:
 large-scale web deployments, database clusters, continuous deployment systems,
 private PaaS, service-oriented architectures, etc.
 .
 This package contains the daemon and client. Using docker.io on non-amd64 hosts
 is not supported at this time. Please be careful when using it on anything
 besides amd64.
 .
 Also, note that kernel version 3.8 or above is required for proper operation of
 the daemon process, and that any lower versions may have subtle and/or glaring
 issues.

ubuntu@ubuntu:~$ sudo apt install --yes docker.io
ubuntu@ubuntu:~$ sudo docker version
Client:
 Version:           19.03.8
 API version:       1.40
 Go version:        go1.13.8
 Git commit:        afacb8b7f0
 Built:             Wed Mar 11 23:43:15 2020
 OS/Arch:           linux/arm64
 Experimental:      false

Server:
 Engine:
  Version:          19.03.8
  API version:      1.40 (minimum version 1.12)
  Go version:       go1.13.8
  Git commit:       afacb8b7f0
  Built:            Wed Mar 11 22:48:33 2020
  OS/Arch:          linux/arm64
  Experimental:     false
 containerd:
  Version:          1.3.3-0ubuntu2
  GitCommit:
 runc:
  Version:          spec: 1.0.1-dev
  GitCommit:
 docker-init:
  Version:          0.18.0
  GitCommit:
7. hello-worldイメージを実行する
Dockerのインストールが完了したので、動作確認のためにhello-worldイメージを実行してみます。
ubuntu@ubuntu:~$ sudo docker container run --tty --rm hello-world
Unable to find image 'hello-world:latest' locally
latest: Pulling from library/hello-world
256ab8fe8778: Pull complete
Digest: sha256:8e3114318a995a1ee497790535e7b88365222a21771ae7e53687ad76563e8e76
Status: Downloaded newer image for hello-world:latest

Hello from Docker!
This message shows that your installation appears to be working correctly.

To generate this message, Docker took the following steps:
 1. The Docker client contacted the Docker daemon.
 2. The Docker daemon pulled the "hello-world" image from the Docker Hub.
    (arm64v8)
 3. The Docker daemon created a new container from that image which runs the
    executable that produces the output you are currently reading.
 4. The Docker daemon streamed that output to the Docker client, which sent it
    to your terminal.

To try something more ambitious, you can run an Ubuntu container with:
 $ docker run -it ubuntu bash

Share images, automate workflows, and more with a free Docker ID:
 https://hub.docker.com/

For more examples and ideas, visit:
 https://docs.docker.com/get-started/
正常に実行できました。
Ubuntu ServerとDockerのインストールは以上です。