目的
仮想マシンを作成し、Kubernetes + Dockerを使用できる環境を構築する
仮想化とは
サーバー、ストレージ、ネットワーク、クライアントPCなどのハードウェアリソースを、ソフトウェアを用いて管理すること。
仮想マシンとは
仮想化を使って、コンピュータの中に作った別のコンピュータのこと。
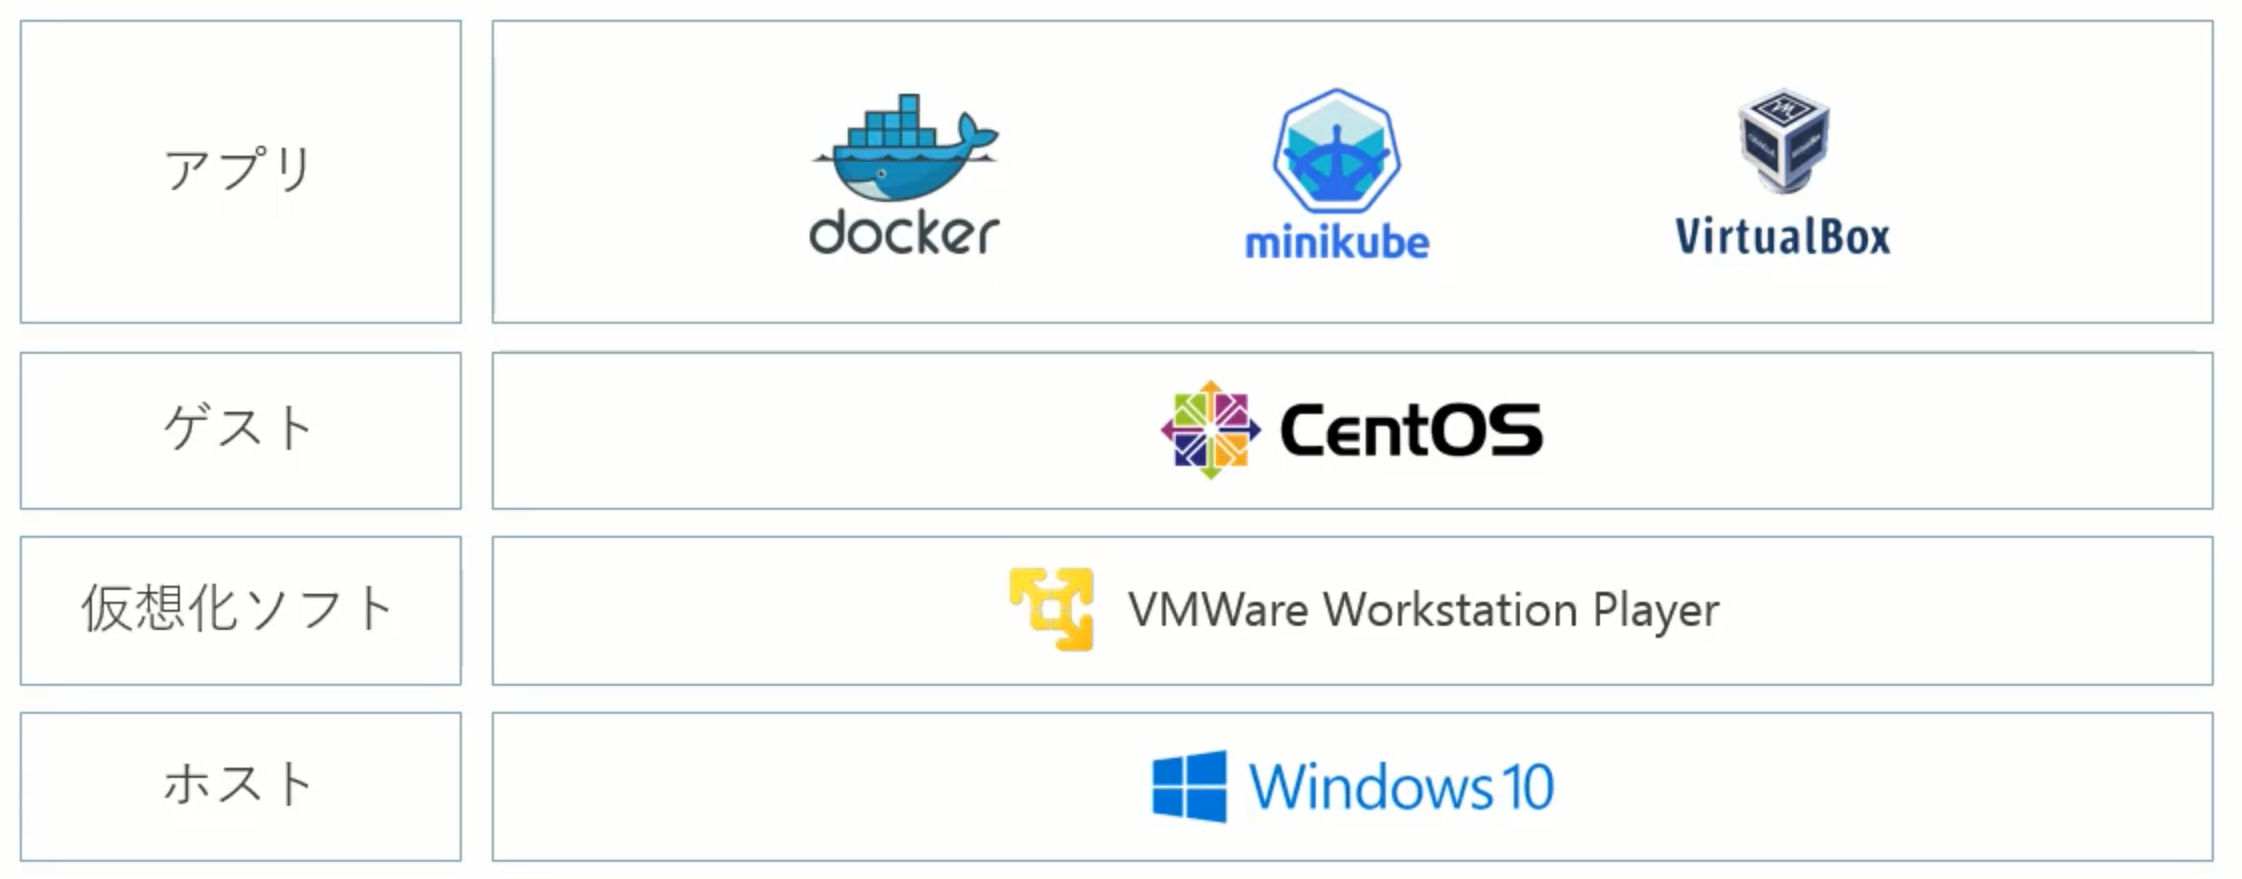
構築する環境
ホストOSに仮想化ソフトを使ってCentOSのゲストOSに、Docker・minikubeをのせた環境を構築します。
仮想マシン作成
-
Windows上にインストールしたVMWare上に、ゲストOSとしてCentOSをインストールする
https://www.centos.org/ -
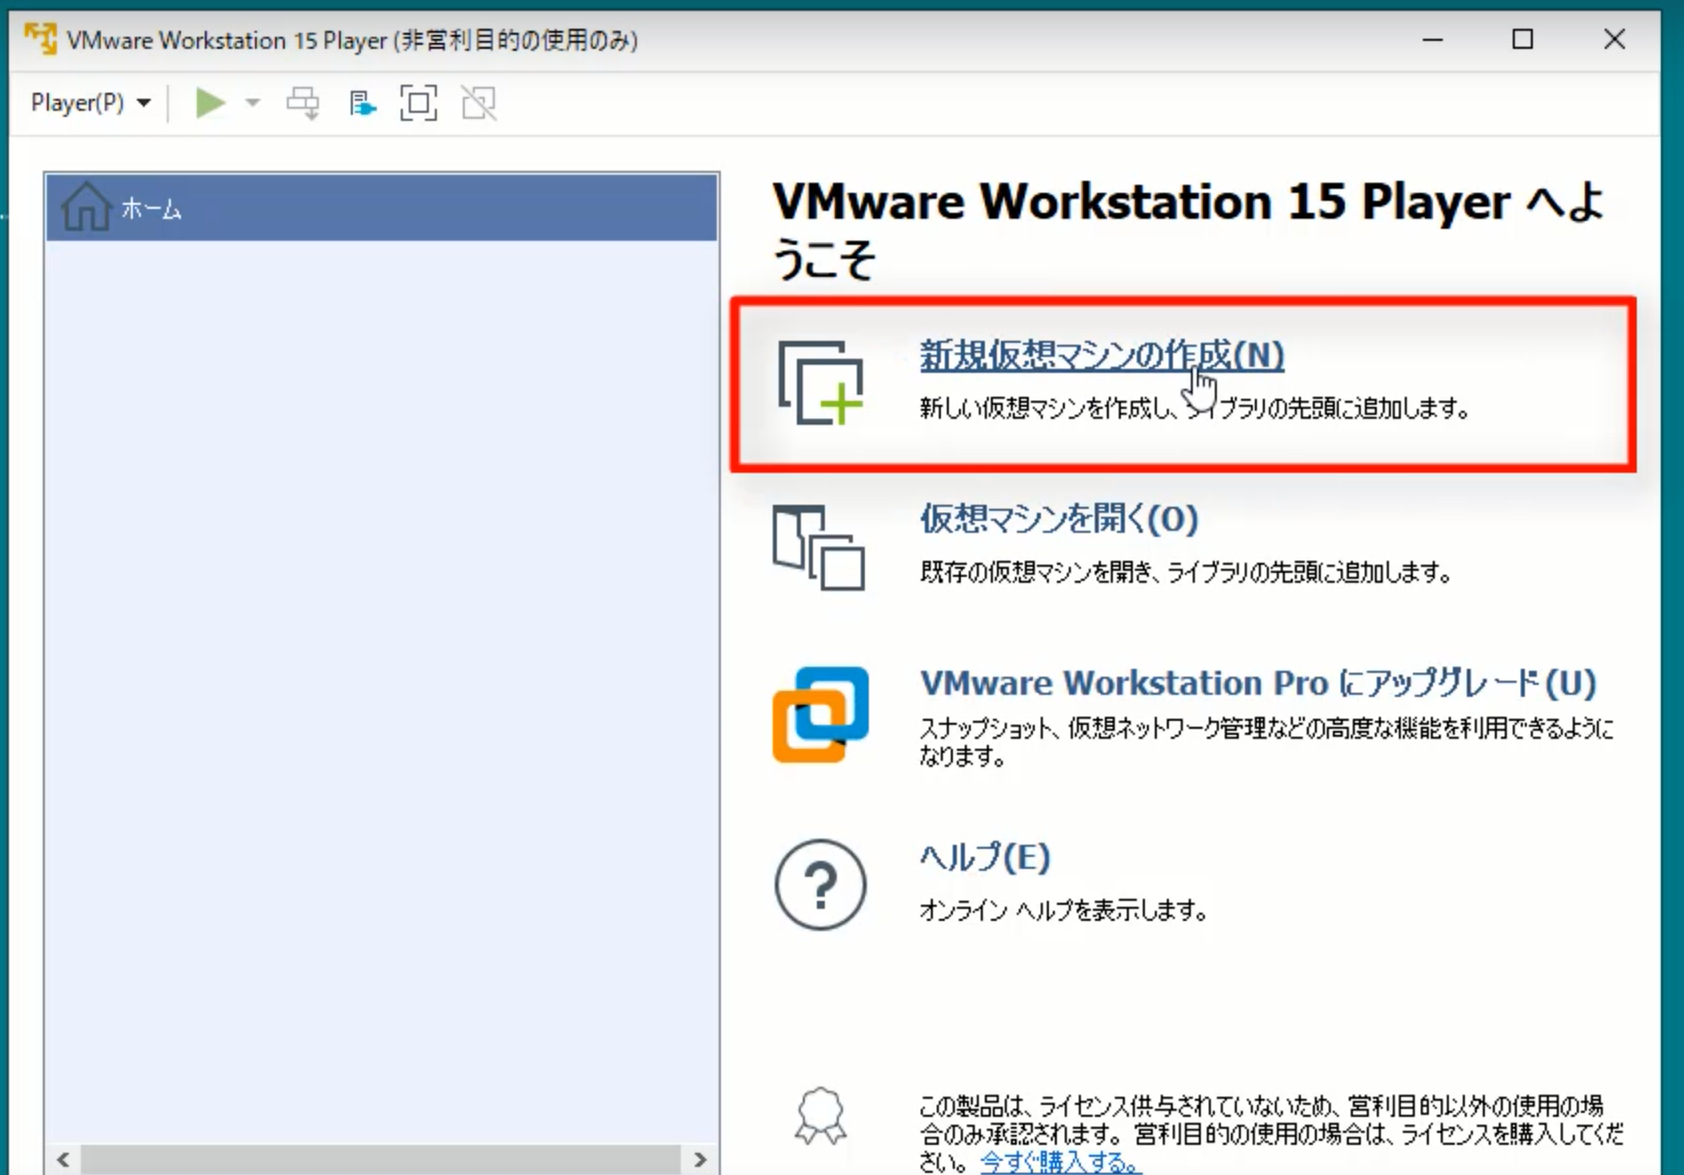
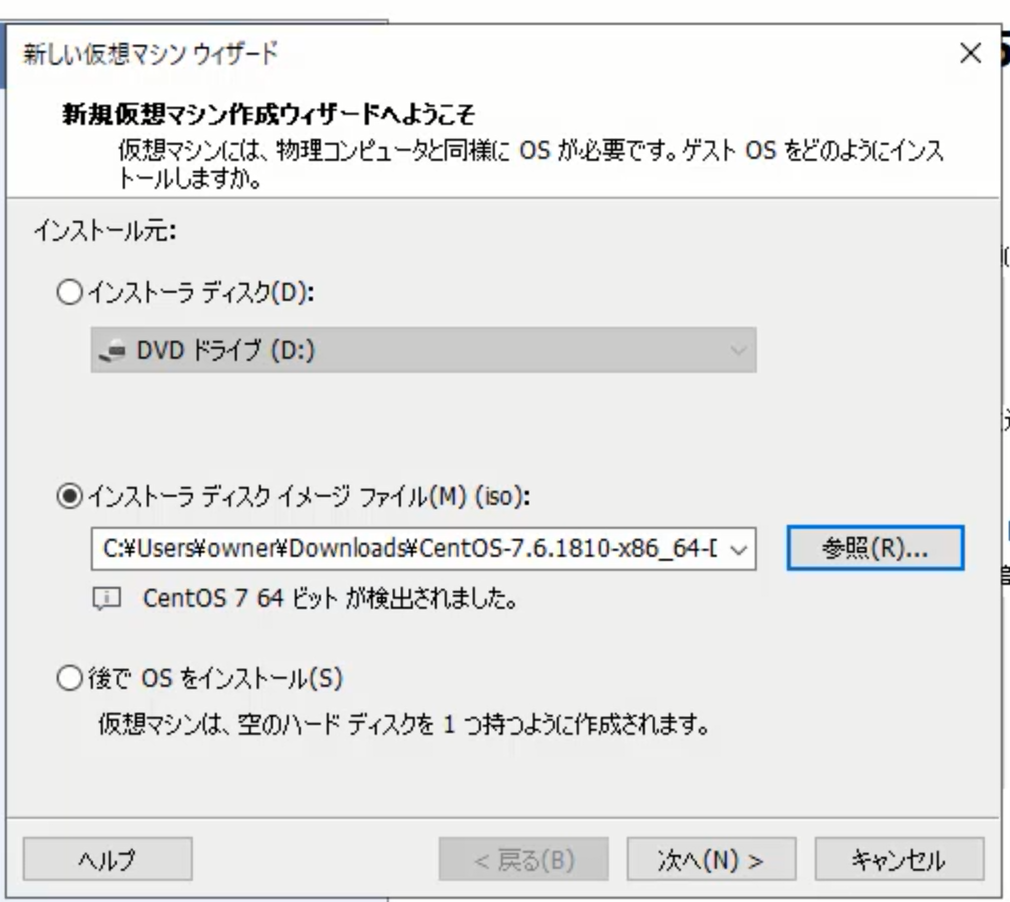
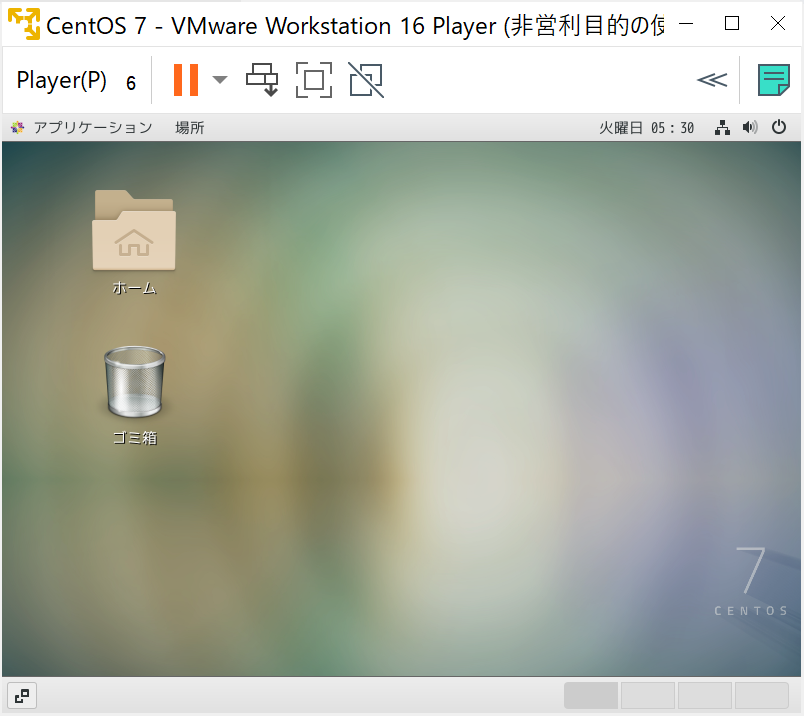
仮想マシンの作成
Docker + Kubernetes環境構築
- Dockerインストール
- kubectlコマンドインストール
- minikubeインストール
- Kubernetes起動
ただし上記の手順は煩雑なので、一気に実行できるようにスクリプトで実行します。
- ローカルで以下のファイルを作成
#! /bin/sh

# Modify yum.conf
sed -i -e "/timeout\=/d" /etc/yum.conf
sed -i -e "13s/^/timeout=300\n/g" /etc/yum.conf
sed -i -e "/ip_resolve\=/d" /etc/yum.conf
sed -i -e "14s/^/ip_resolve=4\n/g" /etc/yum.conf

# Add .curlrc
cat <<-EOF > ~/.curlrc
ipv4
EOF

# Install conntrack
yum install -y \
  conntrack-tools-1.4.4

# Install "Docker"
yum install -y \
  yum-utils-1.1.31 \
  device-mapper-persistent-data-0.8.5 \
  lvm2-2.02.185

yum-config-manager \
    --add-repo \
    https://download.docker.com/linux/centos/docker-ce.repo

yum install -y \
  docker-ce-19.03.8 \
  docker-ce-cli-19.03.8 \
  containerd.io-1.2.13

mkdir -p /etc/docker
cat <<-EOF > /etc/docker/daemon.json
{
  "dns": ["8.8.8.8"]
}
EOF

systemctl enable docker
systemctl start docker

# Install "kubectl"
curl -LO https://storage.googleapis.com/kubernetes-release/release/v1.18.2/bin/linux/amd64/kubectl
chmod +x ./kubectl
mv -f ./kubectl /usr/local/bin

# Install "minikube"
curl -Lo minikube https://storage.googleapis.com/minikube/releases/v1.9.2/minikube-linux-amd64
chmod +x minikube
install minikube /usr/local/bin
rm -f minikube

# stop firewall
systemctl disable firewalld
systemctl stop firewalld

# Add addons
/usr/local/bin/minikube start --vm-driver=none
/usr/local/bin/minikube addons enable ingress

# Docker restart and update DNS settings
systemctl restart docker
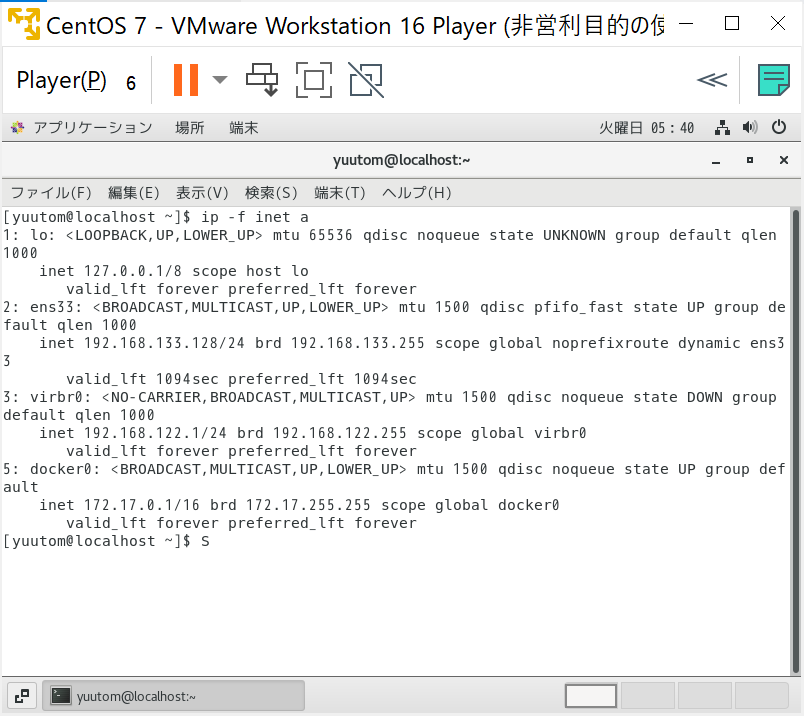
- 仮想環境のIPアドレスを確認
- 仮想環境を立ち上げる
- ターミナルを起動し以下のコマンドを実行
$ ip -f inet a
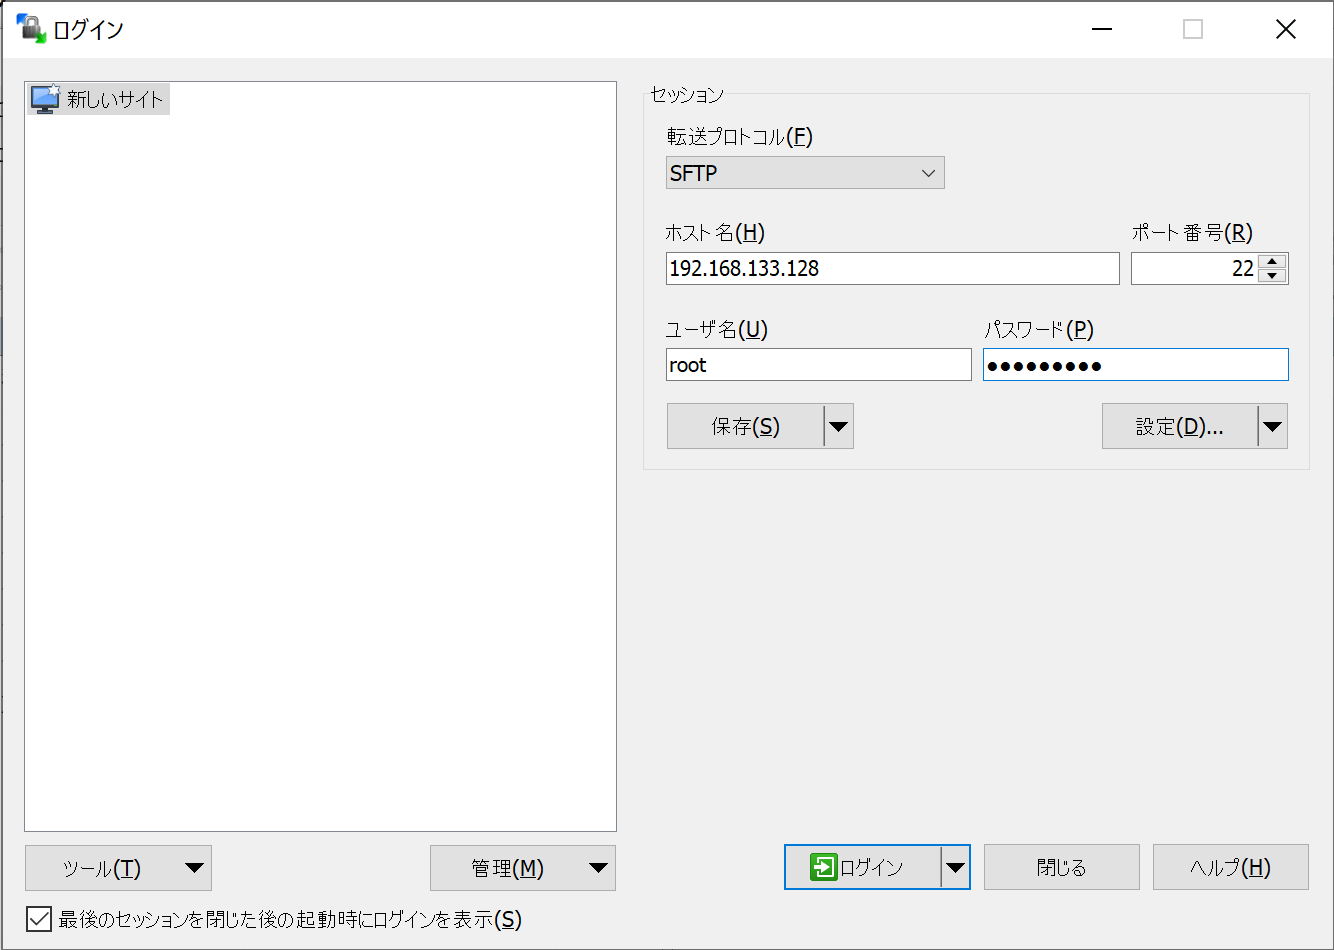
この仮想環境では、192.168.133.128がIPアドレスとして設定されていることがわかる
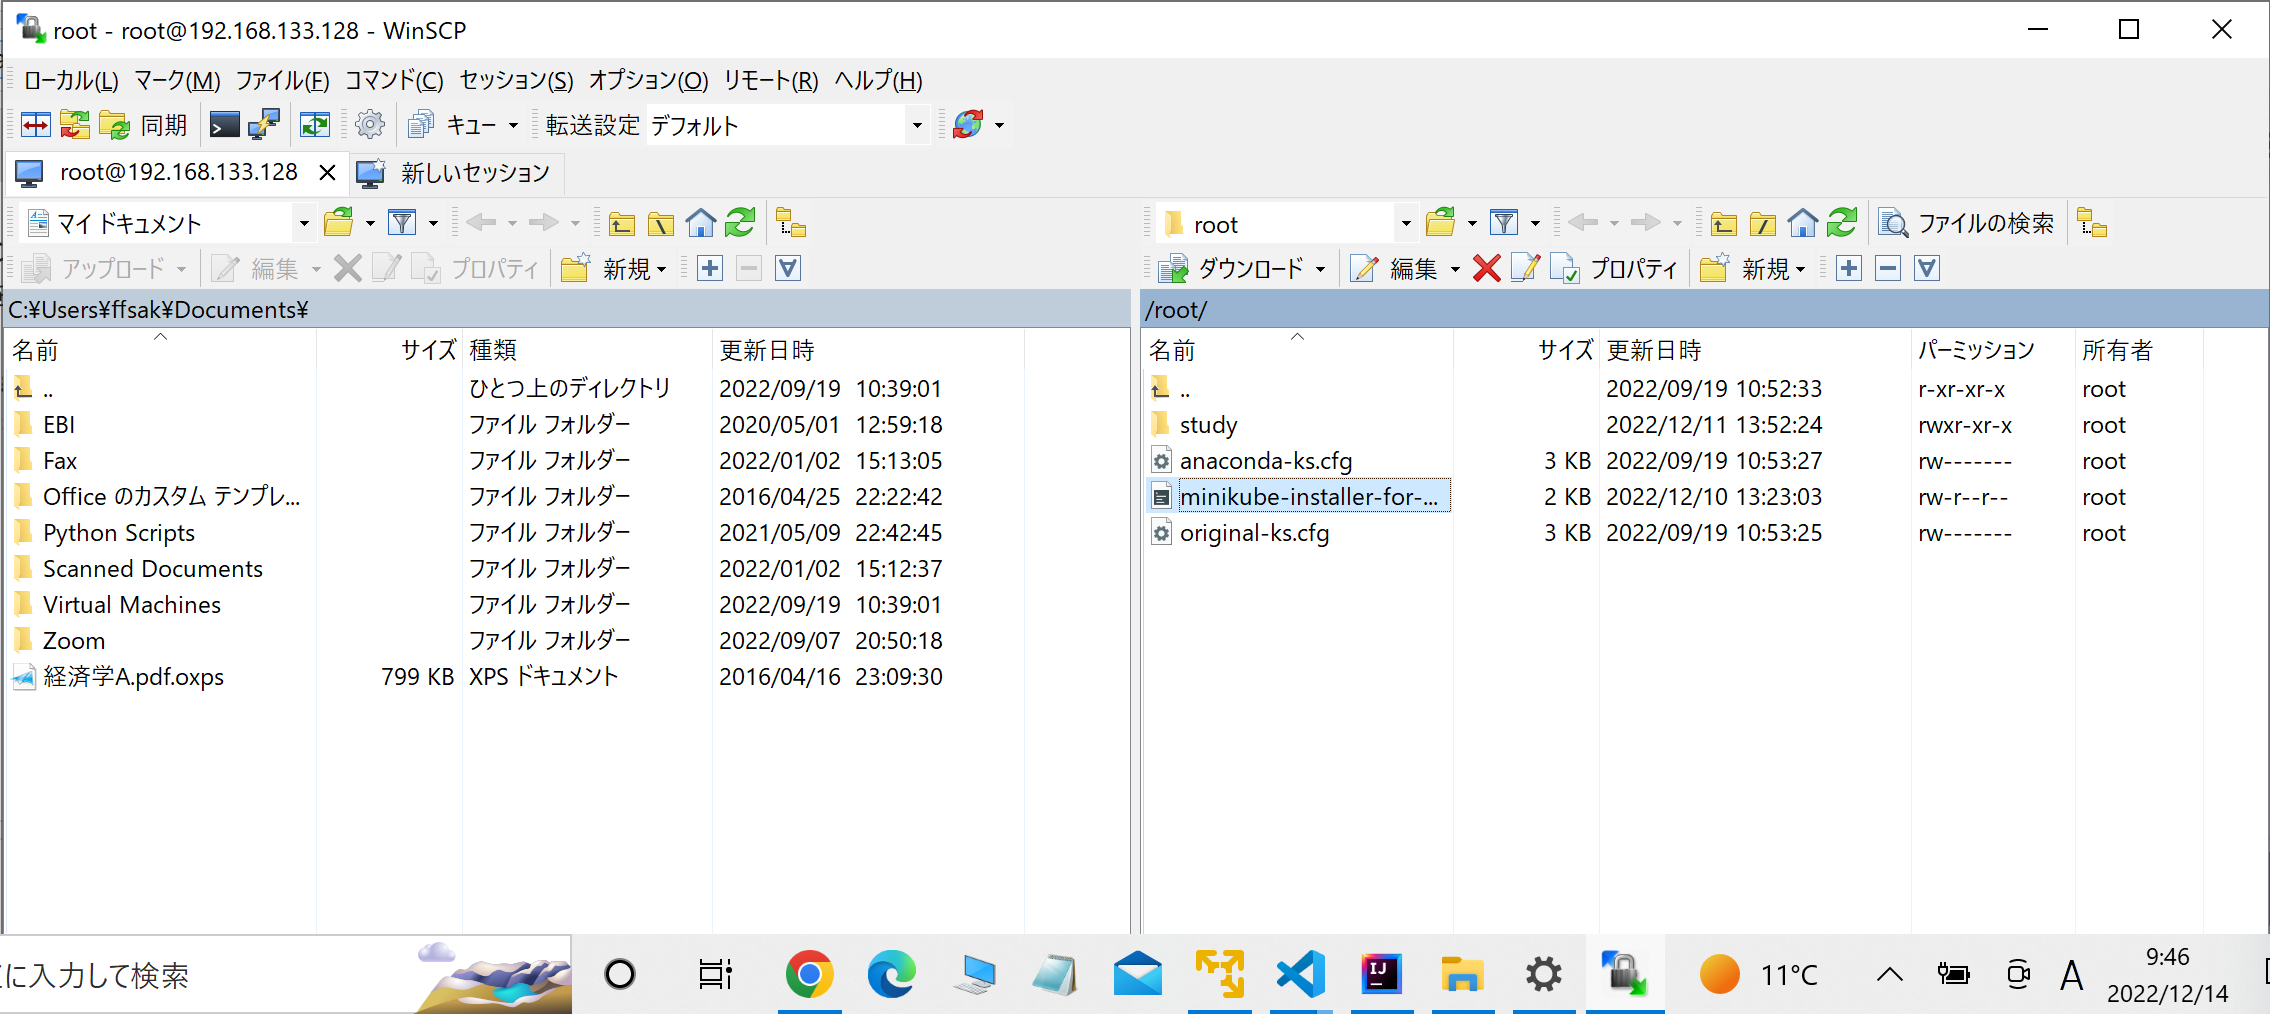
- 作成したシェルスクリプトを仮想マシンに転送
- 転送したシェルスクリプトを実行
Last login: Sat Dec 10 20:34:40 2022 from 192.168.133.1
[root@localhost ~]# ls
anaconda-ks.cfg  minikube-installer-for-7.8.2003.sh  original-ks.cfg
- スクリプト実行
$ sh minikube-installer.sh
- 動作確認
docker versionコマンド実行
[root@localhost ~]# docker version
Client: Docker Engine - Community
 Version:           19.03.8
 API version:       1.40
 Go version:        go1.12.17
 Git commit:        afacb8b
 Built:             Wed Mar 11 01:27:04 2020
 OS/Arch:           linux/amd64
 Experimental:      false

Server: Docker Engine - Community
 Engine:
  Version:          19.03.8
  API version:      1.40 (minimum version 1.12)
  Go version:       go1.12.17
  Git commit:       afacb8b
  Built:            Wed Mar 11 01:25:42 2020
  OS/Arch:          linux/amd64
  Experimental:     false
 containerd:
  Version:          1.2.13
  GitCommit:        7ad184331fa3e55e52b890ea95e65ba581ae3429
 runc:
  Version:          1.0.0-rc10
  GitCommit:        dc9208a3303feef5b3839f4323d9beb36df0a9dd
 docker-init:
  Version:          0.18.0
  GitCommit:        fec3683
kubectl versionコマンド実行
[root@localhost ~]# kubectl version
Client Version: version.Info{Major:"1", Minor:"18", GitVersion:"v1.18.2", GitCommit:"52c56ce7a8272c798dbc29846288d7cd9fbae032", GitTreeState:"clean", BuildDate:"2020-04-16T11:56:40Z", GoVersion:"go1.13.9", Compiler:"gc", Platform:"linux/amd64"}
Server Version: version.Info{Major:"1", Minor:"18", GitVersion:"v1.18.0", GitCommit:"9e991415386e4cf155a24b1da15becaa390438d8", GitTreeState:"clean", BuildDate:"2020-03-25T14:50:46Z", GoVersion:"go1.13.8", Compiler:"gc", Platform:"linux/amd64"}
- kubernetesクラスタの起動
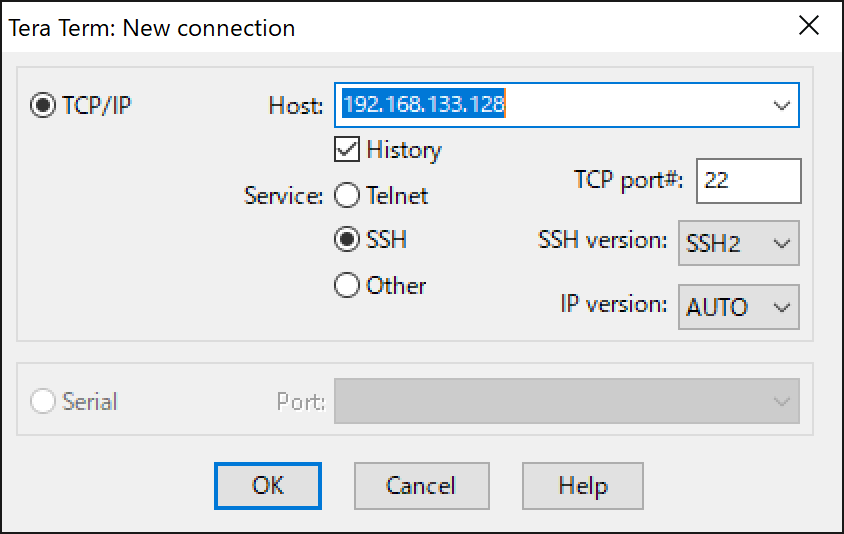
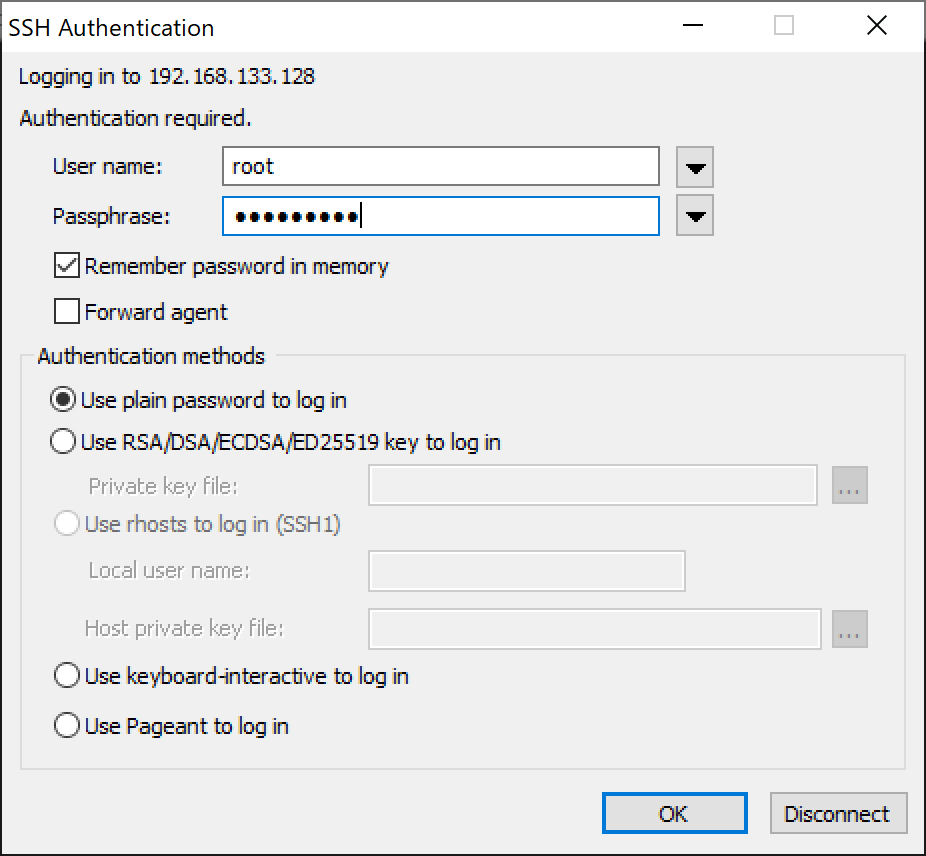
Tere Termを起動し以下のコマンドを実行
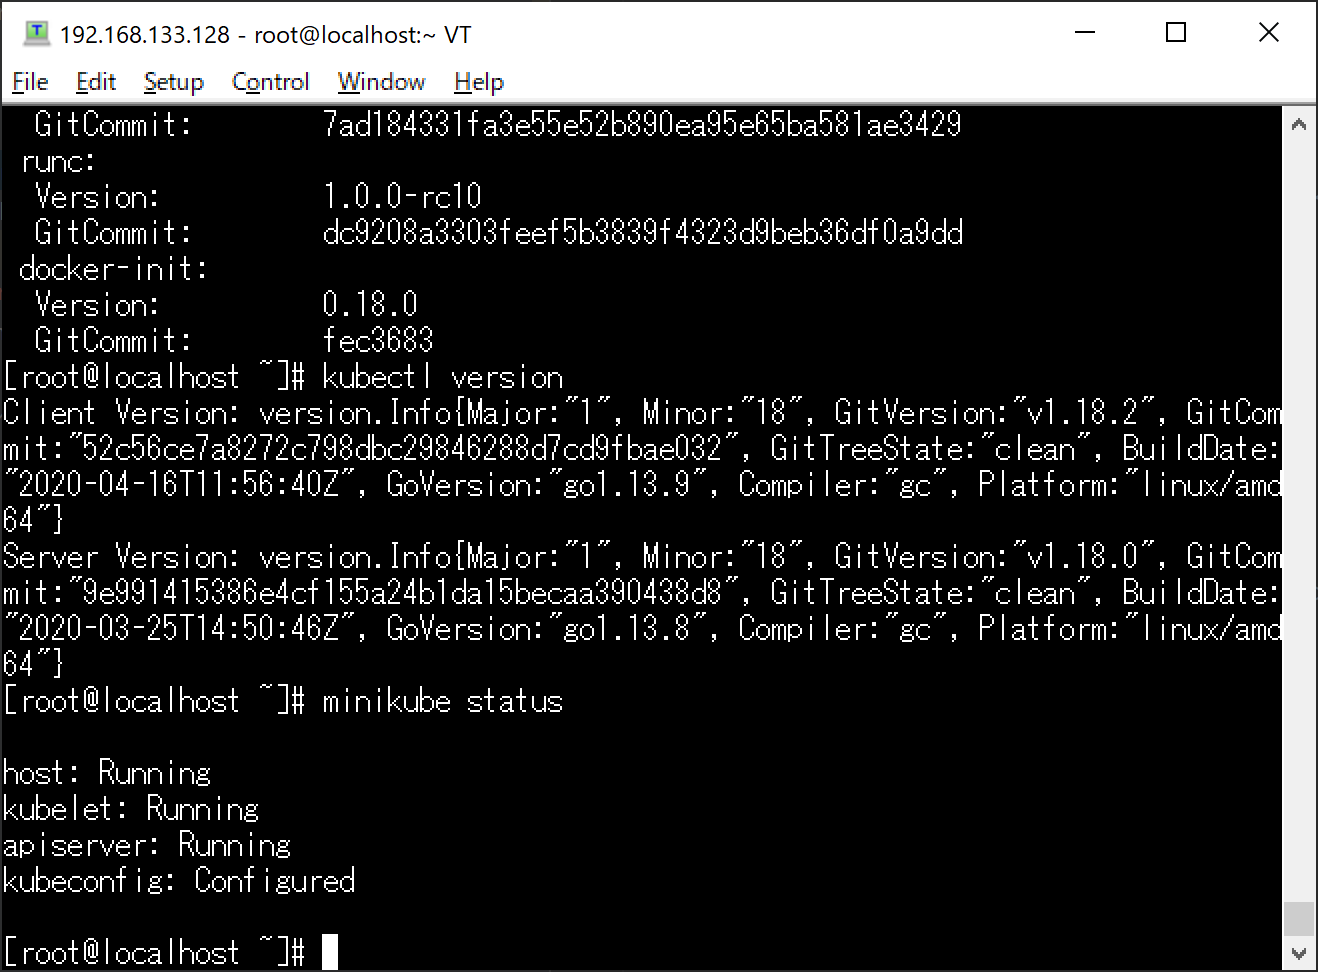
minikube statusコマンド実行
→hostがRunningになっていなければ、minikube startコマンド実行
以下の結果が表示されればKubernetesクラスタが起動されている
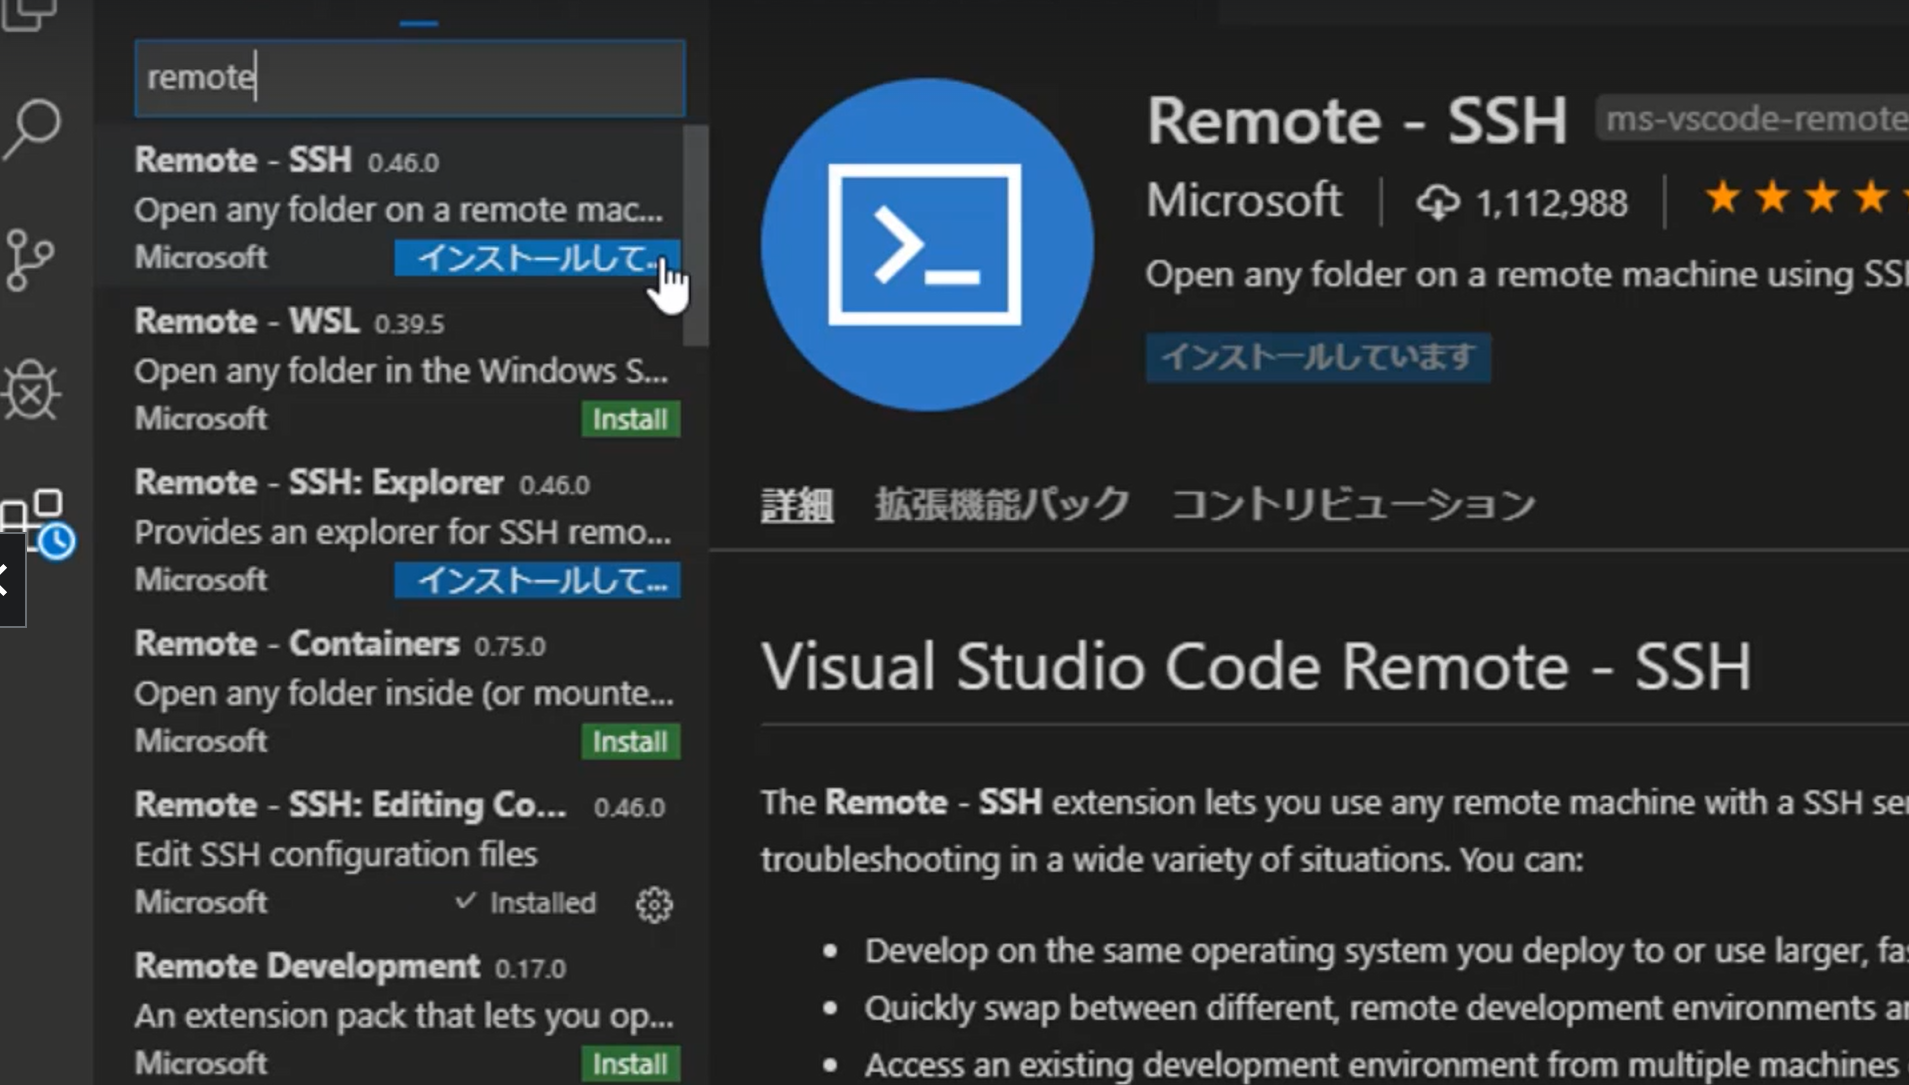
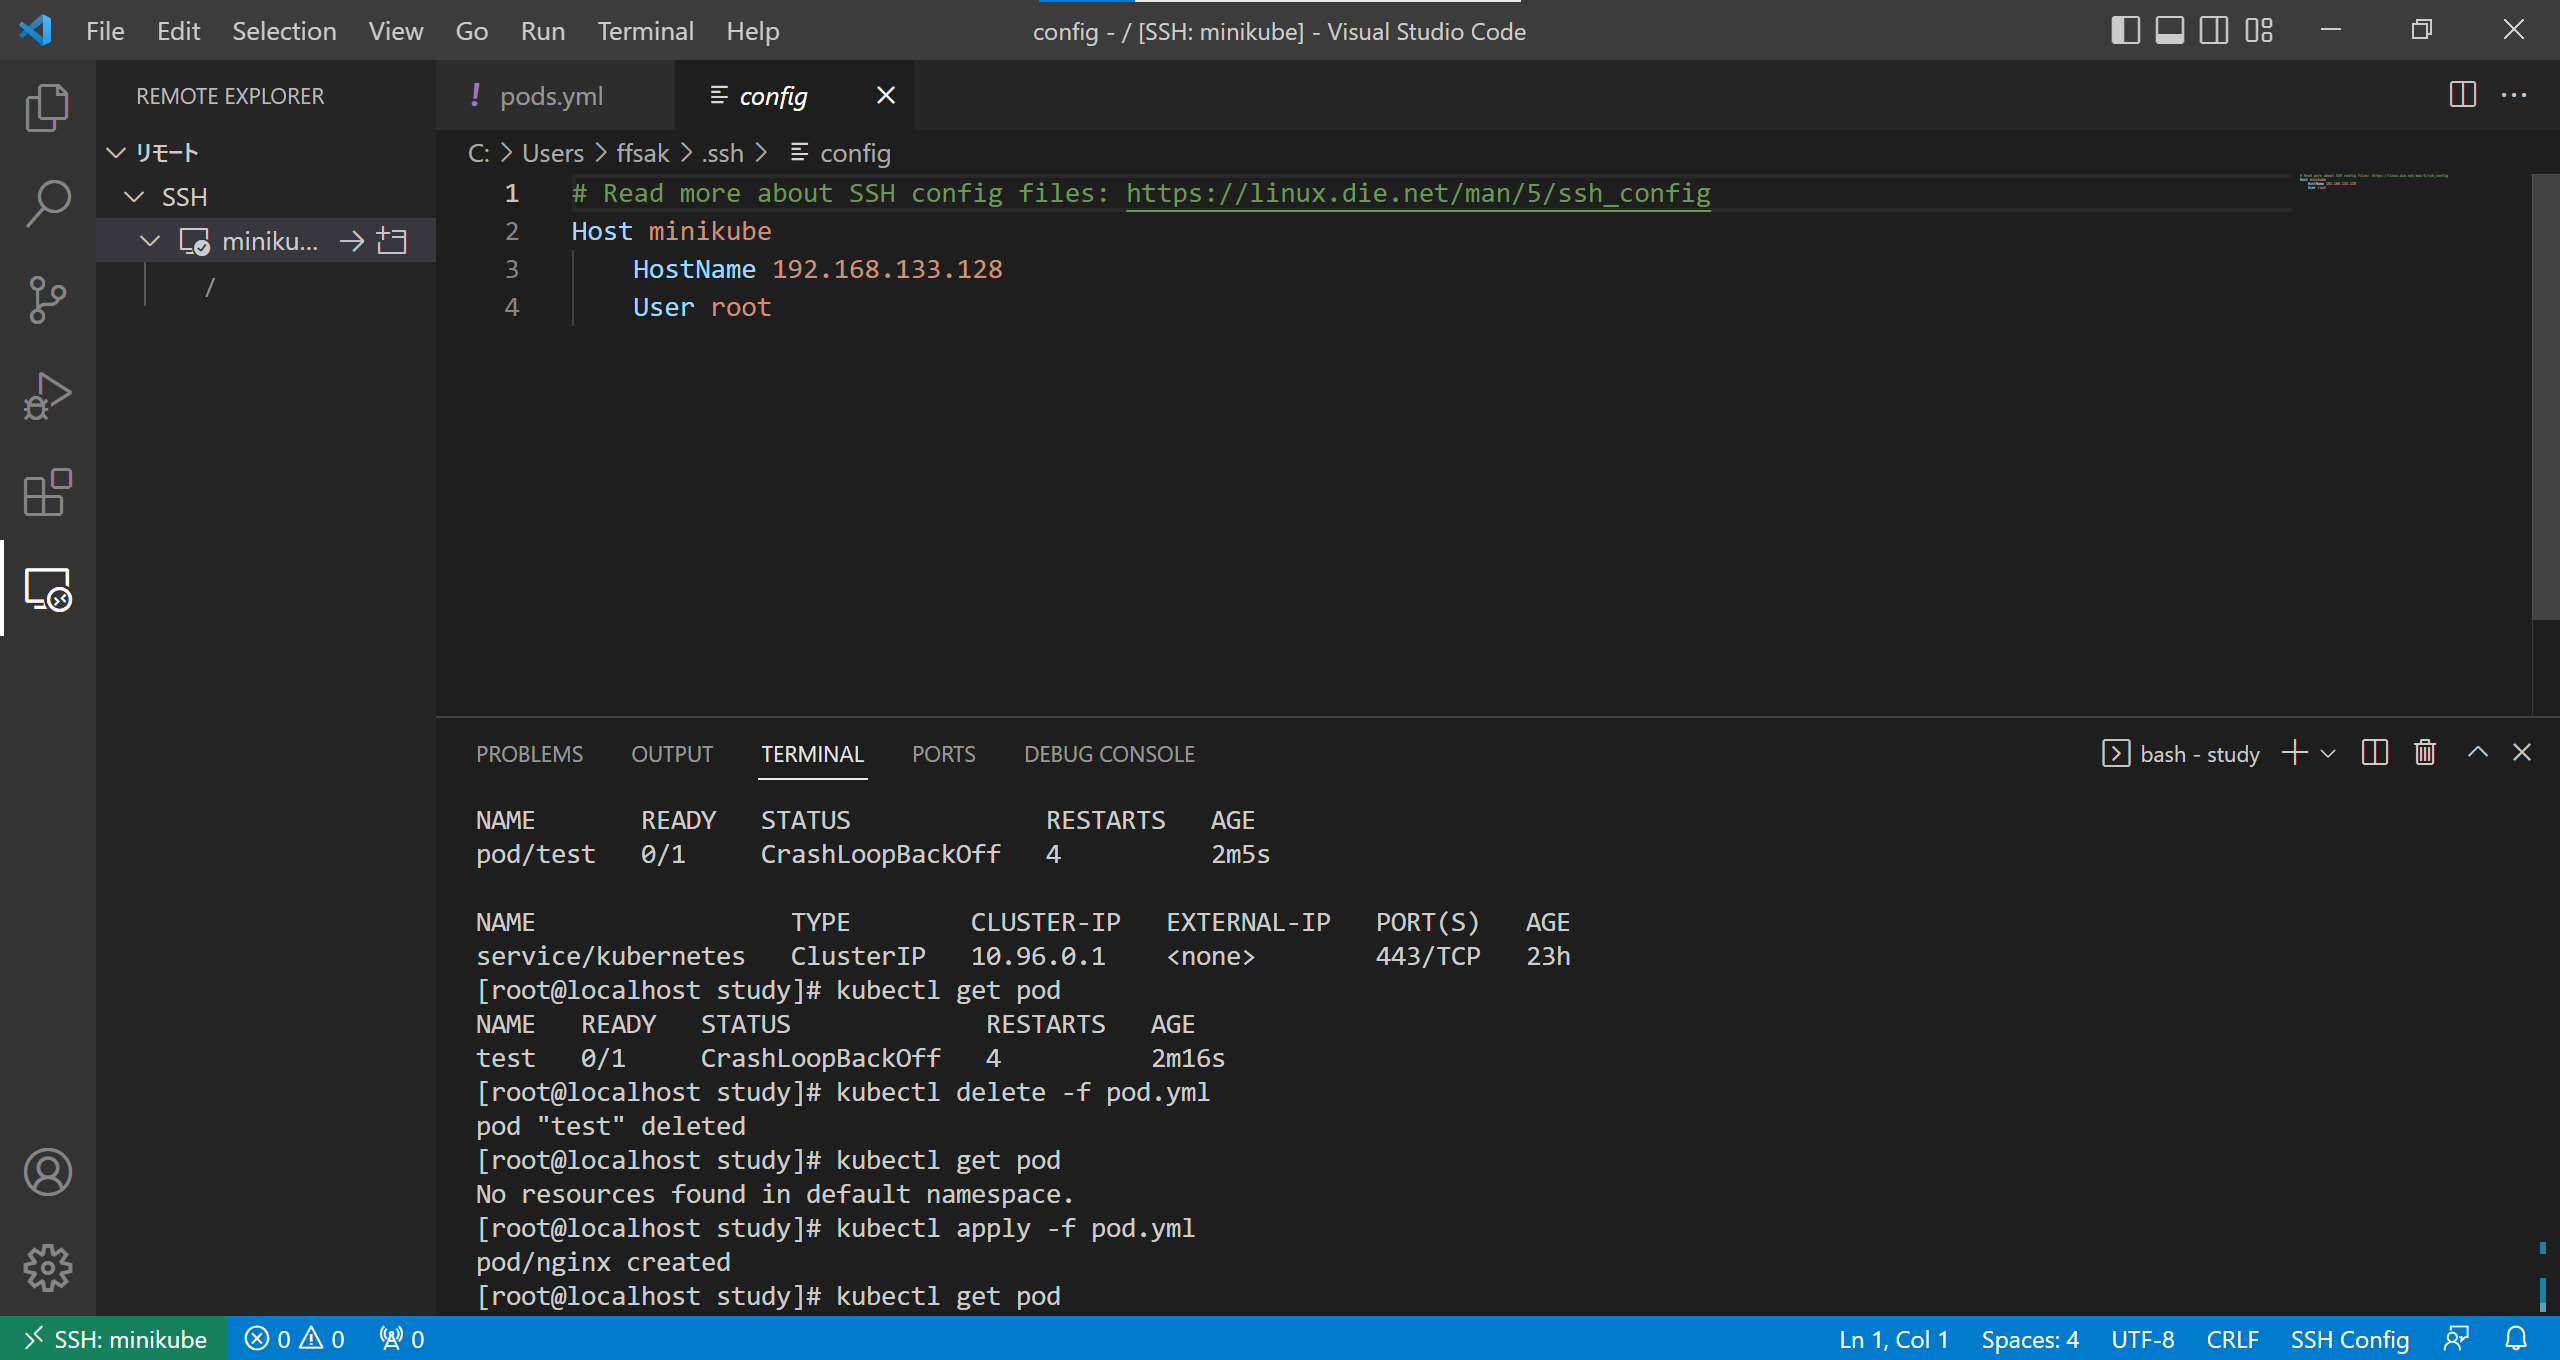
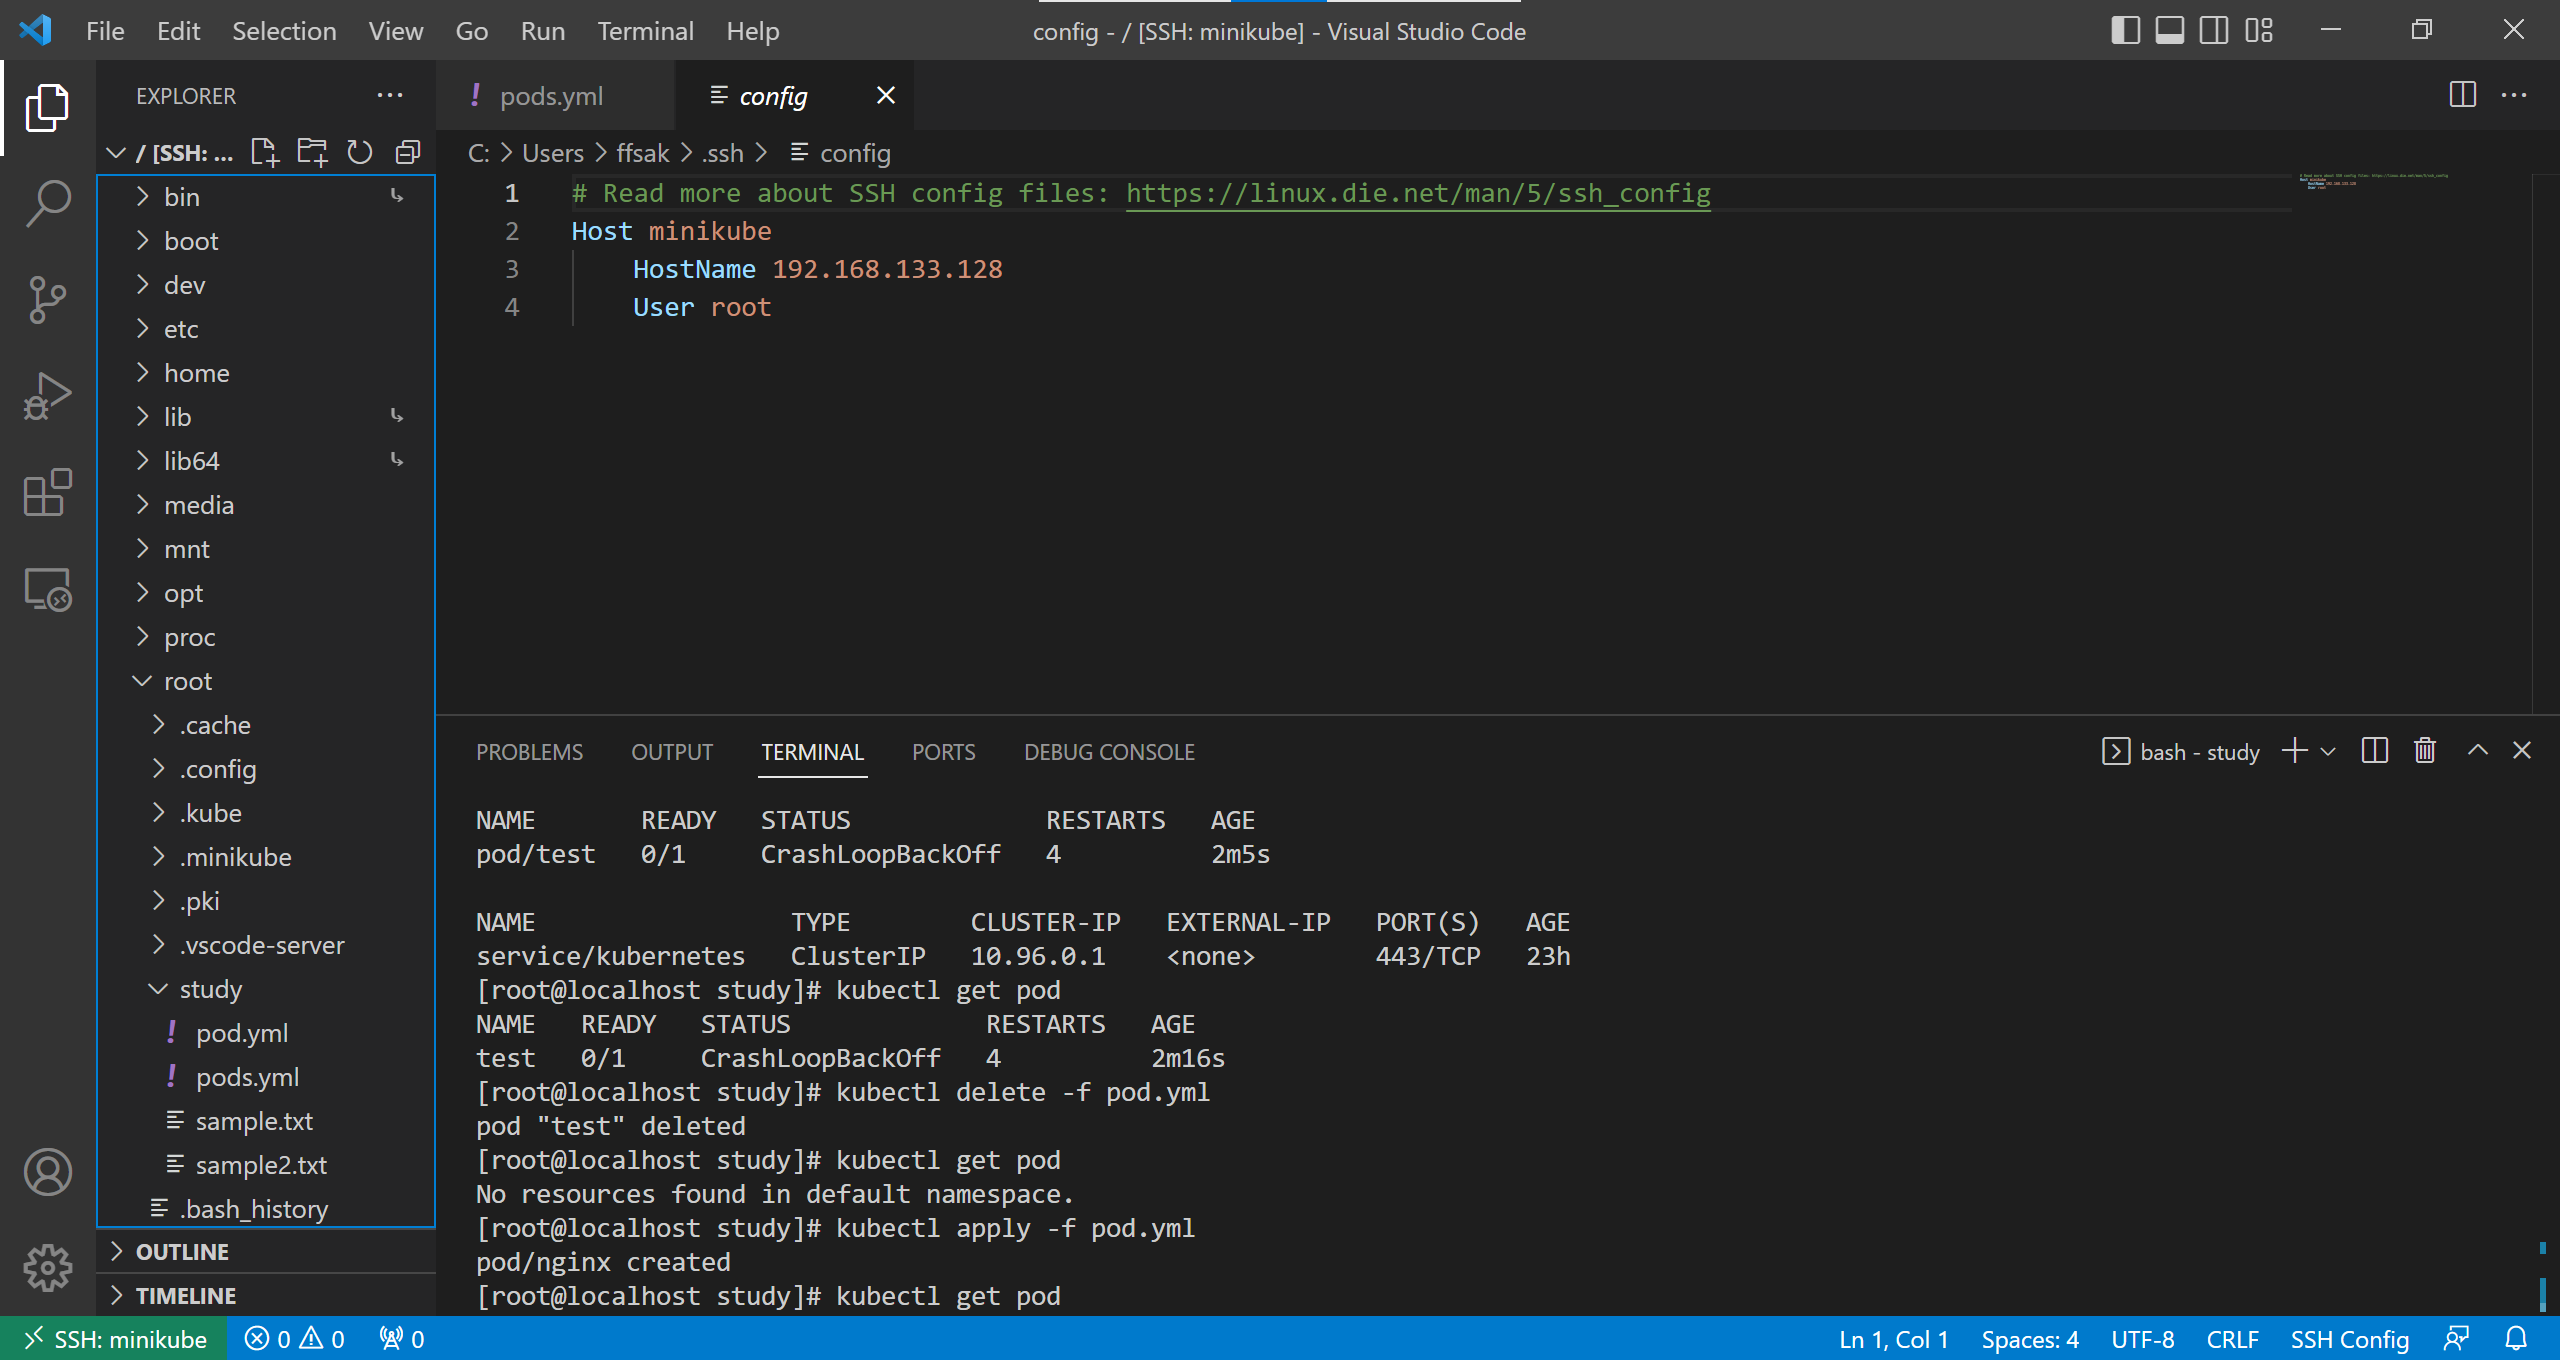
- Remote SSH on VSCode
SSH接続は好みの方法でよいが、今回はVSCodeで接続します。
