シリーズ記事一覧
| タイトル リンク | |
|---|---|
| 第1回 | 環境構築 |
| 第2回 | Python 概要 |
| 第3回 | Python 基礎 |
| 第4回 | Pythonで学ぶWebの基本と実践 |
| 第5回 | Streamlitを使ってみよう |
| 第6回 | Streamlitでリアルタイム画像処理 |
| 第7回 | リアルタイムで顔検出を行ってみよう |
Pythonで学ぶWebの基本と実践
Webとは
Webの概要
Web(World Wide Web)は、インターネット上で情報を閲覧・共有する仕組みです。
Webサイトにアクセスすることで、ニュースを読んだり、動画を見たり、オンラインショッピングをしたりできます。
Webの仕組み
- クライアント(ブラウザ)
Google ChromeやSafariなどのブラウザを使ってWebサイトを表示します。 - Webサーバー
Webサイトのデータを保存し、ブラウザからのリクエストに応じてページを送ります。
HTTPリクエストを送る
requestsモジュールを使用してサーバーにHTTPリクエストを送ってみる
-
requestsをインストールする
pip install requests -
プログラムファイルを用意する
ターミナルで以下コマンドを実行し、メモ帳を開くnotepad http_requests.py以下内容を保存し、メモ帳を閉じる
import requests def get_pokemon_data(pokemon_name): url = f"https://pokeapi.co/api/v2/pokemon/{pokemon_name.lower()}" response = requests.get(url) # HTTPリクエストが成功時は200 if response.status_code == 200: data = response.json() print(f"ポケモン名: {data['name'].capitalize()}") print(f"ID: {data['id']}") print("タイプ:", ", ".join([t['type']['name'] for t in data['types']])) print("高さ:", data['height']) print("重さ:", data['weight']) print("能力値:", ", ".join([a['ability']['name'] for a in data['abilities']])) else: print("ポケモンが見つかりませんでした。") print("-------------------") # ピカチュウのデータを取得 get_pokemon_data("pikachu") print("-------------------") # ゲンガーのデータを取得 get_pokemon_data("gengar") print("-------------------") -
プログラムを実行する
python http_requests.py
簡単なHTTPサーバーをたてる
HTTPサーバーとは簡単に言えば、ブラウザでアクセスできるサーバーのこと
-
プログラムファイルを用意する
ターミナルで以下コマンドを実行し、メモ帳を開くnotepad http_server.py以下内容を保存し、メモ帳を閉じる
import http.server import socketserver PORT = 8000 counter = 0 # アクセスカウンター class CustomHandler(http.server.SimpleHTTPRequestHandler): def do_GET(self): global counter counter += 1 # シンプルなHTMLページを生成 html_content = f""" <!DOCTYPE html> <html lang="ja"> <head> <meta charset="UTF-8"> <meta name="viewport" content="width=device-width, initial-scale=1.0"> <title>Python Web Server</title> <style> body {{ font-family: Arial, sans-serif; text-align: center; padding: 50px; background-color: #f4f4f4; }} .container {{ background: white; padding: 20px; border-radius: 10px; box-shadow: 0px 0px 10px rgba(0,0,0,0.1); display: inline-block; }} h1 {{ color: #333; }} p {{ font-size: 1.2em; }} </style> </head> <body> <div class="container"> <h1>Python http.server で作るWebサイト</h1> <p>このページへのアクセス数: <strong>{counter}</strong></p> <p>Pythonの http.server を使って簡単なWebサーバーを構築しました。</p> <p><a href="/">更新する</a></p> </div> </body> </html> """ # HTTPレスポンスを送信 self.send_response(200) self.send_header("Content-type", "text/html; charset=utf-8") self.end_headers() self.wfile.write(html_content.encode("utf-8")) # サーバーの起動 with socketserver.TCPServer(("", PORT), CustomHandler) as httpd: print(f"Serving at http://localhost:{PORT}") httpd.serve_forever() -
プログラムを実行する
python http_server.py -
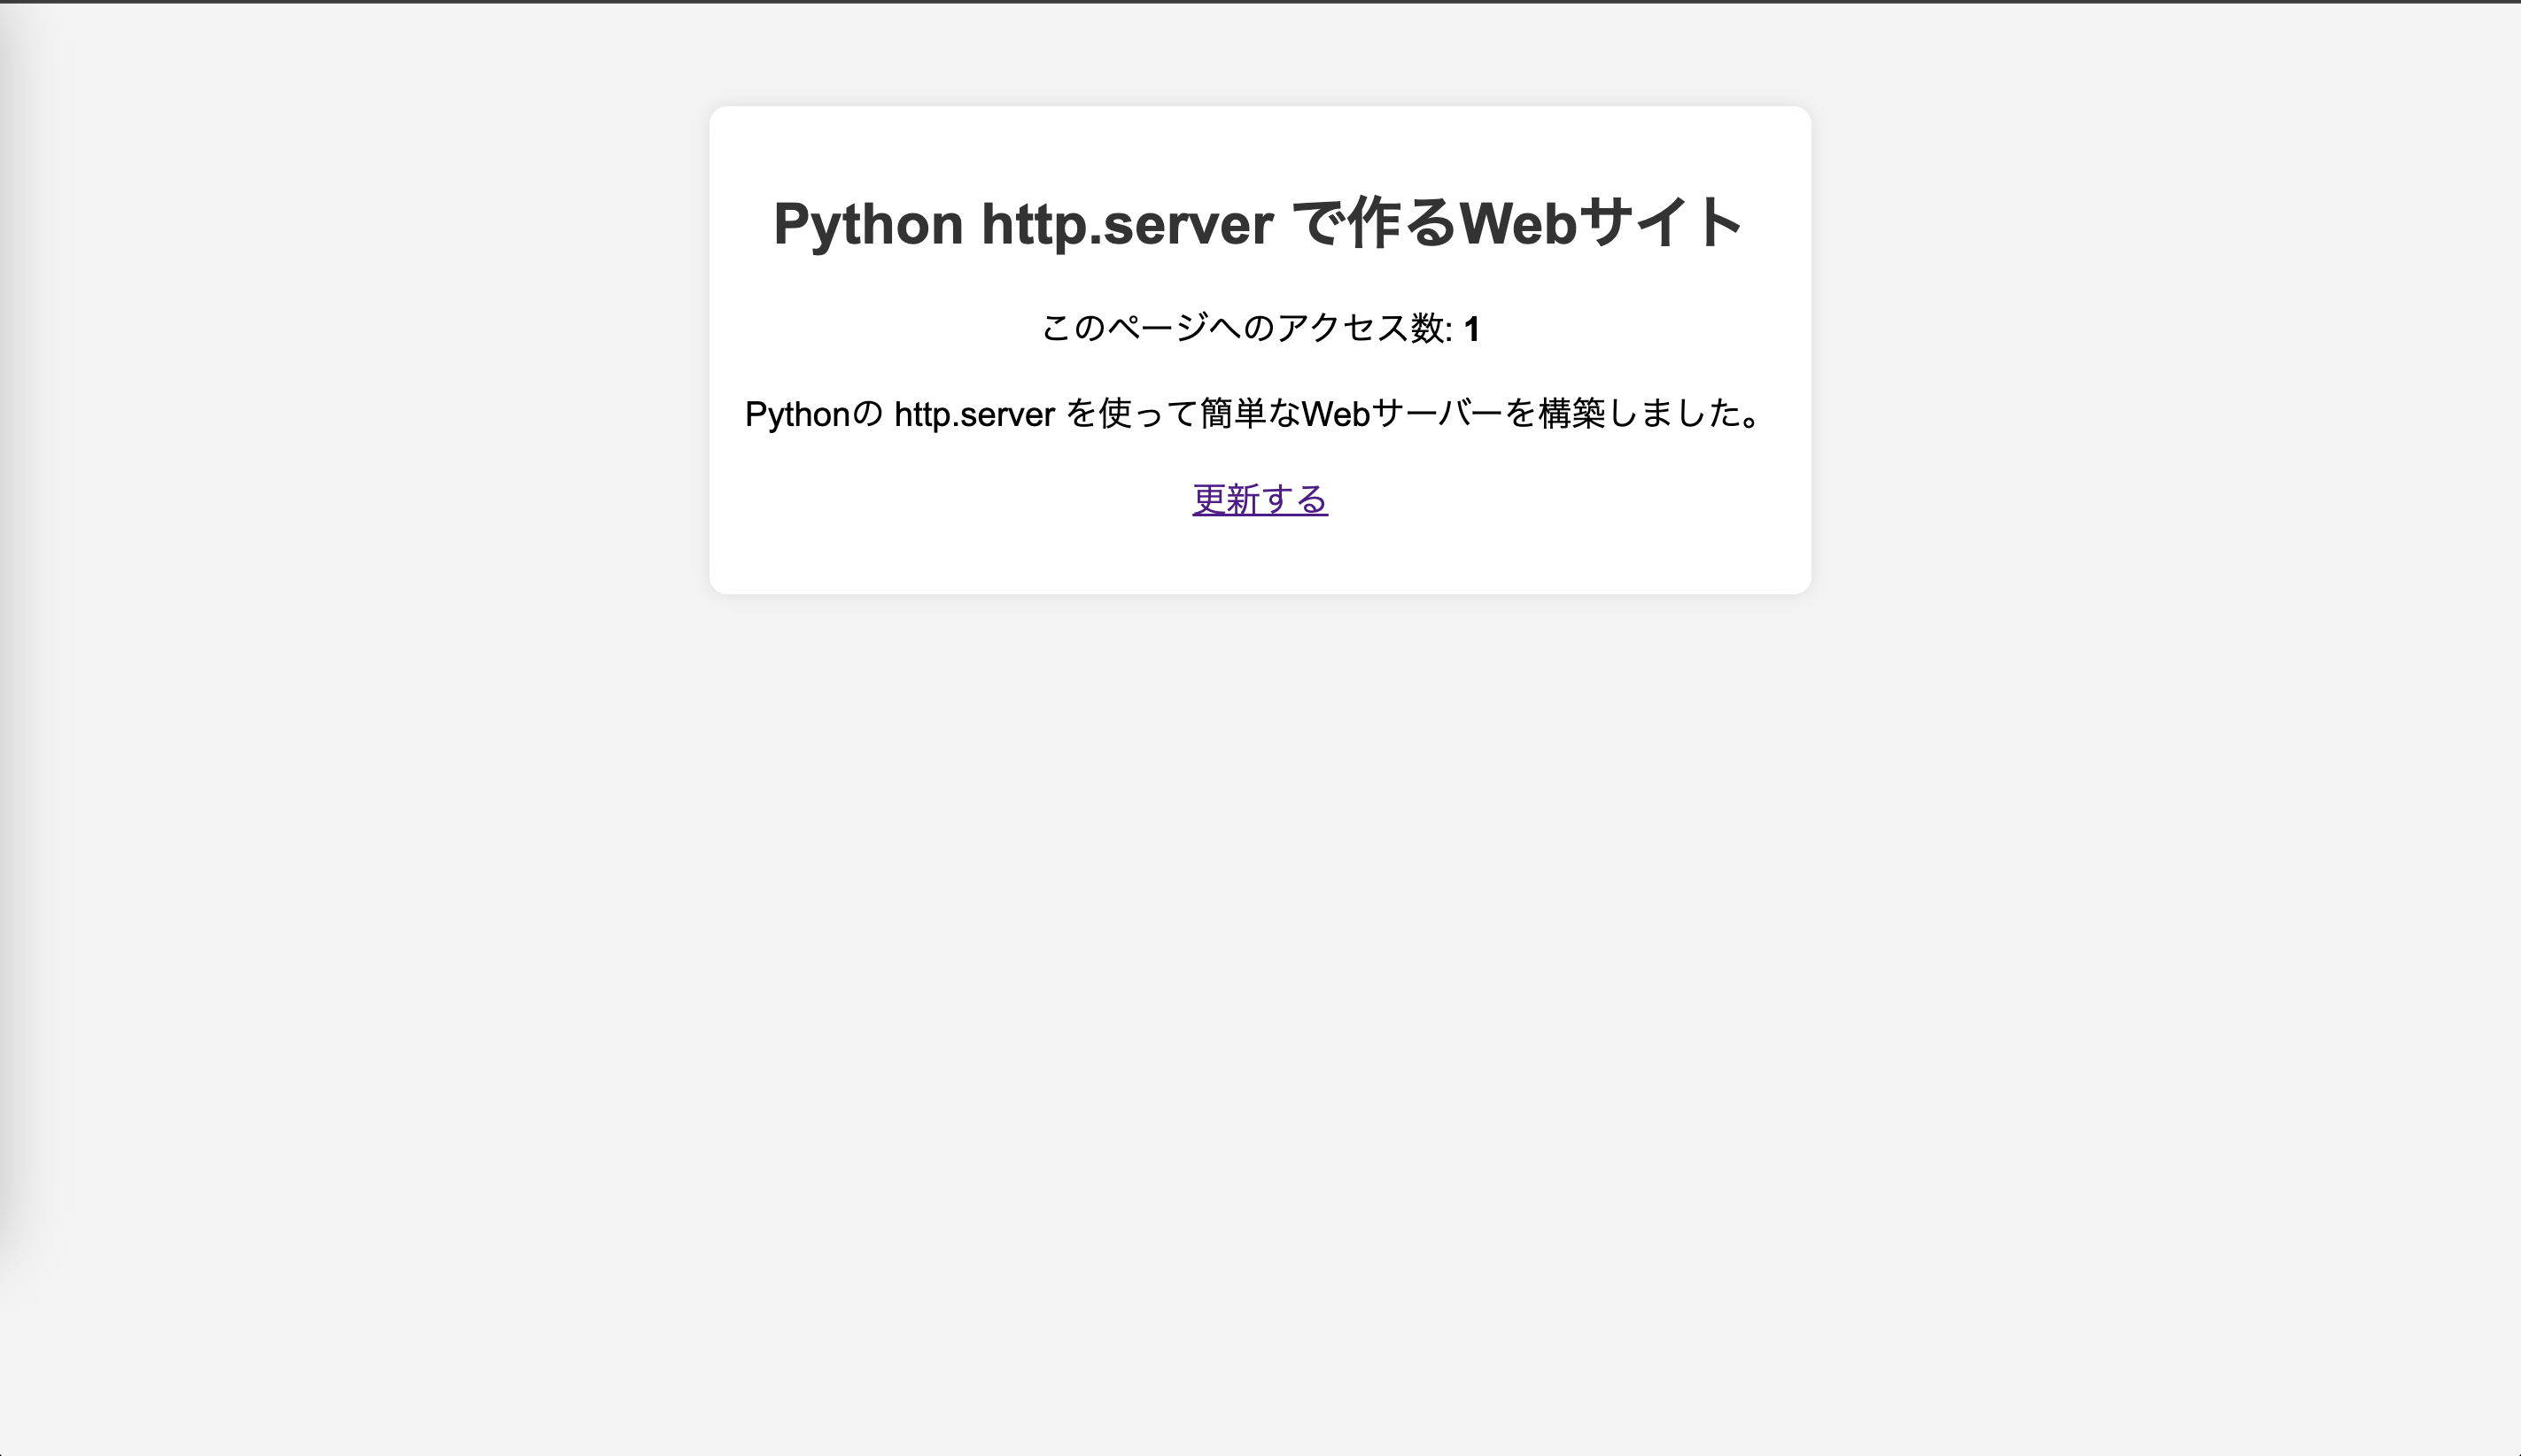
ブラウザで動作確認する
http://localhost:8000

-
ターミナルに戻りPythonを止める
Ctrl + cを押下して止める
PythonでWebスクレイピング
WebスクレイピングとはWebサイトの情報を取得し、解析する技術
Amazonの商品の価格自動取得などで利用される技術
-
Beautifulsoup4をインストールする
pip install beautifulsoup4 -
プログラムファイルを用意する
ターミナルで以下コマンドを実行し、メモ帳を開くnotepad web_scraping.py以下内容を保存し、メモ帳を閉じる
import requests from bs4 import BeautifulSoup def get_weather(): # 取得する都市のYahoo!天気URL(例: 東京) url = "https://weather.yahoo.co.jp/weather/jp/13/4410.html" # HTTPリクエストを送信(User-Agentを指定してボット対策を回避) headers = {"User-Agent": "Mozilla/5.0"} response = requests.get(url, headers=headers) if response.status_code == 200: # HTMLをパース soup = BeautifulSoup(response.text, "html.parser") # 今日の天気情報を取得 weather = soup.find("p", class_="pict").text.strip() temperature_high = soup.find("li", class_="high").text.strip() temperature_low = soup.find("li", class_="low").text.strip() print(f"📍 東京の天気情報") print(f"☀️ 天気: {weather}") print(f"🌡 最高気温: {temperature_high}") print(f"❄️ 最低気温: {temperature_low}") else: print("天気情報を取得できませんでした") def main(): get_weather() if __name__=="__main__": main() -
プログラムを実行する
python web_scraping.py