※12月1日 リンクを修正しました
約1年前の記事なので情報が古いかもしれません

VRとReactに興味があったので、React 360に触ってみます。
React 360とは?
React 360は、Facebook社製の3DおよびVR空間上のユーザーインターフェイスを実装するためのフレームワーク
https://qiita.com/shiruco/items/3e77babe80a373c71fd5
公式サイトはこちらになります
https://facebook.github.io/react-360/
React 360のインストール
react-360-cliのインストール
npm
npm install -g react-360-cli
yarn
yarn global add react-360-cli
環境を構築する
mkdir workspace //作業用のディレクトリを作成します
cd workspace

react-360 init Hello360 // 今回はHello360というreact-360のプロジェクトを作ります
cd Hello360
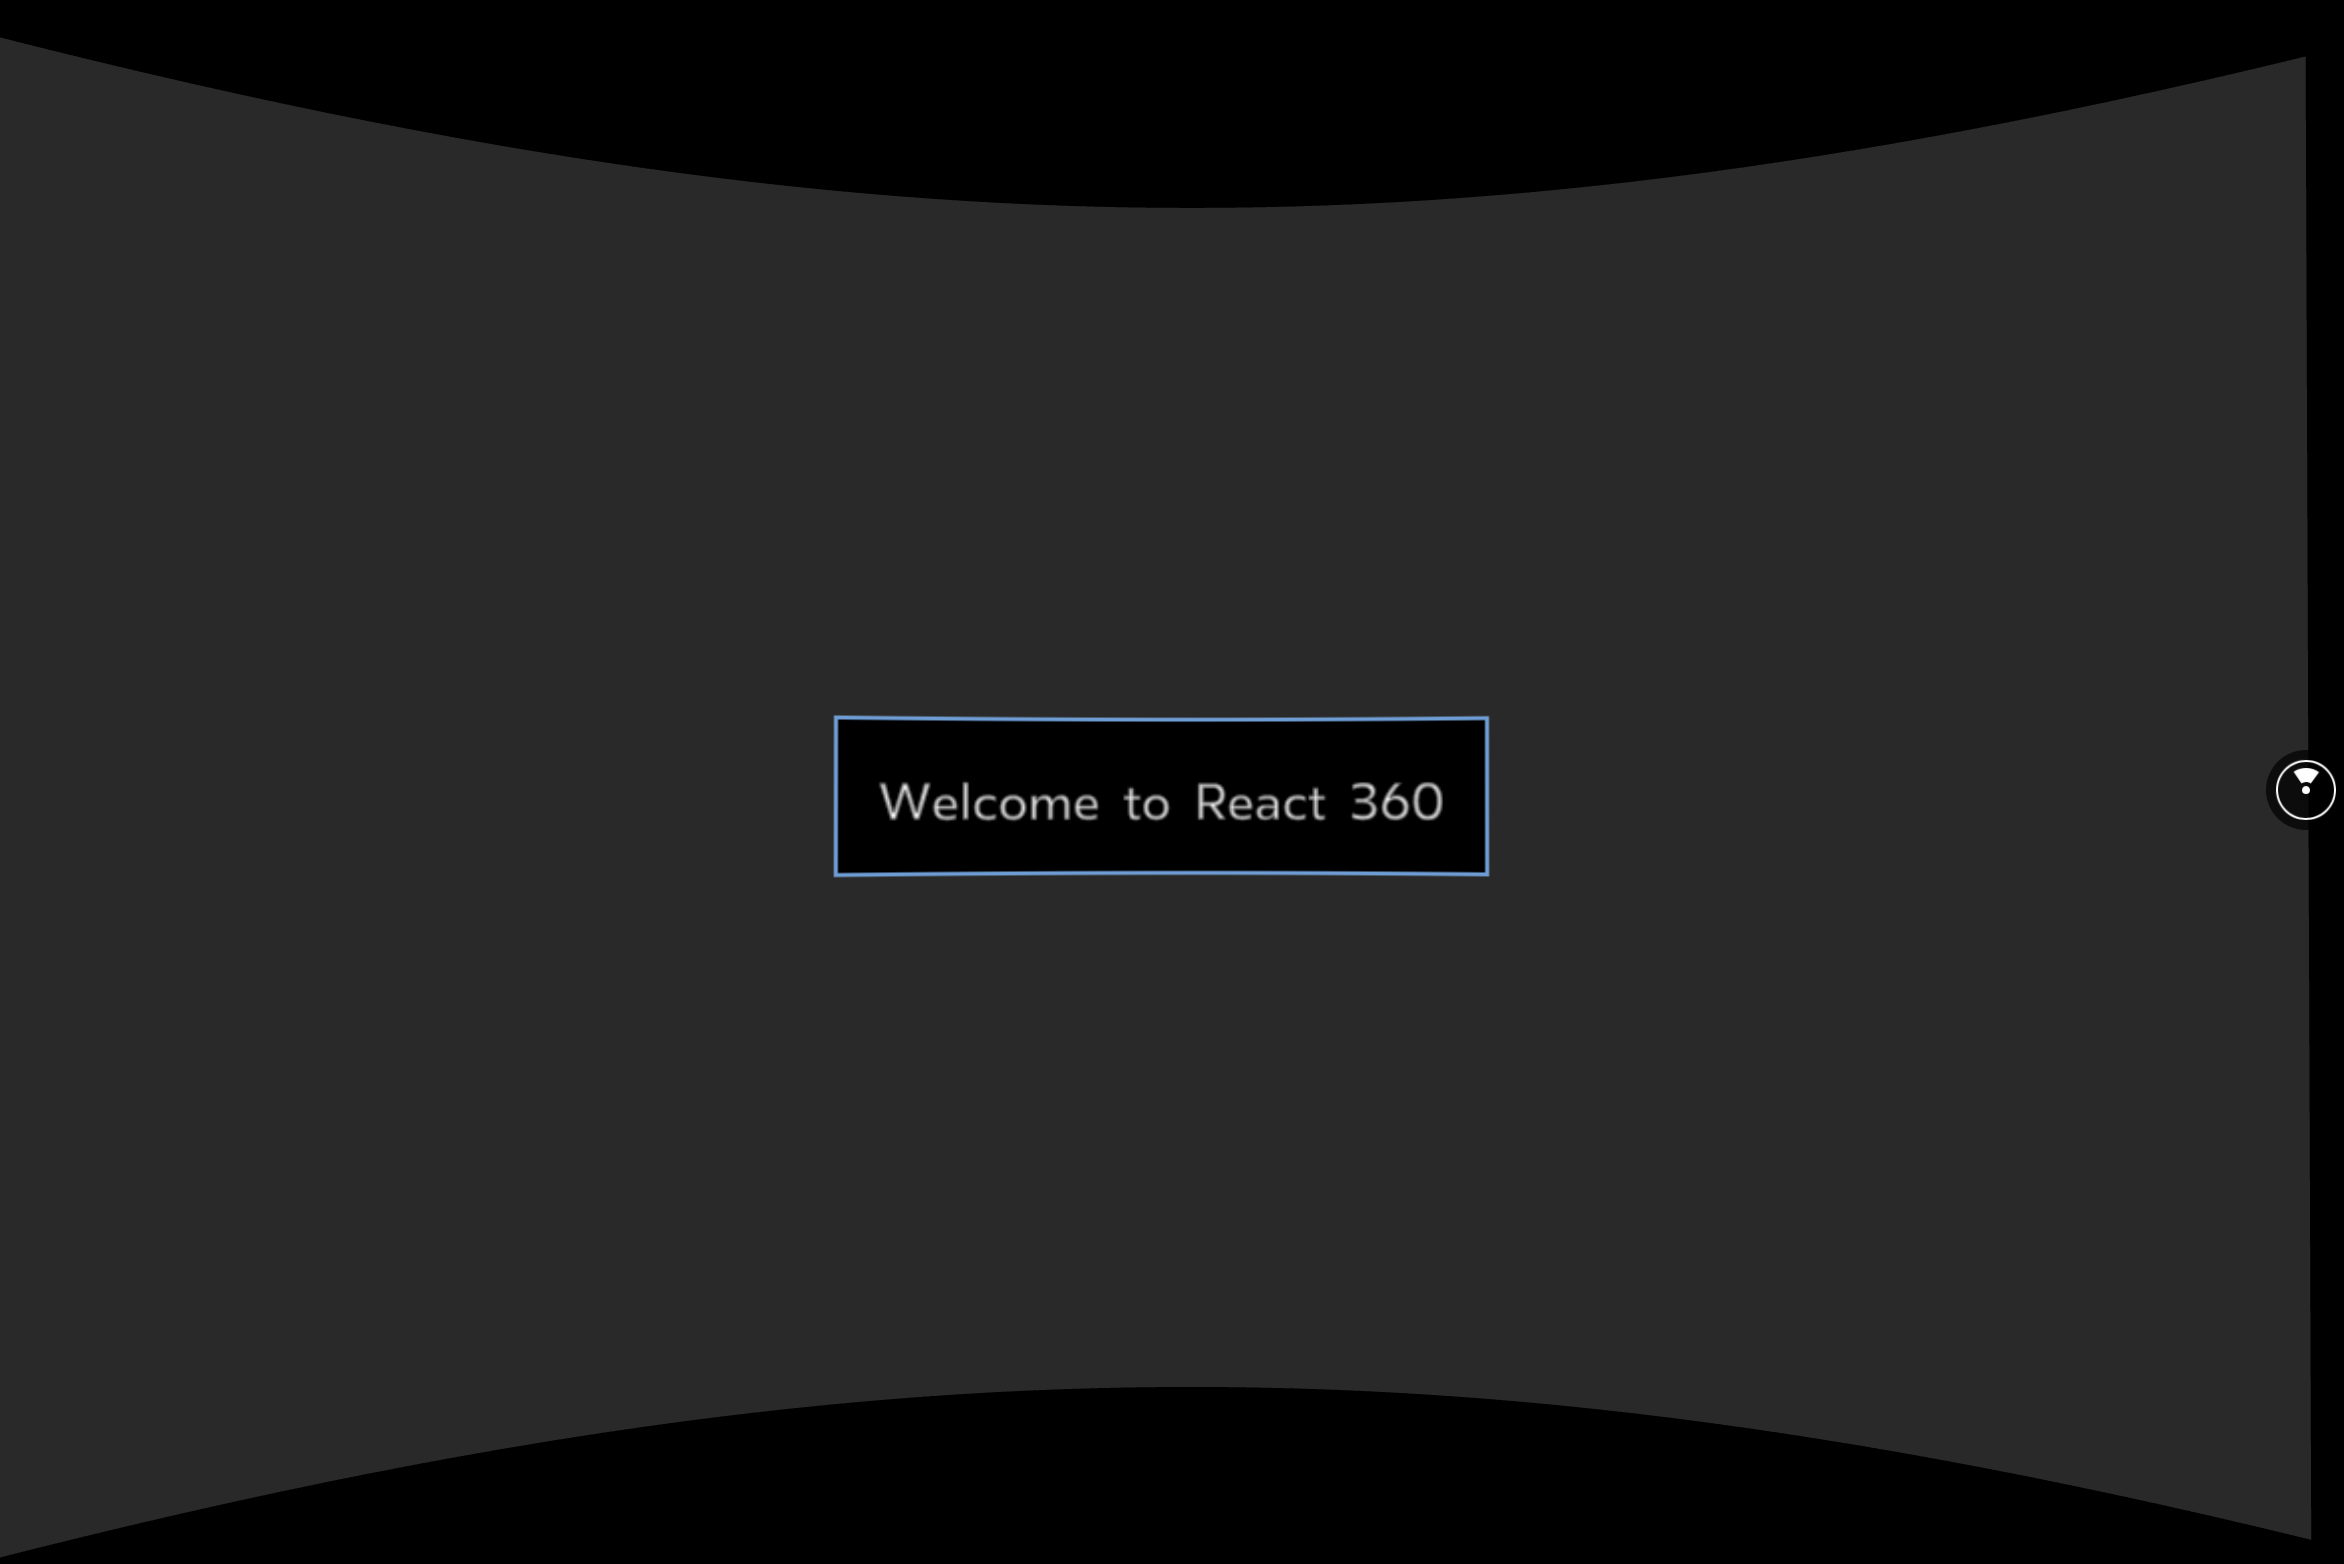
これで環境ができあがるので実行してみます。
実行する
yarn start
ローカルサーバーが立ち上がるのでアクセスします。
http://localhost:8081/index.html
実機で確認
ローカルホストで立っているサーバーに対して同じLAN内にいるiPhoneからアクセスをしてみます。
http://ホストのIPアドレス:8081/index.html
めっちゃグリグリ動かせる
動かせることが確認できたので少しいじってみたいと思います。
.
├── __tests__
├── client.js
├── index.html
├── index.js
├── node_modules
├── package.json
├── rn-cli.config.js
├── static_assets
└── yarn.lock
initした直後のファイル構成はこの様になっており、実際いじるファイルは index.js とclient.jsの2ファイルになるかと思います。
https://facebook.github.io/react-360/docs/explore-code.html
https://facebook.github.io/react-360/docs/explore-code.html
index.js
実際にアプリのメインのコードをこちらに記述します。
client.js
ランタイムに接続するために使用します。
React 360のインスタンスを作成する。
アプリを初期化するためのオプションを渡すことができる。
React 360が提供しているコンポーネント
使用できるコンポーネントは5つあるようです。
- View
- Text
- Image
- Entity
- VrButton
init時のindex.jsです。
import React from 'react';
import {
  AppRegistry,
  StyleSheet,
  Text,
  View,
} from 'react-360';

export default class Hello360 extends React.Component {
  render() {
    return (
      <View style={styles.panel}>
        <View style={styles.greetingBox}>
          <Text style={styles.greeting}>
            Welcome to React 360
          </Text>
        </View>
      </View>
    );
  }
};

const styles = StyleSheet.create({
  panel: {
    // Fill the entire surface
    width: 1000,
    height: 600,
    backgroundColor: 'rgba(255, 255, 255, 0.4)',
    justifyContent: 'center',
    alignItems: 'center',
  },
  greetingBox: {
    padding: 20,
    backgroundColor: '#000000',
    borderColor: '#639dda',
    borderWidth: 2,
  },
  greeting: {
    fontSize: 30,
  },
});

AppRegistry.registerComponent('Hello360', () => Hello360);
単純にボックスを重ねてみます。
export default class Hello360 extends React.Component {
    render() {
        return (
            <View style={styles.panel}>
                <View style={styles.greetingBox}>
                    <Text style={styles.greeting}>
                        Welcome to React 360
                    </Text>

                    <Text style={styles.greeting}>
                        Welcome to React 360
                    </Text>
                    <Text style={styles.greeting}>
                        Welcome to React 360
                    </Text>
                    <Text style={styles.greeting}>
                        Welcome to React 360
                    </Text>
                </View>
            </View>
        );
    }
};

縦に2列並びました。VRなのでどうせならぐるぐる回転しながら全画面を見たいので、横に並べてみたいと思います。横に並べるにはCSSの方を少しいじります。
const styles = StyleSheet.create({
    panel: {
        // Fill the entire surface
        width: 1000,
        height: 600,
        backgroundColor: 'rgba(255, 255, 255, 0.4)',
        justifyContent: 'center',
        alignItems: 'center'
    },
    greetingBox: {
        padding: 20,
        backgroundColor: '#000000',
        borderColor: '#639dda',
        borderWidth: 2,
    },
    greeting: {
        fontSize: 30,
    },
});
flexDirectionを指定して見ましょう。
const styles = StyleSheet.create({
    panel: {
        // Fill the entire surface
        width: 1000,
        height: 600,
        backgroundColor: 'rgba(255, 255, 255, 0.4)',
        justifyContent: 'center',
        alignItems: 'center',
flexDirection: "row",
    },
    greetingBox: {
        padding: 20,
        backgroundColor: '#000000',
        borderColor: '#639dda',
        borderWidth: 2,
    },
    greeting: {
        fontSize: 30,
    },
});

横並びになりました。
タップできるようにする。
タップできるようにするにはVrButtonのコンポーネント新たにインポートします。
index.js
import React from 'react';
import {
    AppRegistry,
    StyleSheet,
    Text,
    View,
    VrButton
} from 'react-360';
importしたVrButtonはrender内で使用します。View コンポーネントと同じような機能を持っているようなので、詳細は2つのコンポーネントのドキュメントを御覧ください。
https://facebook.github.io/react-360/docs/vr-button.html
https://facebook.github.io/react-360/docs/view.html#props
SHOWボタンがされたらアイコンが表示されHIDEボタンがタップされたらアイコンを消すようにします。
VRの画面上にタッチできるイベントを追加する。
import React from 'react'
import { AppRegistry, StyleSheet, Text, View, VrButton, Image } from 'react-360'

export default class Hello360 extends React.Component {
  state = {
    imageUrl: ''
  }

  render() {
    return (
      <View style={styles.panel}>
        <VrButton
          style={styles.greetingBox}
          onClick={() =>
            this.setState({
              imageUrl: ''
            })
          }
        >
          <Text style={styles.greeting}>Hide</Text>
        </VrButton>
        <Image style={styles.image} source={{ uri: this.state.imageUrl }} />
        <VrButton
          style={styles.greetingBox}
          onClick={() =>
            this.setState({
              imageUrl:
                'https://pbs.twimg.com/profile_images/1037603664863449088/THB1myp8.jpg'
            })
          }
        >
          <Text style={styles.greeting}>Show</Text>
        </VrButton>
      </View>
    )
  }
}

const styles = StyleSheet.create({
  panel: {
    // Fill the entire surface
    width: 1200,
    height: 600,
    justifyContent: 'center',
    alignItems: 'center',
    flexDirection: 'row'
  },
  greetingBox: {
    padding: 20,
    backgroundColor: '#000000',
    borderColor: '#639dda',
    borderWidth: 2
  },
  greeting: {
    fontSize: 30
  },
  image: {
    padding: 100,
    width: 300,
    height: 300
  }
})

AppRegistry.registerComponent('Hello360', () => Hello360)
変更点
- state
- onClickの動作
- Imageコンポーネント
現在の画像のURLを保持しているStateの定義
state = {
    imageUrl: ''
  }
クリック時の動作
VrButtonコンポーネントではボタンがタッチされたときに起こる挙動を書きます。
<VrButton
          style={styles.greetingBox}
          onClick={() =>
            this.setState({
              imageUrl:
                'https://pbs.twimg.com/profile_images/1037603664863449088/THB1myp8.jpg'
            })
          }
        >
          <Text style={styles.greeting}>Show</Text>
</VrButton>
Imageコンポーネント
Imageコンポーネントを利用するためにまずImageコンポーネントをインポートします。
import { AppRegistry, StyleSheet, Text, View, VrButton, Image } from 'react-360'
利用方利用方法はドキュメントにある通りの使い方をします。 this.state.imageUrlには先程指定した値が入ります
<Image style={styles.image} source={{ uri: this.state.imageUrl }} />
完成
早速動かしてみるといい感じに動きました。取り敢えずここまでReact 360に触れて見たでした。
Twitter https://twitter.com/mxcn3
GitHub https://github.com/yushimatenjin
必要とあればこちらのアカウントに上げたいと思います。
追記
デプロイまでを行うQiitaを書きました。
React 360で作ったウェブページを今流行りのNetlifyを使ってサクッとデプロイをする