はじめに
最近、Keycloakがよく使われているらしいです。(と、同僚が言っていた)
私自身はまだ触ったことがなかったので、どんなものか簡単に試してみることにしました
Keycloakを触ってみる
-
Dockerイメージをpullしてkeycloakを起動してみる
docker run --rm -p 8080:8080 \
  -e KEYCLOAK_ADMIN=admin \
  -e KEYCLOAK_ADMIN_PASSWORD=admin \
  quay.io/keycloak/keycloak:24.0.3 \
  start-dev
-
Keycloakが起動できたので、以下のURLから管理画面にアクセスします
http://localhost:8080
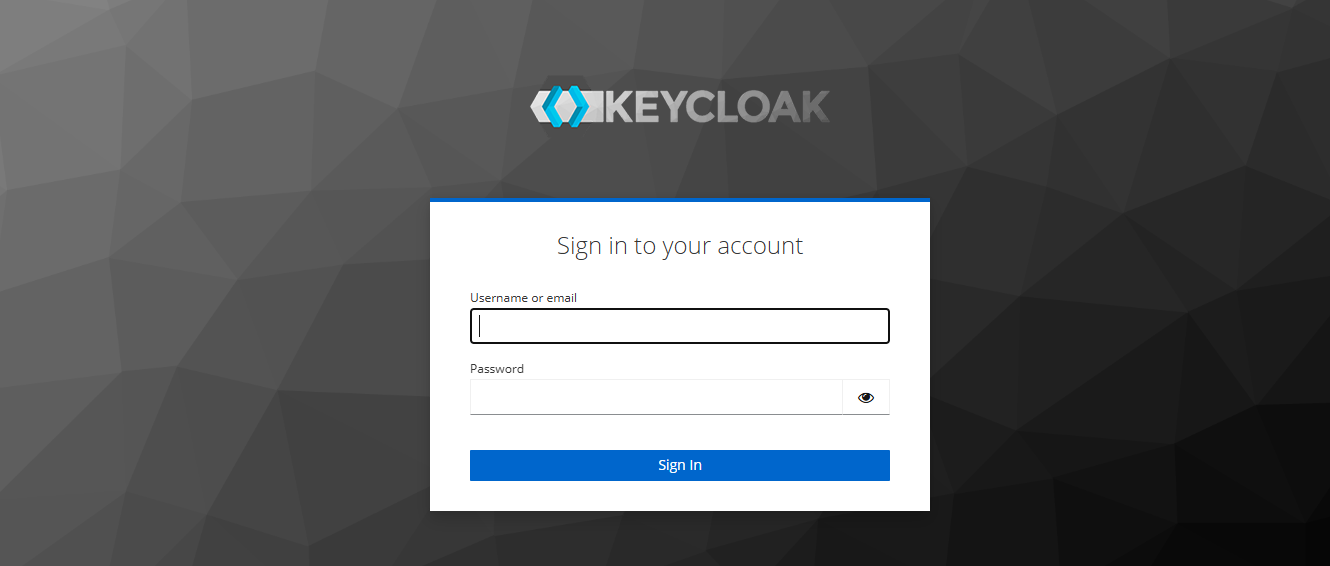
-
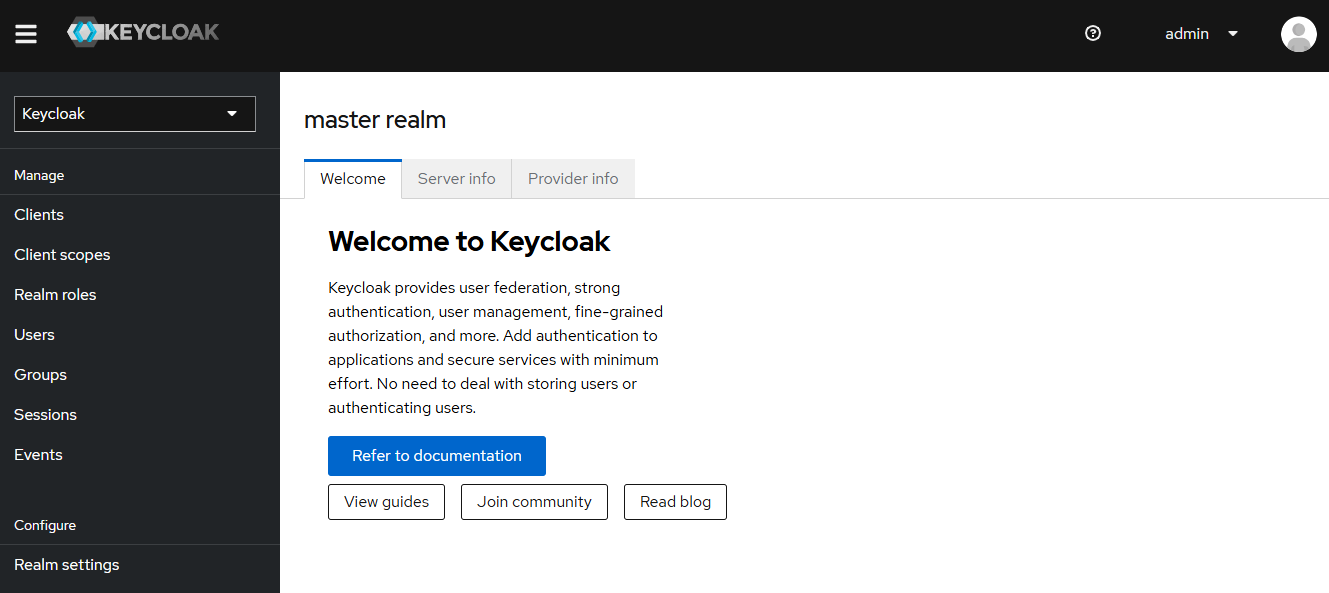
ユーザ名(admin)とパスワード(admin)を入力すると、ちゃんとログインまでできました。
-
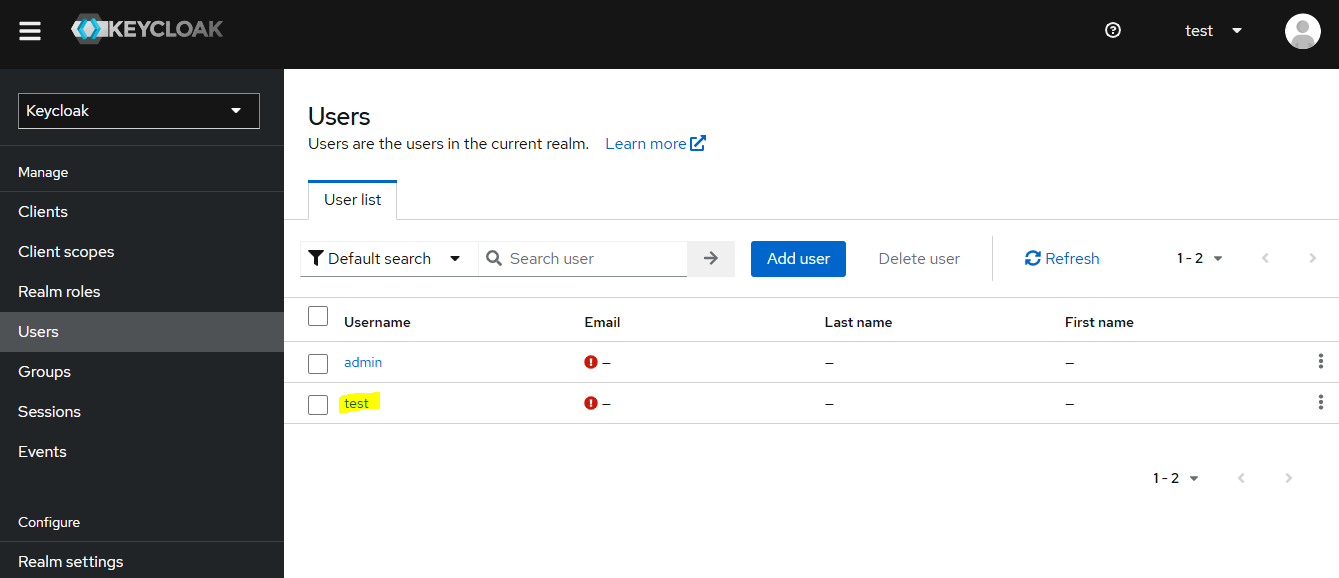
テスト用のユーザを作ってみます
左メニューの[Users]→[Add user]から、新しいユーザを作成します。
今回はtestを作りました。
-
テスト用のクライアントを作成します
左メニューの[Client]→[Create client]と遷移し、以下を入力します。
・Client ID:my-html-client
・Home URL / Valid redirect URIs / Web origins:http://localhost:8000
(後で使うHTMLをここに置きます)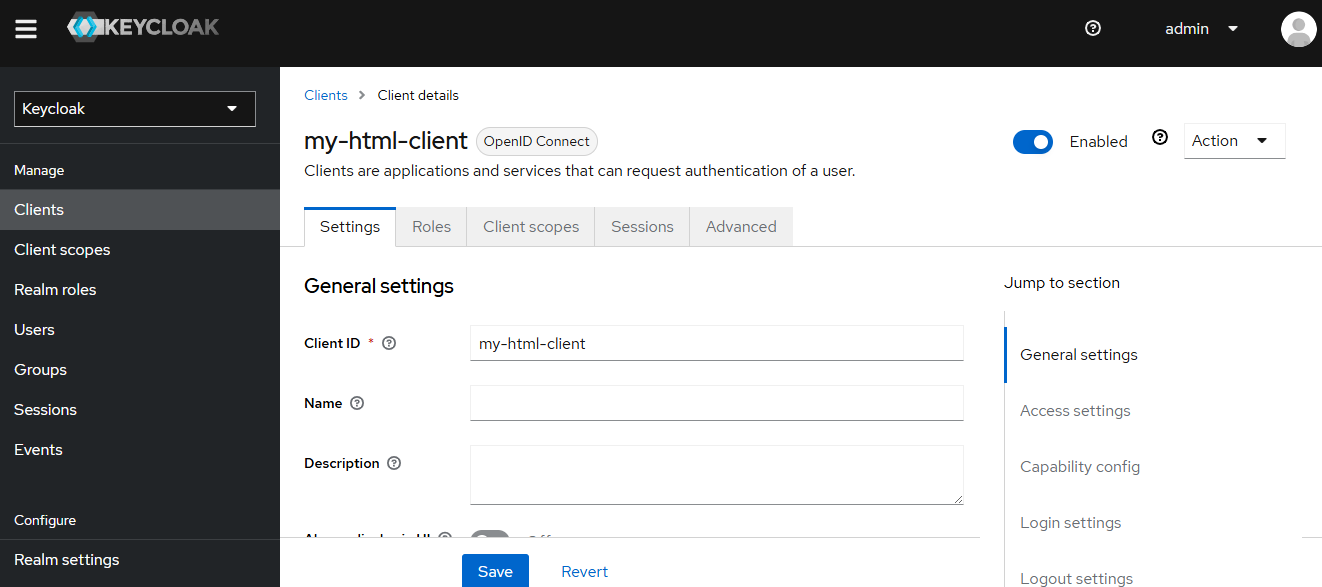
-
実際にログイン画面を作ってみます。
簡単なHTMLを用意します。(index.html)<!DOCTYPE html> <html> <head> <title>Keycloak Demo</title> <script src="https://cdn.jsdelivr.net/npm/keycloak-js@24.0.3/dist/keycloak.min.js"></script> </head> <body> <h1>Keycloak Test Page</h1> <button onclick="login()">Login</button> <pre id="output"></pre> <script> const keycloak = new Keycloak({ url: 'http://localhost:8080/', realm: 'master', clientId: 'my-html-client', }); function login() { keycloak.init({ onLoad: 'login-required' }).then(authenticated => { document.getElementById('output').textContent = authenticated ? 'Authenticated\n' + JSON.stringify(keycloak.tokenParsed, null, 2) : 'Not Authenticated'; }); } </script> </body> </html>
-
Pythonを使ってWEBサーバを簡易的に公開します。
先ほど作成したindex.htmlを置いたフォルダに移動し、以下のコマンドを打ちます。python -m http.server 8000
-
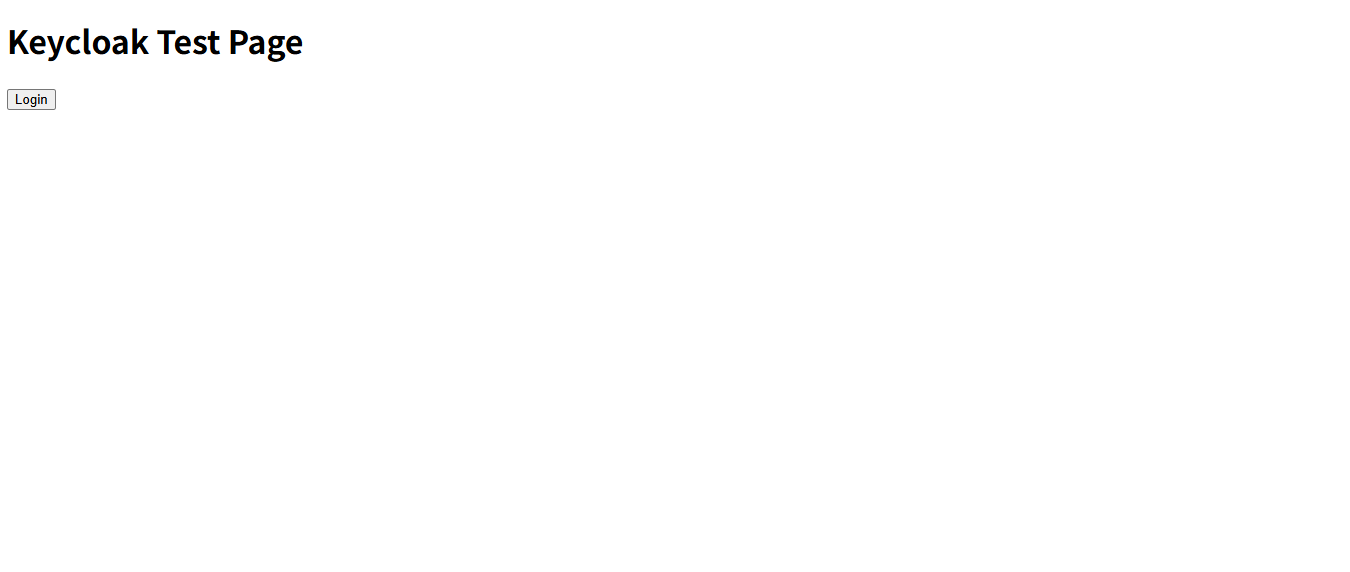
以下URLにアクセスすると、無事に画面が表示されました。
http://localhost:8000
-
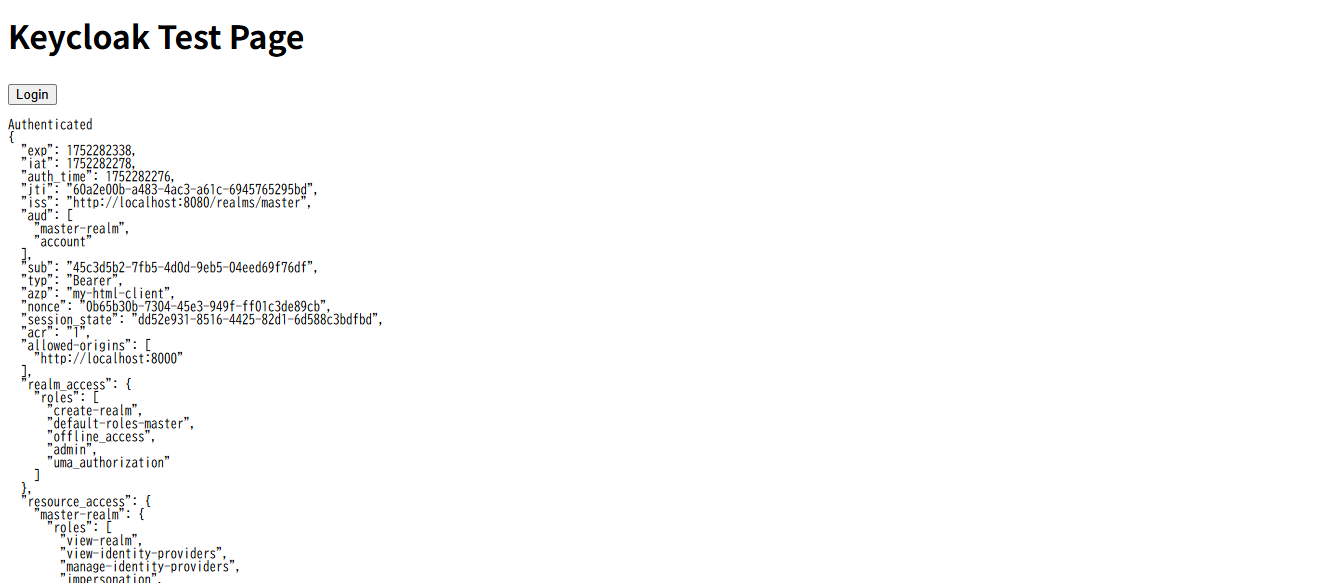
Loginボタンを押すと、認証画面に遷移し、、、無事にログインできました!
まとめ
GUIベースで設定できるため、初学者にも優しい印象でした。
認証フローの確認も短時間でできたので、今後の開発に活かせそうです
次回はもうちょっと細かい設定値周りを見てみようと思います