3
4

Delete article

Deleted articles cannot be recovered.

Draft of this article would be also deleted.

Are you sure you want to delete this article?

More than 5 years have passed since last update.

Unity2D ~Scene遷移~

Posted at

#Scene作成
今回は(Scene名)MainMenuからGameへ移動します。

File>New Scene
で新しいシーンが表示されます

Ctrl+Sで名前保存
Assetに追加されます

ryhs.PNG

開発上でのScene変更はAssetからダブルクリックで変わります。

#シーンを使えるように
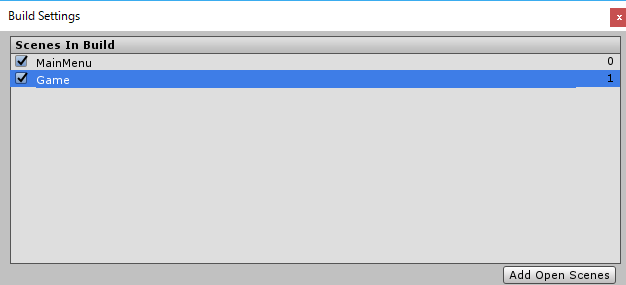
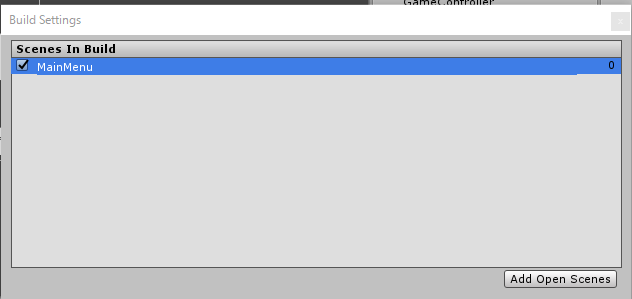
File>BuildSetting
Add Open Scenesで自分のカレントシーンが追加されるので、Scene移動して登録していきましょう。
↓こんな感じで
fhsrh.PNG

↓さらにこう!
gaaregergs.PNG

これをしとかないとプロジェクトに反映されないぞ!

#Scene遷移スクリプト作成
C#スクリプト作成します。
名前は適当にGameControllerで

//追加
using UnityEngine.SceneManagement; 

    public void toGameScene()
    {
        SceneManager.LoadScene("Game");
    }

こんな感じ

カッコの中にScene名入れたらおk!

あとはtoGameScene()を呼び出したらGameシーンへ移動します。

#(例)ボタン押して移動
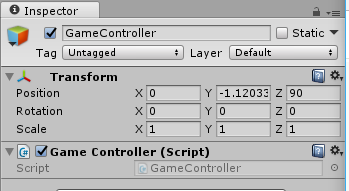
さっき作ったスクリプトを適当なオブジェクトにつけます。
今回はCreate>Empty
名前を変えてGameControllerに
そしてスクリプト追加

↓こんなん
eghs.PNG

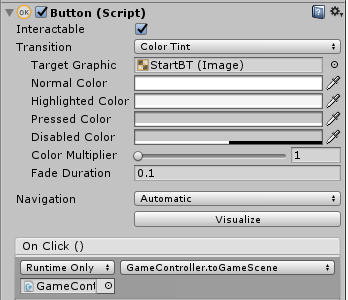
ボタン作ってー
On Clickにオブジェクト追加してー
No Functionを押してGameController>toGameSceneを選択して終わり!

ywyg.PNG

あとはデバック開始、ボタンを押したらScene移動しますね!

3
4
0

Register as a new user and use Qiita more conveniently

  1. You get articles that match your needs
  2. You can efficiently read back useful information
  3. You can use dark theme
What you can do with signing up
3
4

Delete article

Deleted articles cannot be recovered.

Draft of this article would be also deleted.

Are you sure you want to delete this article?