はじめに
水槽の様子を遠隔から確認したくて、遠隔カメラを設置しています。ただ、プル型で見たいときに見に行くのではなく、定期的にプッシュ型で通知があれば、確認する習慣ができるので、定期的にカメラ画像をTeamsに通知させようと思います
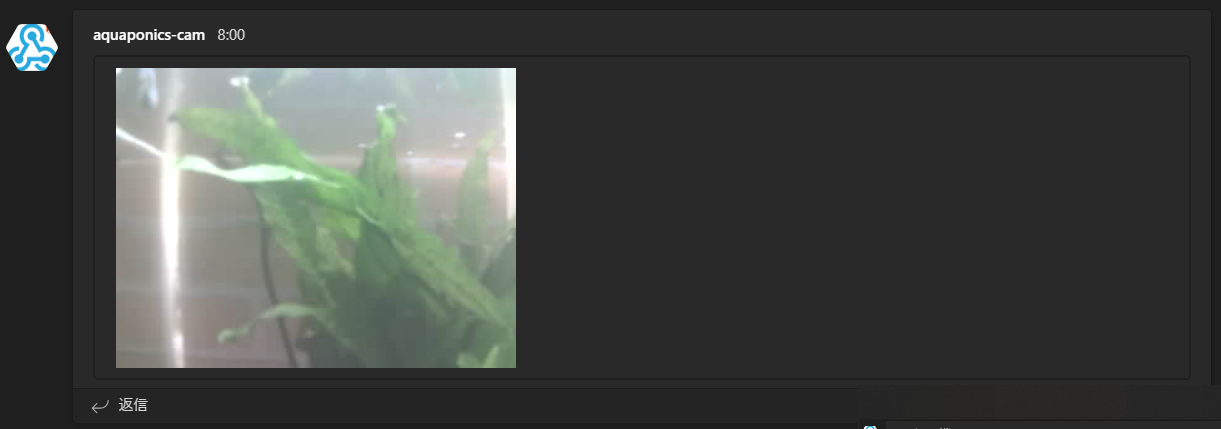
Teams の Incoming Webhook を使用するので、完成形はこんなイメージです。

素材
- Timer Camera F
- Microsoft Teams
実装の大まかな流れ
・Timer Camera F で画像データを取得
・Timer Camera F から画像データをHTTPでPOSTする
・Teamsへの投稿はIncoming Webhookを使用する
・画像データはメッセージに埋め込む方法とする
Teamsに画像データを送信する方法
今回の説明では、Incoming Webhookの作成方法やURL取得などは割愛し、Teamsに画像データを送信する方法にフォーカスして記載したいと思います。
こちらの記事にあるように、画像データを送信する方法は以下の2パターンがあるようです。
今回は、「メッセージに画像データを埋め込む方法」でやってみます。
- データをクラウドにアップして、URL参照する方法
- メッセージに画像データを埋め込む方法
送信するデータの形式
メッセージに画像を埋め込む場合は、Markdown形式を使用する必要があるみたいで、以下のような形式で送信します。
普通にメッセージ送信する場合は、textにそのまま文字列などを入れて送信すれば大丈夫です。
String payload = "{'text':'" + text + "'}";
画像データを埋め込む場合は、Markdown形式で埋め込む必要があるので、textの中身はMarkdown形式で画像データを渡すことになります。(この際の画像データは、base64にエンコードしたデータですが、これは後述)
String payload = "{'text':''}";
画像データのエンコード
メッセージに画像を埋め込む場合は、画像データはbase64に変換する必要があります。その為、大まかな流れは以下の通りです。
- カメラから画像データを取得
- 画像データをbase64でエンコード
- 画像データをメッセージに埋め込んで送信する
#include <base64.h>

/* 途中は割愛 */

// カメラの撮影処理
camera_fb_t *fb = NULL;
fb = esp_camera_fb_get();

// 画像データをBASE64データに変換して送信処理
base64 base64;
String b64ImageData;
b64ImageData = base64.encode(fb->buf, fb->len);
notifyTeams(webhook, b64ImageData);    // データ送信部分は別関数にしています

esp_camera_fb_return(fb);
送信された画像データの確認(base64)
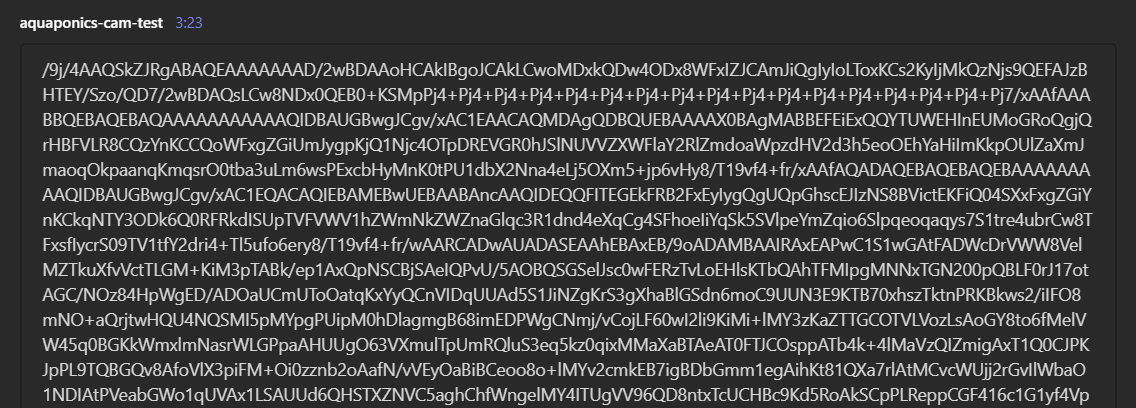
実際にbase64に変換したデータがちゃんと画像になっているかどうかの確認を行う為、まずは、base64にエンコードした内容をそのままTeamsに投稿してみました。base64の文字列をそのままTeamsに表示させると、以下のようになります。

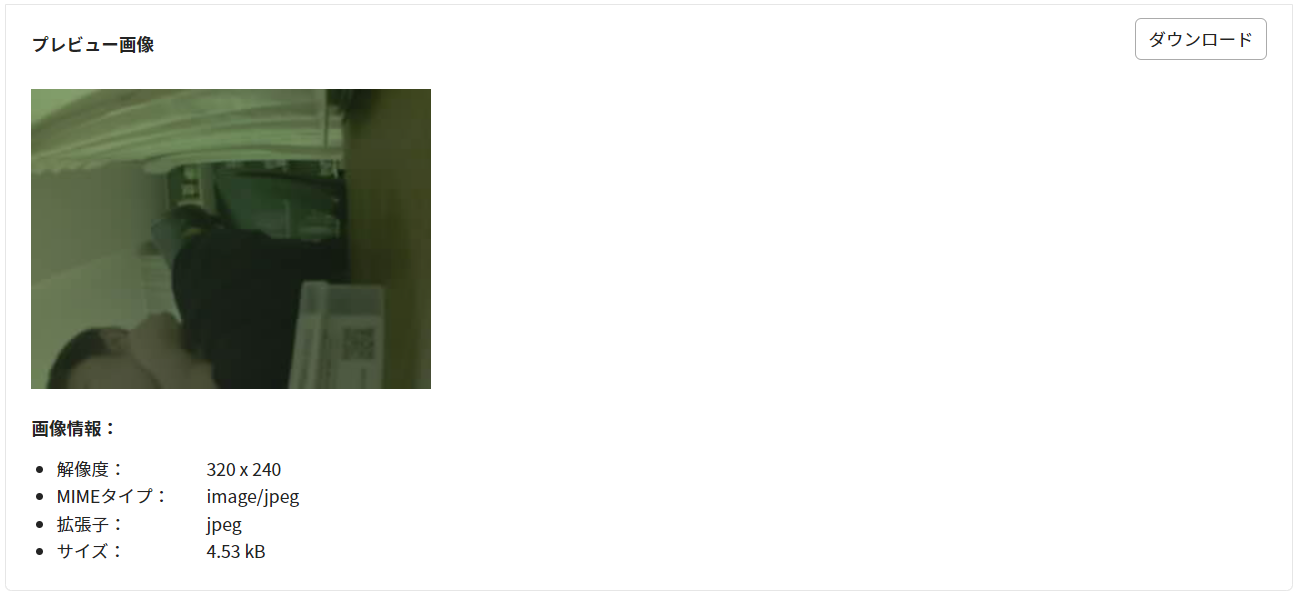
それを以下のサイトを使って画像にデコードします。
その結果がこちら。base64に変換されたデータを、画像にデコードすることができました。

まとめ
今回の方法で、Teamsに画像を送信することができました。プッシュ型で通知が来て、そこで画像が確認できるので、かなり便利になったと思います。
あとは、画角が狭いのはレンズをちょっと考えるとして、画質に関わるデータ容量の上限はなかなか課題だと思うので、今後もう1つの方法を試してみたいと思います。
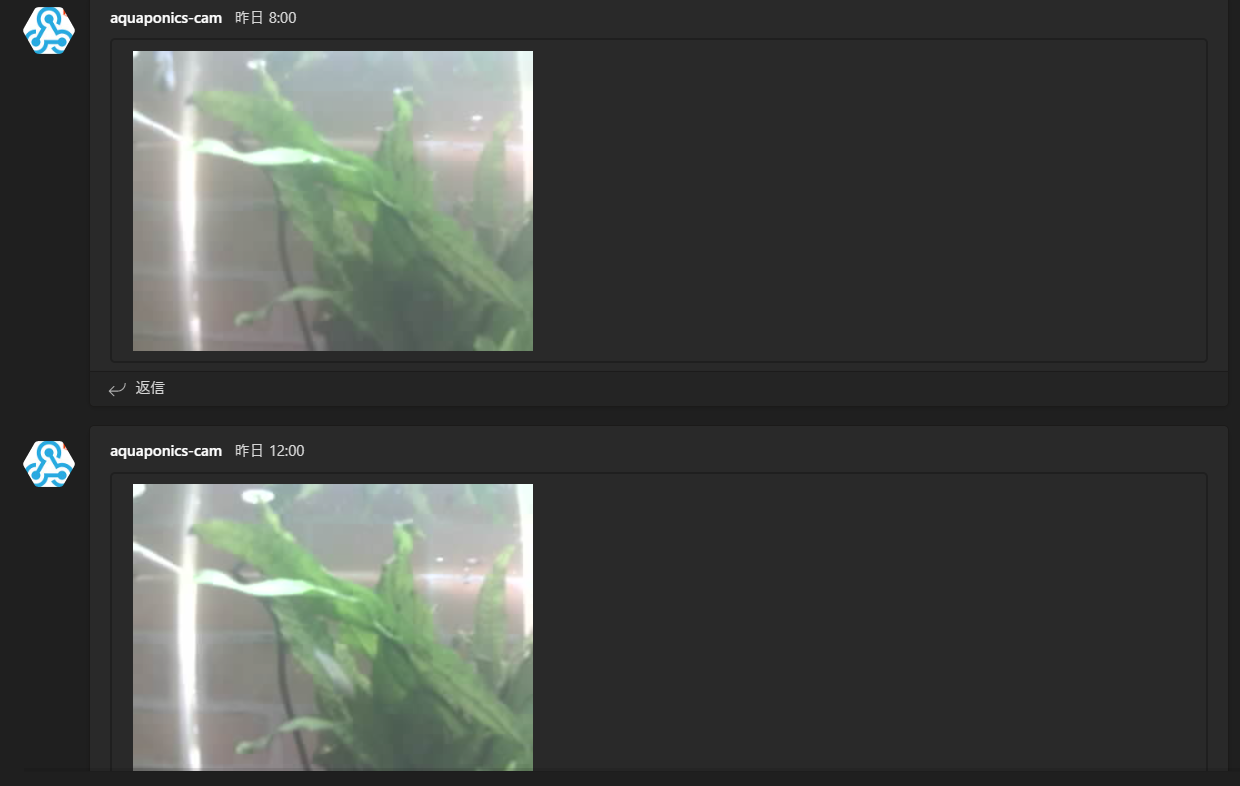
ちなみに、こんな感じで投稿されるので、カメラ画像が一目で分かります。

ポイント:送信可能な画像のデータサイズの上限
以下の参考サイトにもあるように、おそらくメッセージに埋め込める画像サイズは15KBまでです。その為、Timer Camera F を使用してもあまり送信する画像データの解像度を上げることは出来ません。また、データ形式がJPEG画像である為、画像によってデータサイズが厳密には異なる為、だいたい安定して15KB以下になるような画像サイズにする必要があります。
こちらの画像データの上限ですが、正確な情報はないのですが、ここにあるメッセージサイズの28KB制限が関係している気がします。いずれにせよ、あまり大きなデータは埋め込めないので、こちらは今後もう1つの方法でトライしてみようと思います。
参考サイト
サンプルコード
今回は、8時/12時/16時に撮影をしてTeamsに通知するようにしています。
#include "battery.h"
#include "esp_camera.h"
#include <WiFi.h>
#include "soc/soc.h"
#include "soc/rtc_cntl_reg.h"
#include "camera_pins.h"
#include <HTTPClient.h>
#include <base64.h>
#define JST 3600* 9
void notifyTeams(String webhook, String text);
const char *ssid = "xxxx";
const char *password = "xxxx";
void startCameraServer();
String webhook = "https://xxxx.webhook.office.com/webhookb2/xxxx/IncomingWebhook/xxxx/xxxx";
String text = "テスト";
void setup() {
Serial.begin(9600);
WRITE_PERI_REG(RTC_CNTL_BROWN_OUT_REG, 0); // disable detector
bat_init();
bat_hold_output();
Serial.setDebugOutput(true);
Serial.println();
pinMode(2, OUTPUT);
digitalWrite(2, HIGH);
camera_config_t config;
config.ledc_channel = LEDC_CHANNEL_0;
config.ledc_timer = LEDC_TIMER_0;
config.pin_d0 = Y2_GPIO_NUM;
config.pin_d1 = Y3_GPIO_NUM;
config.pin_d2 = Y4_GPIO_NUM;
config.pin_d3 = Y5_GPIO_NUM;
config.pin_d4 = Y6_GPIO_NUM;
config.pin_d5 = Y7_GPIO_NUM;
config.pin_d6 = Y8_GPIO_NUM;
config.pin_d7 = Y9_GPIO_NUM;
config.pin_xclk = XCLK_GPIO_NUM;
config.pin_pclk = PCLK_GPIO_NUM;
config.pin_vsync = VSYNC_GPIO_NUM;
config.pin_href = HREF_GPIO_NUM;
config.pin_sscb_sda = SIOD_GPIO_NUM;
config.pin_sscb_scl = SIOC_GPIO_NUM;
config.pin_pwdn = PWDN_GPIO_NUM;
config.pin_reset = RESET_GPIO_NUM;
config.xclk_freq_hz = 20000000;
config.pixel_format = PIXFORMAT_JPEG;
config.frame_size = FRAMESIZE_UXGA;
config.jpeg_quality = 10;
config.fb_count = 2;
// camera init
esp_err_t err = esp_camera_init(&config);
if (err != ESP_OK) {
Serial.printf("Camera init failed with error 0x%x", err);
return;
}
sensor_t *s = esp_camera_sensor_get();
// initial sensors are flipped vertically and colors are a bit saturated
s->set_vflip(s, 1); // flip it back
s->set_brightness(s, 1); // up the blightness just a bit
s->set_saturation(s, -2); // lower the saturation
// drop down frame size for higher initial frame rate
s->set_framesize(s, FRAMESIZE_QVGA);
Serial.printf("Connect to %s, %s\r\n", ssid, password);
WiFi.begin(ssid, password);
while (WiFi.status() != WL_CONNECTED) {
delay(500);
Serial.print(".");
}
Serial.println("");
Serial.println("WiFi connected");
// NTP同期
configTime( JST, 0, "ntp.nict.jp", "ntp.jst.mfeed.ad.jp");
}
void loop() {
time_t t;
struct tm *tm;
static const char *wd[7] = {"Sun", "Mon", "Tue", "Wed", "Thr", "Fri", "Sat"};
t = time(NULL);
tm = localtime(&t);
Serial.printf(" %04d/%02d/%02d(%s) %02d:%02d:%02d\n",
tm->tm_year + 1900, tm->tm_mon + 1, tm->tm_mday,
wd[tm->tm_wday],
tm->tm_hour, tm->tm_min, tm->tm_sec);
// put your main code here, to run repeatedly:
delay(100);
digitalWrite(2, LOW);
delay(100);
digitalWrite(2, HIGH);
delay(100);
digitalWrite(2, LOW);
delay(100);
digitalWrite(2, HIGH);
// 時間になったら撮影投稿
// 時間のチェック(24H表記)
if (2000 < (tm->tm_year + 1900)) // サーバー同期が正しく行われているかどうかで処理を除外
{
//
if ((tm->tm_hour == 8) || (tm->tm_hour == 12) || (tm->tm_hour == 16))
{ // 8時/12時/16時
if ((tm->tm_min == 0))
{
// カメラの撮影処理
camera_fb_t *fb = NULL;
fb = esp_camera_fb_get();
if (!fb)
{
Serial.println("Camera capture failed");
return;
}
Serial.println("capture complete");
// 画像データをBASE64データに変換して送信処理
base64 base64;
String b64ImageData;
b64ImageData = base64.encode(fb->buf, fb->len);
notifyTeams(webhook, b64ImageData);
Serial.println("send the image complete");
esp_camera_fb_return(fb);
delay(70000); // 余裕を見て、70秒後に変更
}
}
}
delay(1000);
}
// Teams通知
void notifyTeams(String webhook, String text)
{
int res;
HTTPClient https;
Serial.print("connect url :");
Serial.println(webhook);
Serial.print("[HTTPS] begin...\n");
if (https.begin(webhook))
{ // HTTPS
Serial.print("[HTTP] POST...\n");
// start connection and send HTTP header
String payload = "{'text':'" + "'}";
int httpCode = https.POST(payload);
// httpCode will be negative on error
if (httpCode > 0)
{
// HTTP header has been send and Server response header has been handled
Serial.printf("[HTTPS] GET... code: %d\n", httpCode);
//Serial.println(https.getSize());
// file found at server
String payload;
if (httpCode == HTTP_CODE_OK || httpCode == HTTP_CODE_MOVED_PERMANENTLY)
{
payload = https.getString();
Serial.println("HTTP_CODE_OK");
Serial.println(payload);
}
res = 1;
}
else
{
Serial.printf("[HTTPS] GET... failed, error: %s\n", https.errorToString(httpCode).c_str());
res = -1;
}
https.end();
}
else
{
Serial.printf("[HTTPS] Unable to connect\n");
res = -1;
}
}