Dockerを使ってRails6の開発環境を構築します。
rails new から rails db:createまで、すべてをDockerの上で行うことを目標とします。
実際のコードはこちらにアップロードしています。
環境
$ sw_vers
ProductName:	macOS
ProductVersion:	11.1
BuildVersion:	20C69
$ docker -v
Docker version 20.10.0, build 7287ab3
$ docker-compose -v
docker-compose version 1.27.4, build 40524192
1.DockerによるRailsアプリケーション環境を作成する
まず、プロジェクトのルート以下に下記のようにファイルを作成します。
$ tree
.
├── Dockerfile
├── Gemfile
├── Gemfile.lock
└── docker-compose.yml

0 directories, 4 files
Dockerfileを作成する
FROM ruby:2.7.2
RUN apt-get update && apt-get install -y --no-install-recommends build-essential libpq-dev nodejs \
  && rm -rf /var/lib/apt/lists/*
WORKDIR /myapp
COPY Gemfile /myapp/Gemfile
COPY Gemfile.lock /myapp/Gemfile.lock
RUN gem install bundler:2.0.2 && bundle install
COPY . /myapp
docker-compose.yml
docker-compose.yml
version: "3"
services:
  # Elasticsearch用のコンテナ
  elasticsearch:
    image: docker.elastic.co/elasticsearch/elasticsearch:7.10.1
    environment:
      - discovery.type=single-node
      - cluster.name=docker-cluster
      - bootstrap.memory_lock=true
      - "ES_JAVA_OPTS=-Xms512m -Xmx512m"
    ulimits:
      memlock:
        soft: -1
        hard: -1
    ports:
      - 9200:9200
    volumes:
      - esdata:/usr/share/elasticsearch/data
  # Kibana用のコンテナ
  kibana:
    # elasticsearchとkibanaのimageのバージョン番号を一致させる
    image: docker.elastic.co/kibana/kibana:7.10.1
    ports:
      - 5601:5601
    depends_on:
      - elasticsearch
  # Postgres用のコンテナ
  db:
    image: postgres
    ports:
      - 5432:5432
    volumes:
      - pgdata:/var/lib/postgresql/data
    environment:
      POSTGRES_USER: postgres
      POSTGRES_PASSWORD: password
  # Rails用のコンテナ
  rails:
    build: .
    command: bundle exec rails server -p 3000 -b '0.0.0.0'
    depends_on:
      - db
      - elasticsearch
    ports:
      - 3000:3000
    environment:
      DATABASE_HOST: db
    tty: true
    stdin_open: true
    volumes:
      # delegatedによって一貫性を捨てパフォーマンスを重視
      - .:/myapp:delegated
# elasticsearchとdbで使うボリューム
volumes:
  esdata:
  pgdata:
Gemfile
source 'https://rubygems.org'
git_source(:github) { |repo| "https://github.com/#{repo}.git" }

ruby '2.7.2'

gem 'rails', '~> 6.1.0'
Gemfile.lock
Gemfile.lock
# 空
2.rails new する
docker-compose run --rm rails rails new . --force --database=postgresql --skip-test --api
オプションのポイント
-
--rm1回限りのコンテナの使い方なので実行後破棄する -
rails new .カレントディレクトリにRailsアプリケーションを作成する -
--database=postgresqlデータベースにPostgresを指定する
3.DB設定をする
dockr-compose.ymlで環境変数として設定した値に修正します。
default: &default
  adapter: postgresql
  encoding: unicode
  # For details on connection pooling, see Rails configuration guide
  # https://guides.rubyonrails.org/configuring.html#database-pooling
  pool: <%= ENV.fetch("RAILS_MAX_THREADS") { 5 } %>
	# ユーザーとパスワードを追加追加
  username: <%= ENV.fetch('POSTGRES_USER') { 'postgres' } %>
  password: <%= ENV.fetch('POSTGRES_PASSWORD') { 'password' } %>

development:
  <<: *default
  database: myapp_development
	# railsコンテナに設定した DATABASE_HOST をホストに設定
  host: &development_host <%= ENV.fetch('DATABASE_HOST') { 'localhost' } %>
test:
  <<: *default
  database: myapp_test
	# development と同様のホストを設定
  host: *development_host
4.起動と確認をする
イメージをビルド後、起動してそれぞれのコンテナが立ち上がっていることを確認しましょう。
docker-compose build
docker-compose up
忘れずDBを作成しましょう。
docker-compose run --rm rails bundle exec rails db:create
Railsの確認
http://localhost:3000 にアクセスして、下記の画面が表示されれば成功です。
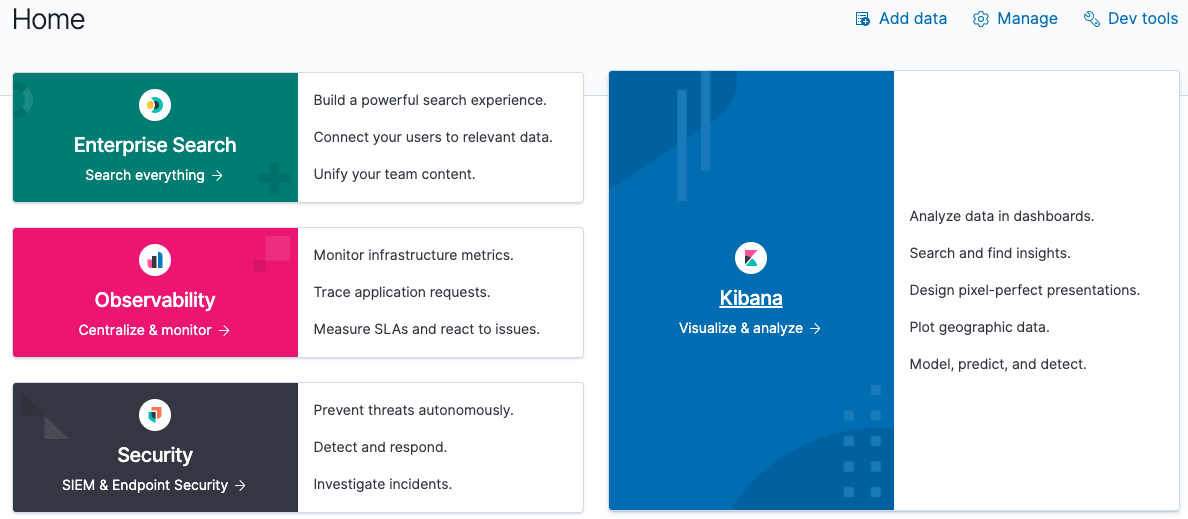
Kibanaの確認
http://localhost:5601 にアクセスして、下記の画面が表示されれば成功です。
ElasticSearchの確認
Curlコマンドでリクエストを投げ、下記のようにクラスタやバージョン情報が含まれるレスポンス返ってくれば成功です。
-> $ curl -XGET http://localhost:9200/
{
  "name" : "36e3fc003013",
  "cluster_name" : "docker-cluster",
  "cluster_uuid" : "9U_MQqxLQ1adh3jHpxEfEA",
  "version" : {
    "number" : "7.10.1",
    "build_flavor" : "default",
    "build_type" : "docker",
    "build_hash" : "1c34507e66d7db1211f66f3513706fdf548736aa",
    "build_date" : "2020-12-05T01:00:33.671820Z",
    "build_snapshot" : false,
    "lucene_version" : "8.7.0",
    "minimum_wire_compatibility_version" : "6.8.0",
    "minimum_index_compatibility_version" : "6.0.0-beta1"
  },
  "tagline" : "You Know, for Search"
}
参考
- 書籍『さわって学ぶクラウドインフラ docker基礎からのコンテナ構築』
- 書籍『Elasticsearch実践ガイド』
- RailsとElasticsearchで検索機能をつくり色々試してみる - その1:サンプルアプリケーションの作成 - Qiita
- Elasticsearch + Kibana を docker-compose でさくっと動かす - Qiita
まとめ
これで業務で利用しているElasticSearchを個人でも使える環境が整ったので、ガシガシ使っていけそうです。
Dockerにはあまり慣れていないのですが、いろいろなミドルウェアとRailsを組み合わせて環境を構築することで、Docker力も少し上げられたように思います。