Diverse Advent Calendar 2019 13日目の記事です。
突然ですが、Pull Requestちゃんとレビューできてますか?
先日私はやらかしました ![]()
本日はそのやらかし話とそれに対しての対策したお話しします。
序章 ~罠との遭遇~
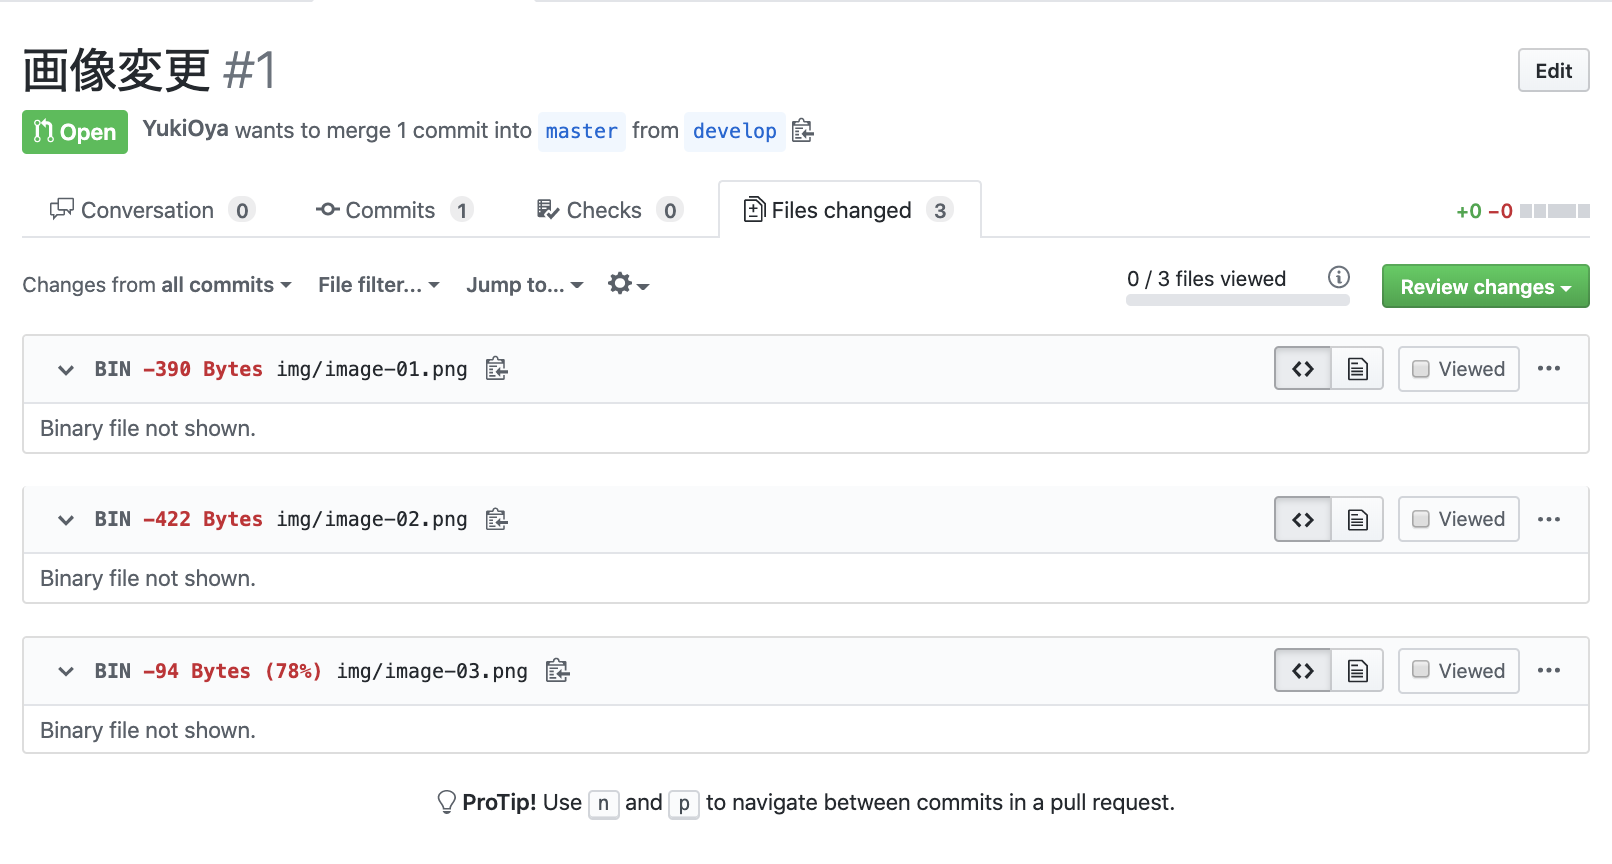
まず、下記の図はお馴染みのGitHubのPull Requestのdiff画面です。

GitHubには画像差分を比較するために強い機能1を持っています。
しかし、デフォルトで画像の差分は展開されません。
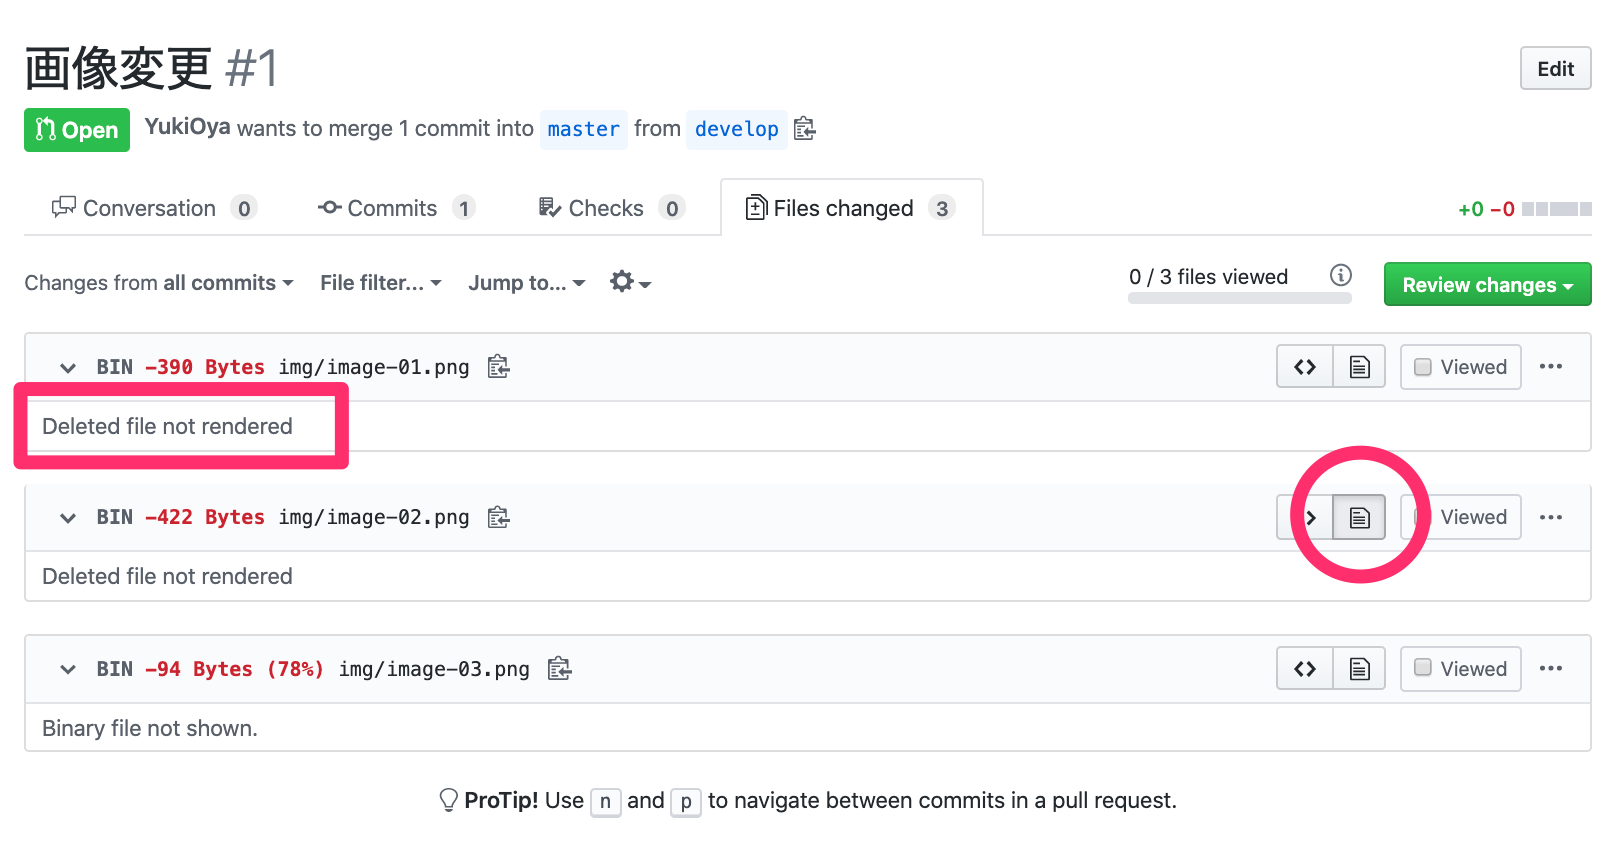
見るためには、指定のボタン  を押す必要があります。

すると、削除された画像は、 Binary file not shown. から Deleted file not shown. に変わったことがわかります。
本題はここからです。
変更画像がたくさんあった場合のPull Requestのとき、どうしましょう。
ボタン押さないと差分はわかりません。
3こ、4こ程度ならボタンポチポチで大丈夫だと思います。
10こ辺りから悩ましくなります...
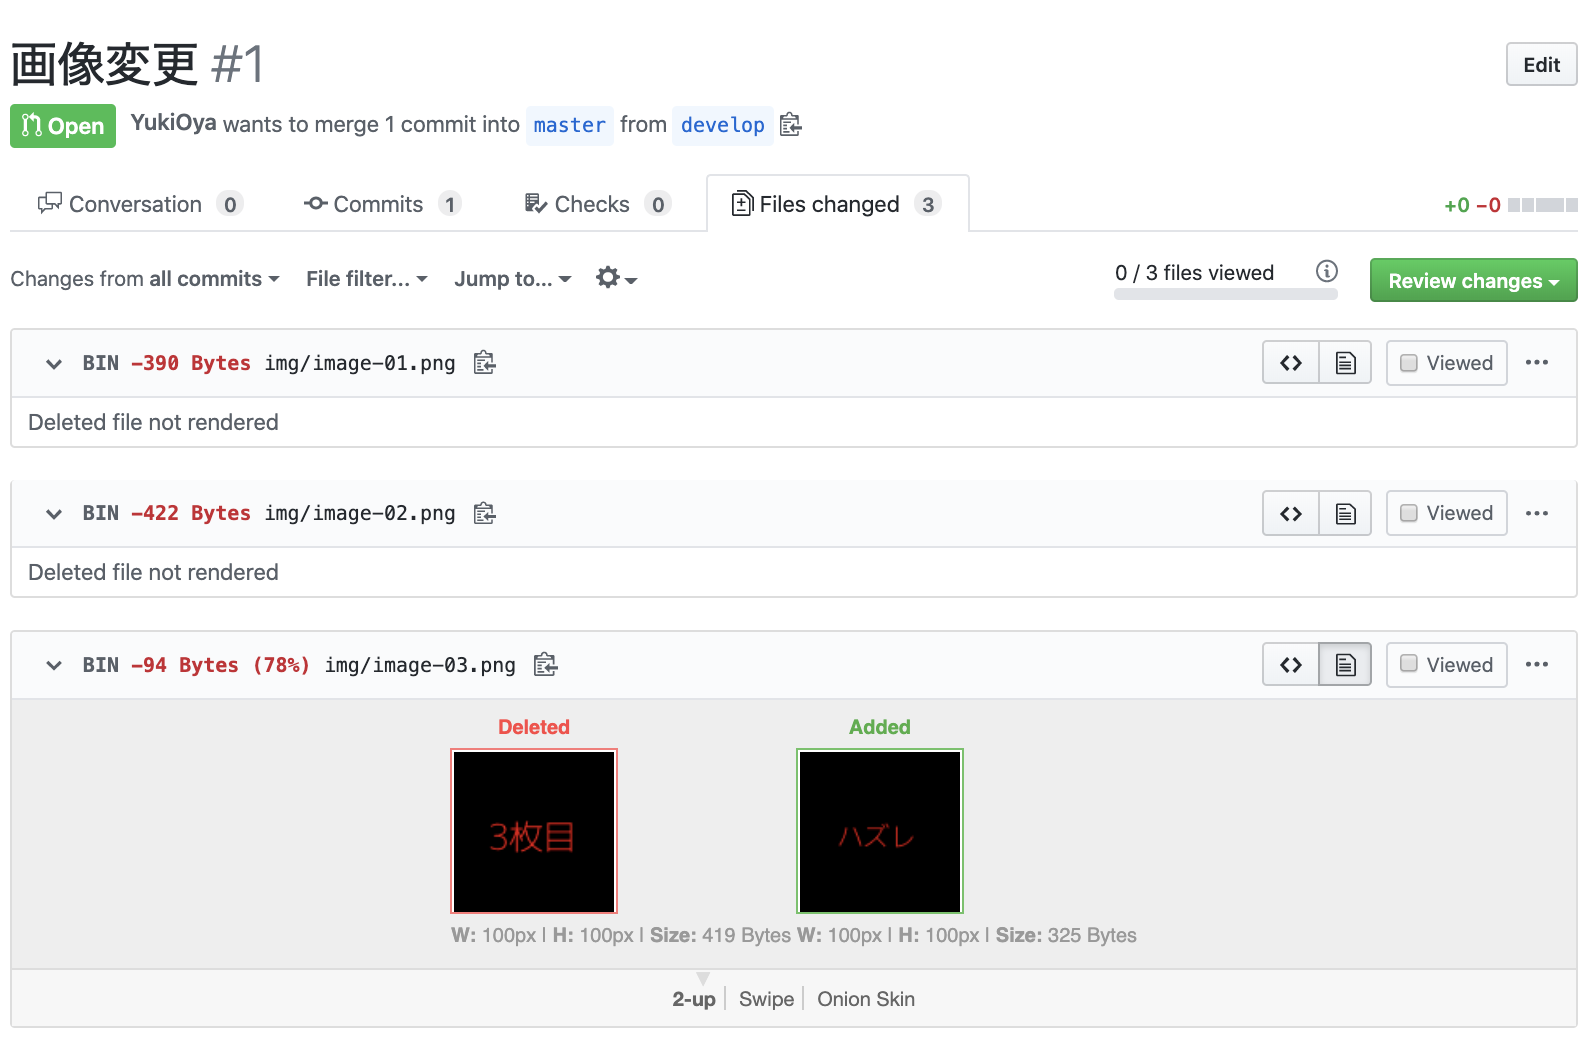
意を決してポチポチ作戦を試みたものの、上記の画像みたいにファイル削除が続いた後に、「あー、全部削除なのねー」って気を抜いた次の瞬間、

やらかしましたね ![]()
![]()
![]()
第1章 ~罠に立ち向かう術~
画像変更差分が多いPull Requestが突きつけられたとき、ポチポチはめんどくさい。
そこで気づきました。
JSあるじゃん
<button class="btn btn-sm BtnGroup-item tooltipped tooltipped-w rendered js-rendered selected" aria-label="Display the rich diff" type="submit" data-disable-with="" aria-current="true">...</button>
すると、js-renderedクラスが該当ボタン  に割り当てられてそうな臭いを察知
 ![]()
早速ボタンポチポチスクリプトを作成。
Array.from(document.getElementsByClassName('js-rendered')).forEach((b) => b.click());
これをconsoleで実行すると、

![]()
![]()
![]()
第2章 ~それでもボク(自動化)はやってない~
なんとかボタンポチポチマンからスクリプトポチーマンまで進化しました。
しかし、便利になったとはいえPull Requestの都度スクリプトポチーはだるい...
そこで、 Tampermonkey の登場です。
Tampermonkeyとは
Tampermonkeyは、指定のページを表示時にユーザが組んだスクリプトを実行してくれる無料で使えるGoogle Chromeの拡張機能2です。
環境
- Google Chrome (78.0.3904.108)
- Tampermonkey (v4.9)
ユーザスクリプト
実行させるスクリプトを定義します。
// ==UserScript==
// @name         画像差分を表示するくん
// @namespace    http://tampermonkey.net/
// @version      0.1
// @description  try to take over the world!
// @author       You
// @match        https://github.com/*/*/*/files*
// @grant        none
// ==/UserScript==

window.onload = () => {
  Array.from(document.getElementsByClassName('js-rendered')).forEach((b) => b.click());
};
スクリプト本体に関しては、先ほどのスクリプトを window.onload で実行するようにしました。
そしてポイントは、ヘッダー内の @match に、スクリプト実行したいサイトのURLを定義します。34
すると、GitHub File Changedの画面を開くと、自動で画像差分を表示してくれるようになりました! ![]()
![]()

最後に
今回、Tampermonkeyをご紹介しましたが、これ以外に似たような拡張機能を使っても同様のことは実現できると思います。
また今回実装したスクリプトは必要最低限の実装のみのため、変更ファイル数が多いPRだと遅延読み込みが発生して全ての差分が表示できない場合があるので、自分にあったスクリプトを書いて快適なレビューライフを送りましょう! ![]()
参考
-
https://help.github.com/en/github/managing-files-in-a-repository/rendering-and-diffing-images#viewing-differences ↩
-
Google Chrome以外に、Firefox, Safari, Microsoft Edgeなどの主要ブラウザ用のプラグインもあります。 ↩