
Picoを二つ買ったものの使ってなかったというのもあり、このページを見て面白そうだからやってみた。
https://qiita.com/airpocket/items/24e67922e0c0f1624ab8
CircuitPythonを入れる方法はググればいくつか出るのでそちらを参考に。
私はこの辺りを見た。
https://www.kuripapa.com/wp/raspberry-pi-pico-circuitpython/853/
Thonnyあたり使ってもいいのだけれどGUIがダサいので。コンソールはmacでscreenを使った。
Adafruit CurcuitPython HID を使う
https://github.com/adafruit/Adafruit_CircuitPython_HID
ドキュメントはこちら。
https://docs.circuitpython.org/projects/hid/en/latest/index.html
code.py
上記GitHubのsampleを使用。examples/hid_simple_gamepad.pyを流用し、PinはD4とかそのままではエラーになるので、Picoのboard.GP2~5、analogはboard.GP26などに変更。他は特に変更なし。
boot.py
以下ページの中程にあるGamepadのサンプルを使用。
https://learn.adafruit.com/customizing-usb-devices-in-circuitpython/hid-devices#custom-hid-devices-3096614-9
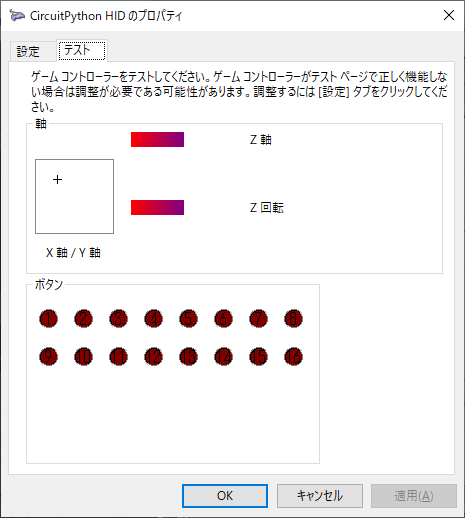
ビルドして、Picoに焼き、USBケーブルでPCにつなぐとWindowsではこのように認識された。

試しにPinを繋いでみて反応するかをチェック。
きちんと軸とボタンが認識されている。
GP2を短絡させるとボタン1が反応
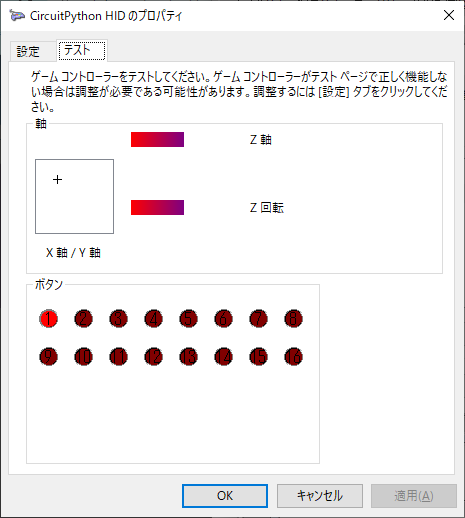
GP26を短絡させるとX軸が動いた

ソフト的にはできた。あとはハードを用意してつなぐだけ。
ジャンク品のジョイスティックやゲームパッドを買ってきてつなぐもよし、筐体から自分で作るもよし。