はじめに
2019年11月に行われた第3回 ビジュアルプログラミング交流会 という enebular と obniz を使ったハンズオンに参加して2つのビジュアルプログラミングを繋げて使う方法を学びました。
また最近はLEGOなどを使って簡単に動くものを作ることができるという事を ゆるメカトロ というグループで知りました。
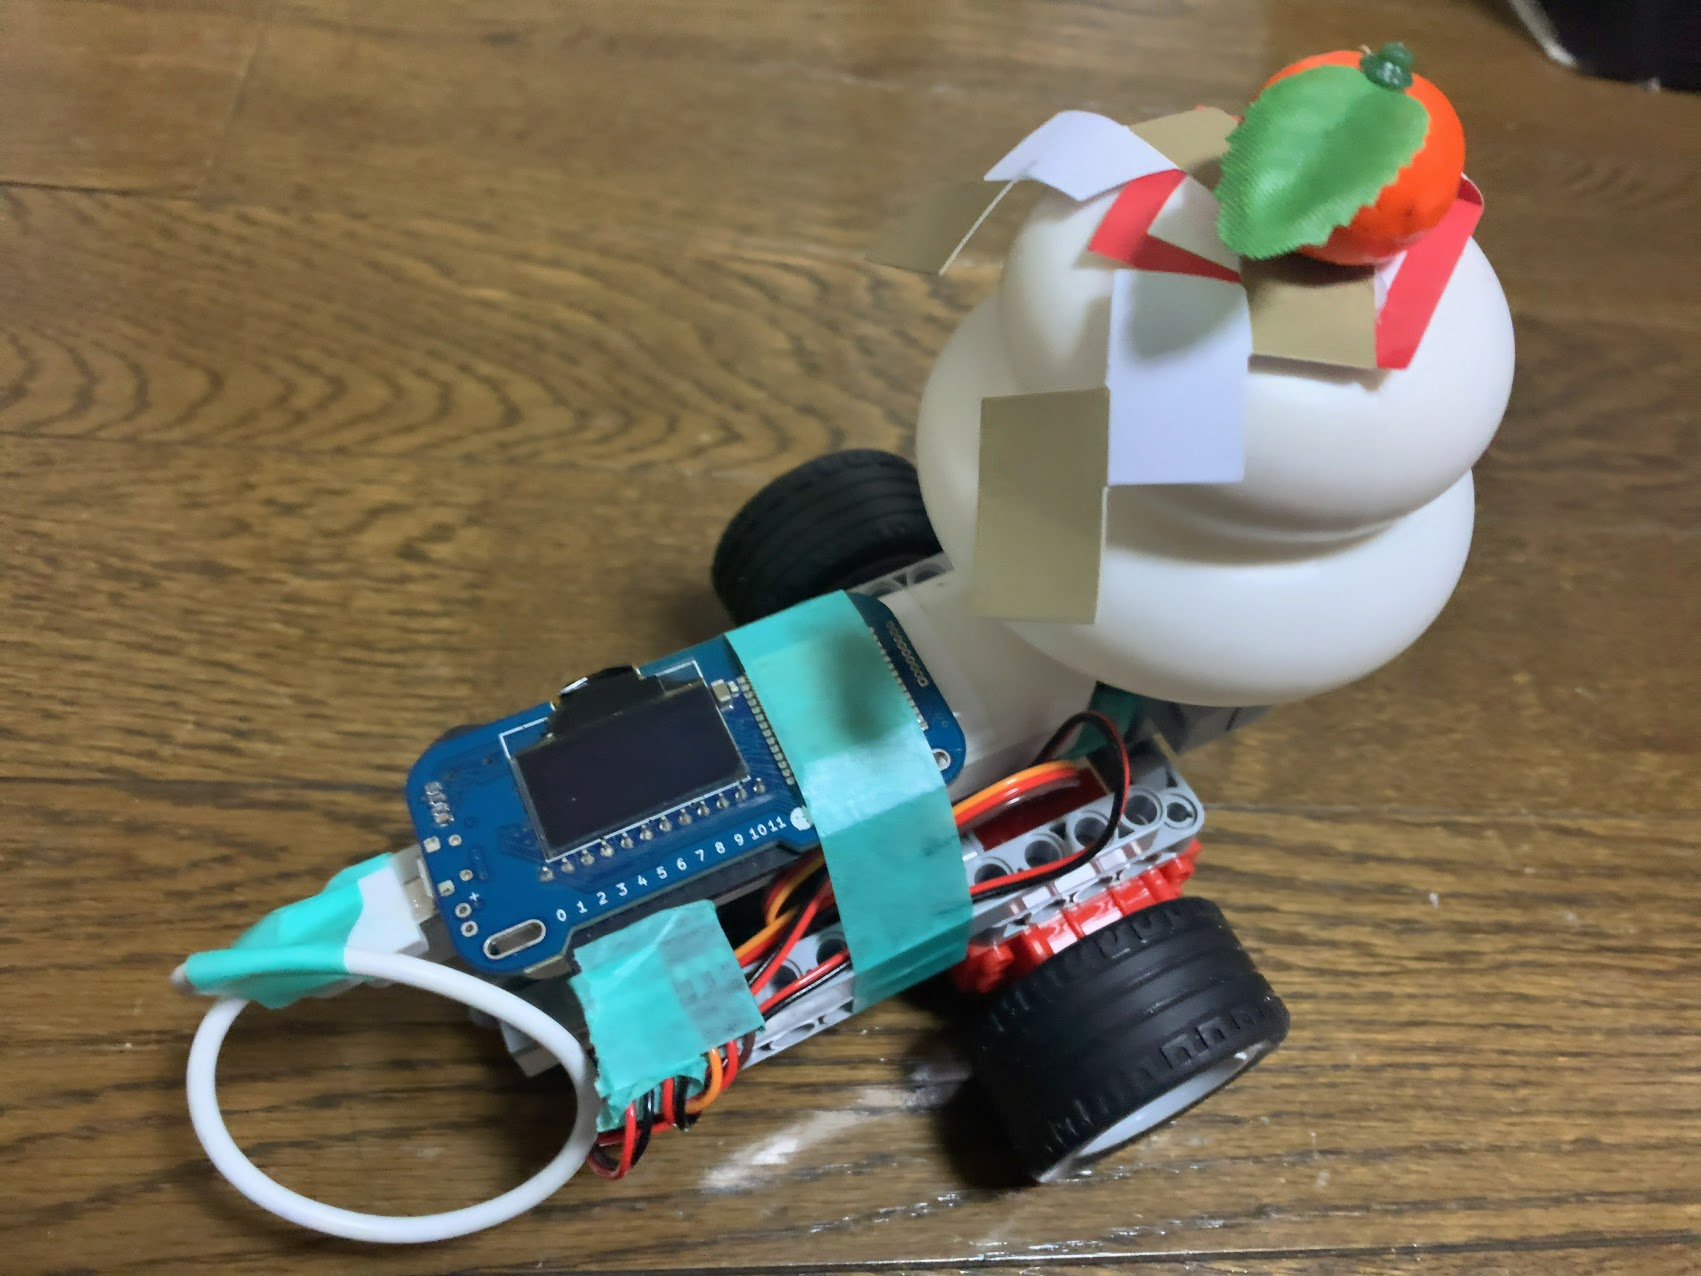
そこで今回は、これらを組み合わせて何か作ってみようと考えた結果、昨年は クリスマスツリーを点滅させてみた ので、今年はお正月に向けて鏡餅を動かしてみます!
使ったもの
LEGOは様々な種類のパーツが販売されていますが、「Crazy Action Contraptions」というテクニカルパーツのセットと、「Geek Servo」というモーターのセットを買う人が多いようなので、私も購入しました。
モーターを動かす
私が参加したハンズオン資料にモーターを動かす内容が公開されてます。
obnizハンズオン(ブロックプログラム)
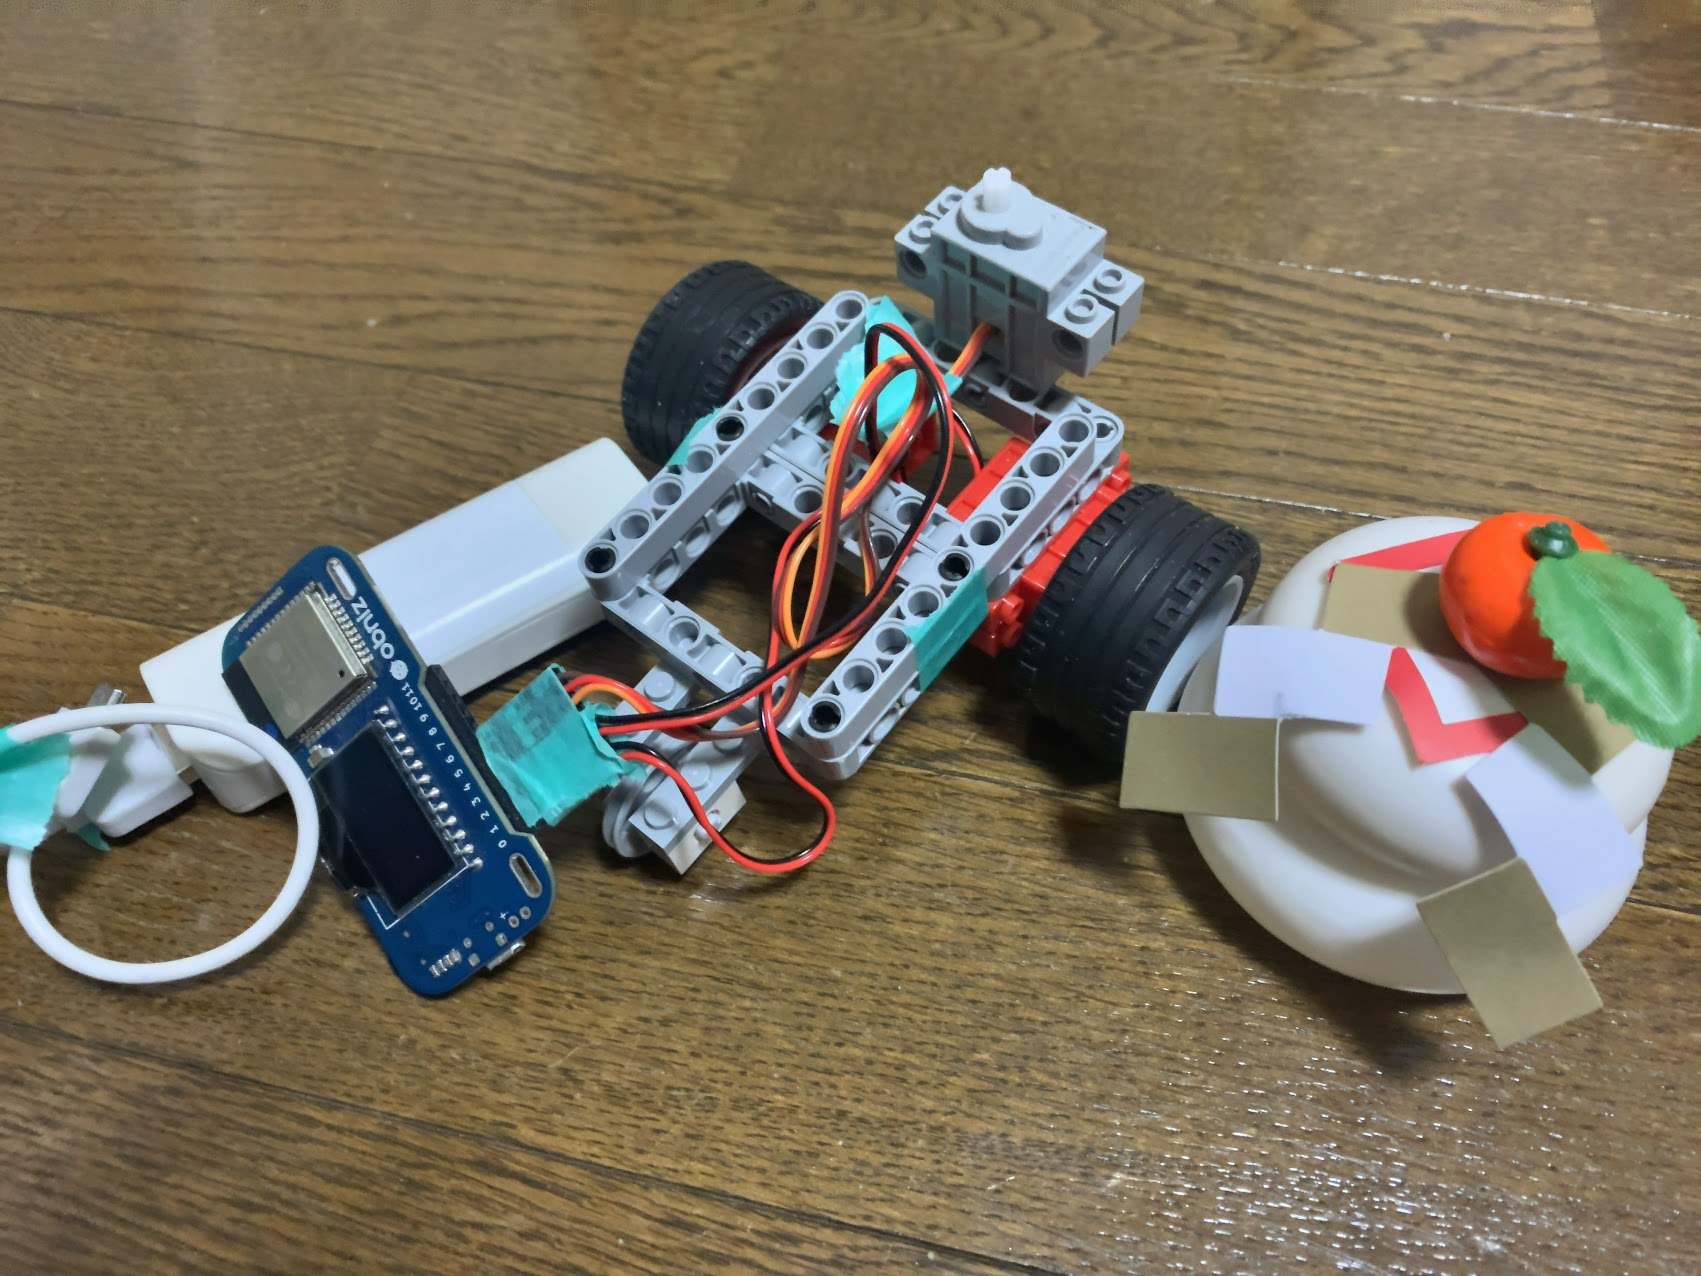
ハンズオンではアクリル板を車体にしていますが、今回はLEGOで車体を組んでいます。
Geek ServoのDCモーターはobnizのブロックプログラムやライブラリの「DCMotor」をそのまま使って動かすことができました。サーボモーターについてもobnizのライブラリ「ServoMotor」を使って動かすことができます。
enebularとつなげる
enebularとobnizをつなげる部分のハンズオン資料は以下になります。
enebularとobnizをつなげて操作してみる
今回はハンズオンの内容に加えて以下の2つを使っています。
- enebularのダッシュボードからの操作
- サーボモーターで鏡餅を動かす
enebularのダッシュボードからの操作
obnizは簡単にウェブ上にボタンなどを作って操作ができますが、enebularでもダッシュボードというノードを使って簡単にボタンを作ることができます。
下の水色のノードが今回追加したダッシュボードのノードになります。
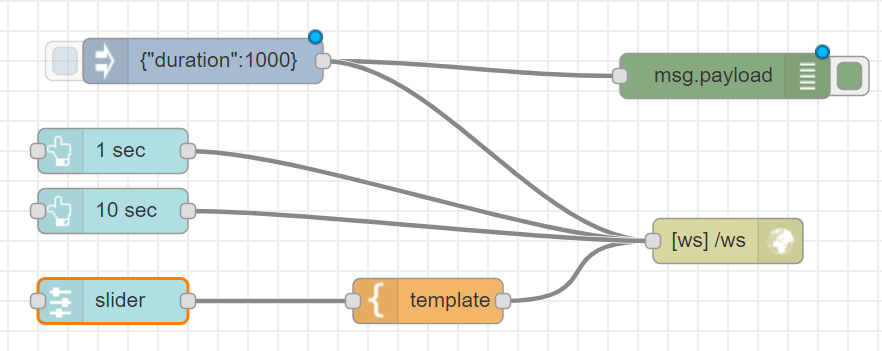
以下のようにダッシュボード画面からボタンを押して1秒や10秒動かしたり、スライドバーで動かす秒数を決めることができるようになります。
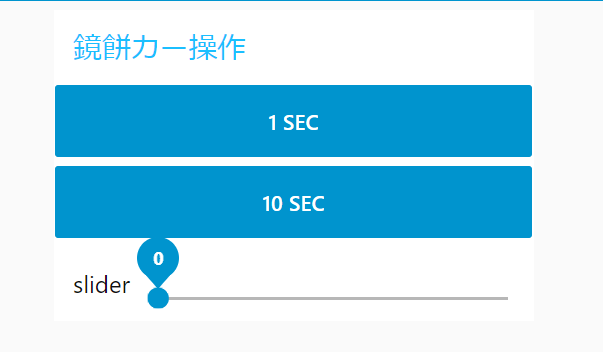
実際に作ったFlowは以下のとおりです。
[{"id":"7e1f4921.de6038","type":"inject","z":"f3932e61.b2911","name":"","topic":"","payload":"{\"duration\":1000}","payloadType":"json","repeat":"","crontab":"","once":false,"onceDelay":0.1,"x":180,"y":60,"wires":[["4f1866f1.bda6f8","6bda8b28.6da214"]]},{"id":"4f1866f1.bda6f8","type":"debug","z":"f3932e61.b2911","name":"","active":true,"tosidebar":true,"console":false,"tostatus":false,"complete":"false","x":538,"y":70,"wires":[]},{"id":"6bda8b28.6da214","type":"websocket out","z":"f3932e61.b2911","name":"","server":"6b499733.914c68","client":"","x":560,"y":180,"wires":[]},{"id":"eabb3700.074828","type":"template","z":"f3932e61.b2911","name":"","field":"payload","fieldType":"msg","format":"handlebars","syntax":"mustache","template":"{\"duration\": {{payload}} }","output":"str","x":360,"y":220,"wires":[["6bda8b28.6da214"]]},{"id":"5b241924.4bb128","type":"ui_button","z":"f3932e61.b2911","name":"","group":"872da47e.b58c08","order":1,"width":0,"height":0,"passthru":false,"label":"1 sec","tooltip":"","color":"","bgcolor":"","icon":"","payload":"{\"duration\":1000}","payloadType":"json","topic":"","x":150,"y":120,"wires":[["6bda8b28.6da214"]]},{"id":"61063876.eac8b8","type":"ui_button","z":"f3932e61.b2911","name":"","group":"872da47e.b58c08","order":2,"width":0,"height":0,"passthru":false,"label":"10 sec","tooltip":"","color":"","bgcolor":"","icon":"","payload":"{\"duration\":10000}","payloadType":"json","topic":"","x":150,"y":160,"wires":[["6bda8b28.6da214"]]},{"id":"63f4a4b0.c73f6c","type":"ui_slider","z":"f3932e61.b2911","name":"","label":"slider","tooltip":"","group":"872da47e.b58c08","order":4,"width":0,"height":0,"passthru":true,"outs":"end","topic":"","min":0,"max":"1000","step":1,"x":150,"y":220,"wires":[["eabb3700.074828"]]},{"id":"6b499733.914c68","type":"websocket-listener","z":"","path":"/ws","wholemsg":"false"},{"id":"872da47e.b58c08","type":"ui_group","z":0,"name":"鏡餅カー操作","tab":"49db2715.892e08","disp":true,"width":"6","collapse":false},{"id":"49db2715.892e08","type":"ui_tab","z":0,"name":"ホーム","icon":"dashboard","disabled":false,"hidden":false}]
サーボモーターの制御
ハンズオンの資料にあったDCモーター以外にサーボモーターを追加しています。
モーター周りのコードは以下の通りで、動いている間に鏡餅が動くようにしました。
        dm1 = obniz.wired("DCMotor",{forward:0, back:1});
        dm2 = obniz.wired("DCMotor",{forward:3, back:2});
        sm1 = obniz.wired("ServoMotor",{vcc:5, gnd:6, signal:4});
        ang1 = 90;
        ang2 = 0;
        while (true) {
          await ObnizUI.Util.wait(0);
          if (button.isTouching()) {
            dm2.move(true);
            dm1.move(true);
            if(ang1==180){
              ang2 = 1
            }
            if(ang1 == 0){
              ang2 = 0
            }

            if(ang2 == 0){
              sm1.angle(++ang1);
            }else{
              sm1.angle(--ang1);
            }
          } else {
            dm1.stop();
            dm2.stop();
          }
        }
できたもの
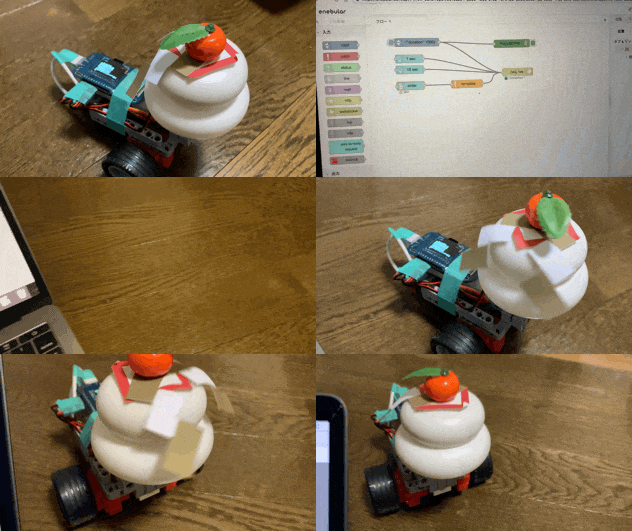
Youtube の動画はこちら enebularとobnizで鏡餅を動かしてみた
終わりに
enebularのようなビジュアルプログラミングツールで簡単にプログラムが作れるのに加えて、動くモノ自体を簡単に作ることができるLEGOはとても相性がいいツールだと感じました。
これからも楽しくいろいろなものを作っていこうと思います!
