はじめに
今回の記事は、Babylon.js の以下の公式ドキュメントのページで扱われている「Particle Helper」に関するものです。
●The Particle Helper | Babylon.js Documentation
https://doc.babylonjs.com/features/featuresDeepDive/particles/particle_system/particleHelper
↓こちらのポストに出てきている内容を作るのに使ったものです。
Babylon.js でパーティクルシステムを使う話(Particle Helper以外の話)
基本の流れ
Babylon.js でパーティクルシステムを使う話について、基本の流れは、以下の公式ドキュメントで説明されています。
●Particle System Intro | Babylon.js Documentation
https://doc.babylonjs.com/features/featuresDeepDive/particles/particle_system/particle_system_intro
ここに書いてある流れに従って、パーティクルを発生させる元を作ったり、パラメータをいろいろ設定したりということをやると、パーティクルを発生させる描画が行えます。
Particle Editor
そして公式ドキュメントを見ていくと、GUI上でパーティクルシステムのパラメータを変えることができ、その結果をすぐに確認できる「Particle Editor」というものもあるのも分かります。
●The Particle Editor | Babylon.js Documentation
https://doc.babylonjs.com/toolsAndResources/inspector/particleEditor
この Particle Editor で作ったものは、以下の記事でも紹介されているように、Babylon.js のプログラムで利用することができます(エディタ上で作ったものを JSON で書き出し、その JSONファイルをプログラムで利用する流れ)。
●Babylon.jsのパーティクルをGUIで設定できるParticle Editorを使って、いくつかエフェクトをつくってみました - CrossRoad
https://www.crossroad-tech.com/entry/babylonjs-particle-editor-jp
このように「Particle Editor」という、パーティクルシステムを使うのを便利にしてくれる仕組みもあります。
そして今回のメインとして扱う「Particle Helper」も、便利な機能を提供してくれます。
Babylon.js で Particle Helper を使う
それでは、ここからは記事のタイトルにも出てきている Particle Helper の話です。
Particle Helper に関する公式ドキュメントの説明では、
「... to create complex particle systems without having to deal with individual properties.To use the Particle Helper, you only need to know the name of the effect and then call this code:」と書かれています。
内容的には「パーティクルシステムを使って作られた描画を、その名前を指定するだけで呼び出せる」というものです。
あらかじめ用意されたものは、ある程度は限られた数のものになりますが、それを簡単に利用できるというものです。
- 用意されているもの
- sun
- smoke
- rain
- fire
- explosion
自分が冒頭に掲載していたものでは、以下の「sun」を使っています。
以下に「sun」の公式のデモがありますが、Babylon.js のシーンに関する処理が、非常に短い処理であるにも関わらず、良い感じの見た目の太陽のアニメーションを描画できていることが分かります。
●Particle Helper demo - Sun | Babylon.js Playground
https://playground.babylonjs.com/#1VGT5D#2
Babylon.js のミニマムなコードで Particle Helper を使う
それでは、前に以下の記事を書いた時に使ったミニマムなコードを使い、Particle Helper を実装したものを表示させてみます。
●Babylon.js を実行するミニマムな HTML について調べてみた & ミニマムな変更を加えてみる - Qiita
https://qiita.com/youtoy/items/7ccaab2d8f90c1f5ff76
<!DOCTYPE html>
<html xmlns="http://www.w3.org/1999/xhtml">
  <head>
    <meta http-equiv="Content-Type" content="text/html; charset=utf-8" />
    <title>Babylon Template</title>

    <style>
      html,
      body {
        overflow: hidden;
        width: 100%;
        height: 100%;
        margin: 0;
        padding: 0;
      }

      #renderCanvas {
        width: 100%;
        height: 100%;
        touch-action: none;
      }
    </style>

    <script src="https://cdn.babylonjs.com/babylon.js"></script>
  </head>

  <body>
    <canvas id="renderCanvas"></canvas>

    <script>
      // https://doc.babylonjs.com/setup/starterHTML
      const canvas = document.getElementById("renderCanvas");
      const engine = new BABYLON.Engine(canvas, true);

      const createScene = function () {
        const scene = new BABYLON.Scene(engine); // This creates a basic Babylon Scene object (non-mesh)

        const camera = new BABYLON.FreeCamera(
          "camera1",
          new BABYLON.Vector3(0, 5, -10),
          scene
        ); // This creates and positions a free camera (non-mesh)

        camera.setTarget(BABYLON.Vector3.Zero());
        camera.attachControl(canvas, true);

        const light = new BABYLON.HemisphericLight(
          "light",
          new BABYLON.Vector3(0, 1, 0),
          scene
        ); // This creates a light, aiming 0,1,0 - to the sky (non-mesh)
        light.intensity = 0.7;

        // https://playground.babylonjs.com/#1VGT5D#2
        BABYLON.ParticleHelper.CreateAsync("sun", scene).then((set) => {
          set.start();
        });

        return scene;
      };

      const scene = createScene();

      engine.runRenderLoop(function () {
        scene.render();
      });

      window.addEventListener("resize", function () {
        engine.resize();
      }); // Watch for browser/canvas resize events
    </script>
  </body>
</html>
上記の実行結果は、以下の通りです。
以下の部分を組み込むだけで、この太陽の見た目を表示できているのが分かります。
        BABYLON.ParticleHelper.CreateAsync("sun", scene).then((set) => {
          set.start();
        });
次に別の内容も試してみようと思います。
具体的には、以下の「explosion」を使ってみます。
対応する内容は、先ほど実装した内容の「sun」と書いていた部分を「explosion」に変えるだけです。該当箇所だけ書くと、以下のとおりです。
        BABYLON.ParticleHelper.CreateAsync("explosion", scene).then((set) => {
          set.start();
        });
この変更を加えたものを実行してみると、以下のように爆発するエフェクトを表示させることができました。
Particle Helper用に用意されたものを使うという話では、非常に手軽に、ありもののパーティクルシステムを使うことができました!
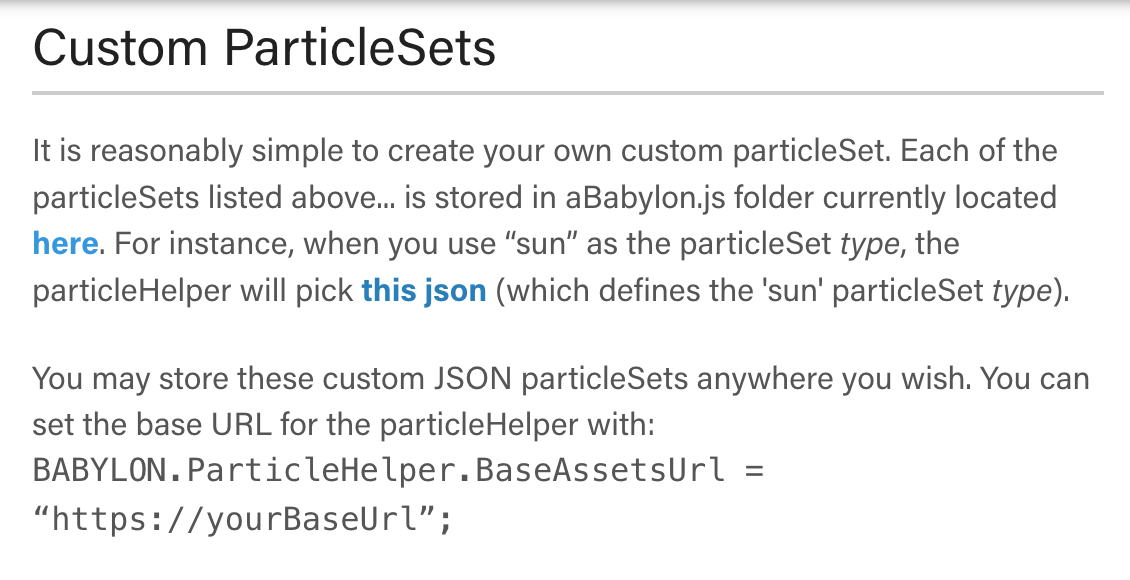
カスタムパーティクルセット
冒頭で使った sun の JSON は以下のようになっています。
●Assets/particles/systems/sun.json at master · BabylonJS/Assets
https://github.com/BabylonJS/Assets/blob/master/particles/systems/sun.json
この JSON を、自前で用意したものにして、それを利用することもできるようです。
【余談】 Babylon.js でのパーティクルシステムについての話
Babylon.js でパーティクルシステムを触ってみたくなり、前に試した内容は、以下の記事に書いていたりします。よろしければ、こちらもご覧ください。


