はじめに
前に少し試して以下の記事を書いていた Claude Code を、今回 Max プランとの組み合わせで少し試します。
ちなみに、この時は 2/25 にリサーチプレビューとしてベータ版提供され始めた状況で、ウェイトリストに登録が必要な時でした(※ 公開当日にウェイトリストに登録してたら、わりとすぐに使えるようになって、翌日に試して記事を書いた流れでした)
●Claude Code をローカルインストールで試してみる(Node.js の Hello, World! のプログラムを書いてもらう) - Qiita
https://qiita.com/youtoy/items/0886100c87b03e18fb8b
Maxプランが提供され始めたのは、その 1ヶ月半くらい後の 4/10 のタイミングでした。
Maxプランの利用
今年2月に「年間の Claude Proプラン」にしていたのですが、それを最近、以下のように「Maxプラン」に移行しました。
●年間の Claude Proプランから Maxプランに移行した時のメモ(年間プランの残高が Maxプランの価格を上回る場合) #Anthropic - Qiita
https://qiita.com/youtoy/items/d71eec59f584db5b667c
Claude Code を Maxプランで使う
そして、 Maxプランだと Claude Code を API経由でなく、Claude の Maxプランでの使用制限に紐付く形で使えるので、その使用制限内だと月額固定の費用で Claude Code を使える形になります。
過去に試した時は Maxプランがなかったため、API利用 + Claude Code という従量課金で試すことしかできなかったですが、今回は Maxプランでの使用制限内で使う形で試していきます。
実際に試す
実際に試していきます。
Claude Code を Maxプランに紐付ける
Maxプランが登場するより前に Claude Code を試していた環境を使います。
以下を見ると、Claude Code に再ログインする必要がありそうです。
●Max プランでの Claude Code の使用 | Anthropicヘルプセンター
https://support.anthropic.com/ja/articles/11145838-max-%E3%83%97%E3%83%A9%E3%83%B3%E3%81%A7%E3%81%AE-claude-code-%E3%81%AE%E4%BD%BF%E7%94%A8
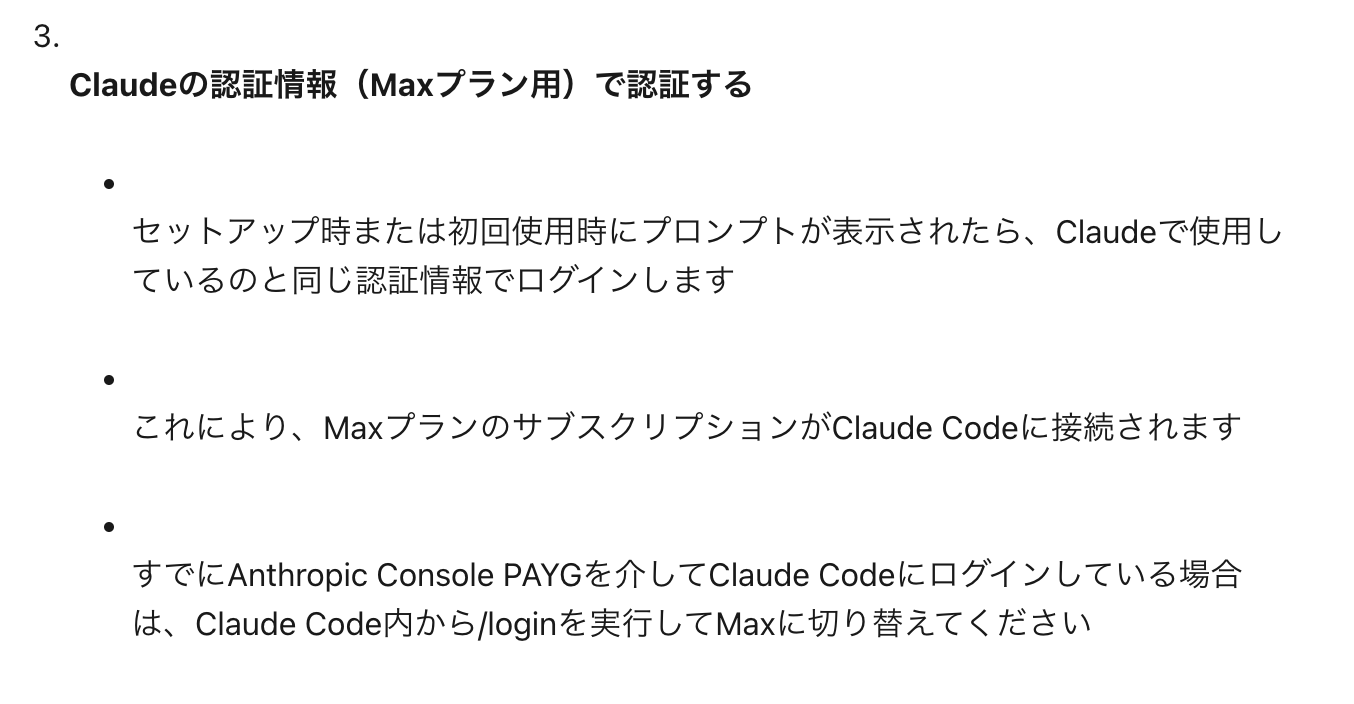
Claude Code内から /login を実行してMaxに切り替える必要があるようです。
Claude Code をローカルインストールで使う
以前、試した環境では、グローバルインストールではなくローカルインストールで試していました(以下でインストールしました)。
npm install @anthropic-ai/claude-code
そのため、上記を実行したフォルダ内で npxコマンドを使って Claude Code を起動します。
npx claude
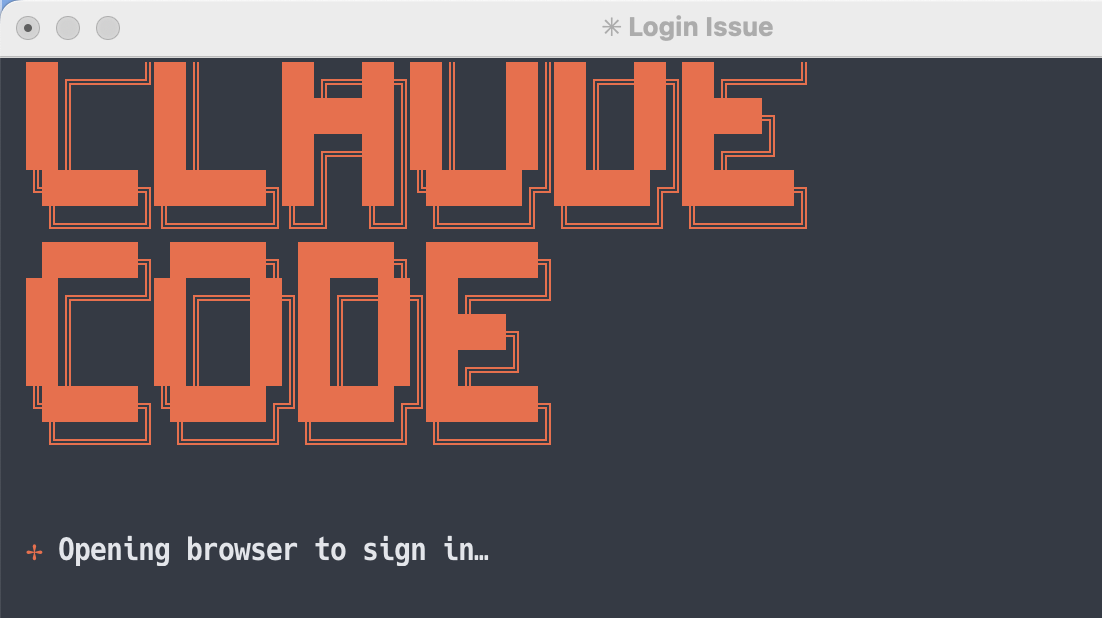
Claude Code に再ログインする
その後、プロンプトやコマンドを入力できるところで、以下のコマンドを入力します。
/login
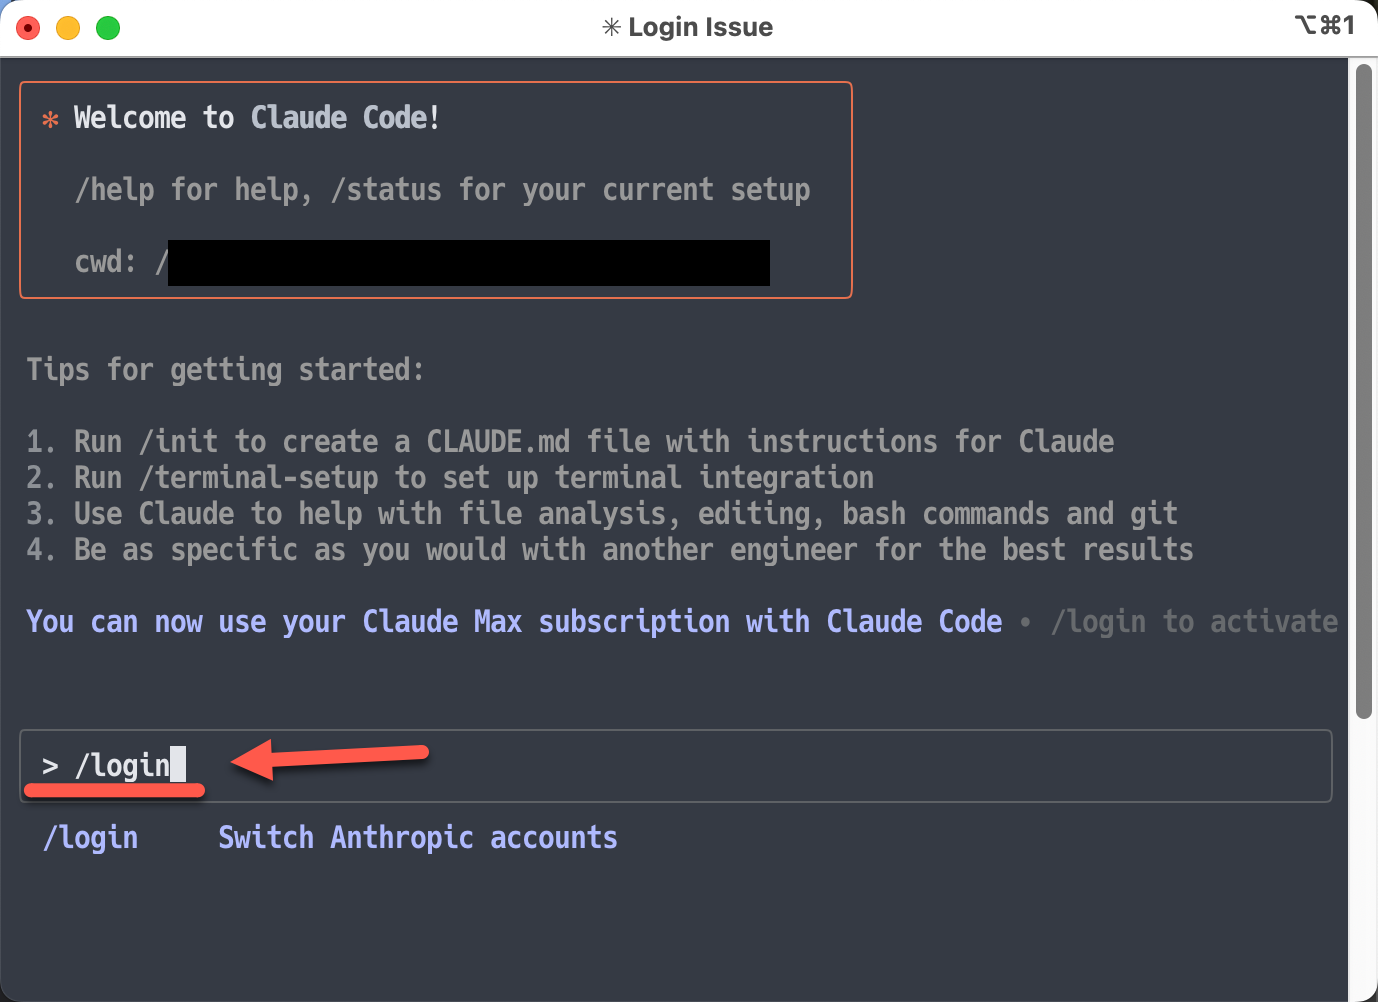
そうすると、以下の画面が出ます。2番のほうを選んで先へ進みます。
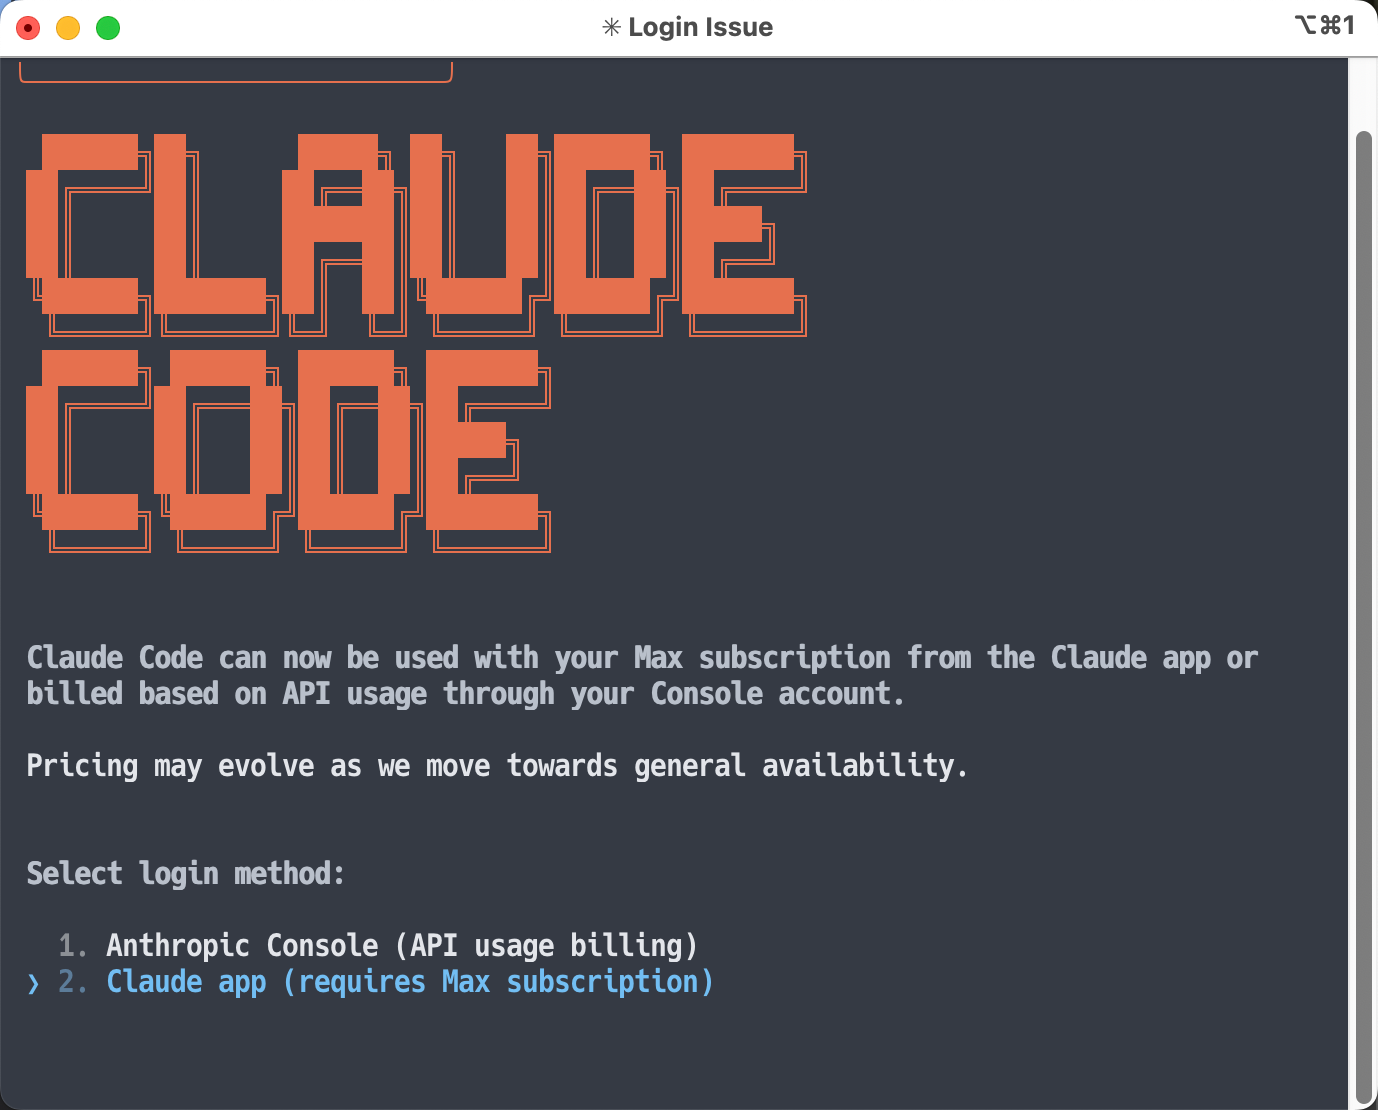
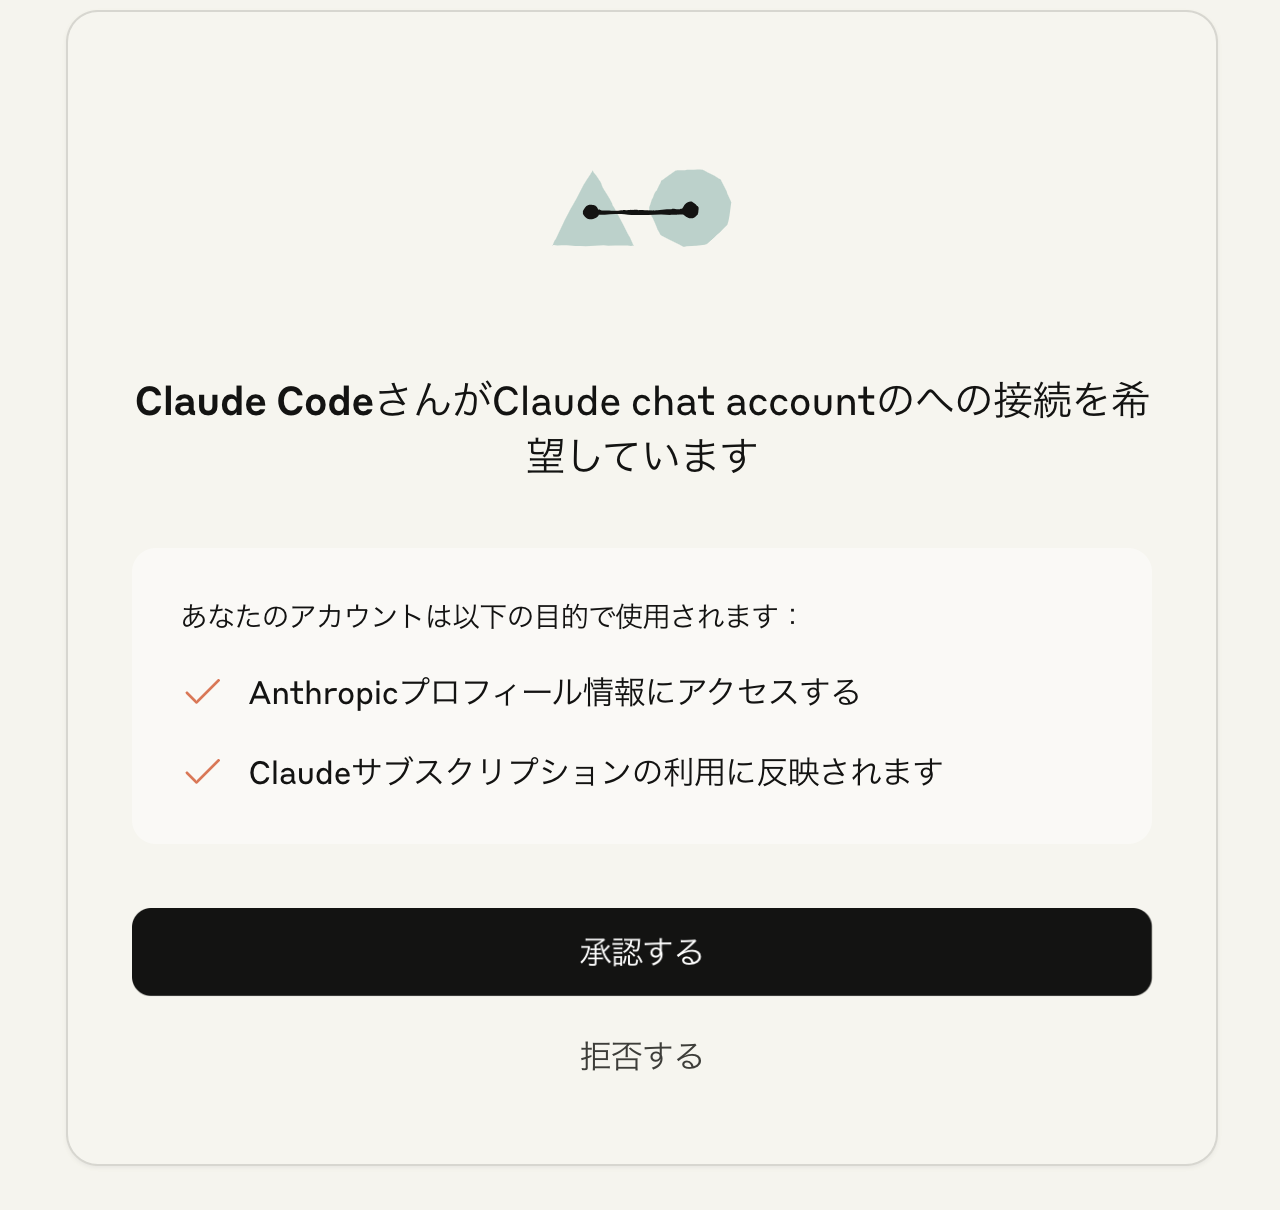
ブラウザで認証
その後、以下の画面が出てブラウザで Claude関連のページが開きます。
以下で「承認する」を押して、次へ進みます。
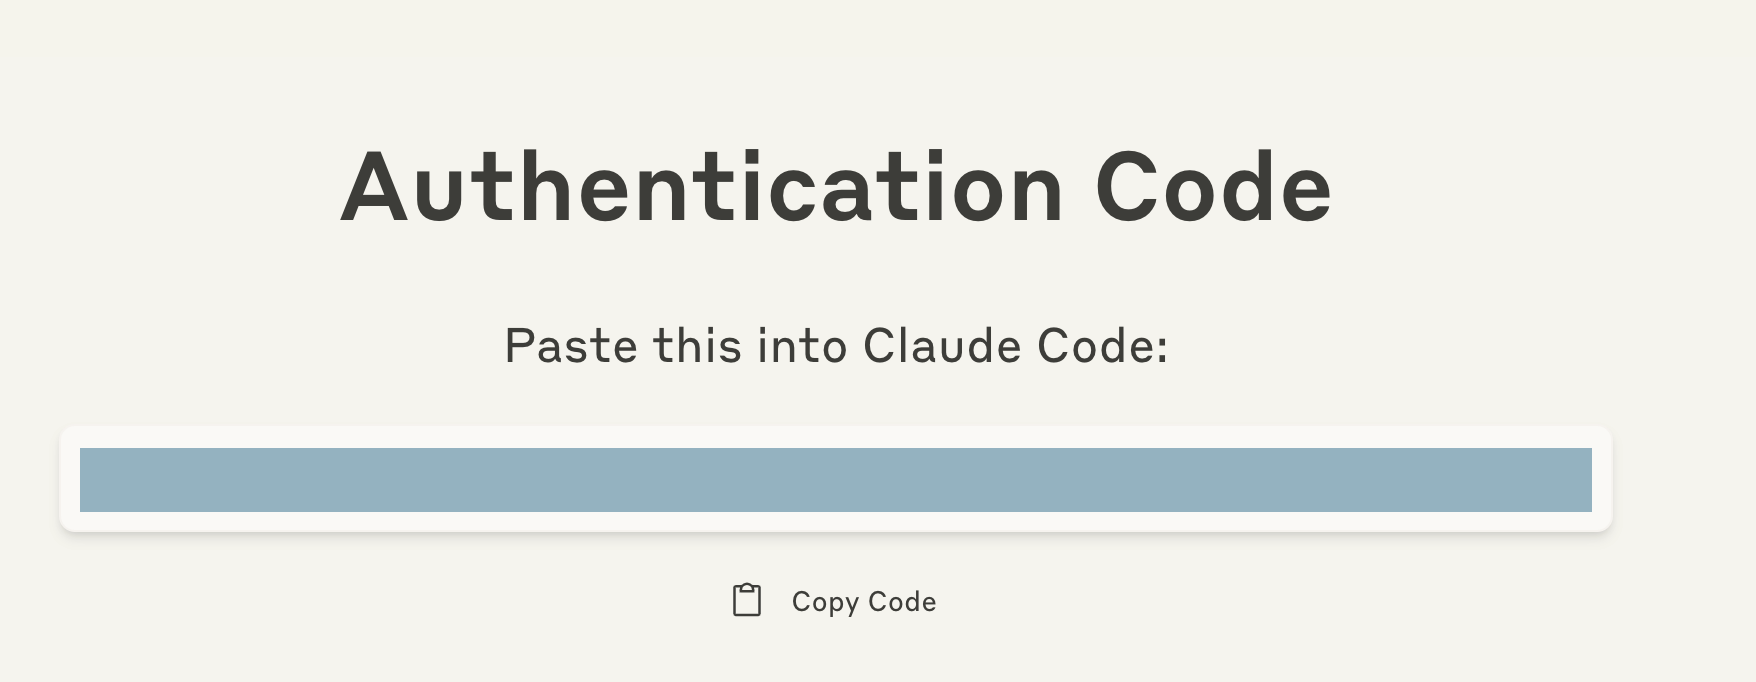
キャプチャなどしていて少し手間取ったからか、以下のコードをターミナル側で入力する手順になりました(別環境でスムーズに進めていった時は、この一手間がなかったような...)。
Claude Code の使い方をあらためて見てみる
以前のお試しではシンプルな手順でのみ試したので、今回はここで使い方を見たりなどしてみます。
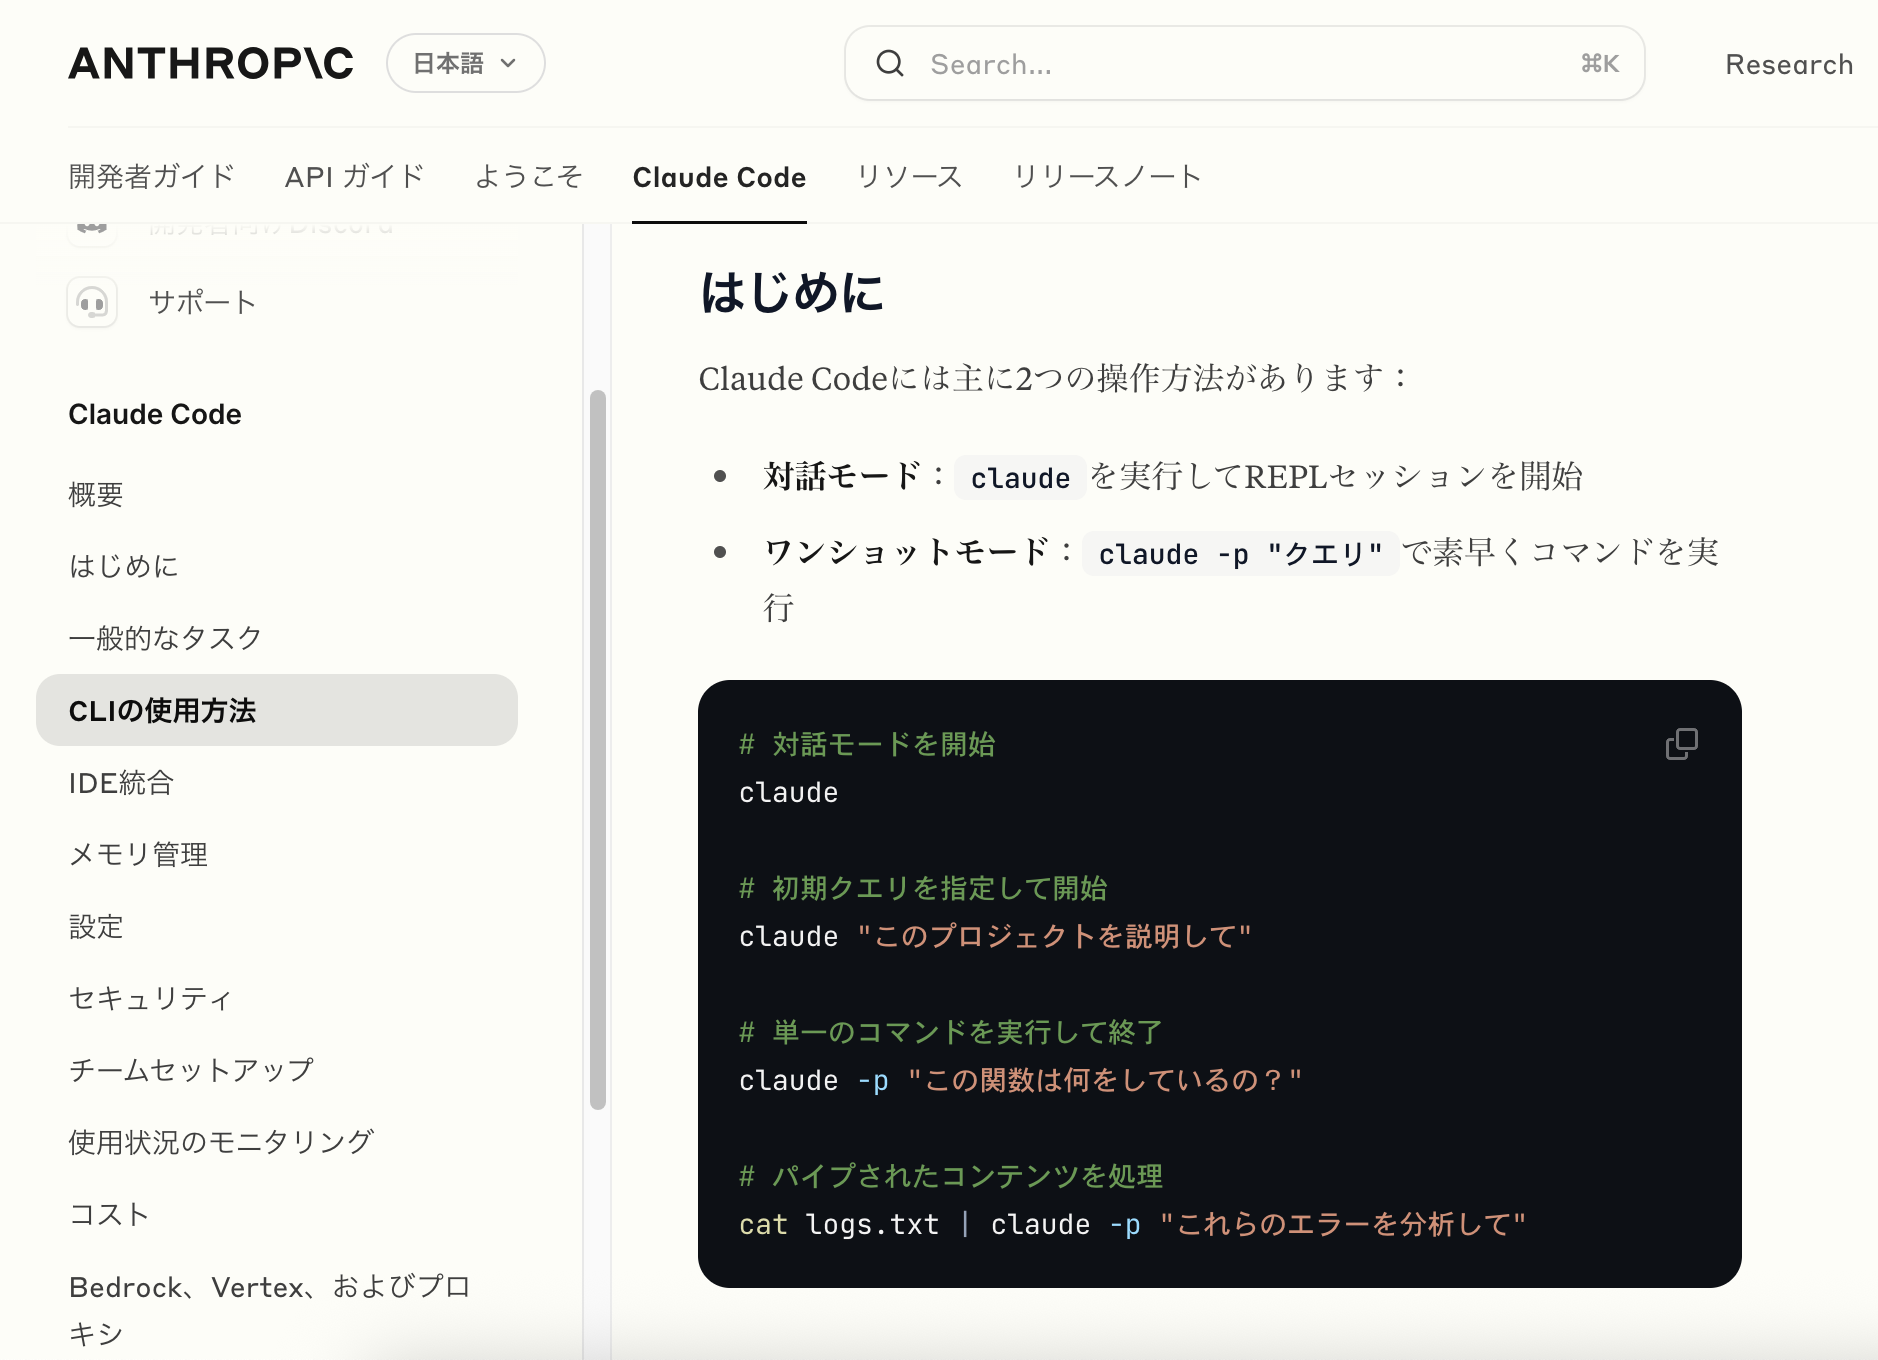
「はじめに」の部分
以下の「はじめに」を見ると、初期クエリを指定して始めるやり方や、パイプされたコンテンツを処理するやり方なども紹介されています。
https://docs.anthropic.com/ja/docs/claude-code/cli-usage#%E3%81%AF%E3%81%98%E3%82%81%E3%81%AB
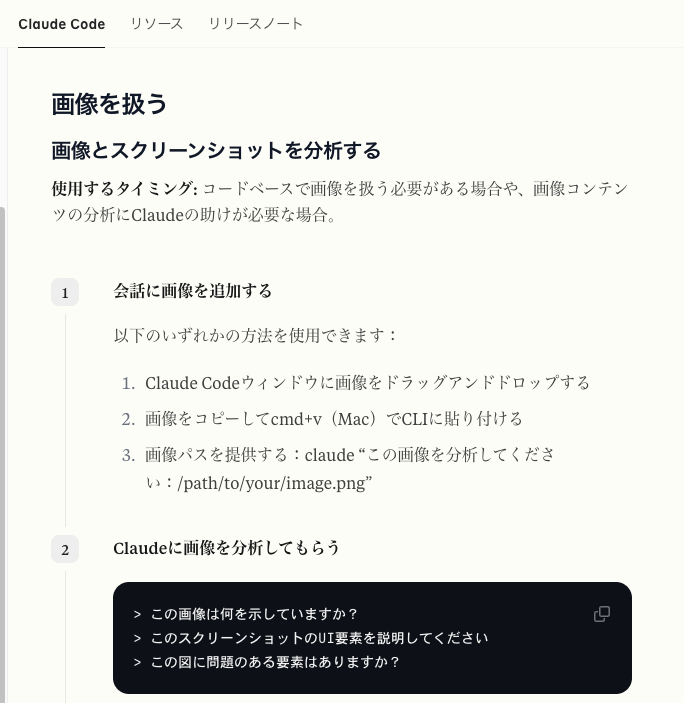
チュートリアル内の「画像を扱う」やり方のページ
またチュートリアルのページを見てみると、画像を扱うやり方なども書かれていました。
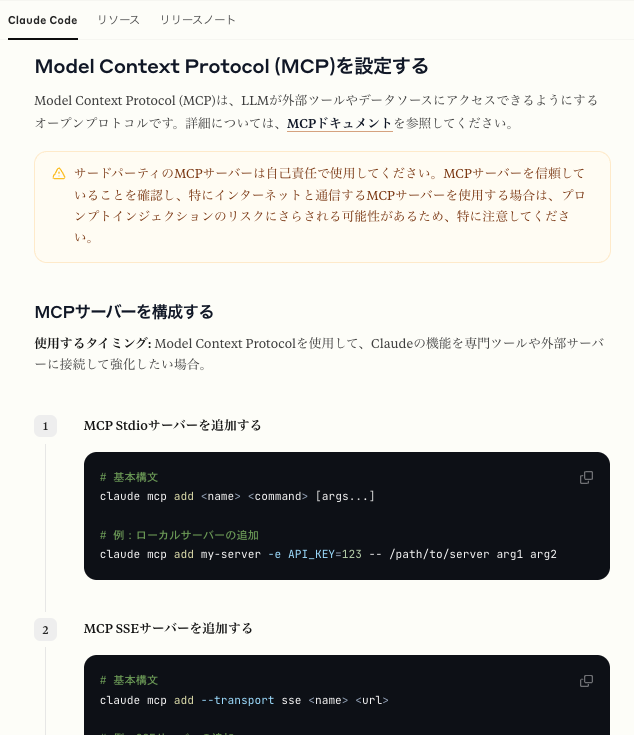
MCPサーバー関連
チュートリアルのページの MCPサーバー関連のページもありました。
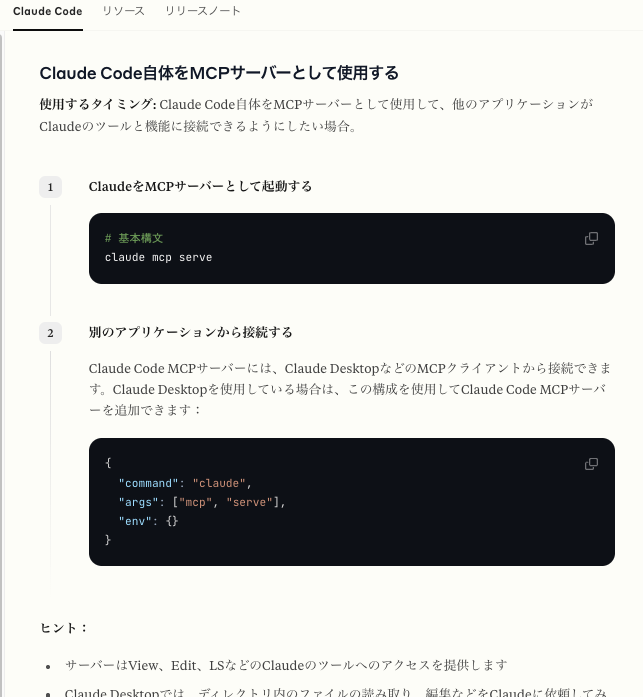
Claude Code自体をMCPサーバーとして使用する
さらに MCPサーバー関連では、「Claude Code自体をMCPサーバーとして使用する」という内容のものもあります。
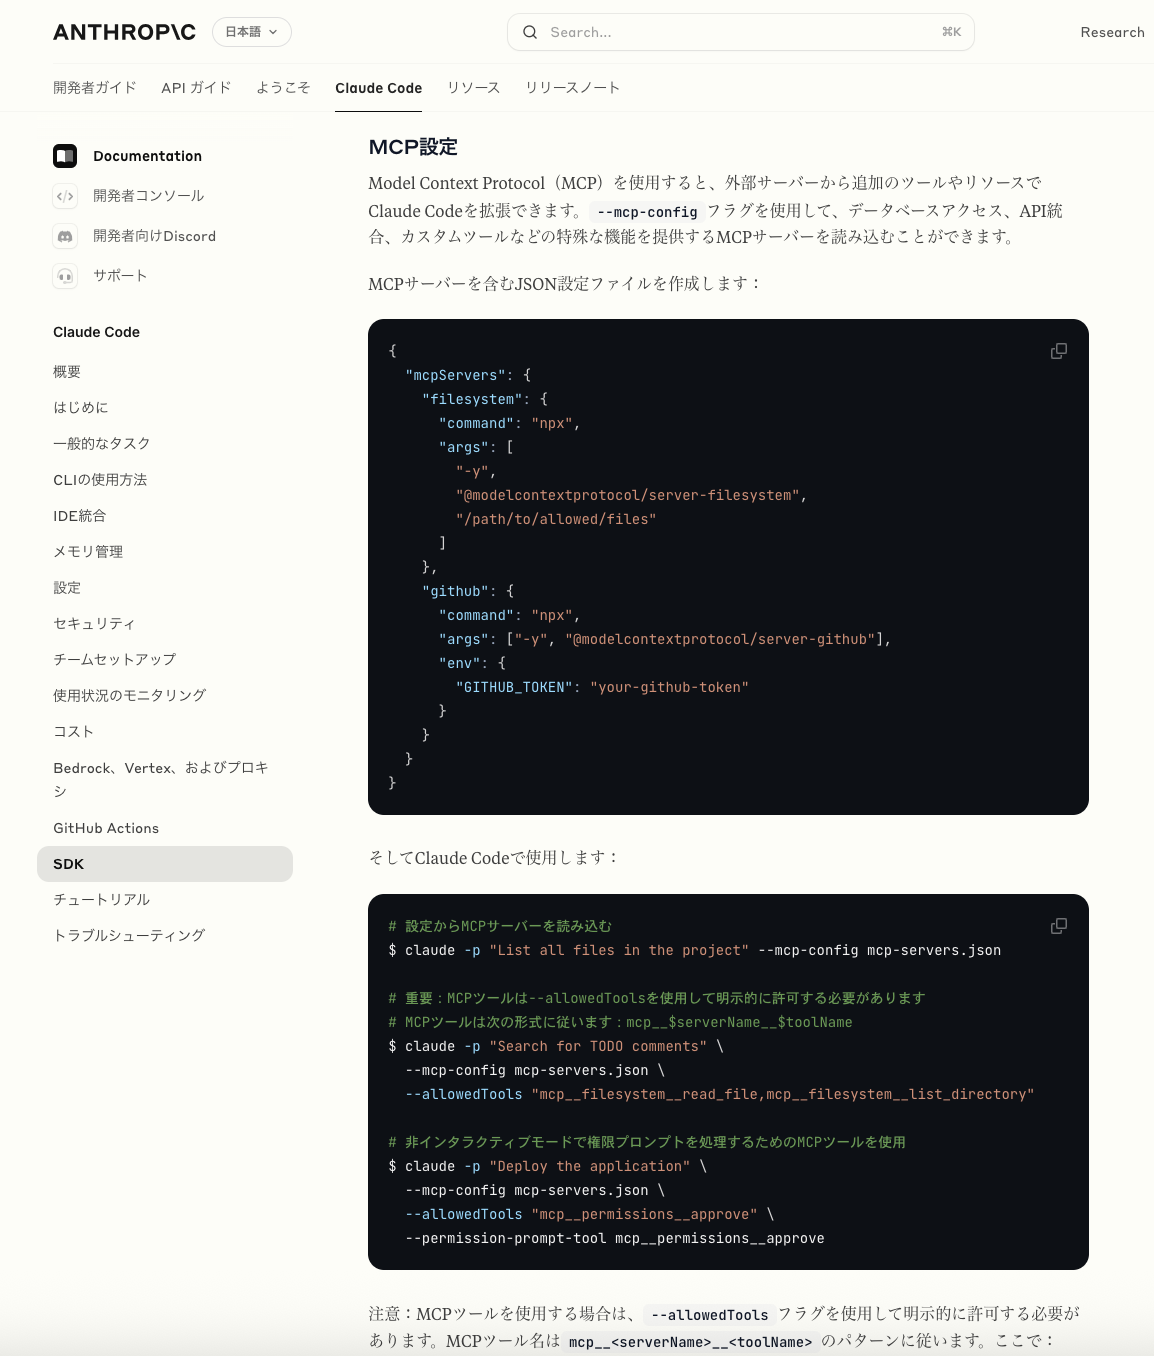
Claude Code の SDK のドキュメントで MCPサーバーに関する部分
MCPサーバー関連の記載は、以下の Claude Code の SDK のドキュメント内にもあったりするようです。
https://docs.anthropic.com/ja/docs/claude-code/sdk#mcp%E8%A8%AD%E5%AE%9A
画像入力を試す
それでは、上で見てみた中の「画像入力」を使ったお試しをやってみます。
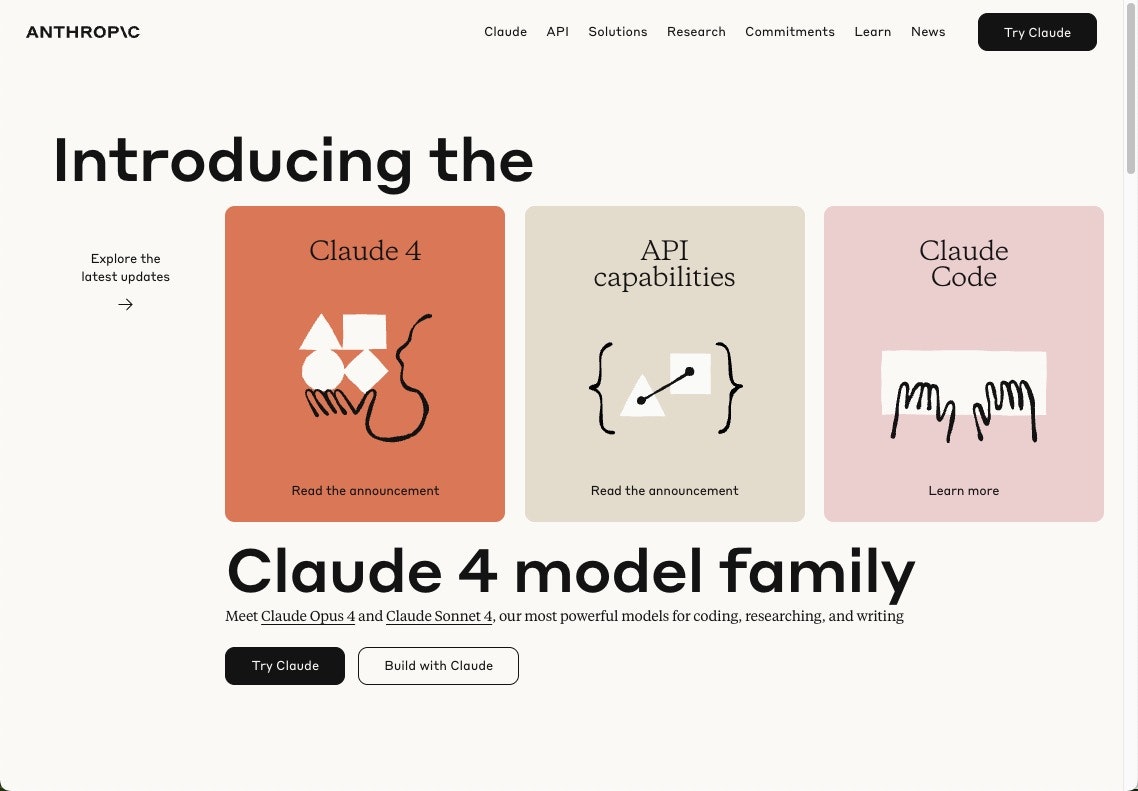
利用する画像
使う画像は以下です。
依頼内容
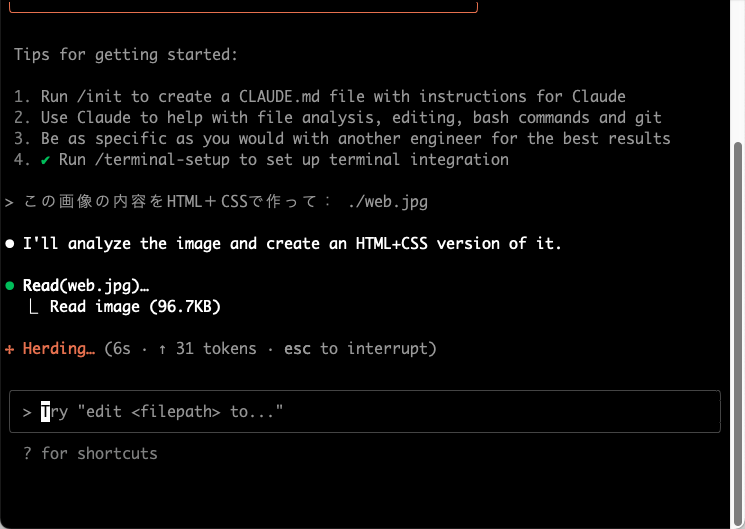
「画像を読み取って、それを HTML + CSS で作ってもらう」というのを試してみました。
Claude Code 起動時に、依頼内容を渡すやり方にしてみました。
npx claude "この画像の内容をHTML+CSSで作って: ./web.jpg"
処理の実行
そうすると、以下のように画像の解析などの処理がさっそく行われました。
その後、画像解析と HTMLファイルの作成が進み、以下の画面の状態となりました。
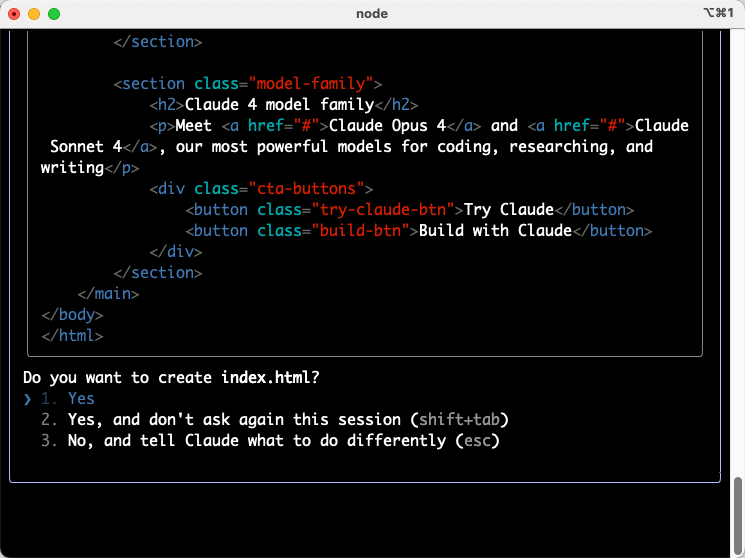
Yes を選んだところ、以下のようにファイルの作成が進んでいきます。
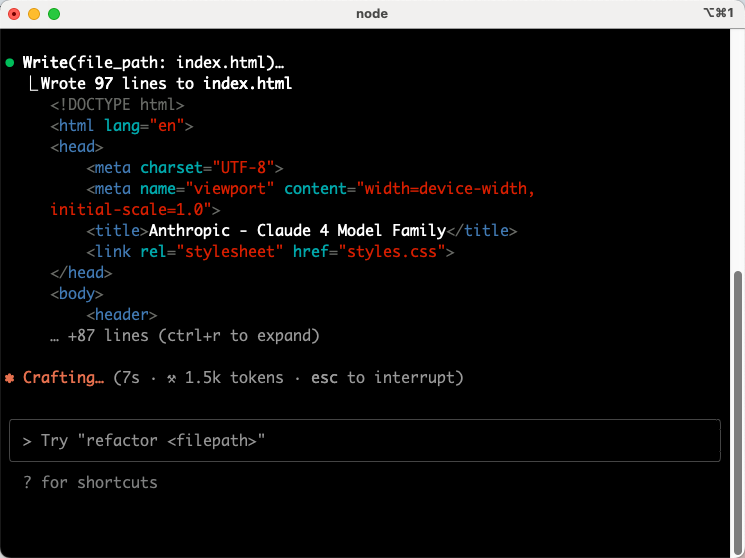
さらに CSS の作成についても、確認が求められました。
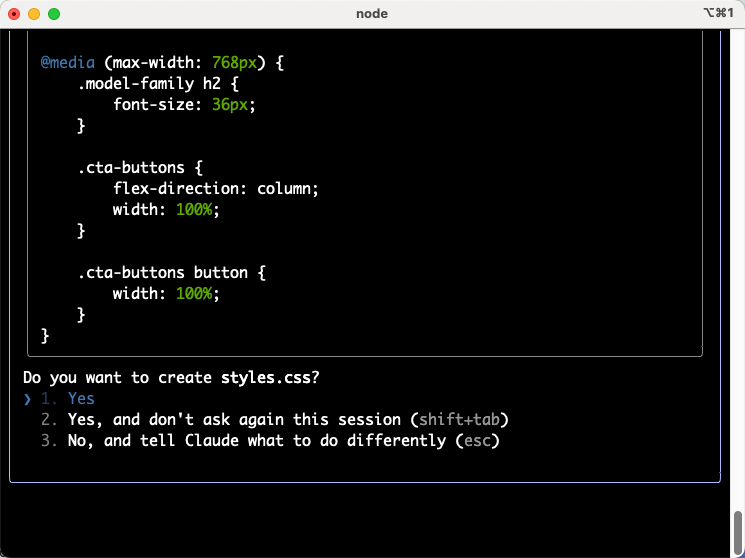
先ほどと同様、Yes を選んだ後はファイルの作成が行われました。
作成された内容を確認する: ブラウザでの表示
作成された HTMLファイルをブラウザで表示して、内容を確認してみました。
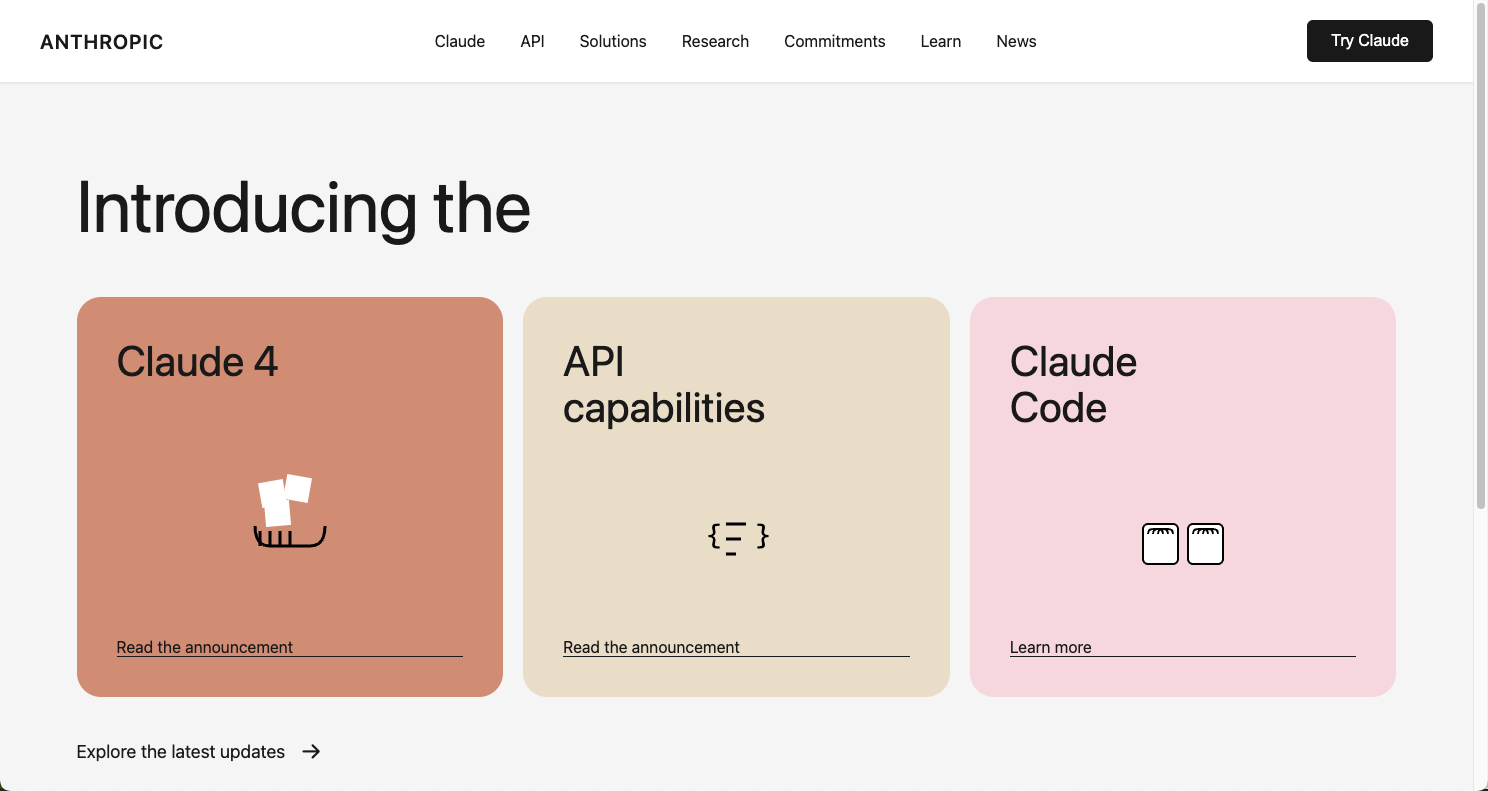
差異はありますが、似た内容が作成されました。
作成された内容を確認する: HTML・CSS の内容
あとは、生成された HTML・CSS の内容を折りたたんで掲載しておきます。
【折りたたみ】生成された HTML・CSS の内容
<!DOCTYPE html>
<html lang="en">
<head>
    <meta charset="UTF-8">
    <meta name="viewport" content="width=device-width, initial-scale=1.0">
    <title>Anthropic - Claude 4 Model Family</title>
    <link rel="stylesheet" href="styles.css">
</head>
<body>
    <header>
        <nav>
            <div class="logo">ANTHROPIC</div>
            <ul class="nav-links">
                <li><a href="#">Claude</a></li>
                <li><a href="#">API</a></li>
                <li><a href="#">Solutions</a></li>
                <li><a href="#">Research</a></li>
                <li><a href="#">Commitments</a></li>
                <li><a href="#">Learn</a></li>
                <li><a href="#">News</a></li>
            </ul>
            <button class="try-claude-btn">Try Claude</button>
        </nav>
    </header>

    <main>
        <section class="hero">
            <div class="hero-content">
                <h1>Introducing the</h1>
                <div class="cards-container">
                    <div class="card claude-4">
                        <h2>Claude 4</h2>
                        <div class="icon">
                            <svg viewBox="0 0 100 100" width="100" height="100">
                                <rect x="20" y="10" width="25" height="25" fill="white" transform="rotate(-10 32.5 22.5)"/>
                                <rect x="45" y="5" width="25" height="25" fill="white" transform="rotate(10 57.5 17.5)"/>
                                <rect x="25" y="30" width="25" height="25" fill="white" transform="rotate(-5 37.5 42.5)"/>
                                <path d="M 15 55 Q 15 75 30 75 L 70 75 Q 85 75 85 55" stroke="black" stroke-width="3" fill="none"/>
                                <line x1="20" y1="60" x2="20" y2="75" stroke="black" stroke-width="3"/>
                                <line x1="30" y1="60" x2="30" y2="75" stroke="black" stroke-width="3"/>
                                <line x1="40" y1="60" x2="40" y2="75" stroke="black" stroke-width="3"/>
                                <line x1="50" y1="60" x2="50" y2="75" stroke="black" stroke-width="3"/>
                            </svg>
                        </div>
                        <a href="#" class="card-link">Read the announcement</a>
                    </div>

                    <div class="card api-capabilities">
                        <h2>API<br>capabilities</h2>
                        <div class="icon">
                            <svg viewBox="0 0 100 100" width="100" height="100">
                                <text x="20" y="50" font-family="monospace" font-size="30" fill="black">{</text>
                                <text x="70" y="50" font-family="monospace" font-size="30" fill="black">}</text>
                                <line x1="40" y1="30" x2="60" y2="30" stroke="black" stroke-width="3"/>
                                <line x1="40" y1="45" x2="55" y2="45" stroke="black" stroke-width="3"/>
                                <line x1="40" y1="60" x2="50" y2="60" stroke="black" stroke-width="3"/>
                            </svg>
                        </div>
                        <a href="#" class="card-link">Read the announcement</a>
                    </div>

                    <div class="card claude-code">
                        <h2>Claude<br>Code</h2>
                        <div class="icon">
                            <svg viewBox="0 0 100 100" width="100" height="100">
                                <rect x="10" y="30" width="35" height="40" rx="5" fill="white" stroke="black" stroke-width="2"/>
                                <rect x="55" y="30" width="35" height="40" rx="5" fill="white" stroke="black" stroke-width="2"/>
                                <path d="M 15 40 Q 15 35 20 35 L 25 35 Q 30 35 30 40" stroke="black" stroke-width="2" fill="none"/>
                                <path d="M 20 40 Q 20 35 25 35 L 30 35 Q 35 35 35 40" stroke="black" stroke-width="2" fill="none"/>
                                <path d="M 25 40 Q 25 35 30 35 L 35 35 Q 40 35 40 40" stroke="black" stroke-width="2" fill="none"/>
                                <path d="M 60 40 Q 60 35 65 35 L 70 35 Q 75 35 75 40" stroke="black" stroke-width="2" fill="none"/>
                                <path d="M 65 40 Q 65 35 70 35 L 75 35 Q 80 35 80 40" stroke="black" stroke-width="2" fill="none"/>
                                <path d="M 70 40 Q 70 35 75 35 L 80 35 Q 85 35 85 40" stroke="black" stroke-width="2" fill="none"/>
                            </svg>
                        </div>
                        <a href="#" class="card-link">Learn more</a>
                    </div>
                </div>

                <div class="explore-updates">
                    <span>Explore the latest updates</span>
                    <span class="arrow">→</span>
                </div>
            </div>
        </section>

        <section class="model-family">
            <h2>Claude 4 model family</h2>
            <p>Meet <a href="#">Claude Opus 4</a> and <a href="#">Claude Sonnet 4</a>, our most powerful models for coding, researching, and writing</p>
            <div class="cta-buttons">
                <button class="try-claude-btn">Try Claude</button>
                <button class="build-btn">Build with Claude</button>
            </div>
        </section>
    </main>
</body>
</html>
* {
    margin: 0;
    padding: 0;
    box-sizing: border-box;
}

body {
    font-family: -apple-system, BlinkMacSystemFont, 'Segoe UI', Roboto, sans-serif;
    background-color: #f5f5f5;
    color: #1a1a1a;
}

header {
    background-color: white;
    padding: 20px 40px;
    box-shadow: 0 1px 3px rgba(0, 0, 0, 0.1);
}

nav {
    display: flex;
    justify-content: space-between;
    align-items: center;
    max-width: 1400px;
    margin: 0 auto;
}

.logo {
    font-size: 20px;
    font-weight: 600;
    letter-spacing: 1px;
}

.nav-links {
    display: flex;
    list-style: none;
    gap: 35px;
    align-items: center;
}

.nav-links a {
    text-decoration: none;
    color: #1a1a1a;
    font-size: 16px;
    transition: opacity 0.3s;
}

.nav-links a:hover {
    opacity: 0.7;
}

.try-claude-btn {
    background-color: #1a1a1a;
    color: white;
    border: none;
    padding: 12px 24px;
    border-radius: 6px;
    font-size: 16px;
    cursor: pointer;
    transition: background-color 0.3s;
}

.try-claude-btn:hover {
    background-color: #333;
}

.hero {
    padding: 80px 40px 60px;
    max-width: 1400px;
    margin: 0 auto;
}

.hero h1 {
    font-size: 72px;
    font-weight: 400;
    margin-bottom: 50px;
}

.cards-container {
    display: grid;
    grid-template-columns: repeat(3, 1fr);
    gap: 20px;
    margin-bottom: 40px;
}

.card {
    border-radius: 24px;
    padding: 40px;
    height: 400px;
    display: flex;
    flex-direction: column;
    justify-content: space-between;
    position: relative;
    overflow: hidden;
}

.card h2 {
    font-size: 42px;
    font-weight: 400;
    line-height: 1.1;
    margin-bottom: 20px;
}

.card .icon {
    flex-grow: 1;
    display: flex;
    align-items: center;
    justify-content: center;
}

.claude-4 {
    background-color: #d18b74;
}

.api-capabilities {
    background-color: #e8ddc7;
}

.claude-code {
    background-color: #f4d7dd;
}

.card-link {
    color: #1a1a1a;
    text-decoration: none;
    font-size: 16px;
    display: inline-block;
    border-bottom: 1px solid #1a1a1a;
    transition: opacity 0.3s;
}

.card-link:hover {
    opacity: 0.7;
}

.explore-updates {
    display: flex;
    align-items: center;
    gap: 15px;
    font-size: 18px;
    cursor: pointer;
    transition: opacity 0.3s;
}

.explore-updates:hover {
    opacity: 0.7;
}

.arrow {
    font-size: 24px;
}

.model-family {
    text-align: center;
    padding: 60px 40px 100px;
    max-width: 900px;
    margin: 0 auto;
}

.model-family h2 {
    font-size: 56px;
    font-weight: 400;
    margin-bottom: 20px;
}

.model-family p {
    font-size: 20px;
    line-height: 1.6;
    margin-bottom: 40px;
    color: #555;
}

.model-family a {
    color: #1a1a1a;
    text-decoration: underline;
}

.model-family a:hover {
    opacity: 0.7;
}

.cta-buttons {
    display: flex;
    gap: 16px;
    justify-content: center;
}

.build-btn {
    background-color: white;
    color: #1a1a1a;
    border: 2px solid #1a1a1a;
    padding: 12px 24px;
    border-radius: 6px;
    font-size: 16px;
    cursor: pointer;
    transition: all 0.3s;
}

.build-btn:hover {
    background-color: #f5f5f5;
}

@media (max-width: 1024px) {
    .cards-container {
        grid-template-columns: 1fr;
    }

    .hero h1 {
        font-size: 48px;
    }

    .nav-links {
        display: none;
    }
}

@media (max-width: 768px) {
    .model-family h2 {
        font-size: 36px;
    }

    .cta-buttons {
        flex-direction: column;
        width: 100%;
    }

    .cta-buttons button {
        width: 100%;
    }
}
今回のお試しは以上です。
画像入力を試したものの、今回もシンプルな内容だったので、複雑な内容も色々と試していければと思います。
その他
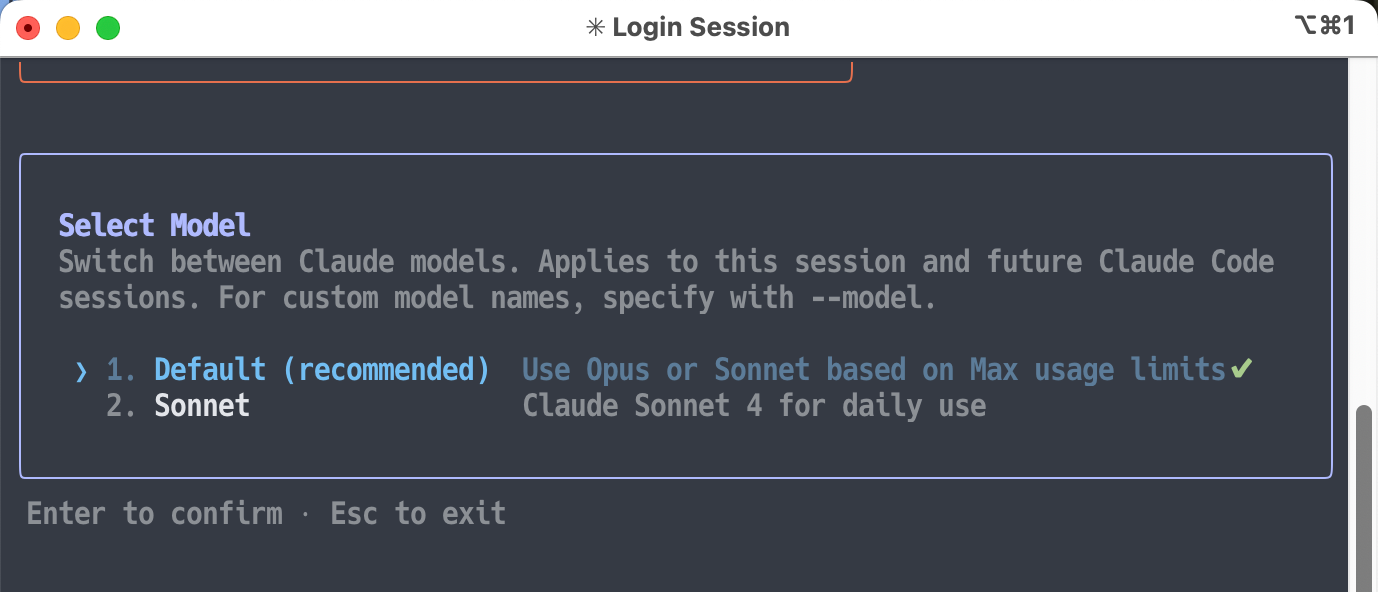
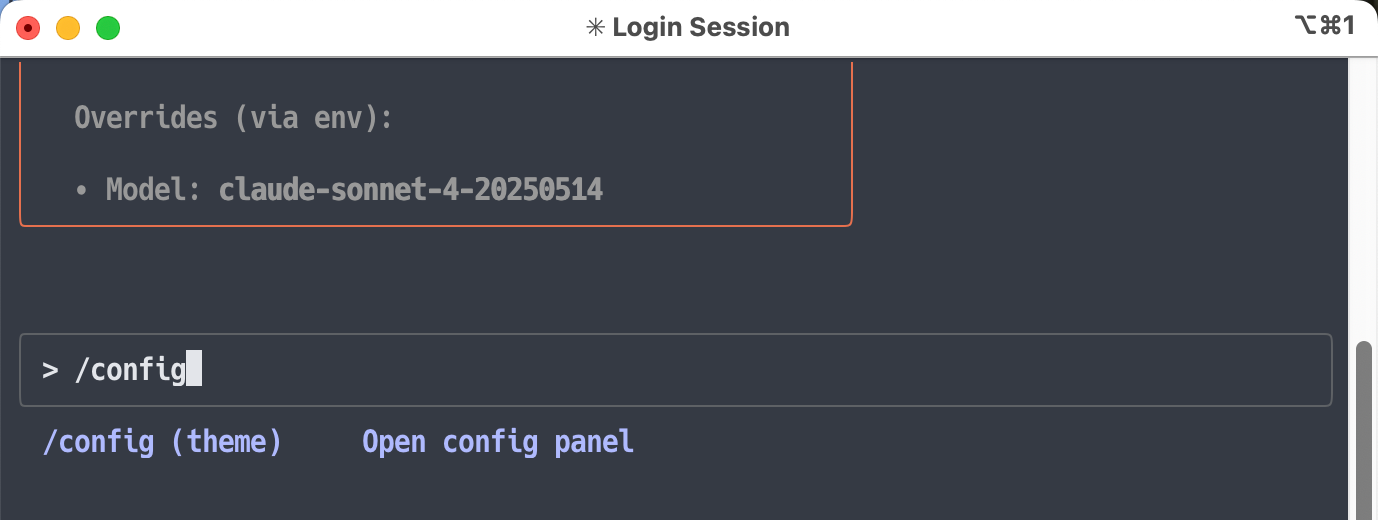
その他、試している途中で「利用されているモデル」や「そのモデルを別のものに変更する方法」が気になったので調べてみて、手順を見てみました。
以下のように /config を使って、モデル関連の設定を見られるようでした。
以下の画面が出てくるので、一番下の Model を選んで、次の画面へと進みます。
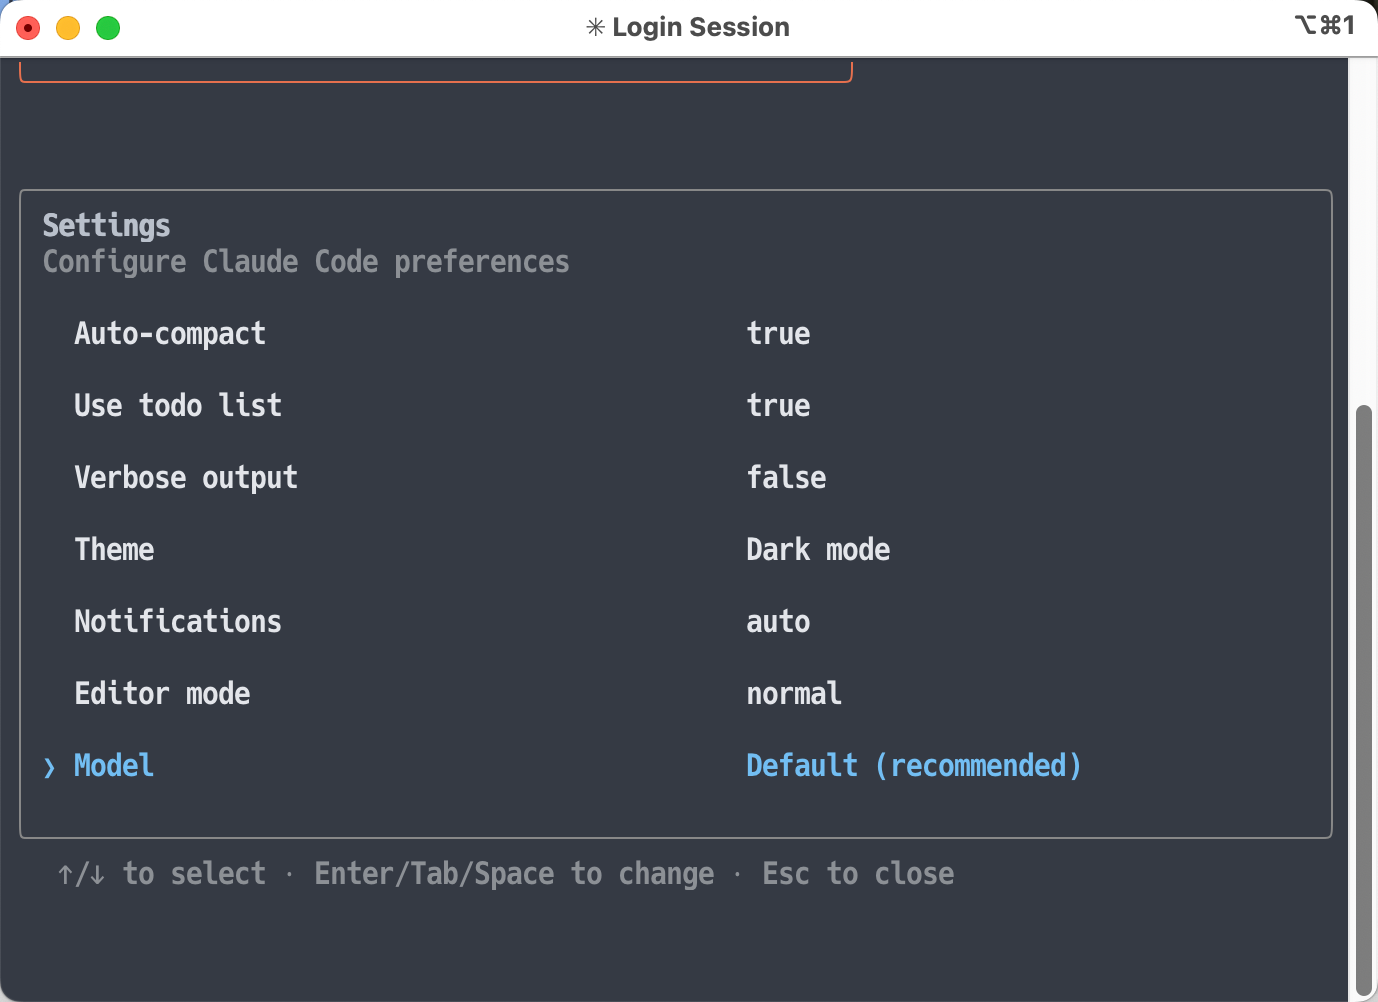
自分の環境では、Opus か Sonnet のどちらかを使うというのがデフォルトで、Sonnet のみに限定するという選択肢が別にあるようでした。