はじめに
「VR内での便利なUIを作ってみる!2/3 スライドVCIからタブレットVCIの発展編」は、みなさんご覧頂けましたでしょうか?
ワールド座標からローカル座標に変換し、タブレット上の座標として処理ができるようになりましたね
このシリーズでわかること
- スライドVCIの仕組み
- ペンが平面に対して指している場所の、ローカル座標の算出方法
- タブレットの、ボタンの認識方法やスライダーの動作方法(←今回でわかること)
今回は、いよいよボタンやスライド操作の実装し、
1. スライドVCI解析編
2. スライドVCIからタブレットVCIへの発展編
3. ボタンやスライド操作の実装編 ←今回
現状のスクリプトの確認
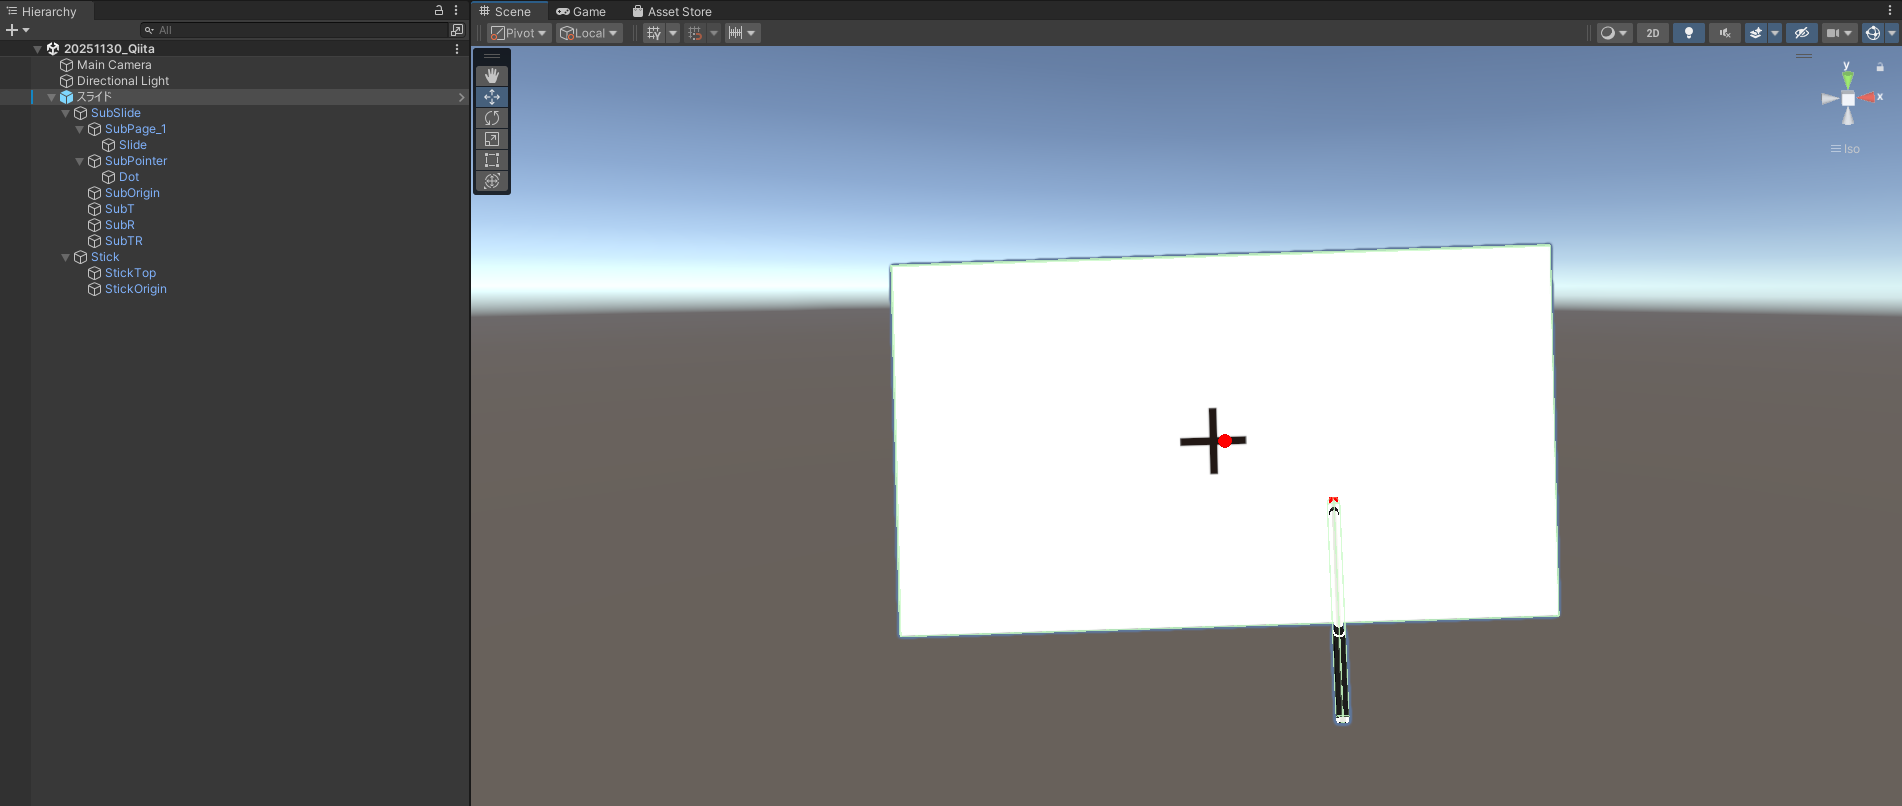
前回までで、スティックをUseすることで、カーソルの平面上のローカル座標をプリントすることに成功しました
これを元に、一旦スライドVCIの余分な機能を削り、ローカル座標でカーソルを移動させるスクリプトに書き換えてしまいましょう
改良したオブジェクト構成とスクリプトは以下の通りとなります
書き換えスクリプト(少し長いので折り畳み)
local gf = vci.assets.GetTransform("SubSlide")

local gj = vci.assets.GetTransform("SubPointer")
local gk = vci.assets.GetTransform("StickOrigin")

local gp = vci.assets.GetTransform("SubOrigin")
local gq = vci.assets.GetTransform("SubT")
local gr = vci.assets.GetTransform("SubR")
local gs = vci.assets.GetTransform("SubTR")

local preLocalPos = Vector3.zero

local function g_e(pointStart, origin, top, right, topRight)
    local la = origin.GetForward()
    local lb = origin.GetPosition()
    local lc = pointStart.GetPosition()
    local ld = pointStart.GetUp()
    local le = Vector3.Dot(la, lb)

    local lf = lc + ((le - Vector3.Dot(la, lc)) / (Vector3.Dot(la, ld))) * ld;

    local lg = origin.GetPosition()
    local lh = top.GetPosition()
    local li = topRight.GetPosition()
    local lj = right.GetPosition()
    local lk = lf

    local ll = lg - lk
    local ln = lh - lk
    local lm = li - lk
    local lo = lj - lk
    local lp = lh - lg
    local lq = li - lg

    local lr = Vector3.Cross(ll, ln).normalized
    local ls = Vector3.Cross(ln, lm).normalized
    local lt = Vector3.Cross(lm, lo).normalized
    local lu = Vector3.Cross(lo, ll).normalized
    local lv = Vector3.Cross(lp, lq).normalized

    local lw = {}

    if Vector3.Dot(lv, lr) > 0 and
        Vector3.Dot(lv, ls) > 0 and
        Vector3.Dot(lv, lt) > 0 and
        Vector3.Dot(lv, lu) > 0
    then
        lw.enable = true
        lw.value = lf
    else
        lw.enable = false
        lw.value = Vector3.zero
    end

    return lw
end

function updateAll()
    local li = g_e(gk, gp, gq, gr, gs)
    local rot = gf.GetRotation()
    local basePos = gf.GetPosition()
    local localPos = Quaternion.Inverse(rot) * (li.value - basePos)
    gj.SetActive(li.enable)
    if li.enable then
        gj.SetLocalPosition(localPos)
        preLocalPos = localPos
    else
        gj.SetLocalPosition(preLocalPos)
        localPos = preLocalPos
    end
end
新たにpreLocalPosを追加していますが、これはスライドの実装の際に利いてきますので、説明は後で行います
ボタンの実装方法
パソコンと同じような操作を意識すると、マウスオーバーし、クリックという形で操作を行います
これを今回のVR内でのタブレット操作に置き換えると、スティックでカーソルをボタンまで移動させ、スティックをUseするという形にできます
前回までで、スティックでカーソルを移動させるところまでできているので、ボタンに重なっているかどうか認識するところをスクリプトに追加していきます
オブジェクトの構成は以下のように修正し、
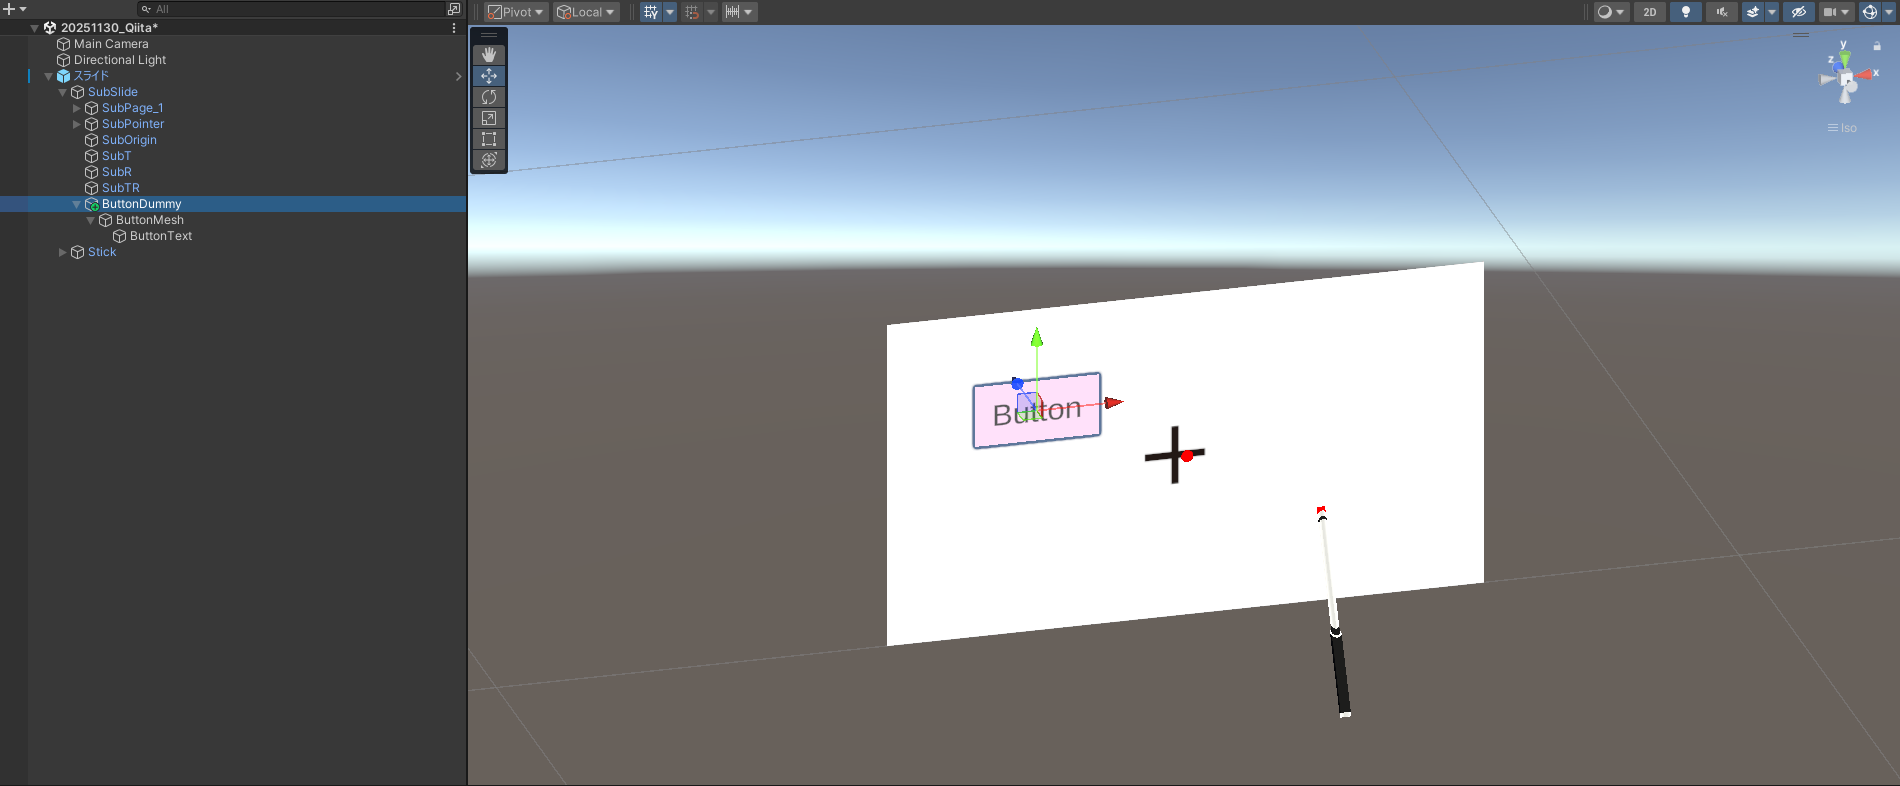
スクリプトは、以下の内容を追加し、SellectButtonCheck関数をUpdateAllの最後に置き、SellectButtonCheck関数には、カーソル位置localPosを入力します
local sellectButtonName = "Non"

local buttonSize = Vector2.__new(0.1, 0.05)
local button = vci.assets.GetTransform("ButtonDummy")

--ボタンオブジェクトの選択チェック
local function OnButtonCheck(cursorPos)
    local buttonPos = button.GetLocalPosition()
    if cursorPos.x >= buttonPos.x - buttonSize.x / 2 and cursorPos.x <= buttonPos.x + buttonSize.x / 2 then
        if cursorPos.y >= buttonPos.y - buttonSize.y / 2 and cursorPos.y <= buttonPos.y + buttonSize.y / 2 then
            sellectButtonName = "Button"
            button.SetLocalScale(1.1*Vector3.one)
        else
            button.SetLocalScale(Vector3.one)
        end
    else
        button.SetLocalScale(Vector3.one)
    end
end

--カーソルが、どの選択オブジェクトを選択してるかどうかのチェック
local function SellectButtonCheck(cursorPos)
    sellectButtonName = "Non"
    OnButtonCheck(cursorPos)
end
すると、こちらのように、ボタンの上にカーソルが来ると、ボタンが少し大きくなり、ボタンが選択されてるようになりました
確認のため、onUseに確認用のプリント文をいれてみましょう
function onUse(use)
    if use == "Stick" then
        print("選択オブジェクトは... "..sellectButtonName)
    end
end
この通り、ボタンが選択されていることが確認できました
スライドの実装方法
続いてのスライドの実装は、ボタンの発展型になります
PCのマウス操作のドラッグを再現したいので、スライドを選択した状態でスティックをUseするとドラッグが開始され、Useを解除するとドラッグが解除されるようにします
オブジェクトの選択処理は、ボタンと同じですが、ドラッグ処理が新たに追加されます
また、ドラッグ処理中は、スライダーの移動のみを行いたいので、ボタンやスライダーの選択処理は行わないように改良していきます
local dragFlag = false

local sliderSize = Vector2.__new(0.025, 0.05)
local sliderRange = {-0.1525, 0.0125}
local slider = vci.assets.GetTransform("SliderDummy")
local silderInitialPos = slider.GetLocalPosition()

--スライダーオブジェクトの選択チェック
local function OnSliderCheck(cursorPos)
    local sliderPos = slider.GetLocalPosition()
    if cursorPos.x >= sliderPos.x - sliderSize.x / 2 and cursorPos.x <= sliderPos.x + sliderSize.x / 2 then
        if cursorPos.y >= sliderPos.y - sliderSize.y / 2 and cursorPos.y <= sliderPos.y + sliderSize.y / 2 then
            sellectButtonName = "Slider"
            slider.SetLocalScale(1.1*Vector3.one)
        else
            slider.SetLocalScale(Vector3.one)
        end
    else
        slider.SetLocalScale(Vector3.one)
    end
end

--カーソルが、どの選択オブジェクトを選択してるかどうかのチェック
local function SellectButtonCheck(cursorPos)
    sellectButtonName = "Non"
    OnButtonCheck(cursorPos)
    OnSliderCheck(cursorPos)
end

--スライダーのドラッグ処理
local function SliderDrag(cursorPos)
    local dragPos = Vector3.__new(cursorPos.x, silderInitialPos.y, silderInitialPos.z)
    if dragPos.x < sliderRange[1] then
        dragPos.x = sliderRange[1]
    end
    if dragPos.x > sliderRange[2] then
        dragPos.x = sliderRange[2]
    end
    slider.SetLocalPosition(dragPos)
end

function updateAll()
    local li = g_e(gk, gp, gq, gr, gs)
    local rot = gf.GetRotation()
    local basePos = gf.GetPosition()
    local localPos = Quaternion.Inverse(rot) * (li.value - basePos)
    gj.SetActive(li.enable)
    if li.enable then
        gj.SetLocalPosition(localPos)
        preLocalPos = localPos
    else
        gj.SetLocalPosition(preLocalPos)
        localPos = preLocalPos
    end

    if dragFlag then
        SliderDrag(localPos)
    else
        --ボタンの選択チェック
        SellectButtonCheck(localPos)
    end
end
これで以下のようにスライダーを実装することができました
あとは、スライダーの位置から、設定したい値の範囲に数値を変換してあげるなどすれば、設定用のUIとして使用することができます
おわりに
いかがだったでしょうか?
本シリーズを通して、簡単にタブレット型のUIを実装する方法をご紹介しました
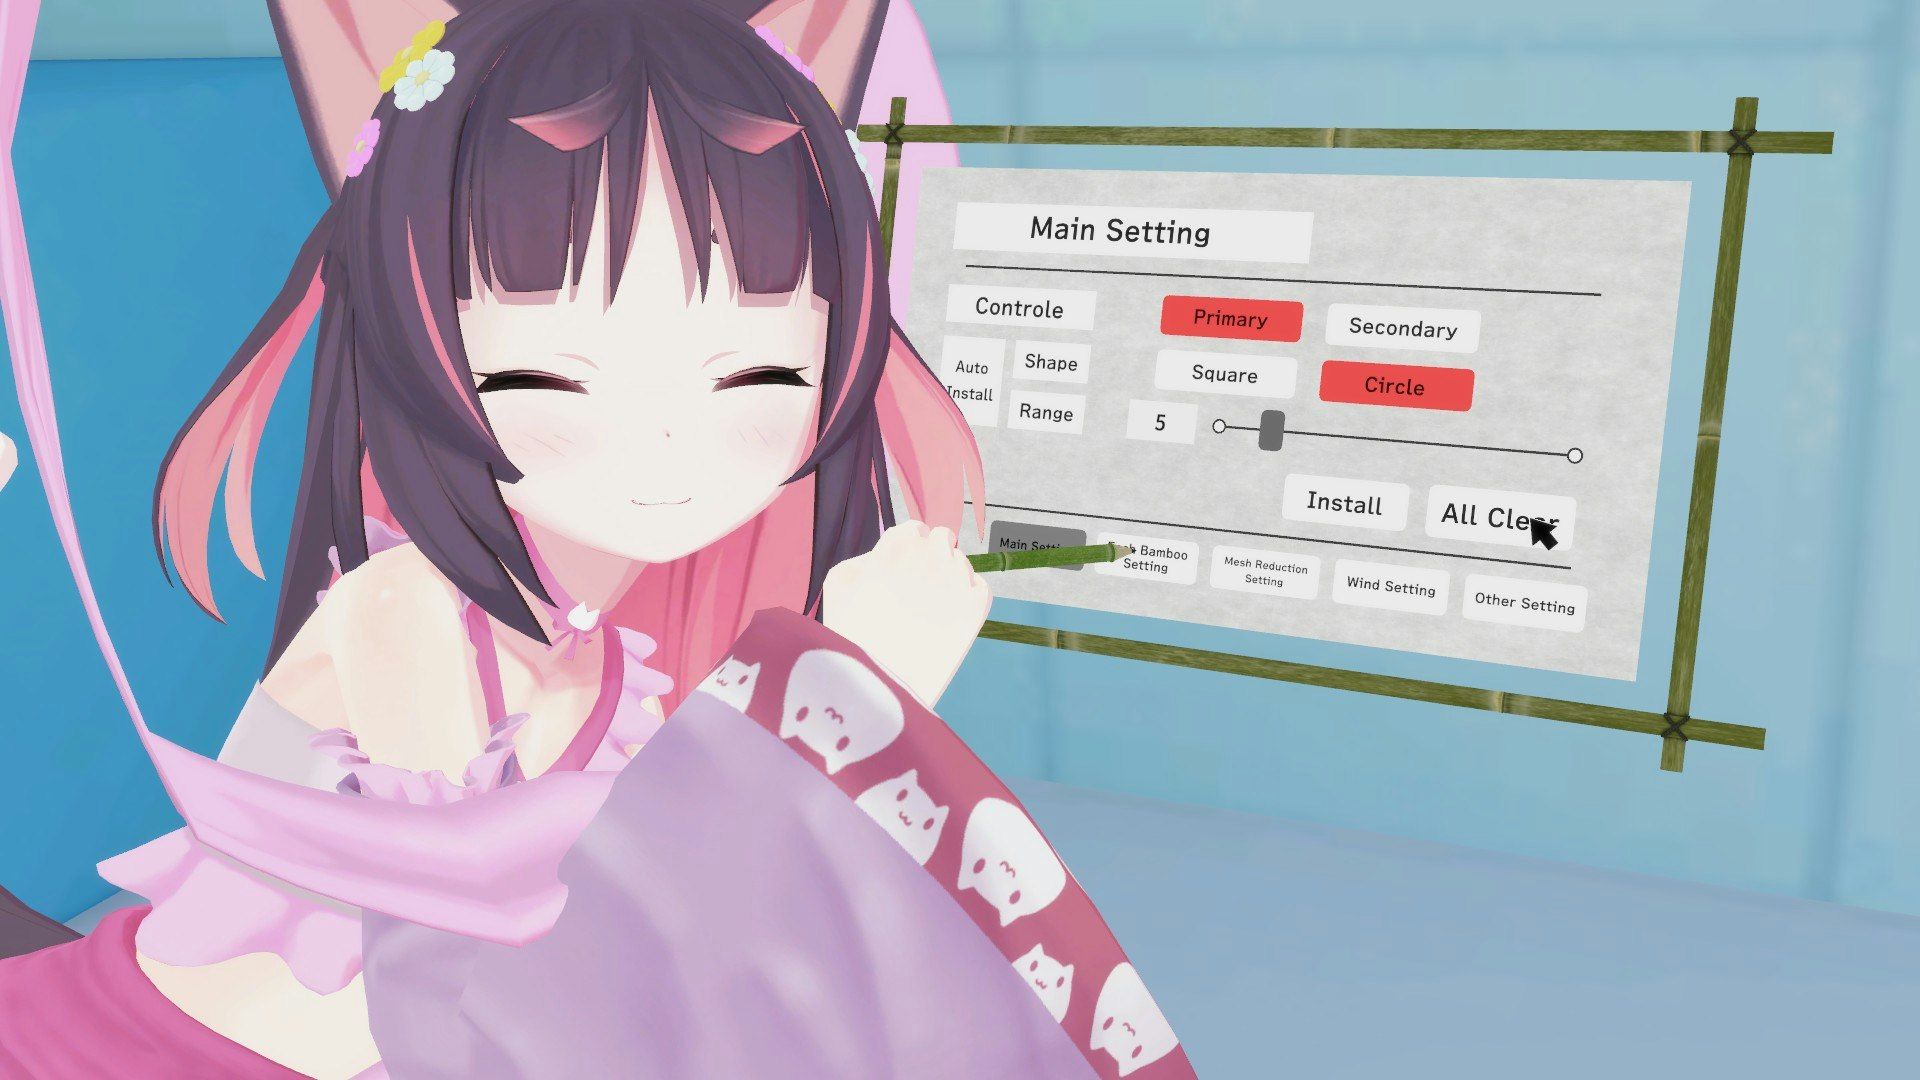
こちらの方法でさらに、整えてあげると以下のようなVCIのUIも作成することができます
UIのフレームのデザインにこだわったり、タブを作って設定項目を増やしたりと、色々なことができます
こちらのVCIは、アイテムとして販売していますが、以下のルームに置いてありますので、どんなUIになっているか確認することができます
ご購入して頂いてもいいですが、是非、こちらのルームにいらっしゃって手に持って確認してみて、操作感を確認してみてください!
https://virtualcast.jp/rooms/RoVexCqKbJQqPhRt