
こんにちは。しがないメーカー勤務のよしあきです。
皆さんは文書資料を書くとき、何を使っていますか?
Word, LaTexその他いろいろあるかと思いますが、最近ちょいちょい名前を聞くのがTypstです。
Texよりも文法がわかりやすい・書きやすいといったメリットがありますが、詳しい解説はこちらの記事で既に書かれています。
自分はTexに慣れておらず、今更文法を覚えるのも面倒だなと思っていたところ、このような便利なものが登場してくれたわけです。
そりゃ使わない手はないでしょうということで、早速環境構築から始めていきます。
Tinymist Typstのインストール
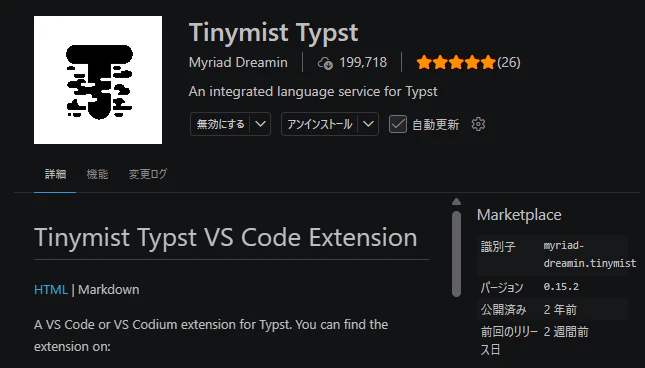
自分はEditorとしてVScodeを使っていますが、Typstの拡張機能版Tinymist Typstを入れるだけで簡単にTypstを使うことができます。
拡張機能のタブからTinymist Typstと検索してインストールしましょう。
使ってみよう
Typstの拡張子は.typです。
お試しで、test.typファイルを作って以下の文章を書いてみましょう。
#set page(paper: "a4", margin: 2cm)
#set text(font: "Yu Mincho", size: 12pt)

= はじめての Typst

これは Typst のテスト文書です。
数式も書けます: $f(x) = x^2$

文章を追加するとリアルタイムで追加されます。
コード記入部の上にProfile|Preview|Export|PDF|More ..といったコマンドがあります。
まずはPreviewを選択すると、Previewタブが現れ文章がレンダリングした状態で表示されます。
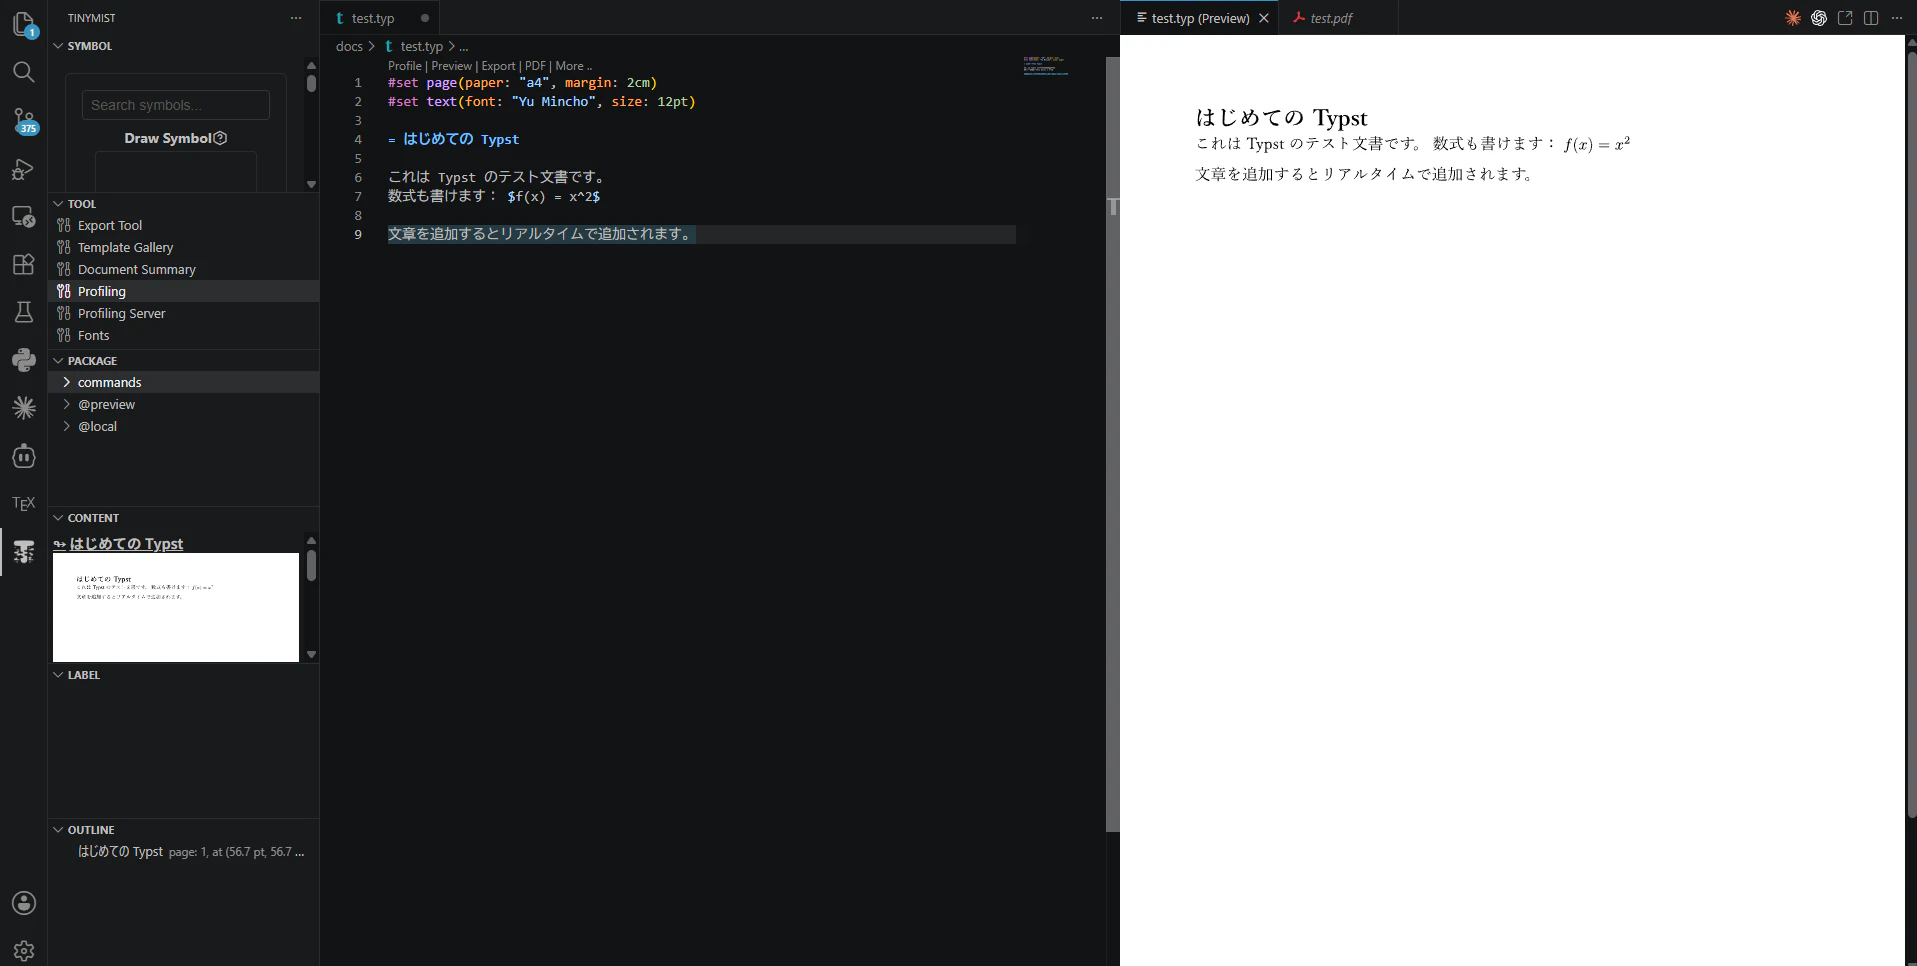
打ち込んだ文章はほぼリアルタイムで反映されるのが良いですね。
Texよりも明らかにレンダリングが早いです。
いろいろ触ってみる
Typstの機能をちょこっとだけ確認してみます。
Profile
画面上部Previewの横にProfileというボタンがあるのにお気づきでしょうか?
こちらをクリックすると画像真ん中にあるPerfettoというタブが立ち上がります。
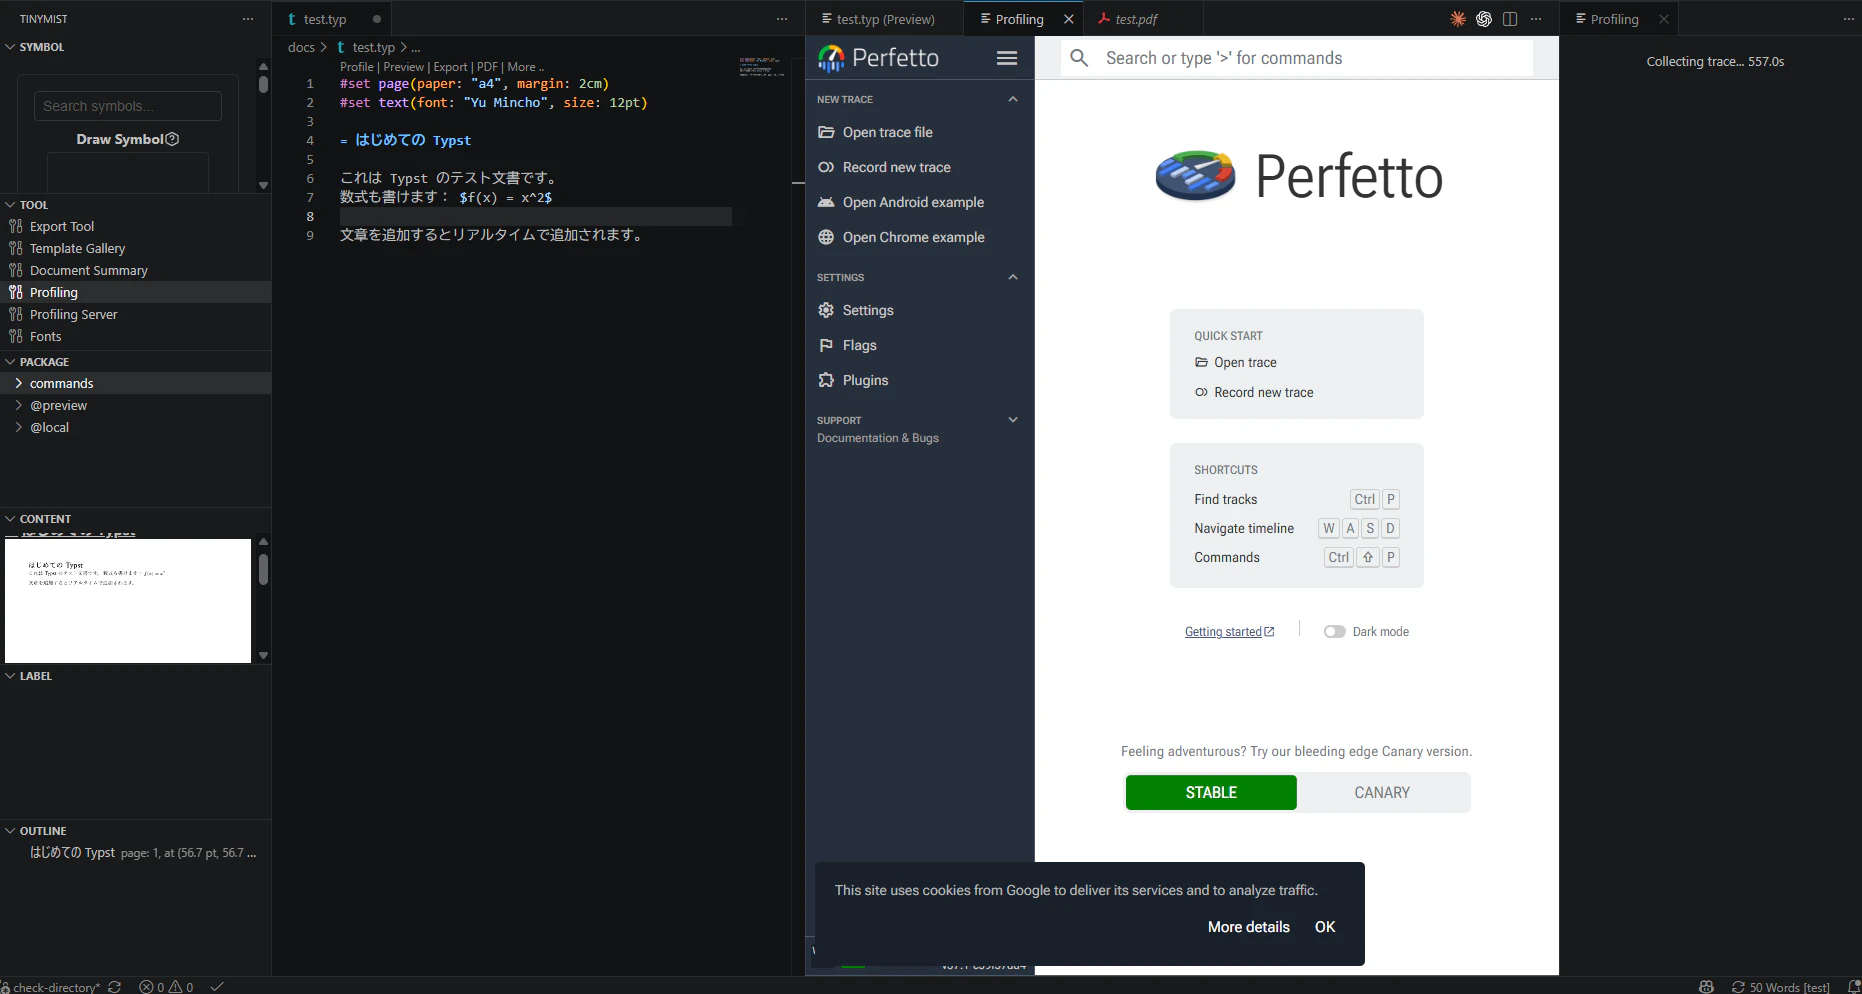
本来TypstにはProfileという文書設定の機能があるのですが、こちらはどうやらVS Code拡張のプロファイリング(性能解析) が立ち上がっているようです。
Copilot君に聞くと「Tinymist Typst 拡張は内部で Rust 製の LSP(言語サーバ)を動かしており、その性能解析(profiling)機能として Perfetto を使っています。」とのことで、これが誤作動したとのこと。
なぜ誤作動したのかもよくわかりませんが、本来は開発者向けの機能っぽいので、特に触らずに行きましょう。
ちなみに、左タブのTOOL>Profilingをクリックすると同様にプロファイリングが動くようです。
性能解析を行いたかったわけではなく、ここでやりたかったのは文書設定です。
改めてTypstでは文書設定をファイルでまとめておくことができます。
ページサイズや余白、フォントを1つのProfileとしてまとめておくことで、複数の文書に同じ設定を適用することができます。
チームで同じフォーマットの文書を生成するのに便利というわけですね。
使い方としては別ファイル(例:profile.typ)で設定をまとめ、設定を反映させたいドキュメント(.typ)でimportして呼び出すだけです。
例として、以下のコードを profile.typ に保存して別のtest.typで呼び出してみましょう。
// ===============================
// 日本語学術論文向け Typst Profile
// ===============================

// ---- ページ設定(A4・広めの余白) ----
#let page-setup = (
  paper: "a4",
  margin: (top: 25mm, bottom: 25mm, left: 25mm, right: 25mm)
)

// ---- 日本語フォント設定 ----
// 長文で読みやすいフォントを採用
// ・本文:游明朝(読みやすく学術向き)
// ・見出し:游ゴシック(視認性が高い)
// ・欧文:Latin Modern(数式と相性が良い)
#let font-setup = (
  body: (
    font: "Yu Mincho",
    size: 12pt,
    lang: "ja"
  ),
  heading: (
    font: "Yu Gothic",
    weight: "bold",
    size: 18pt
  ),
  math: (
    font: "Latin Modern Math",
    size: 12pt
  )
)

// ---- 段落設定 ----
// ・行間を少し広めに
// ・段落間に適度なスペース
#let paragraph-setup = (
  par: (
    spacing: 0.8em,
    leading: 1.6em
  )
)

// ---- 色設定(落ち着いた学術向け) ----
#let color-setup = (
  heading-color: rgb("#333333"),
  body-color: rgb("#222222")
)

// ---- 見出しスタイル(level別関数) ----
#let heading-style = (
  h1: it => {
    if it.level == 1 {
      set text(font: font-setup.heading.font, weight: font-setup.heading.weight, size: font-setup.heading.size, fill: color-setup.heading-color)
      it
    } else {
      it
    }
  },
  h2: it => {
    if it.level == 2 {
      set text(font: font-setup.heading.font, weight: font-setup.heading.weight, size: 15pt, fill: color-setup.heading-color)
      it
    } else {
      it
    }
  }
)

// ---- 数式スタイル ----
// ・日本語論文でよく使う標準的なスタイル
// ・行中数式は少し小さめ
#let math-style = (
  inline: it => {
    set text(size: 11pt)
    it
  },
  display: it => {
    set text(size: 12pt)
    it
  }
)

// ---- Profile 全体をまとめる ----
#let jp-academic-profile = (
  page: page-setup,
  font: font-setup,
  paragraph: paragraph-setup,
  color: color-setup,
  heading: heading-style,
  math: math-style
)
#import "profile.typ": jp-academic-profile

// ページ設定
#set page(..jp-academic-profile.page)

// フォント
#set text(..jp-academic-profile.font.body)
#show heading: jp-academic-profile.heading.h1
#show heading: jp-academic-profile.heading.h2

// 段落
#show par: it => {
  set par(..jp-academic-profile.paragraph.par)
  it
}

// 数式
#show math.equation.where(block: false): jp-academic-profile.math.inline
#show math.equation.where(block: true): jp-academic-profile.math.display

= はじめての Typst 論文

これは日本語学術論文向けの Typst Profile のテストです。

数式も書けます: $f(x) = x^2$

== 小見出し

本文が読みやすいように、行間やフォントを調整しています。
これでProfileが設定・反映できましたね。
最後にTypstの基本文法をまとめておきます。
Typstの基本文法
-
#set- 設定を適用- 文書全体の設定を変更するコマンドです。
#set page(paper: "a4", margin: 2cm) #set text(font: "Yu Mincho", size: 12pt) #set par(spacing: 1em) -
#let- 変数・関数を定義- 値やスタイルを定義して再利用するコマンドです。
#let title-style = text(font: "Yu Gothic", size: 20pt) #show heading: set title-style -
#show- スタイル上書き- 特定要素の設定を変更するコマンドです。
#show heading: set text(font: "Yu Gothic", weight: "bold") -
見出し(Heading)
- 行頭の
=が見出しになる
= 見出し1 == 見出し2 === 見出し3 - 行頭の
一旦基本的な文法と使い方は確認できたので、今日はここまでにします。
またしばらく使ってみて、感想を残そうと思います。それではまた👋