はじめに
AWS Amplifyで手頃なチュートリアル見つけたのでやってみました
React + Amplify + AppSync + DynamoDB でサーバーレスなToDoアプリを作成します
https://docs.amplify.aws/start/q/integration/react/
AWS Amplifyとは
スケーラブルなモバイルアプリケーションとウェブアプリケーションをすばやく構築するもの
BackendとUIをまとめて構築、管理できる
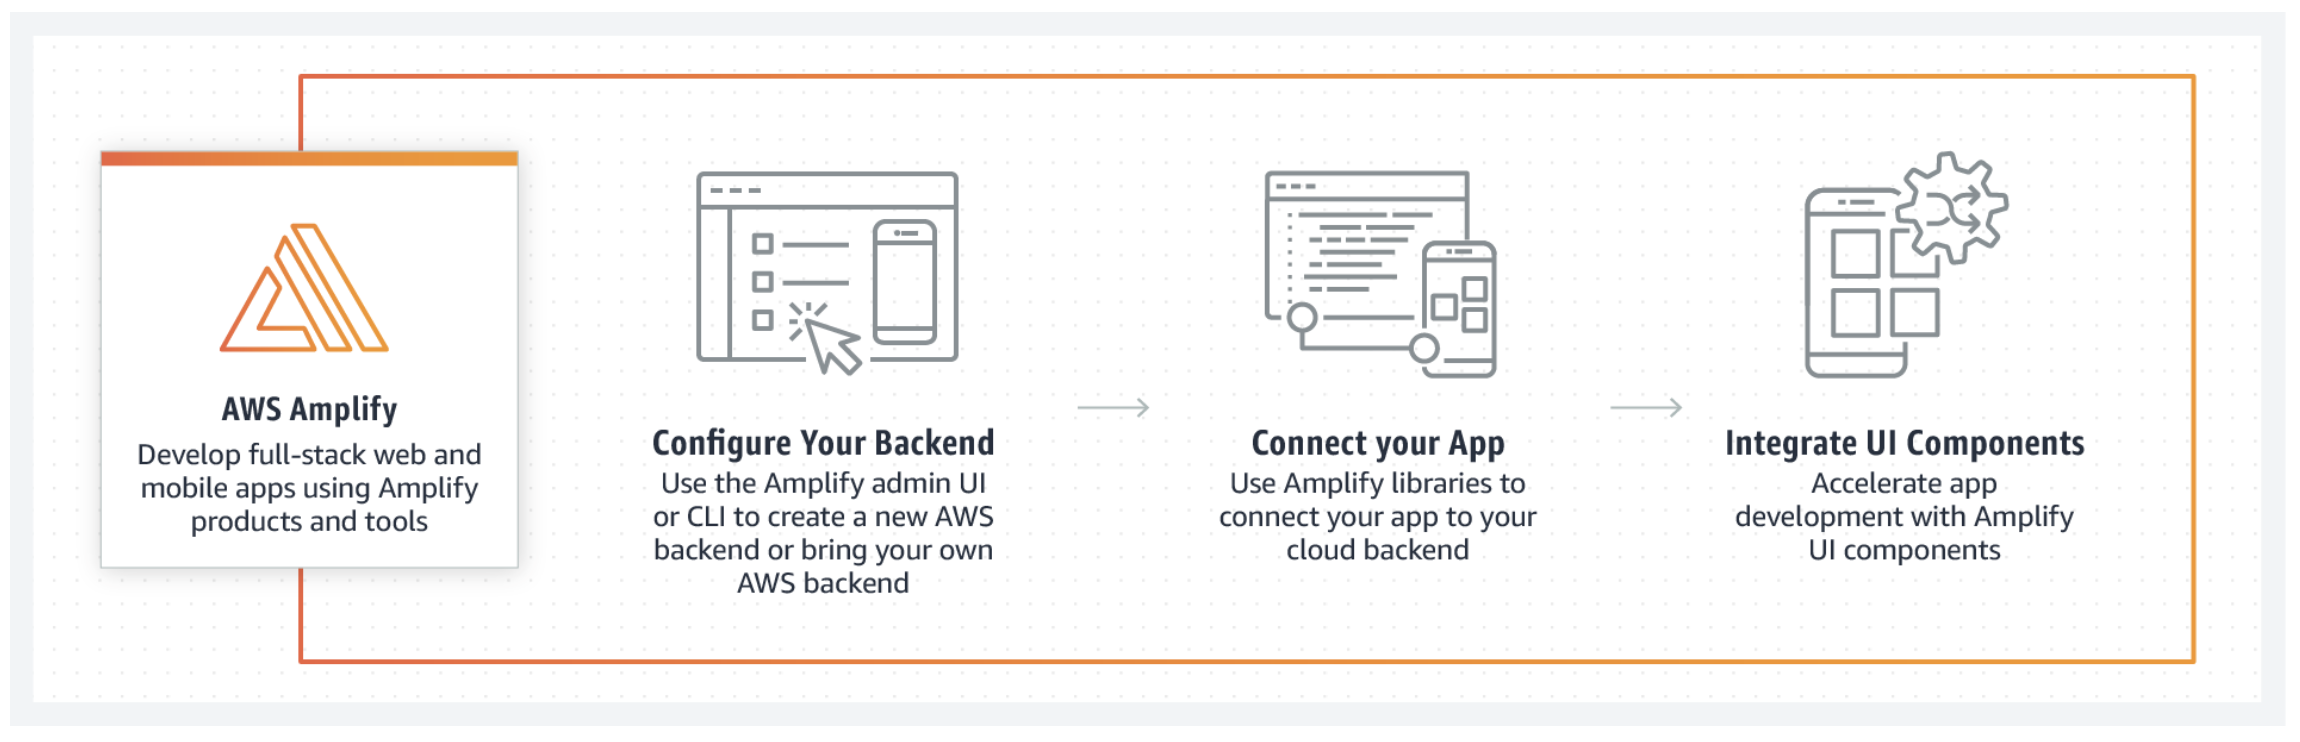
引用元:https://aws.amazon.com/jp/amplify/
AWS Amplify でToDoアプリを作ってみる
0. 前提環境
- Node.js v12.x以降
- NPM V5.x 以降
- git v2.14.1以降
1. amplify/cliをインストールしてセットアップする
amplify/cliをインストール
$ sudo npm install -g @aws-amplify/cli
amplify/cliのセットアップ
$ amplify configure
Follow these steps to set up access to your AWS account:

Sign in to your AWS administrator account:
https://console.aws.amazon.com/
AWSコンソールにadministratorでログイン
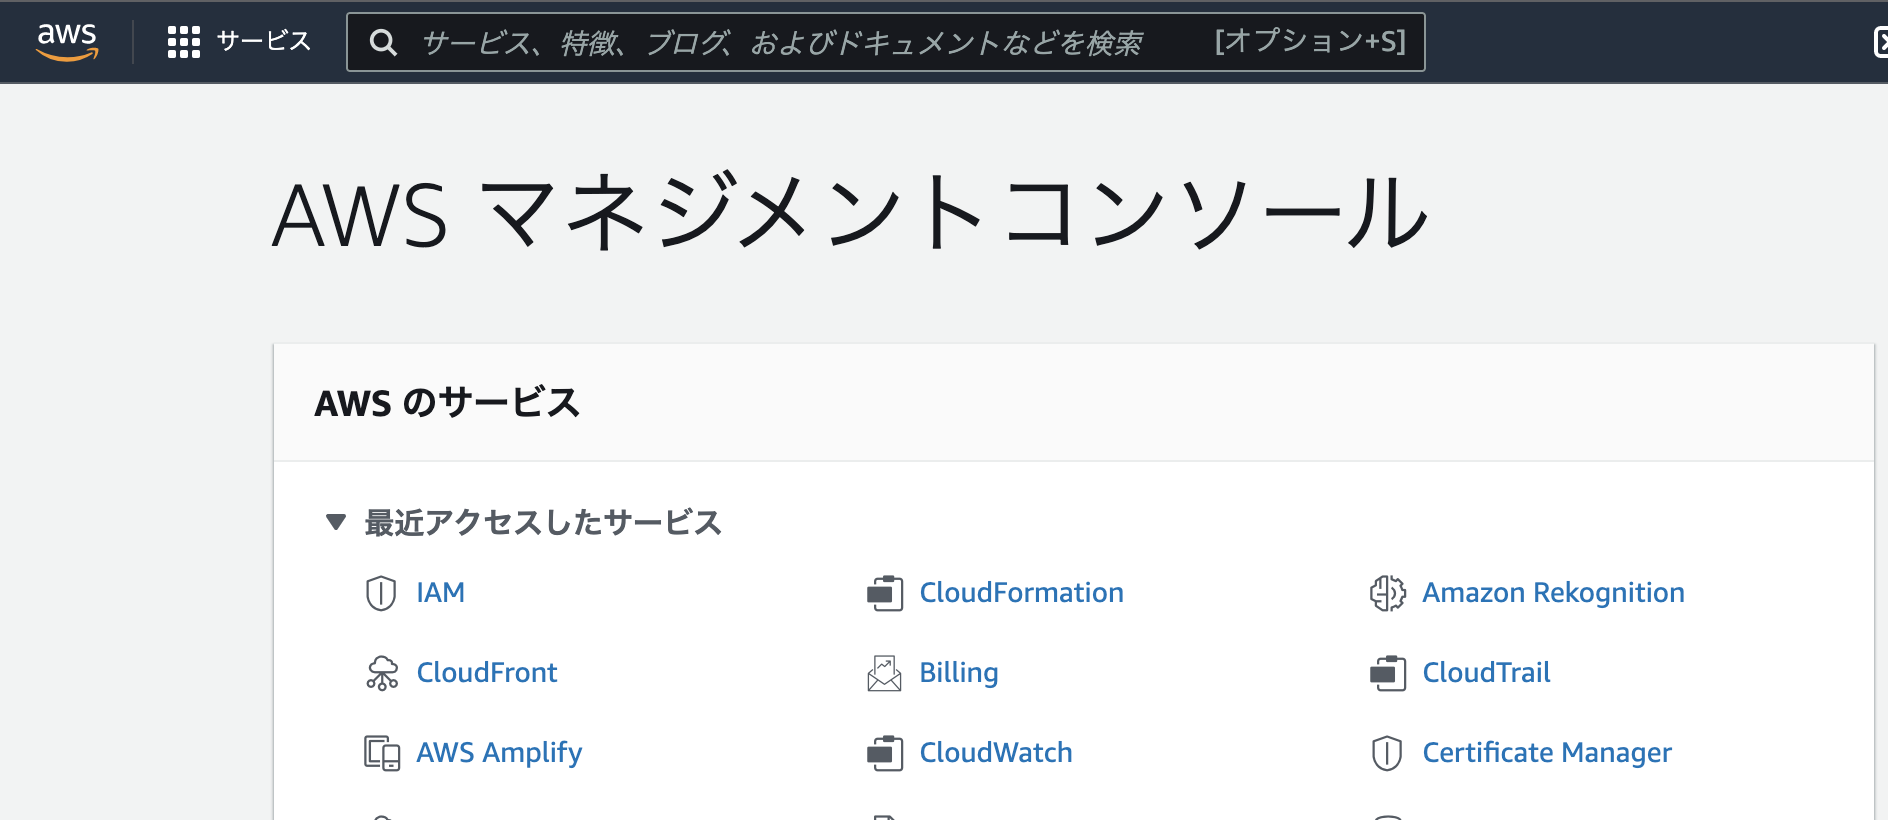
AWSコンソールにログイン後、ターミナルに戻ってEnter
regionとuser name を入力すると、AWSコンソールのIAM画面がブラウザに表示される
Press Enter to continue

Specify the AWS Region
? region:  us-east-1
Specify the username of the new IAM user:
? user name:  amplify-user
Complete the user creation using the AWS console
https://console.aws.amazon.com/iam/home?region=us-east-1#/users$new?step=final&accessKey&userNames=amplify-user&permissionType=policies&policies=arn:aws:iam::aws:policy%2FAdministratorAccess
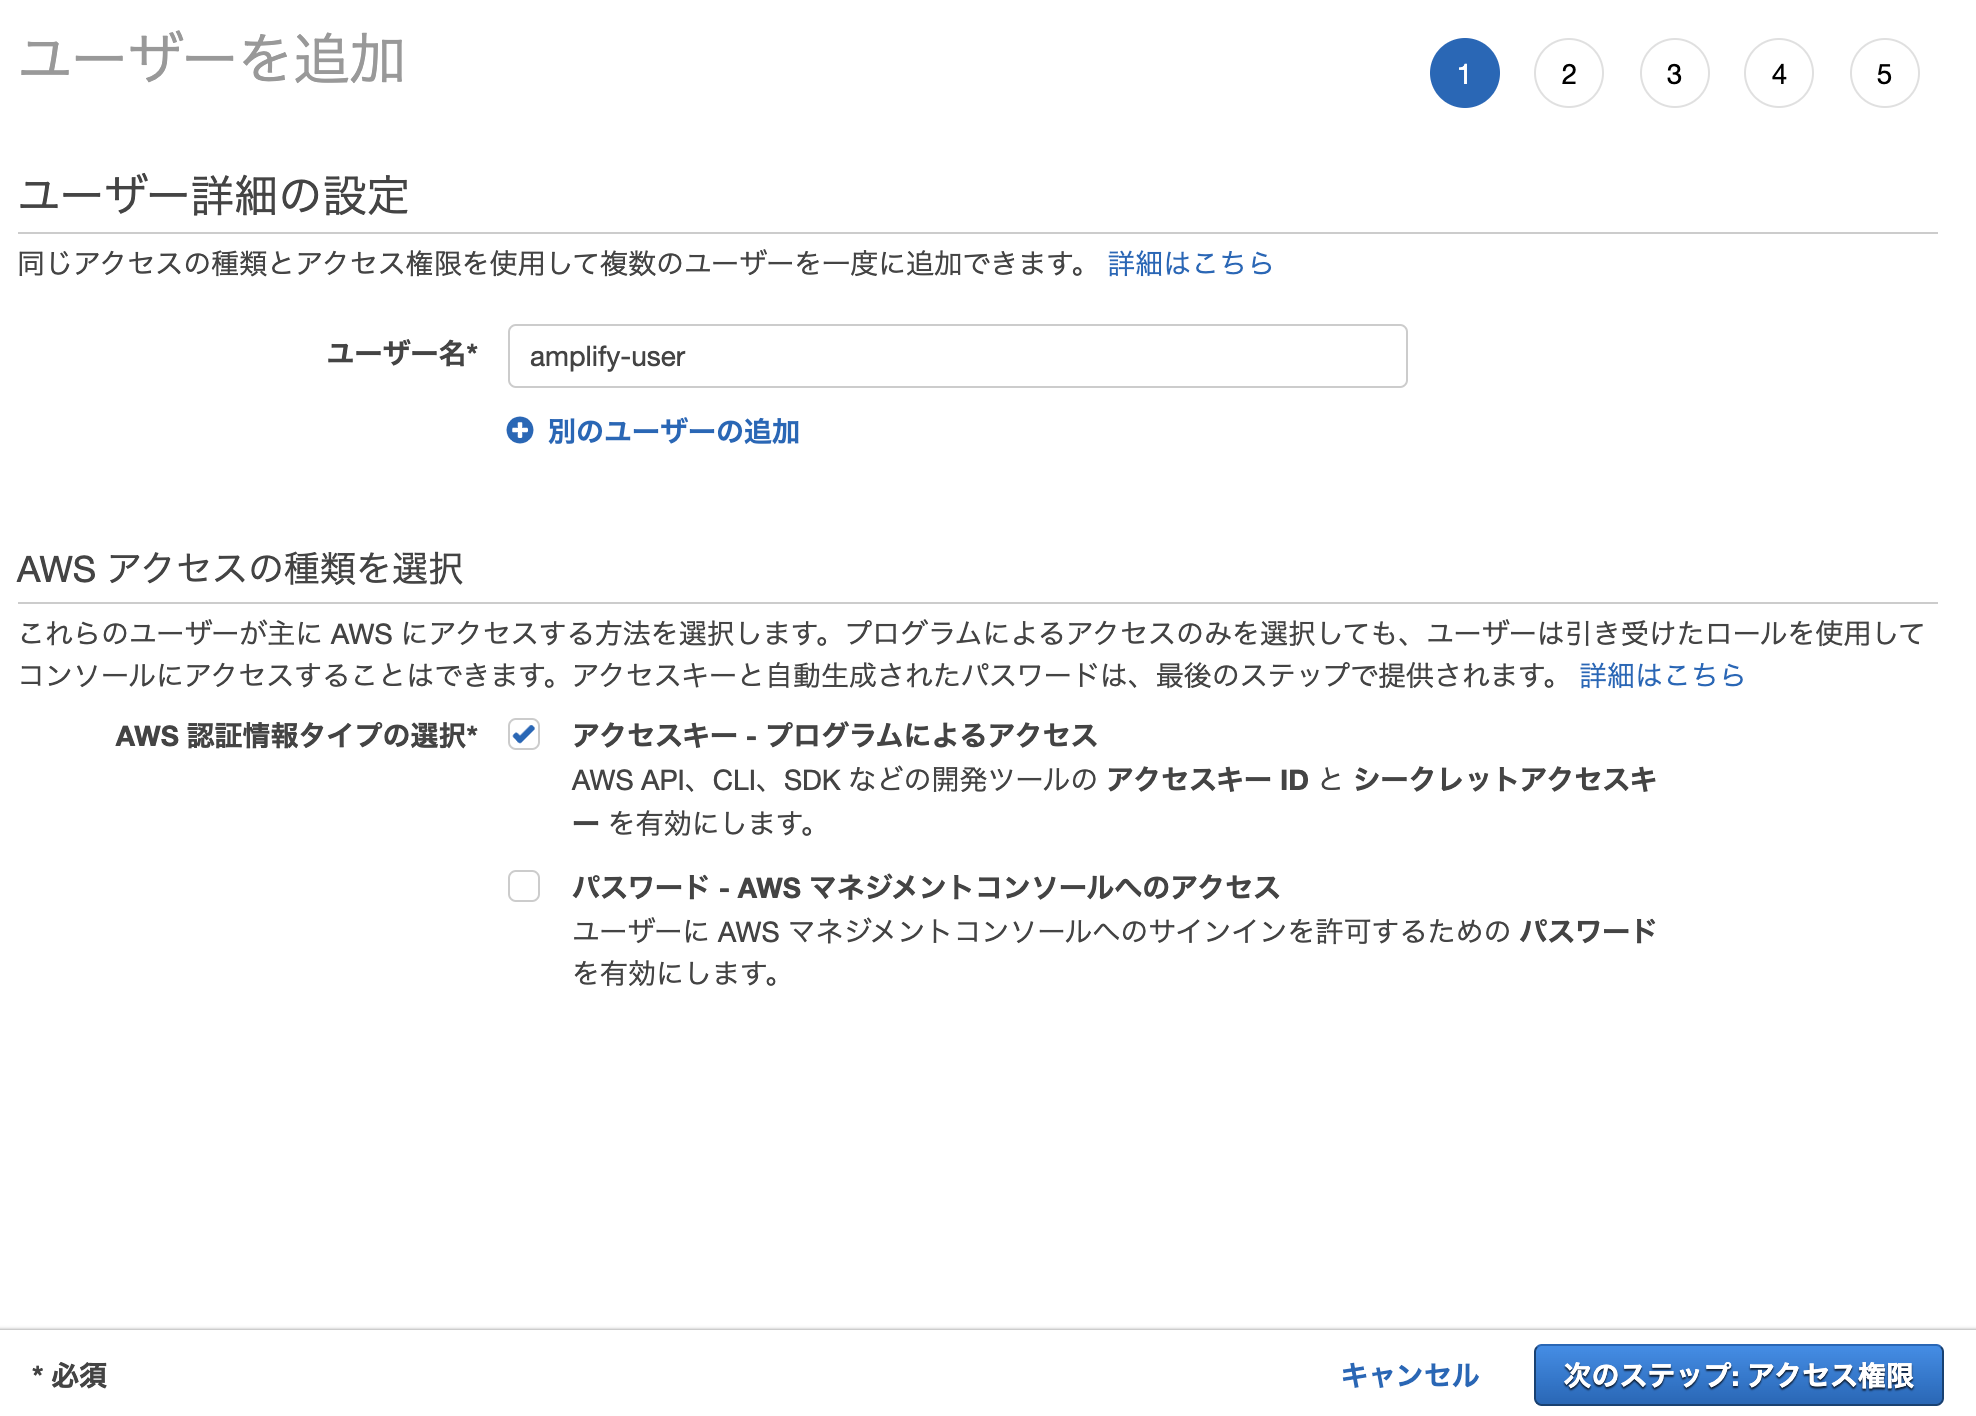
ユーザー名、AWS認証情報タイプの選択はデフォルトのまま次のステップへ
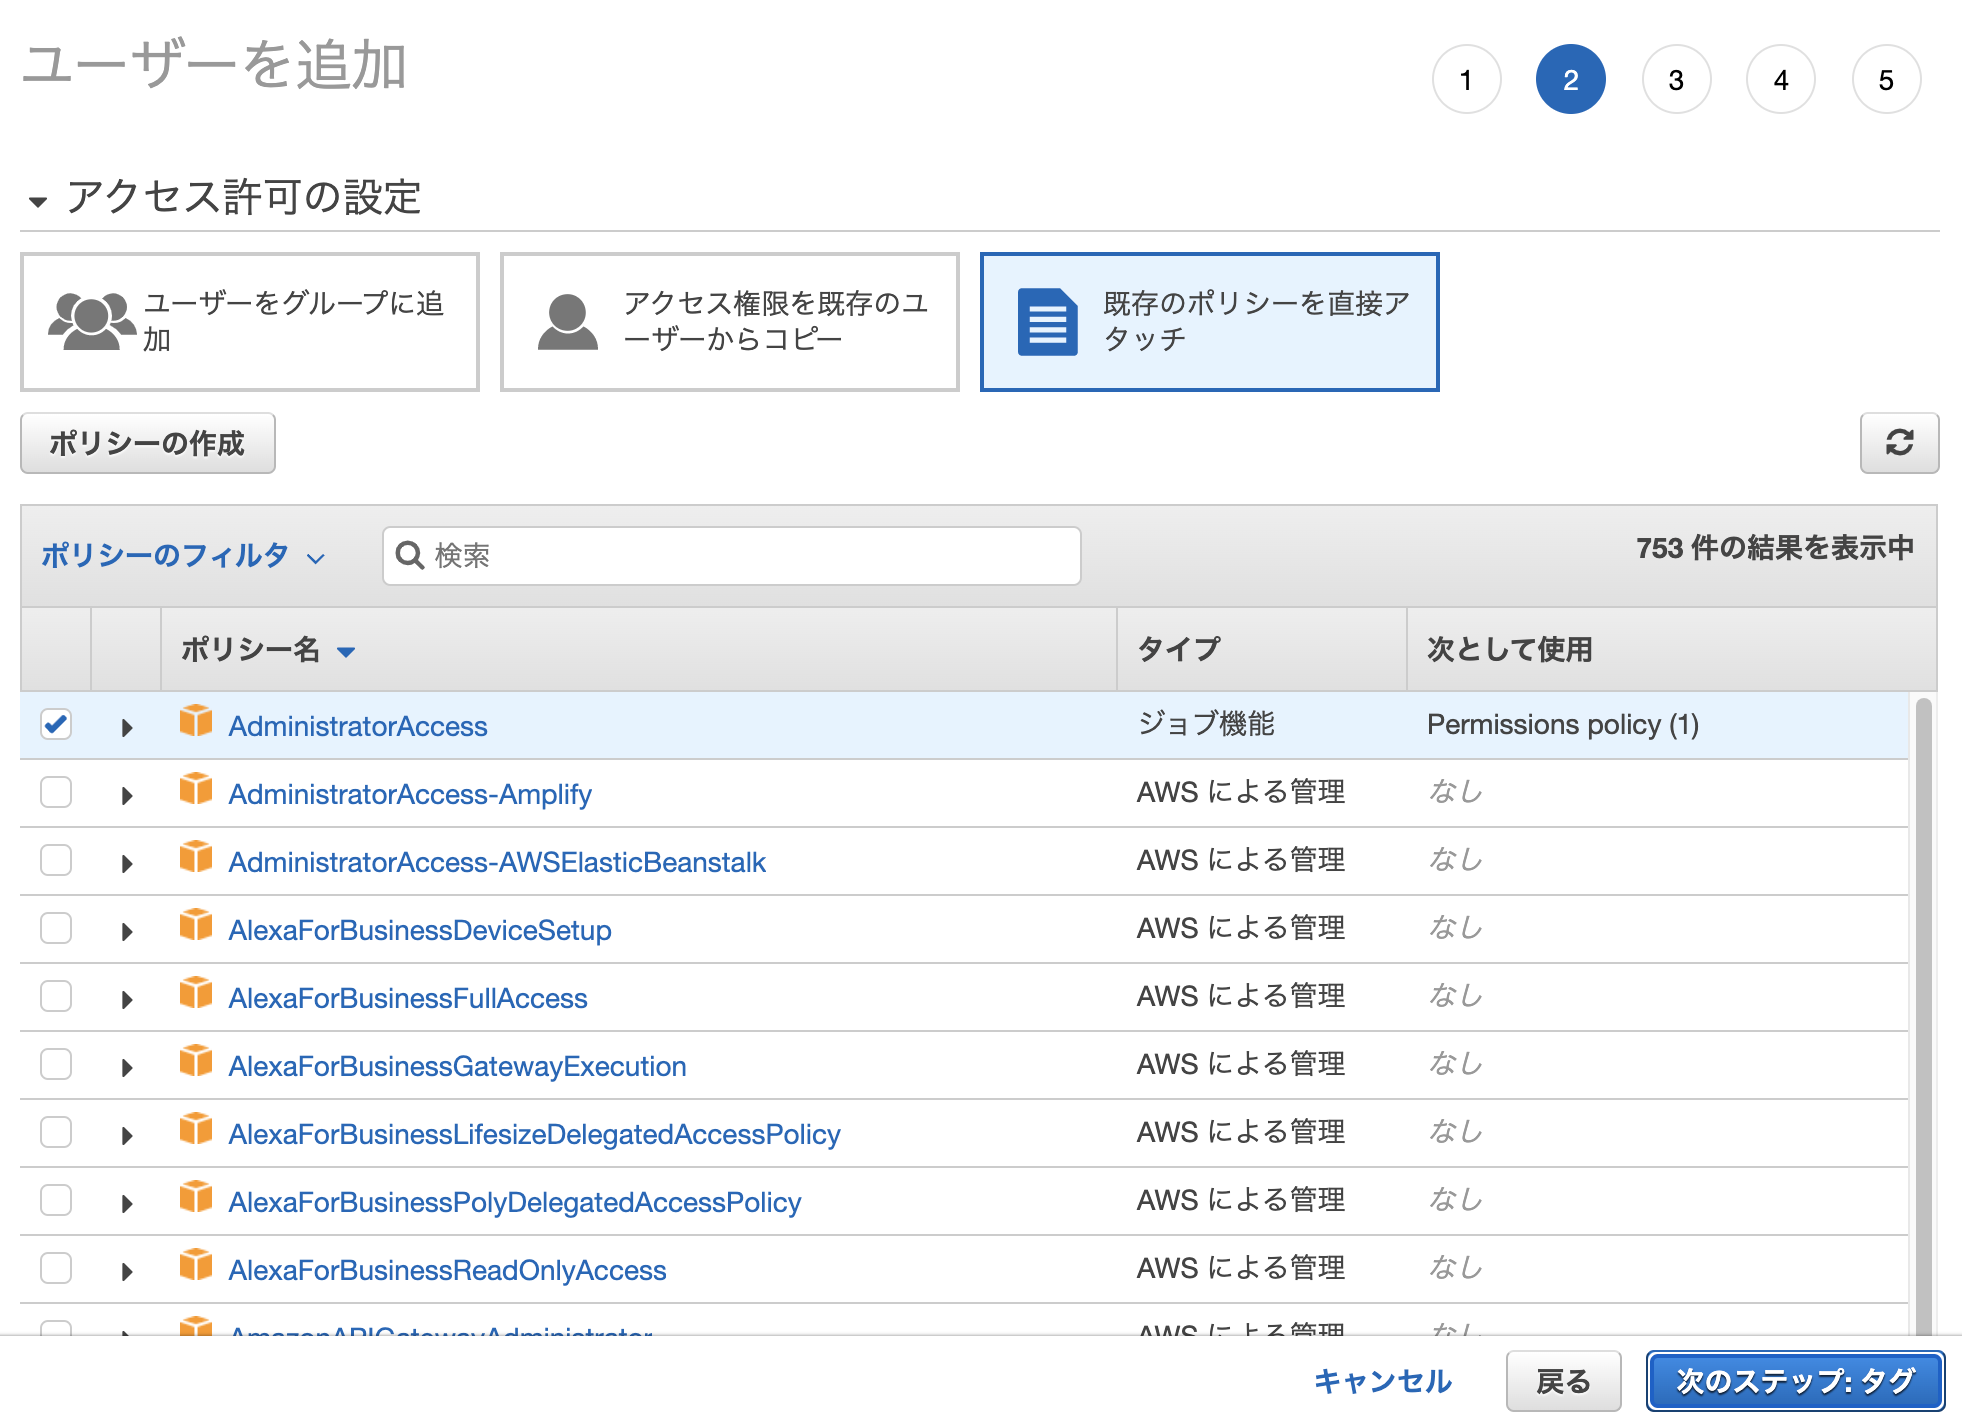
アクセス許可はデフォルトのまま次のステップへ
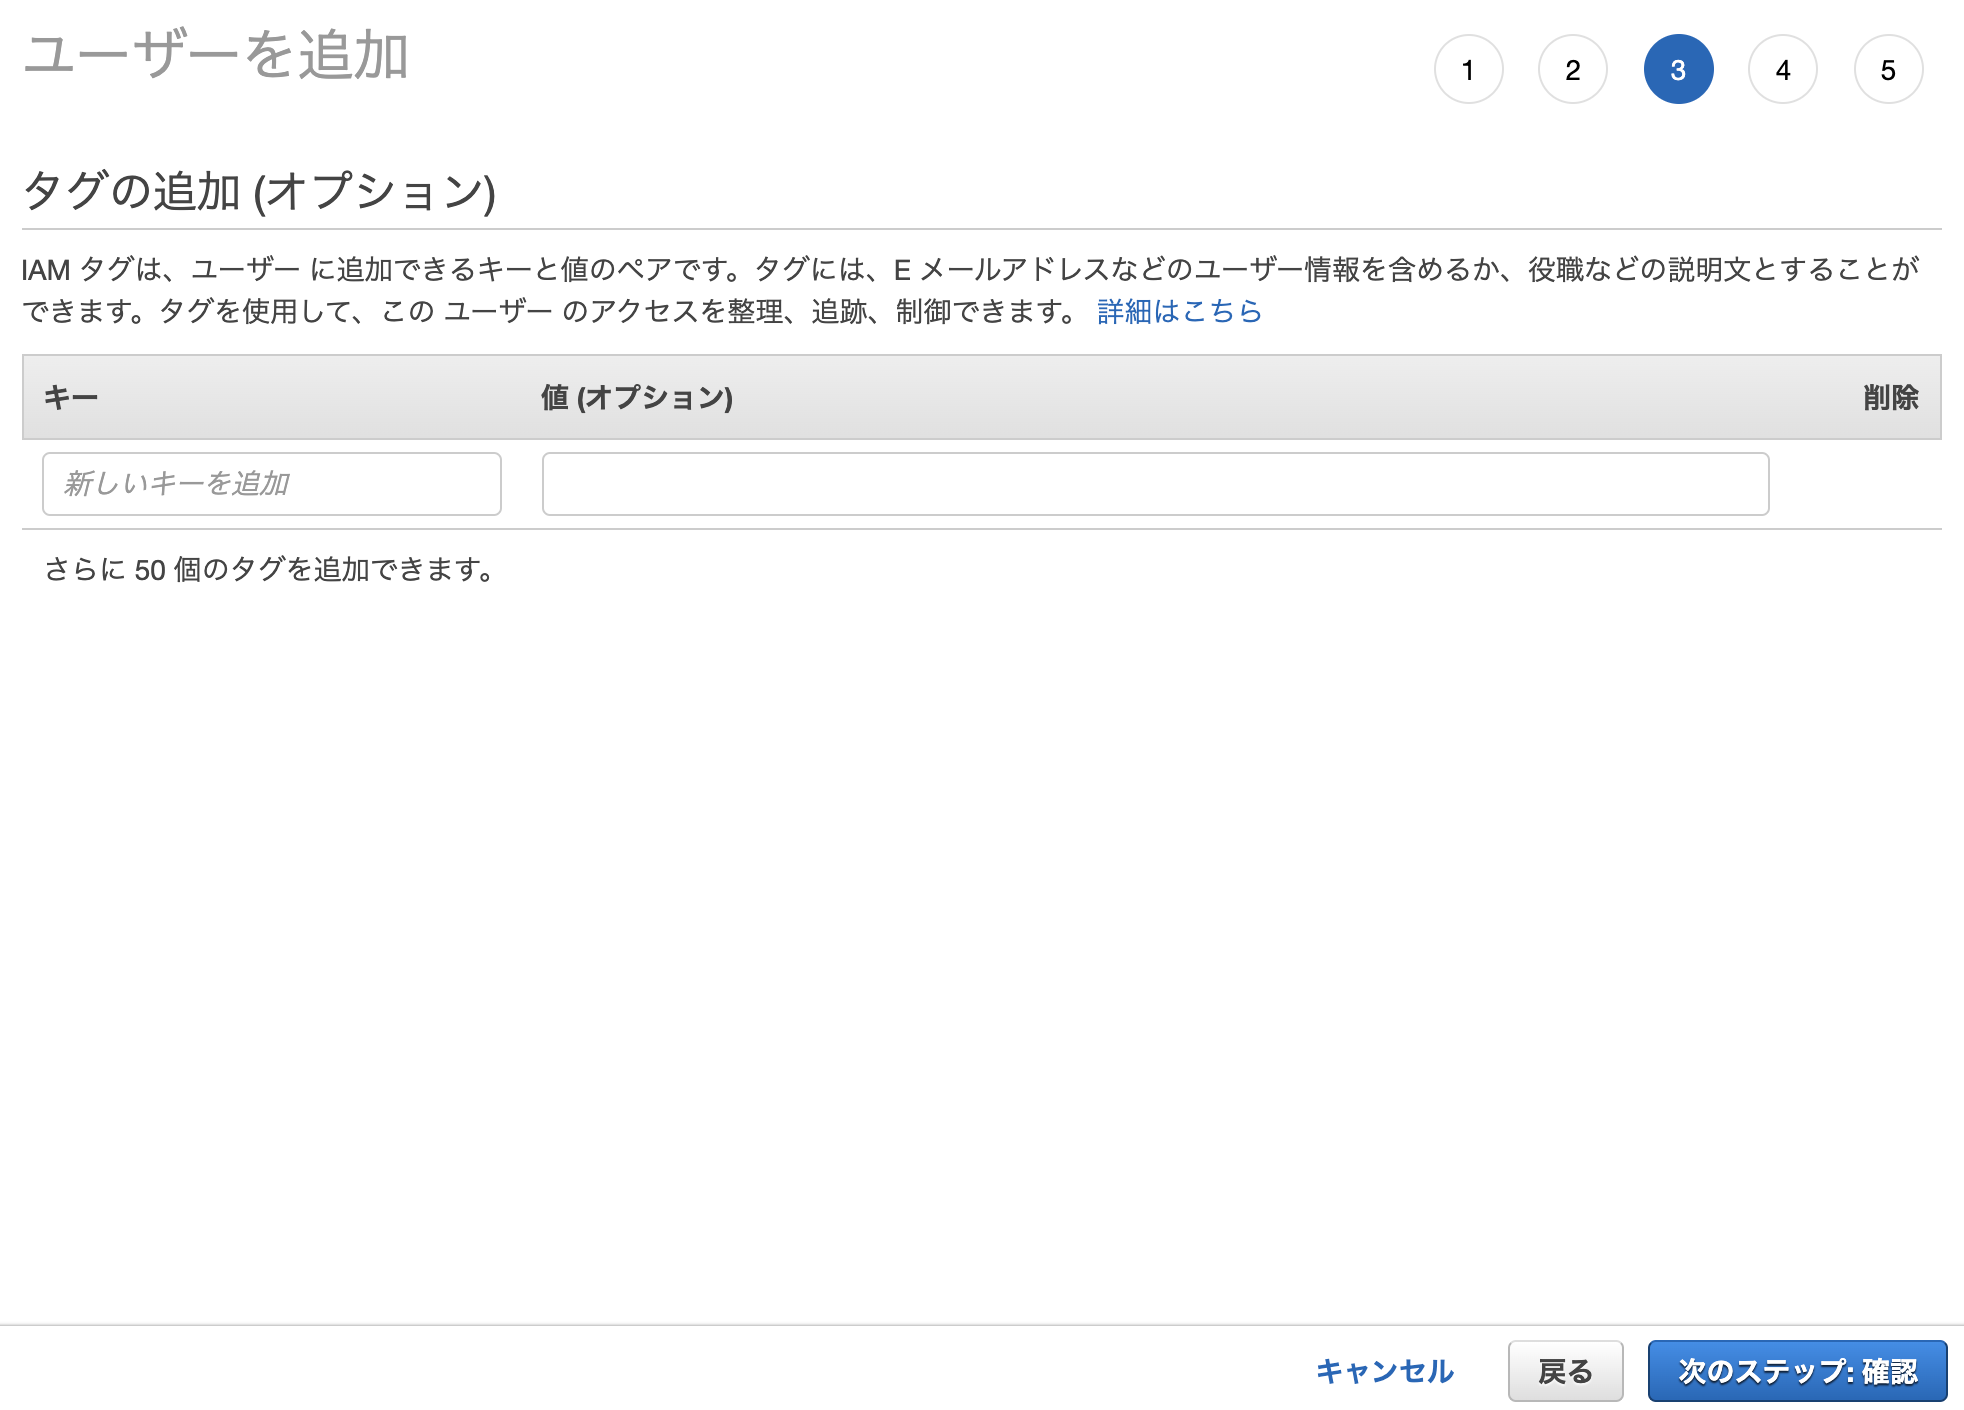
タグはデフォルトのまま次のステップへ
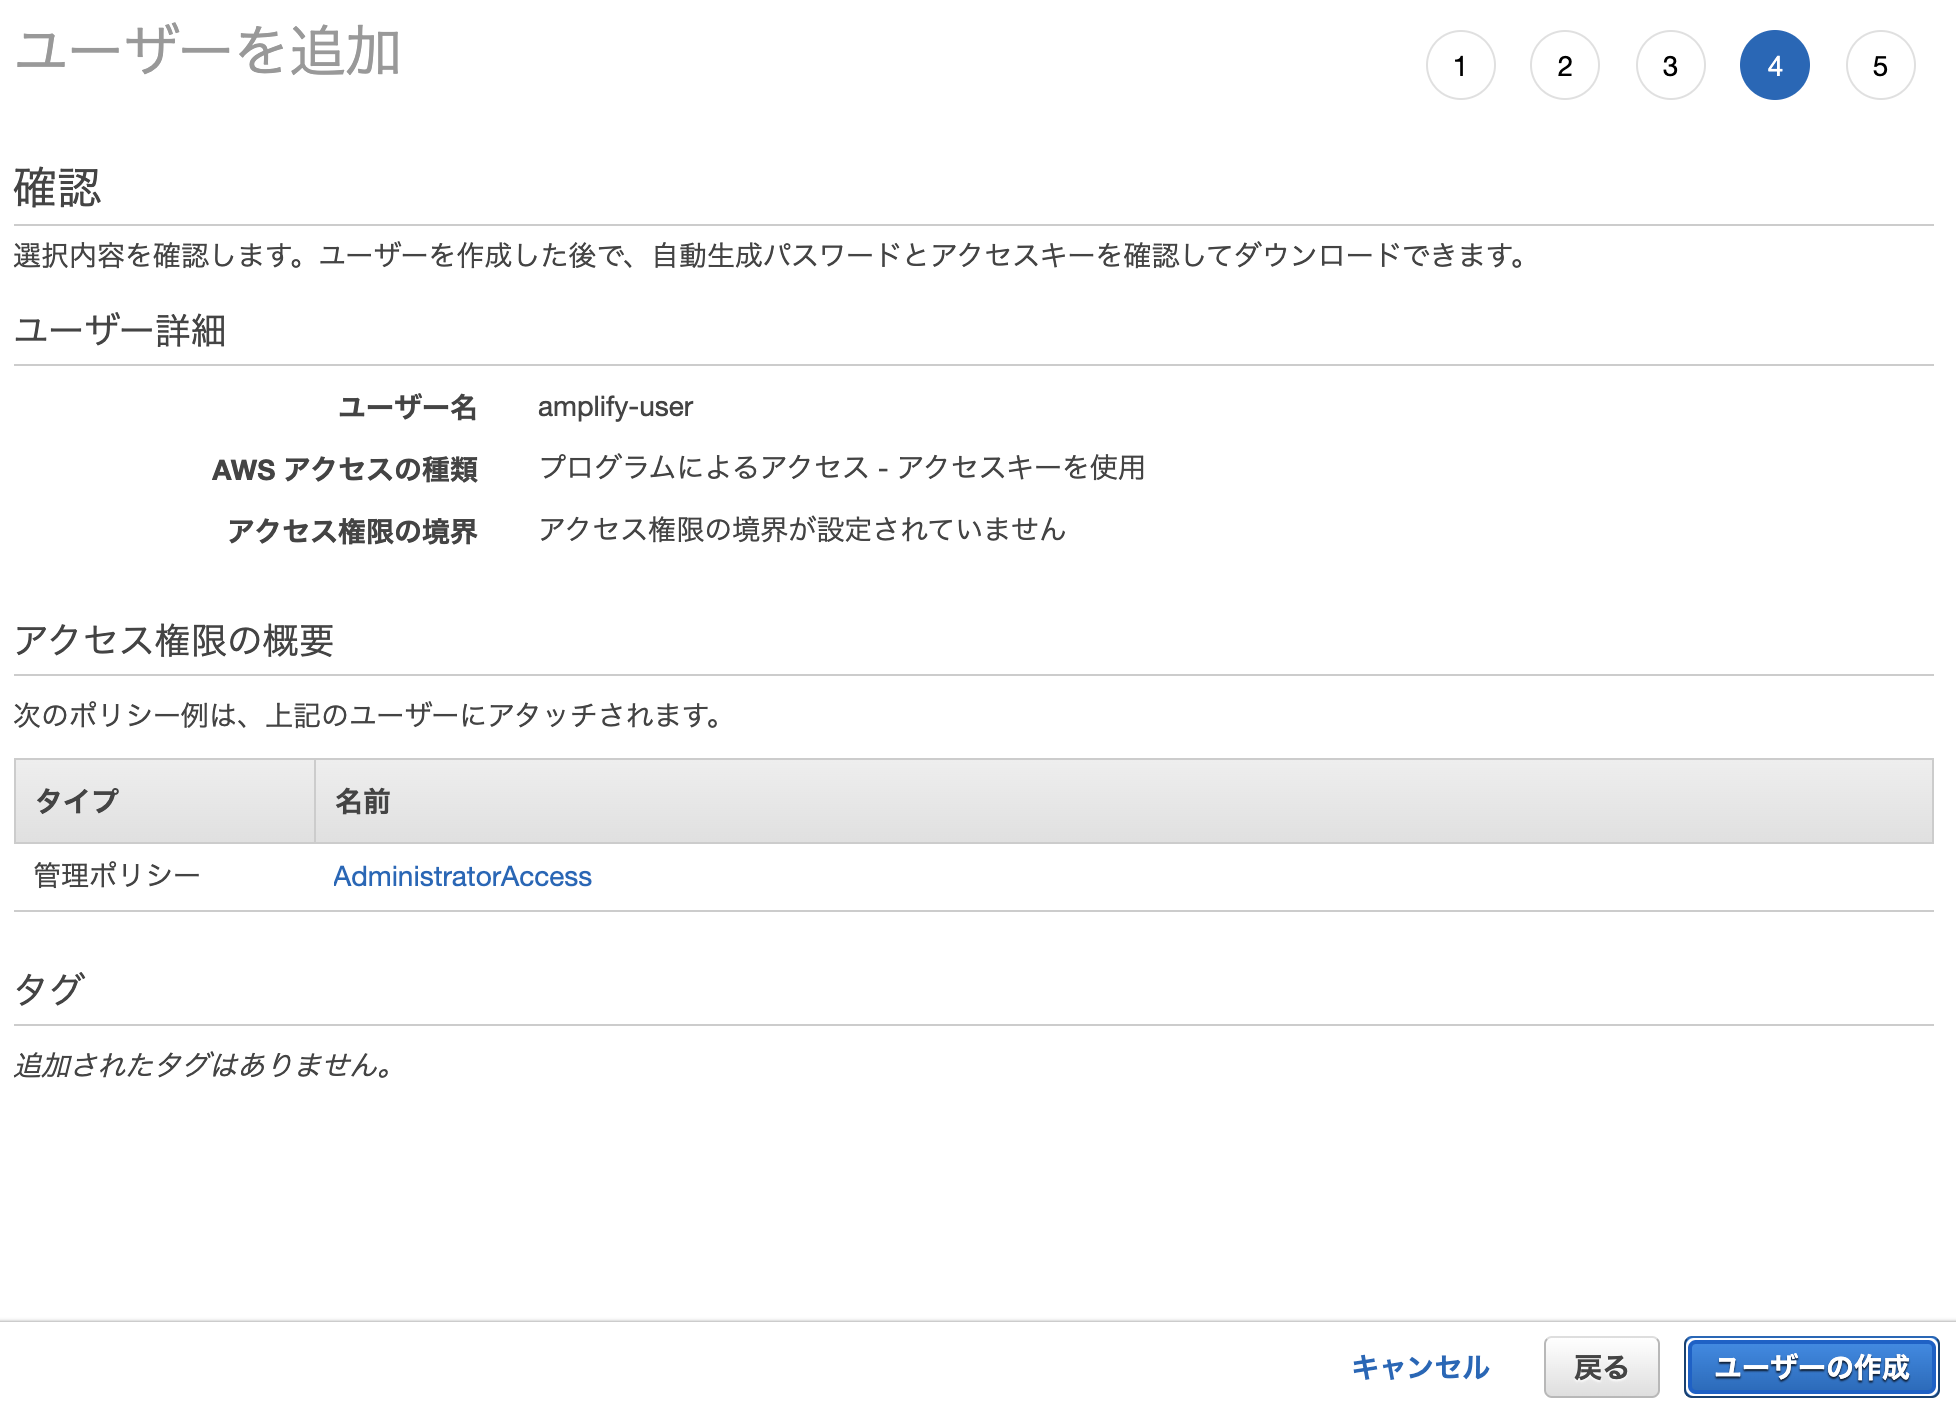
ユーザー情報を確認しユーザーの作成
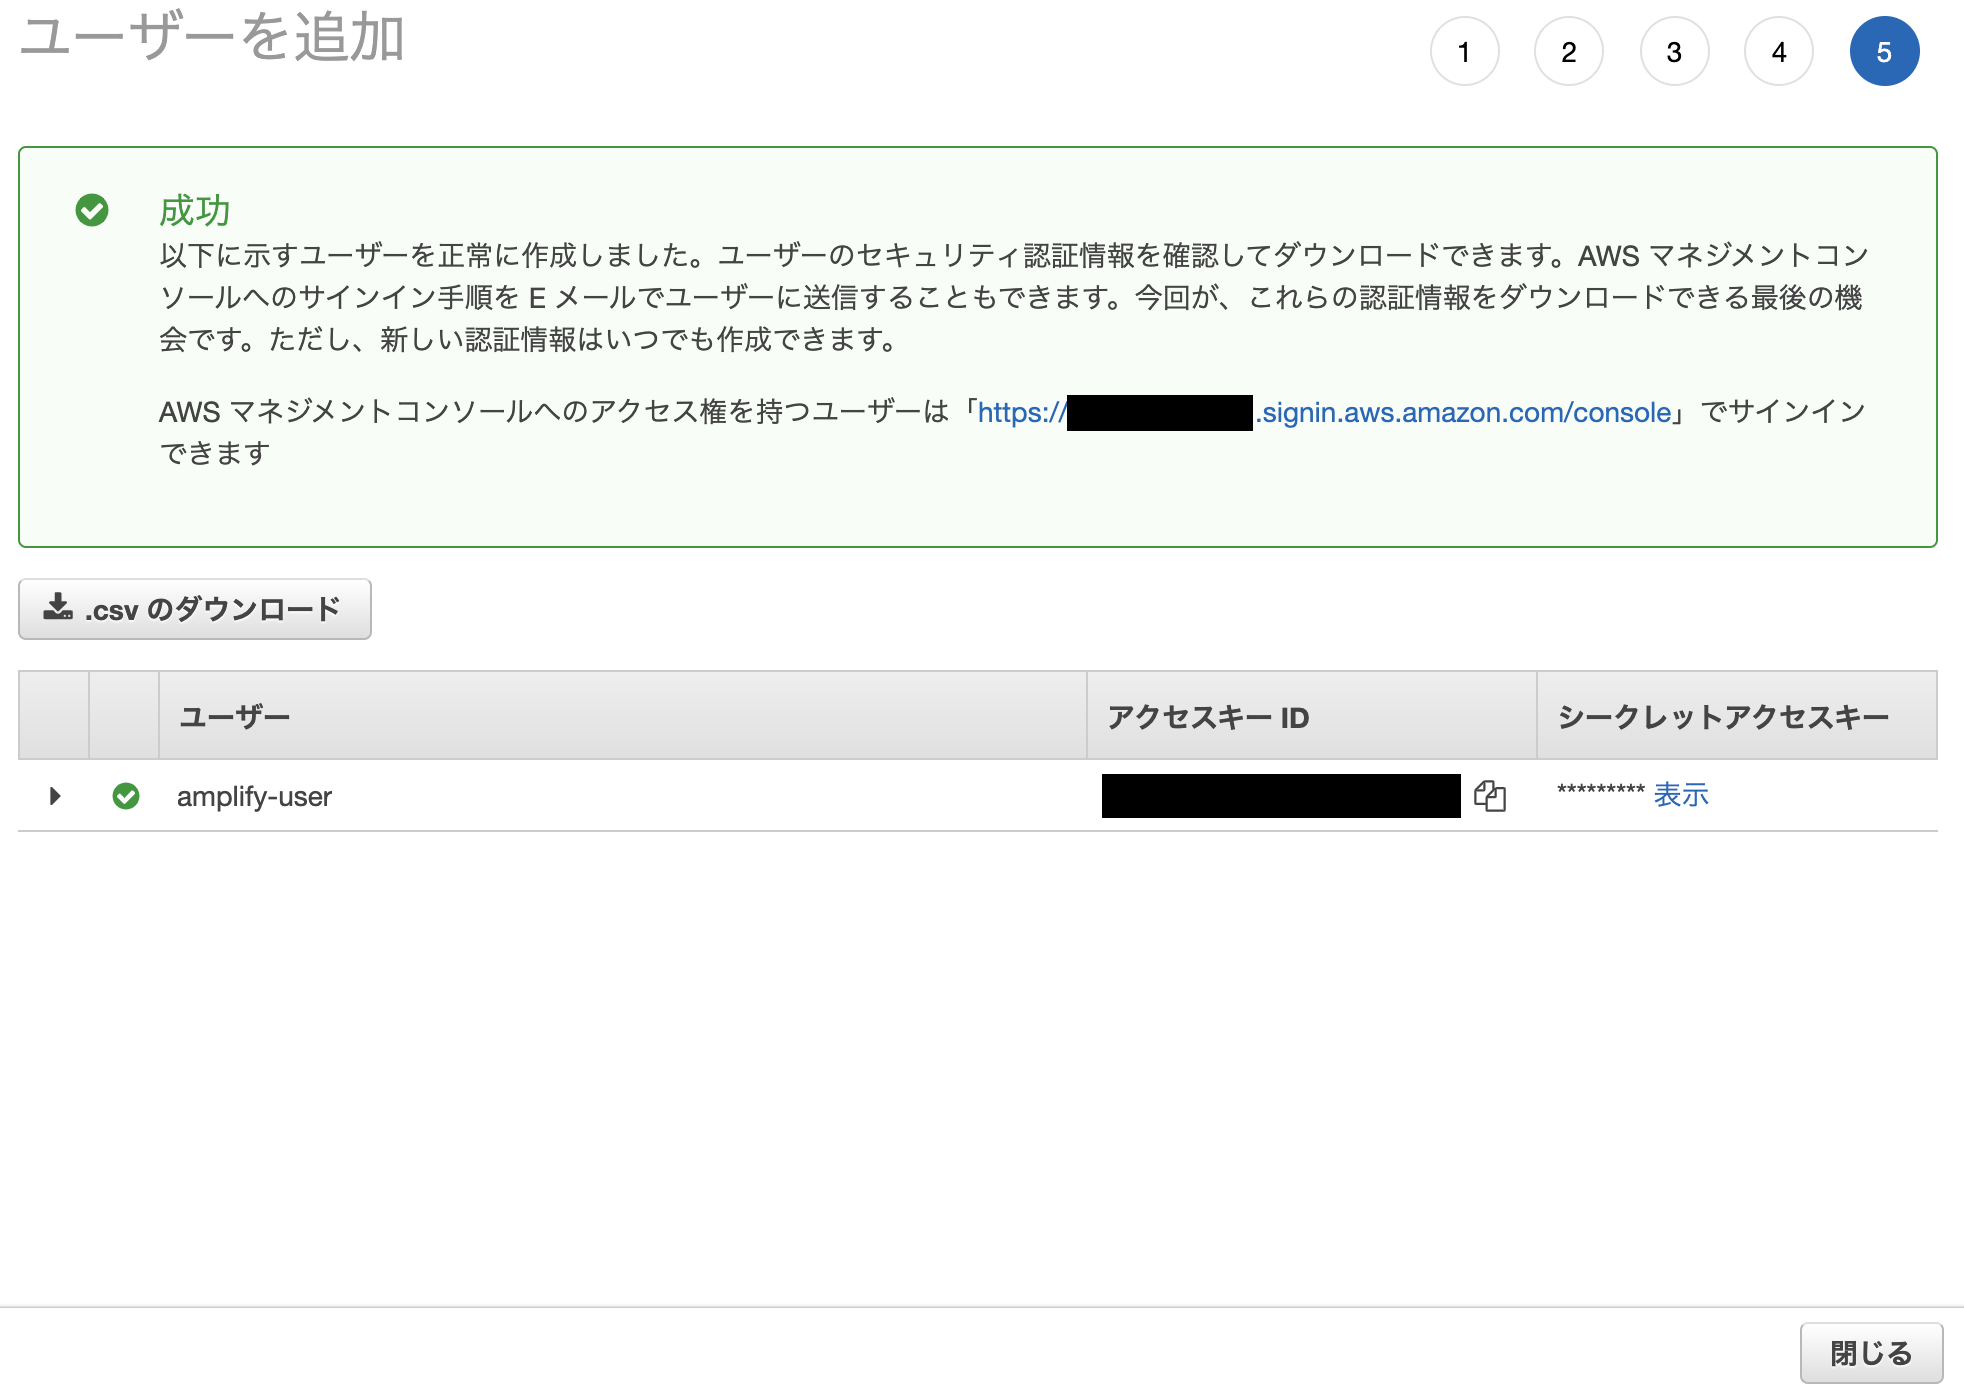
ユーザー作成完了
「アクセスキーID」と「シークレットアクセスキー」はあとで使うので控えておく
ターミナルに戻ってEnter
先ほど控えた「アクセスキーID」と「シークレットアクセスキー」を入力
Press Enter to continue

Enter the access key of the newly created user:
? accessKeyId:  ********************
? secretAccessKey:  ****************************************
This would update/create the AWS Profile in your local machine
? Profile Name:  default

Successfully set up the new user.
2. Reactアプリを作成する
Reactアプリを作成する
※2021/11/29現在 @latest無しだとインストールに失敗した。こちらのバグレポートが関係しているよう
$ npx create-react-app@latest react-amplified
~~~省略~~
We suggest that you begin by typing:

  cd react-amplified
  npm start

Happy hacking!
ローカルで画面を確認する
$ cd react-amplified
$ npm start
~~省略~~
Compiled successfully!

You can now view react-amplified in the browser.

  Local:            http://localhost:3000
  On Your Network:  http://192.168.11.6:3000

Note that the development build is not optimized.
To create a production build, use npm run build.
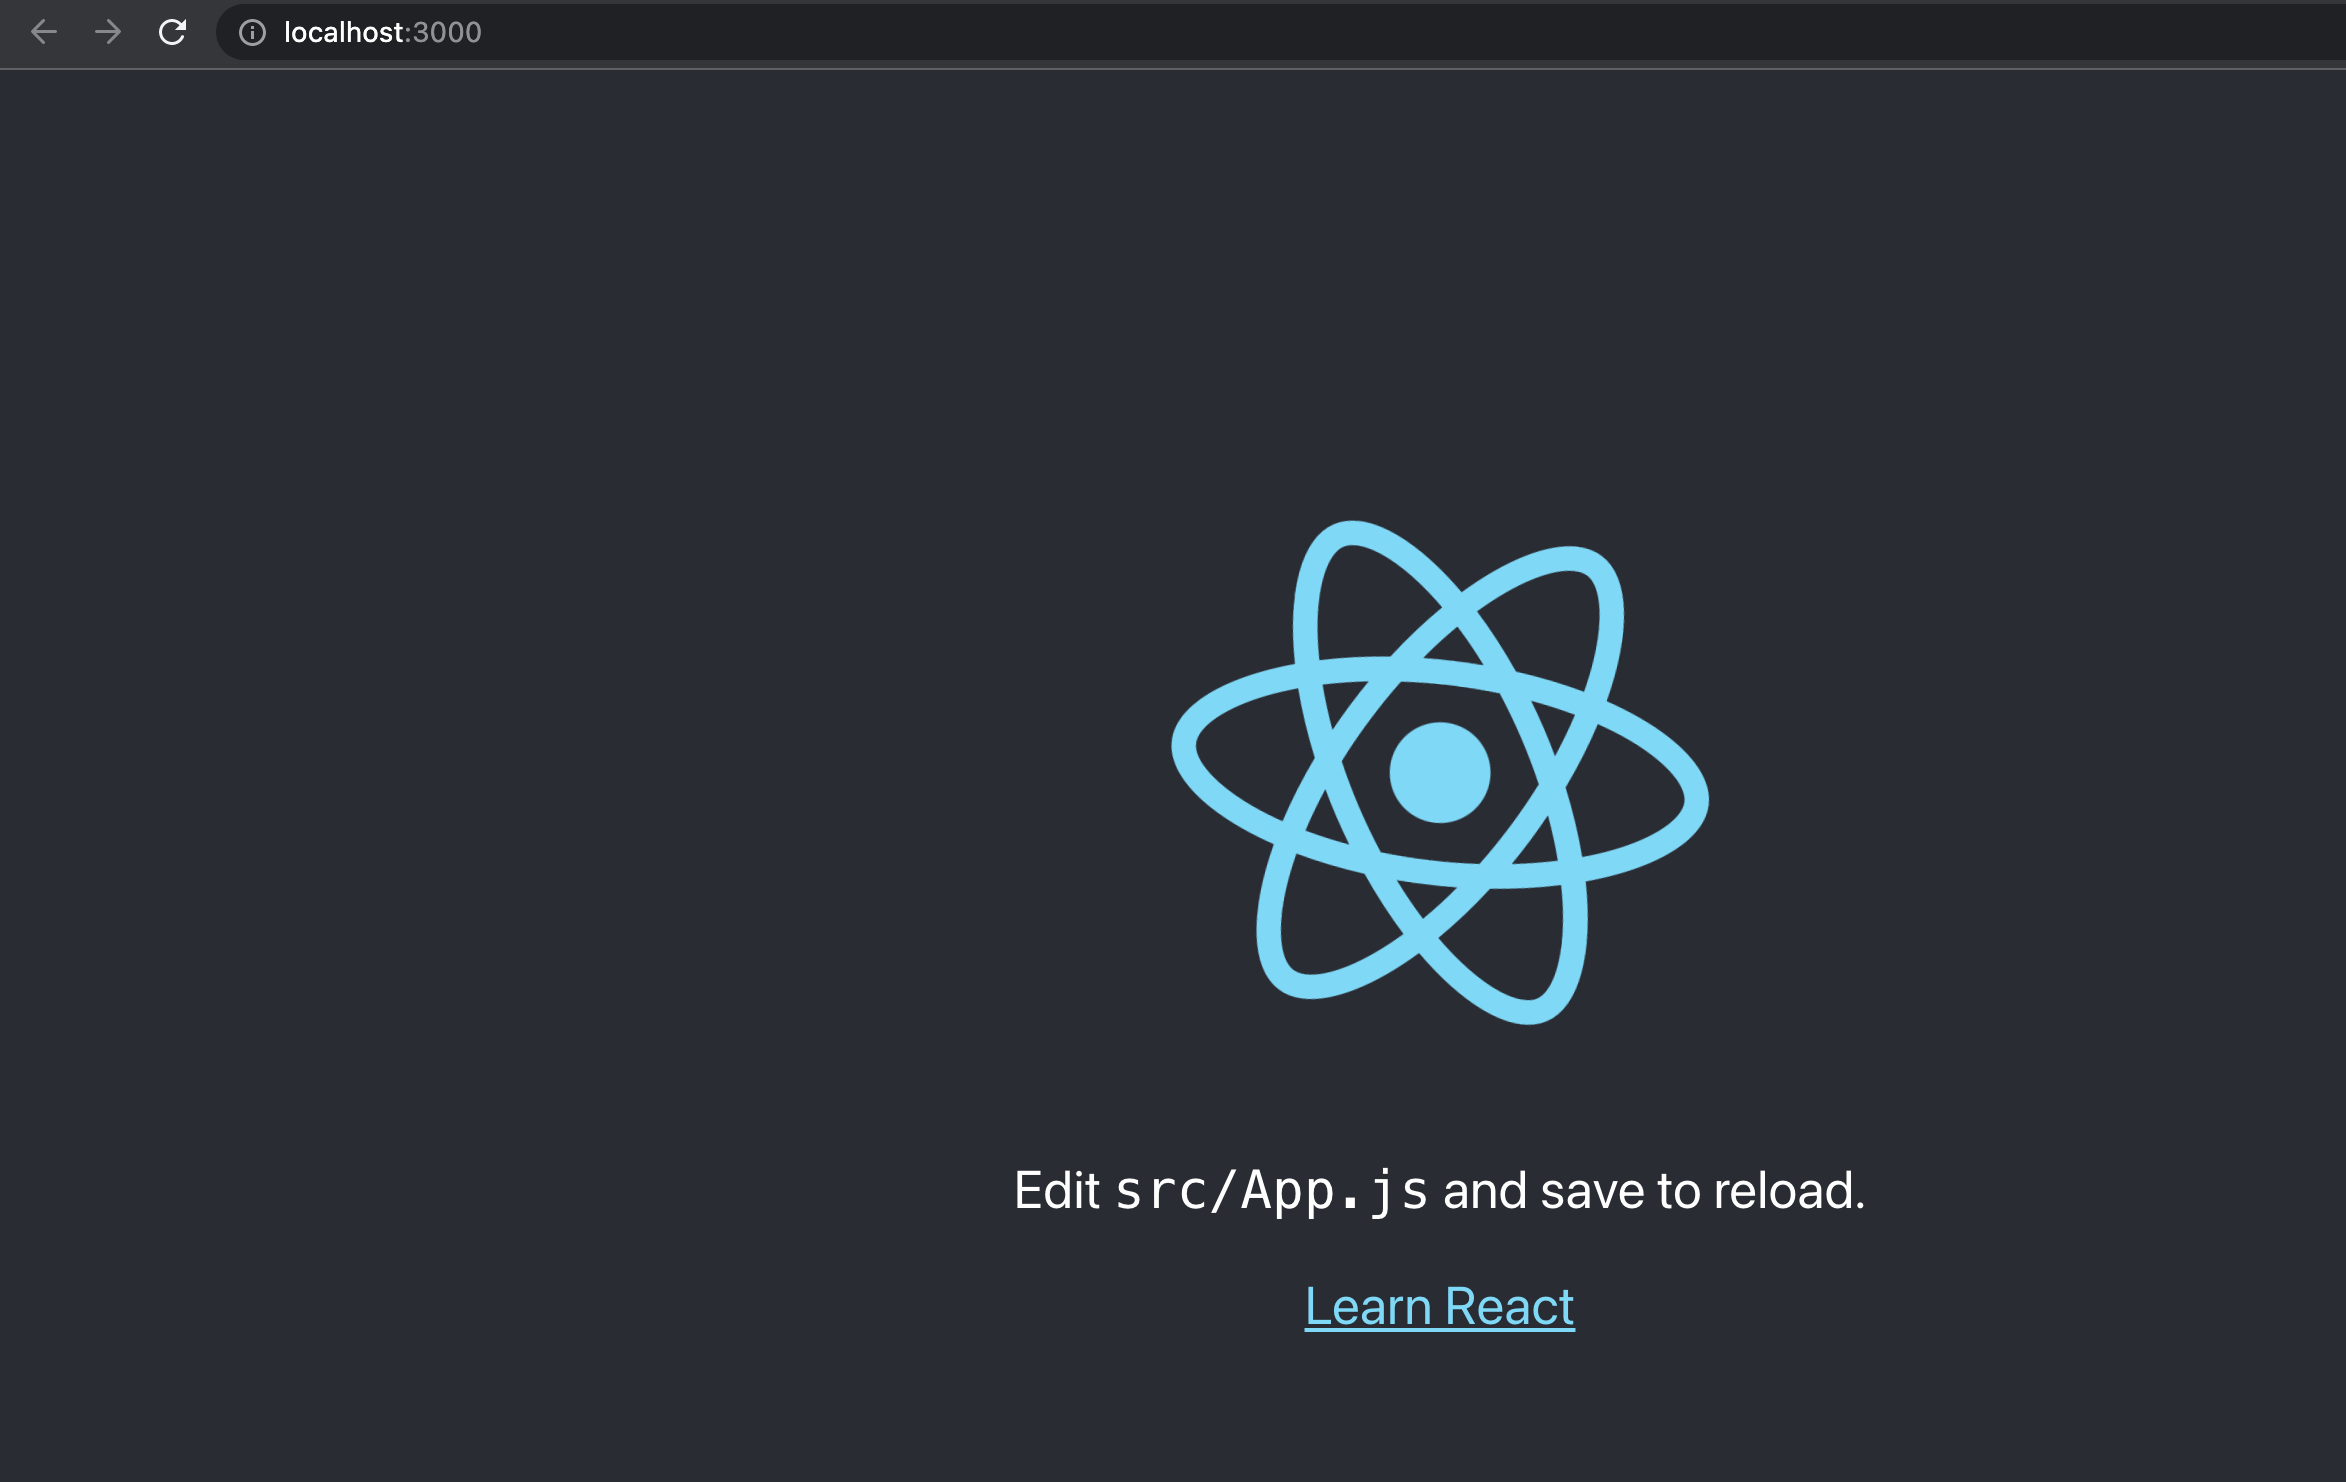
Reactアプリ画面が表示される
3. バックエンドを初期化する
バックエンドを初期化する
デフォルトのままEnter
$ amplify init
Note: It is recommended to run this command from the root of your app directory
? Enter a name for the project reactamplified
The following configuration will be applied:

Project information
| Name: reactamplified
| Environment: dev
| Default editor: Visual Studio Code
| App type: javascript
| Javascript framework: react
| Source Directory Path: src
| Distribution Directory Path: build
| Build Command: npm run-script build
| Start Command: npm run-script start

? Initialize the project with the above configuration? Yes
Using default provider  awscloudformation
? Select the authentication method you want to use: AWS profile

For more information on AWS Profiles, see:
https://docs.aws.amazon.com/cli/latest/userguide/cli-configure-profiles.html

? Please choose the profile you want to use default
Adding backend environment dev to AWS Amplify app: dxleXXXX
~~省略~~
Some next steps:
"amplify status" will show you what you've added already and if it's locally configured or deployed
"amplify add <category>" will allow you to add features like user login or a backend API
"amplify push" will build all your local backend resources and provision it in the cloud
"amplify console" to open the Amplify Console and view your project status
"amplify publish" will build all your local backend and frontend resources (if you have hosting category added) and provision it in the cloud

Pro tip:
Try "amplify add api" to create a backend API and then "amplify publish" to deploy everything
4. Amplifyライブラリをインストールする
Amplifyライブラリをインストールする
$ npm install aws-amplify @aws-amplify/ui-react@1.x.x
5. フロントエンドを設定する
src/index.jsのimportの最下部に以下を追加
import Amplify from "aws-amplify";
import awsExports from "./aws-exports";
Amplify.configure(awsExports);
追記後のsrc/index.js
import React from 'react';
import ReactDOM from 'react-dom';
import './index.css';
import App from './App';
import reportWebVitals from './reportWebVitals';
import Amplify from "aws-amplify";
import awsExports from "./aws-exports";
Amplify.configure(awsExports);
ReactDOM.render(
  <React.StrictMode>
    <App />
  </React.StrictMode>,
  document.getElementById('root')
);

// If you want to start measuring performance in your app, pass a function
// to log results (for example: reportWebVitals(console.log))
// or send to an analytics endpoint. Learn more: https://bit.ly/CRA-vitals
reportWebVitals();
6. GraphQL APIとデータベースを作成する
GraphQL API と データベースを作成する
デフォルトのままEnter、最後にエディタを選択する
$ amplify add api
? Select from one of the below mentioned services: GraphQL
? Here is the GraphQL API that we will create. Select a setting to edit or continue Continue
? Choose a schema template: Single object with fields (e.g., “Todo” with ID, name, description)

⚠️  WARNING: your GraphQL API currently allows public create, read, update, and delete access to all models via an API Key. To configure PRODUCTION-READY authorization rules, review: https://docs.amplify.aws/cli/graphql/authorization-rules

GraphQL schema compiled successfully.

Edit your schema at /XXXX/react-amplified/amplify/backend/api/reactamplified/schema.graphql or place .graphql files in a directory at /XXXX/react-amplified/amplify/backend/api/reactamplified/schema
✔ Do you want to edit the schema now? (Y/n) · yes
? Choose your default editor: (Use arrow keys)
❯ Visual Studio Code
  Android Studio
  Xcode (Mac OS only)
  Atom Editor
  Sublime Text
  IntelliJ IDEA
  Vim (via Terminal, Mac OS only)
(Move up and down to reveal more choices)
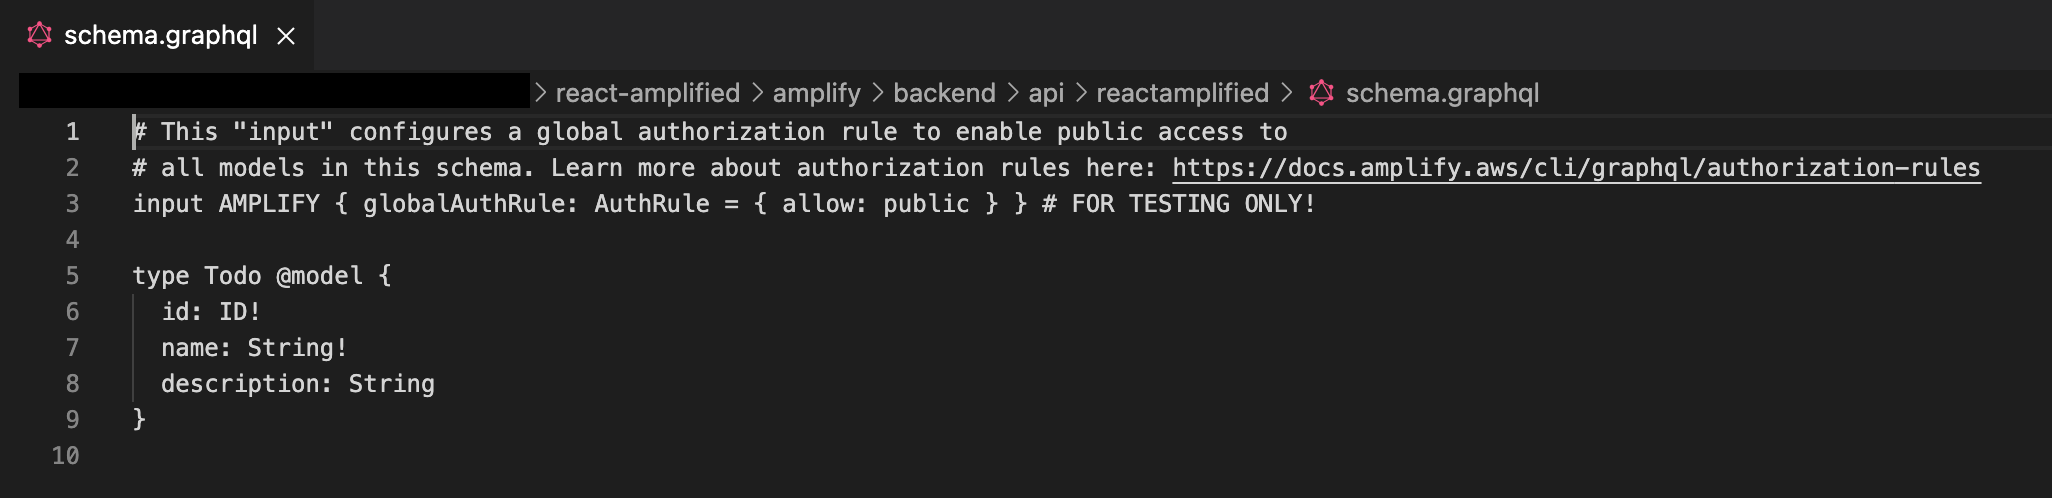
選択したエディタにGraphQLスキーマが表示される
7. APIのデプロイ
APIをデプロイする
$ amplify push
~~省略~~
GraphQL endpoint: https://dgsXXXX.appsync-api.us-east-1.amazonaws.com/graphql
GraphQL API KEY: da2-vkaXXXX
APIのステータスを確認する
$ amplify status

    Current Environment: dev

┌──────────┬────────────────┬───────────┬───────────────────┐
│ Category │ Resource name  │ Operation │ Provider plugin   │
├──────────┼────────────────┼───────────┼───────────────────┤
│ Api      │ reactamplified │ No Change │ awscloudformation │
└──────────┴────────────────┴───────────┴───────────────────┘

GraphQL endpoint: https://dgsXXXX.appsync-api.us-east-1.amazonaws.com/graphql
GraphQL API KEY: da2-vkaXXXX
8. フロントエンドからAPIに接続する
src/App.jsを以下に置き換える
/* src/App.js */
import React, { useEffect, useState } from 'react'
import Amplify, { API, graphqlOperation } from 'aws-amplify'
import { createTodo } from './graphql/mutations'
import { listTodos } from './graphql/queries'

import awsExports from "./aws-exports";
Amplify.configure(awsExports);

const initialState = { name: '', description: '' }

const App = () => {
  const [formState, setFormState] = useState(initialState)
  const [todos, setTodos] = useState([])

  useEffect(() => {
    fetchTodos()
  }, [])

  function setInput(key, value) {
    setFormState({ ...formState, [key]: value })
  }

  async function fetchTodos() {
    try {
      const todoData = await API.graphql(graphqlOperation(listTodos))
      const todos = todoData.data.listTodos.items
      setTodos(todos)
    } catch (err) { console.log('error fetching todos') }
  }

  async function addTodo() {
    try {
      if (!formState.name || !formState.description) return
      const todo = { ...formState }
      setTodos([...todos, todo])
      setFormState(initialState)
      await API.graphql(graphqlOperation(createTodo, {input: todo}))
    } catch (err) {
      console.log('error creating todo:', err)
    }
  }

  return (
    <div style={styles.container}>
      <h2>Amplify Todos</h2>
      <input
        onChange={event => setInput('name', event.target.value)}
        style={styles.input}
        value={formState.name}
        placeholder="Name"
      />
      <input
        onChange={event => setInput('description', event.target.value)}
        style={styles.input}
        value={formState.description}
        placeholder="Description"
      />
      <button style={styles.button} onClick={addTodo}>Create Todo</button>
      {
        todos.map((todo, index) => (
          <div key={todo.id ? todo.id : index} style={styles.todo}>
            <p style={styles.todoName}>{todo.name}</p>
            <p style={styles.todoDescription}>{todo.description}</p>
          </div>
        ))
      }
    </div>
  )
}

const styles = {
  container: { width: 400, margin: '0 auto', display: 'flex', flexDirection: 'column', justifyContent: 'center', padding: 20 },
  todo: {  marginBottom: 15 },
  input: { border: 'none', backgroundColor: '#ddd', marginBottom: 10, padding: 8, fontSize: 18 },
  todoName: { fontSize: 20, fontWeight: 'bold' },
  todoDescription: { marginBottom: 0 },
  button: { backgroundColor: 'black', color: 'white', outline: 'none', fontSize: 18, padding: '12px 0px' }
}

export default App
ローカルで確認する
$ npm start
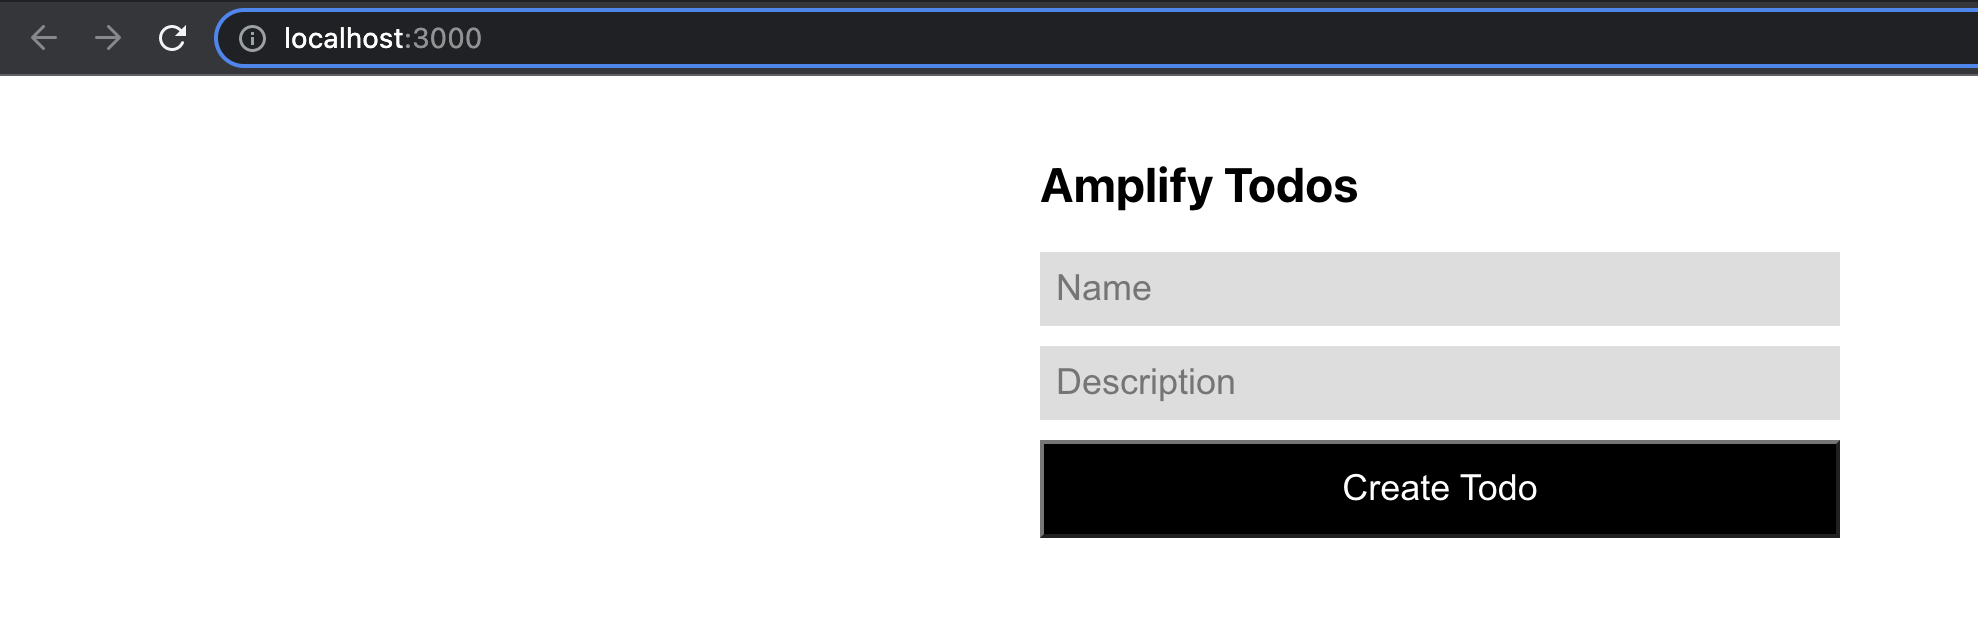
ToDo画面が表示される
9. 認証を追加する
認証を追加する
デフォルトでEnter
$ amplify add auth
~~省略~~
Some next steps:
"amplify push" will build all your local backend resources and provision it in the cloud
"amplify publish" will build all your local backend and frontend resources (if you have hosting category added) and provision it in the cloud
デプロイ
$ amplify push
~~省略~~
All resources are updated in the cloud
amplifyのステータスでAuthが追加されていることを確認する
$ amplify status
~~省略~~

    Current Environment: dev

┌──────────┬────────────────────────┬───────────┬───────────────────┐
│ Category │ Resource name          │ Operation │ Provider plugin   │
├──────────┼────────────────────────┼───────────┼───────────────────┤
│ Api      │ reactamplified         │ No Change │ awscloudformation │
├──────────┼────────────────────────┼───────────┼───────────────────┤
│ Auth     │ reactamplified91c68478 │ No Change │ awscloudformation │
└──────────┴────────────────────────┴───────────┴───────────────────┘

GraphQL endpoint: https://dgsXXXX.appsync-api.us-east-1.amazonaws.com/graphql
GraphQL API KEY: da2-vkaXXXX
10. ログイン画面作成
src/App.jsを修正
10-1. importに以下を追加
import { withAuthenticator } from '@aws-amplify/ui-react'
10-2. デフォルトのエクスポートをwithAuthenticator、メインコンポーネントをラップするように変更します。
export default withAuthenticator(App)
10-3. 修正後のsrc/App.js
/* src/App.js */
import React, { useEffect, useState } from 'react'
import Amplify, { API, graphqlOperation } from 'aws-amplify'
import { createTodo } from './graphql/mutations'
import { listTodos } from './graphql/queries'
import { withAuthenticator } from '@aws-amplify/ui-react'

import awsExports from "./aws-exports";
Amplify.configure(awsExports);

const initialState = { name: '', description: '' }

const App = () => {
  const [formState, setFormState] = useState(initialState)
  const [todos, setTodos] = useState([])

  useEffect(() => {
    fetchTodos()
  }, [])

  function setInput(key, value) {
    setFormState({ ...formState, [key]: value })
  }

  async function fetchTodos() {
    try {
      const todoData = await API.graphql(graphqlOperation(listTodos))
      const todos = todoData.data.listTodos.items
      setTodos(todos)
    } catch (err) { console.log('error fetching todos') }
  }

  async function addTodo() {
    try {
      if (!formState.name || !formState.description) return
      const todo = { ...formState }
      setTodos([...todos, todo])
      setFormState(initialState)
      await API.graphql(graphqlOperation(createTodo, {input: todo}))
    } catch (err) {
      console.log('error creating todo:', err)
    }
  }

  return (
    <div style={styles.container}>
      <h2>Amplify Todos</h2>
      <input
        onChange={event => setInput('name', event.target.value)}
        style={styles.input}
        value={formState.name}
        placeholder="Name"
      />
      <input
        onChange={event => setInput('description', event.target.value)}
        style={styles.input}
        value={formState.description}
        placeholder="Description"
      />
      <button style={styles.button} onClick={addTodo}>Create Todo</button>
      {
        todos.map((todo, index) => (
          <div key={todo.id ? todo.id : index} style={styles.todo}>
            <p style={styles.todoName}>{todo.name}</p>
            <p style={styles.todoDescription}>{todo.description}</p>
          </div>
        ))
      }
    </div>
  )
}

const styles = {
  container: { width: 400, margin: '0 auto', display: 'flex', flexDirection: 'column', justifyContent: 'center', padding: 20 },
  todo: {  marginBottom: 15 },
  input: { border: 'none', backgroundColor: '#ddd', marginBottom: 10, padding: 8, fontSize: 18 },
  todoName: { fontSize: 20, fontWeight: 'bold' },
  todoDescription: { marginBottom: 0 },
  button: { backgroundColor: 'black', color: 'white', outline: 'none', fontSize: 18, padding: '12px 0px' }
}

export default withAuthenticator(App)
ローカルで確認する
$ npm start
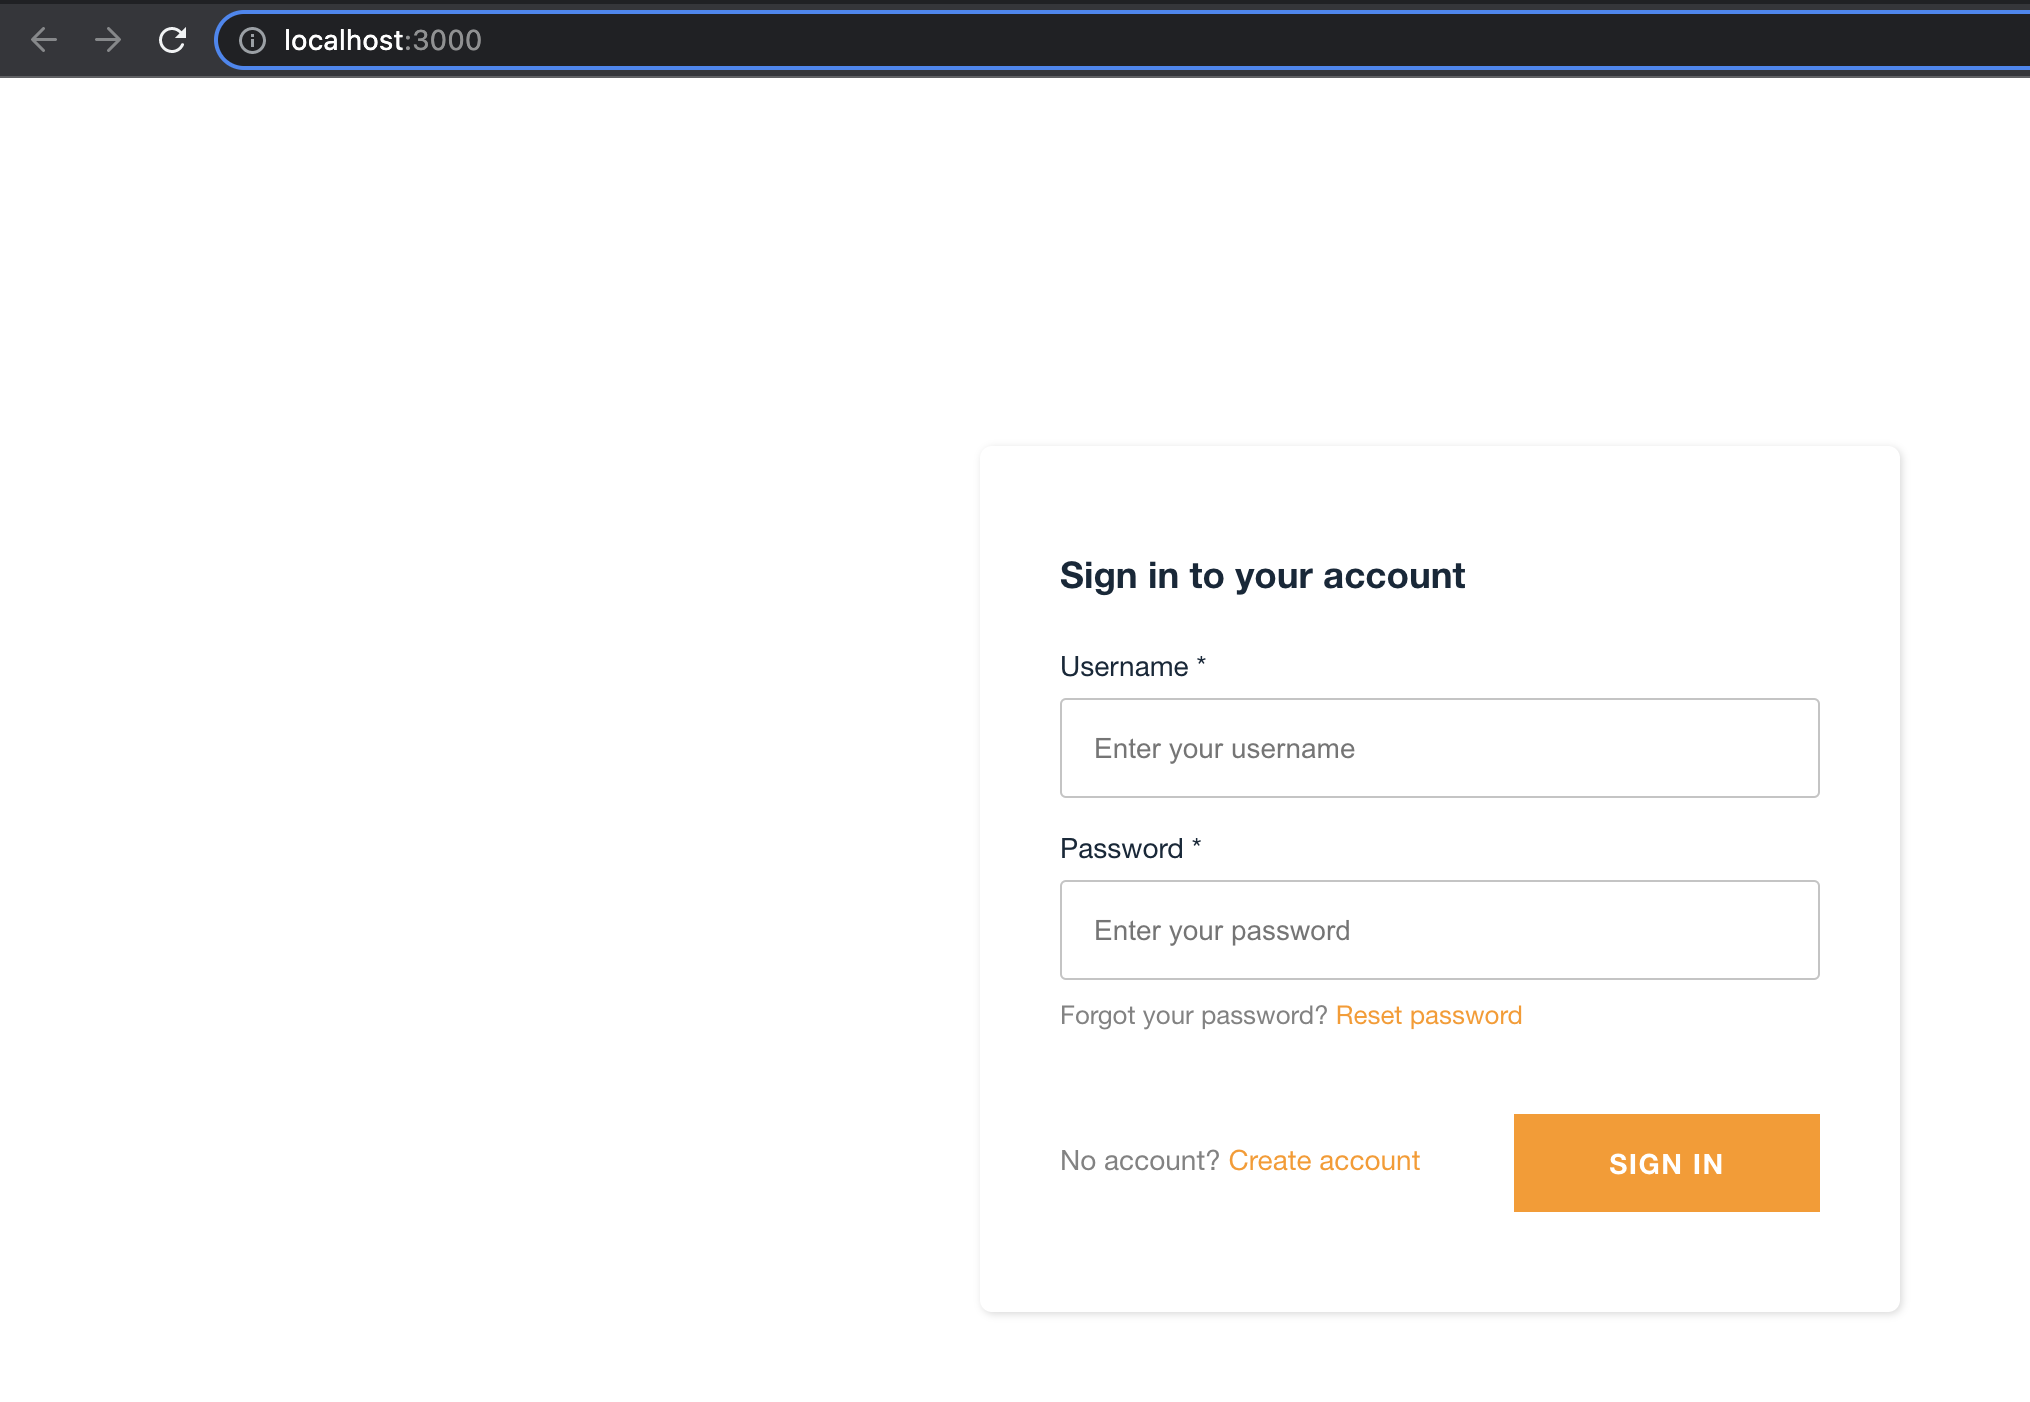
ログイン画面が表示される
11. アプリをデプロイする
アプリをデプロイする
デフォルトのままEnter
$ amplify add hosting
? Select the plugin module to execute Hosting with Amplify Console (Managed hosting with custom domains, Continuous deployment)
? Choose a type Manual deployment

You can now publish your app using the following command:

Command: amplify publish
12. アプリを公開する
アプリを公開する
$ amplify publish
~~省略~~
Zipping artifacts completed.
Deployment complete!
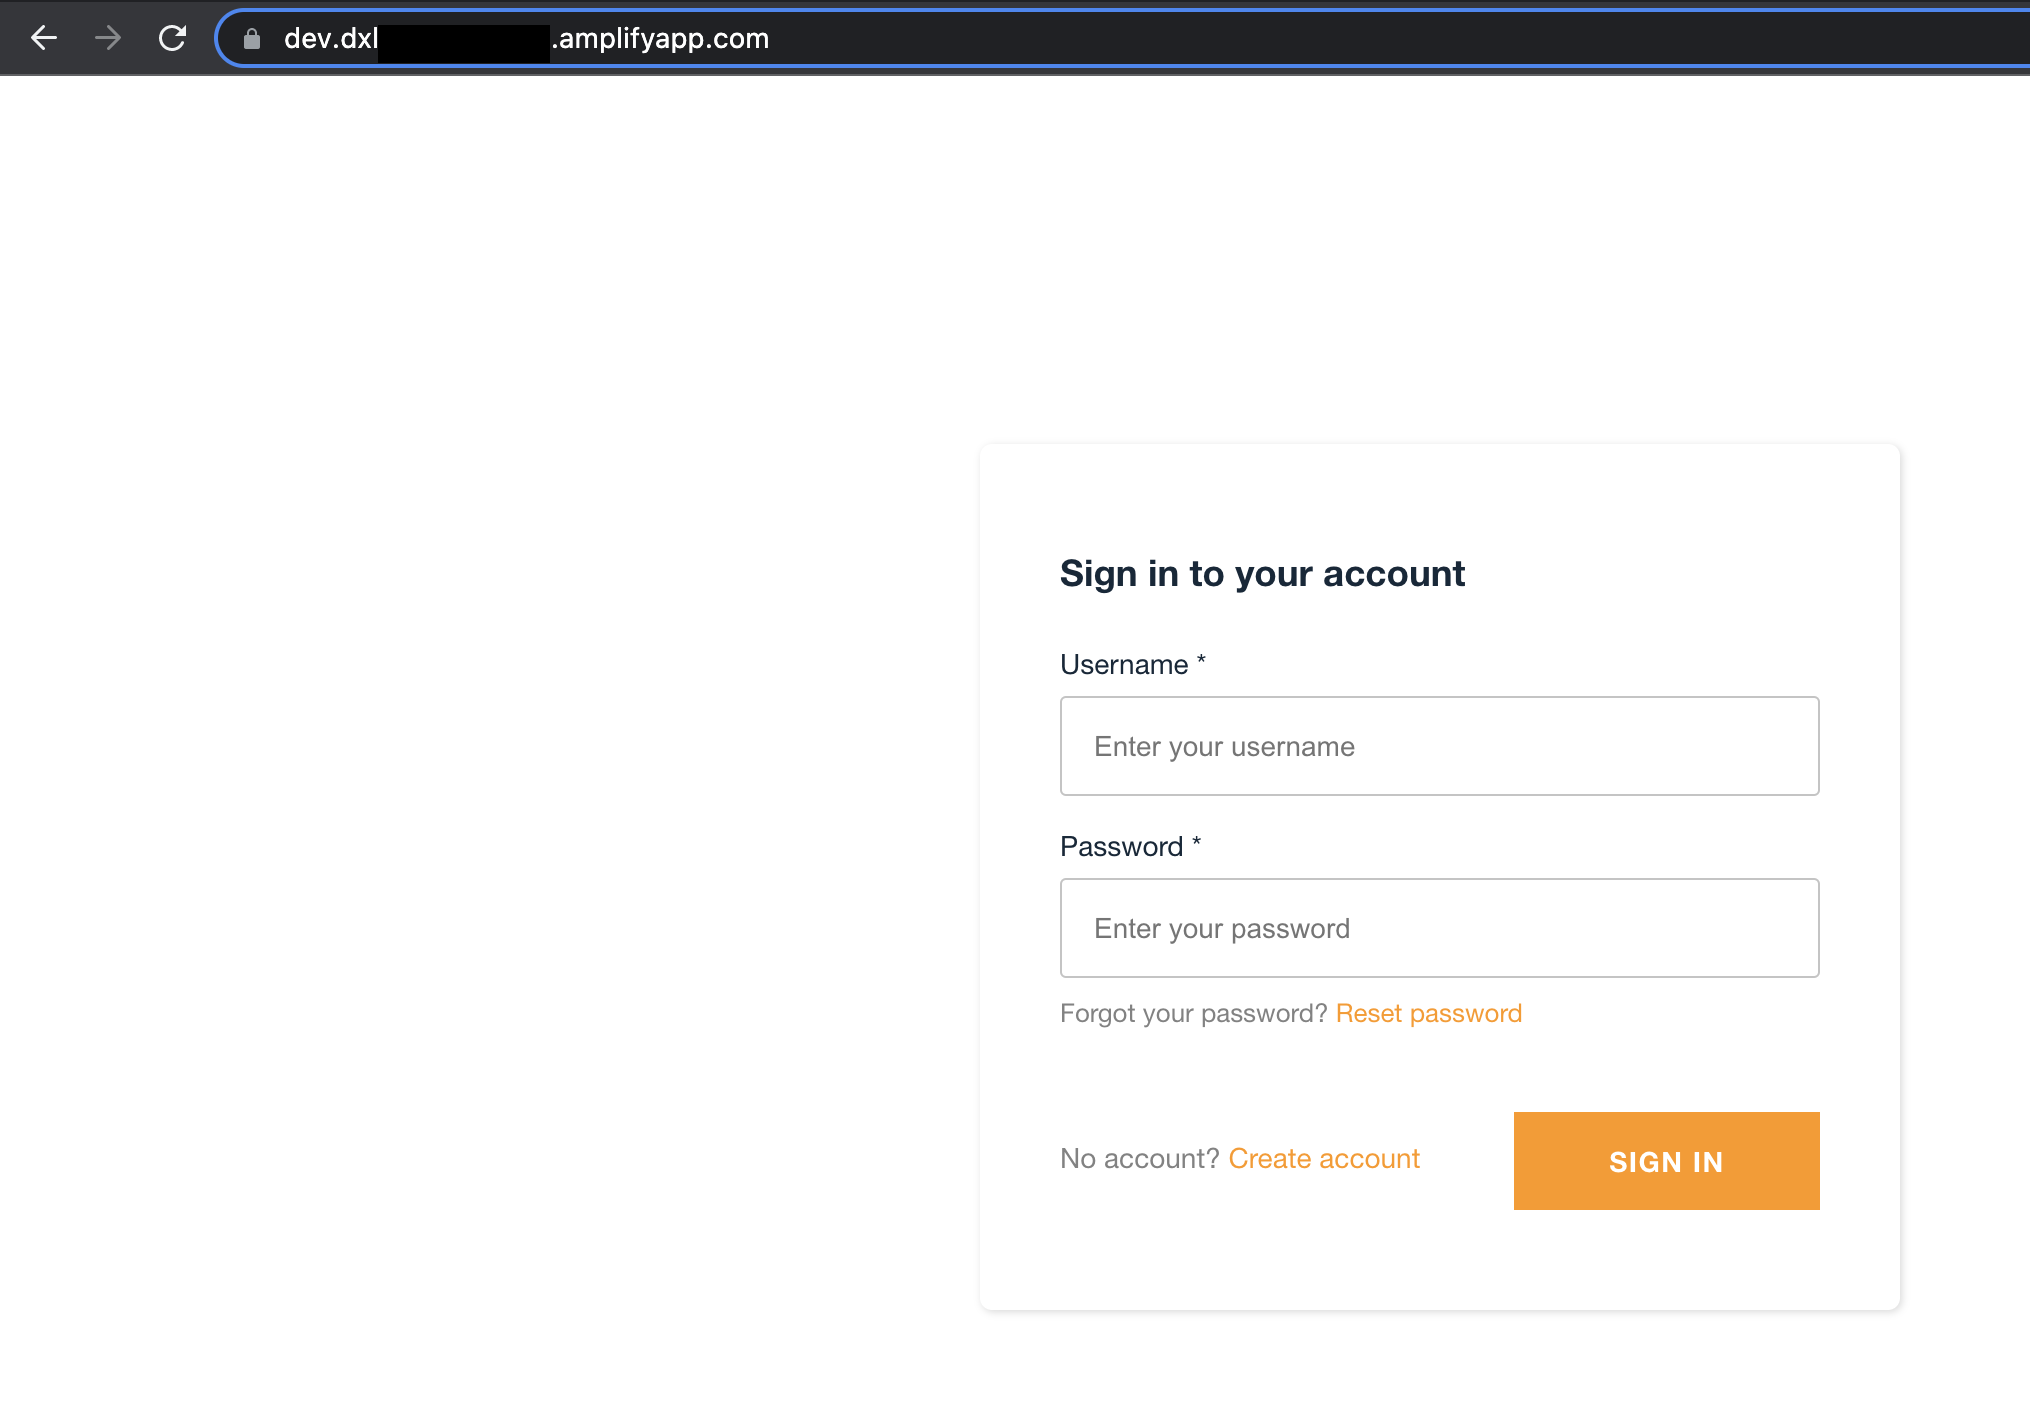
https://dev.dxlXXXX.amplifyapp.com
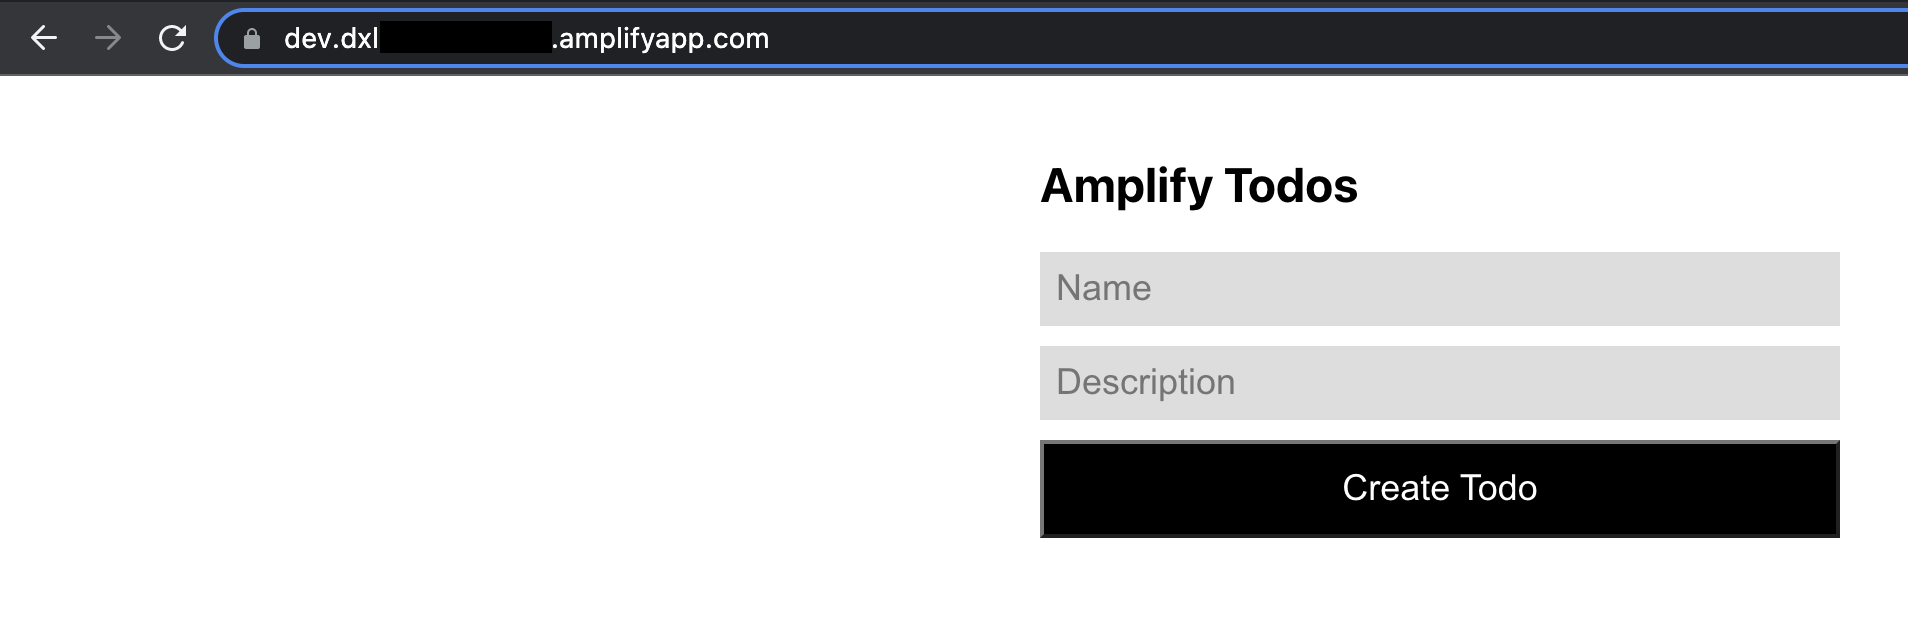
「amplify publish」後に表示されたURLにアクセスし、ログイン画面を表示する
※アカウントを作成していない場合は、Create Accountからアカウントを作成する
ログイン後、ToDo画面が表示される
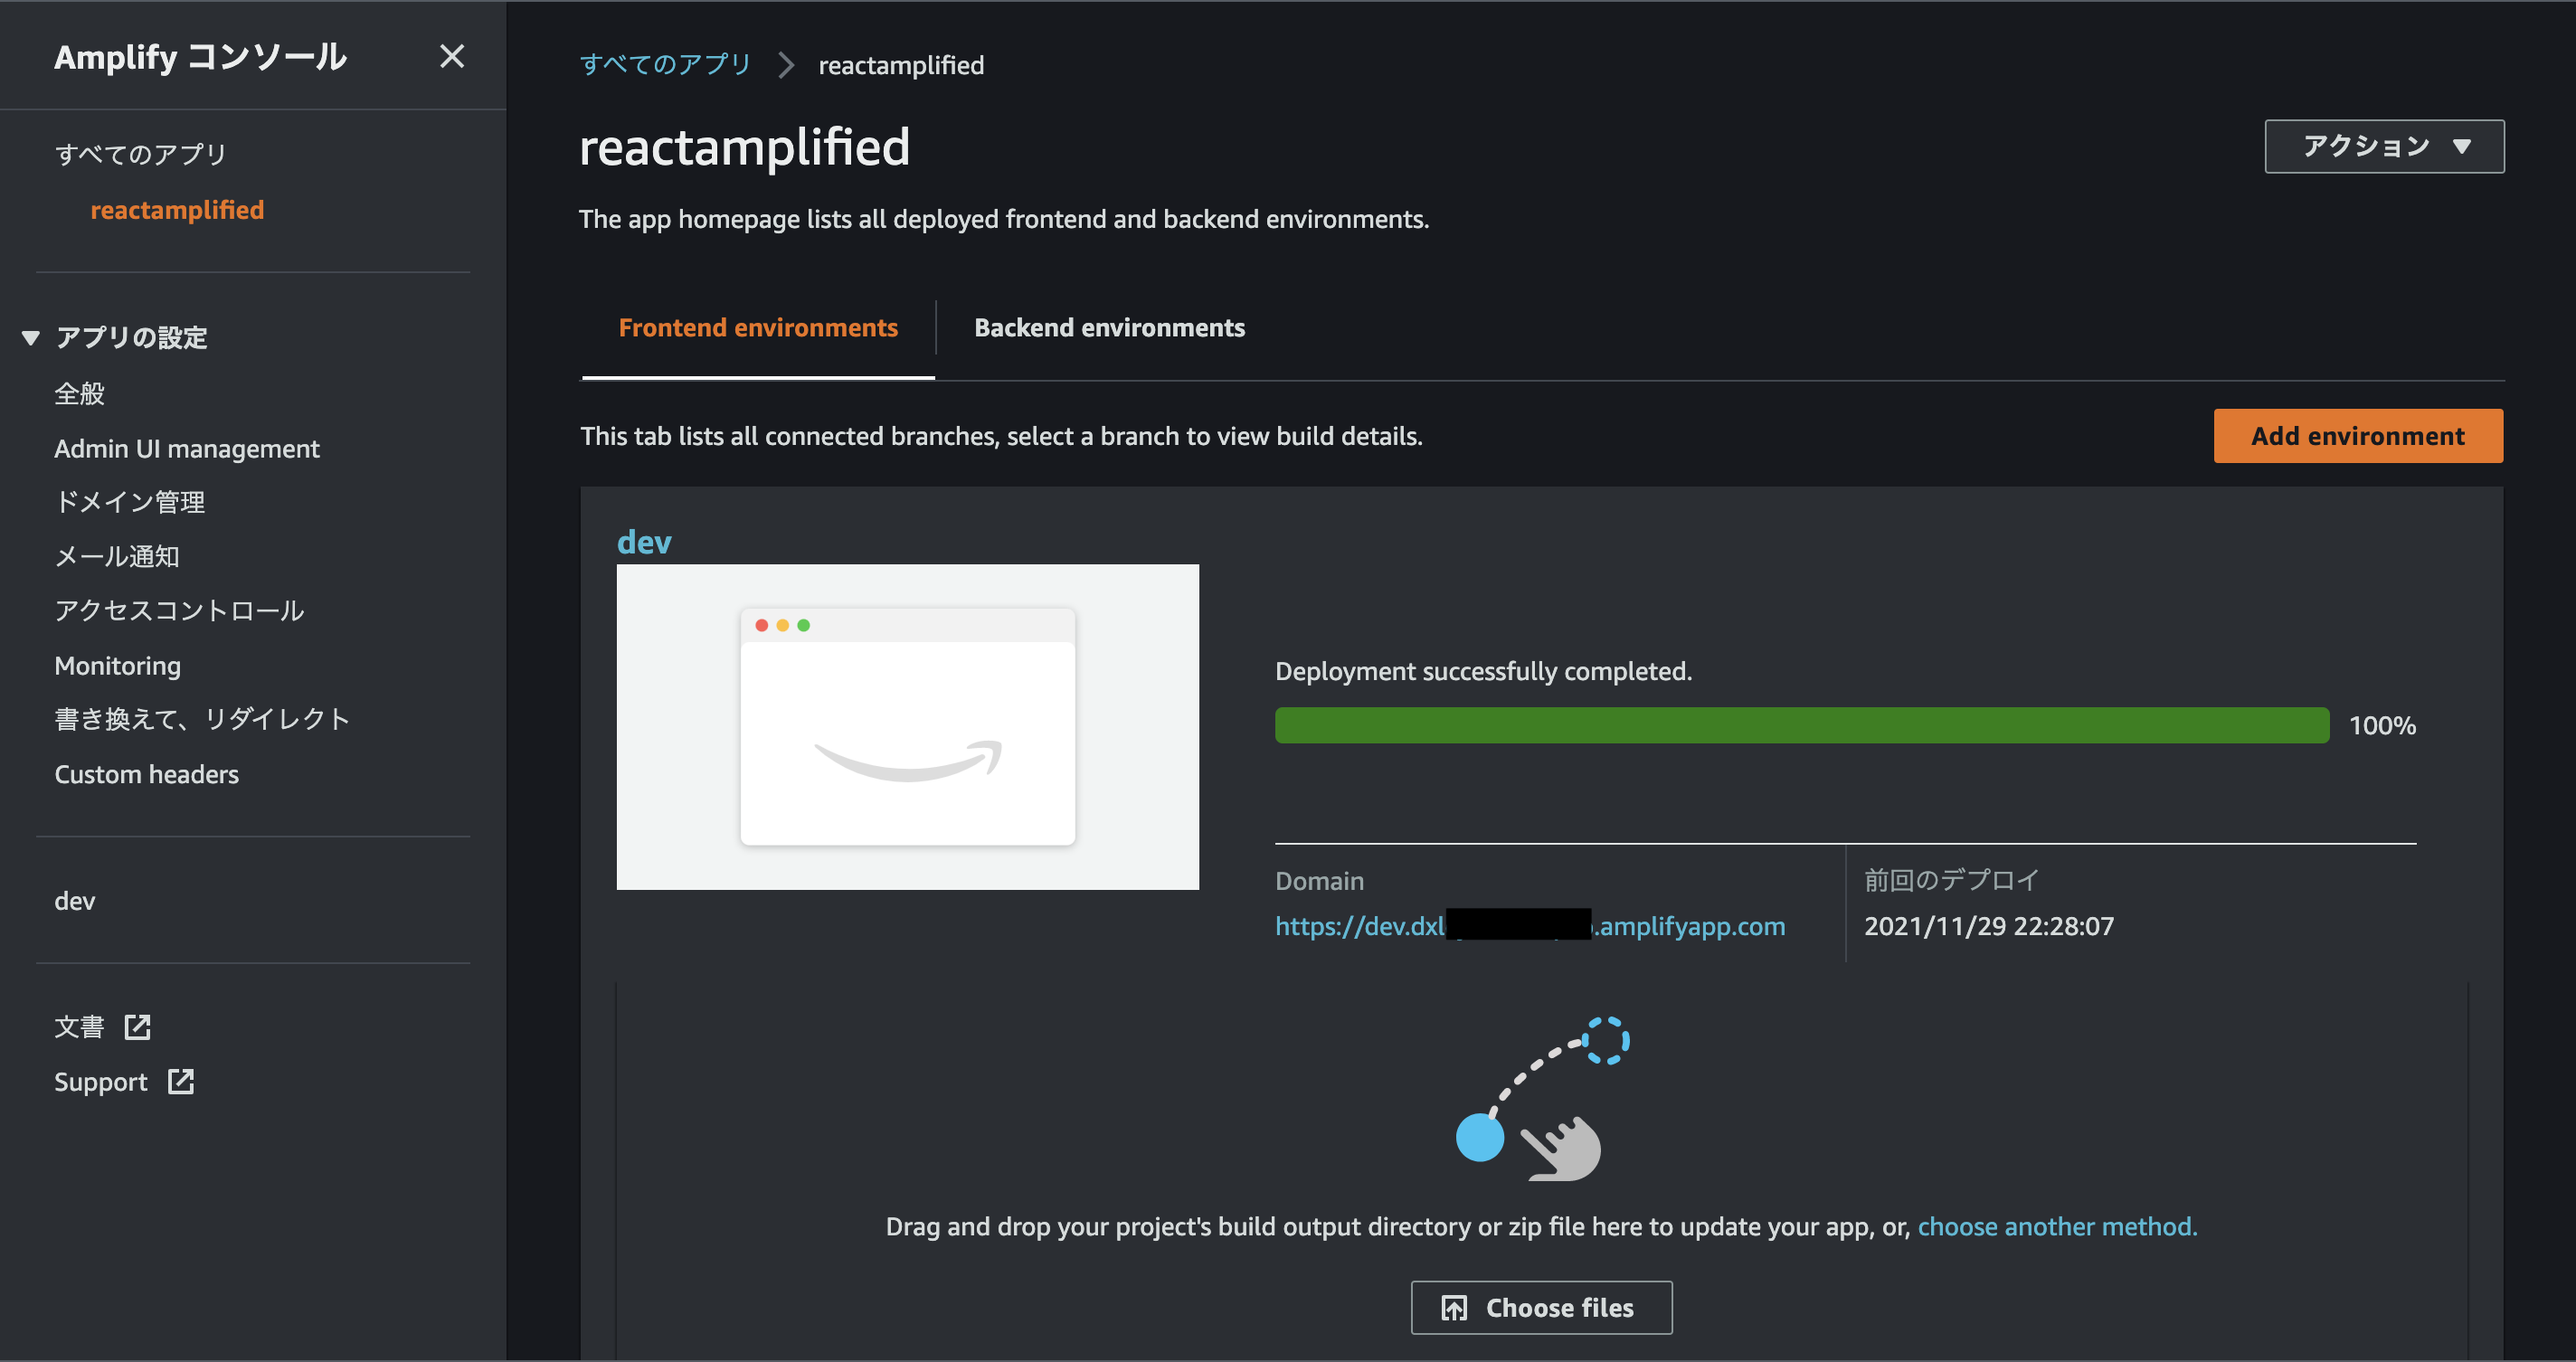
Amplify コンソール
Amplifyで作ったアプリを管理できるコンソール
今回はチュートリアルを試しただけなのでここには使わない
リソースのクリーンアップ
$ amplify delete
$ amplify status
おわりに
- Cloudformationでインフラのコードを作成するするのに比べ、準備するコード量が少なく使いやすいと感じた
- 認証周りなど細かい設定がどこまでできるかはまだ分からない
- 次はAWS Amplify を使って継続的デプロイメント環境を作ろうと思う
参考
- https://docs.amplify.aws/start/getting-started/installation/q/integration/react/#option-1-watch-the-video-guide
- https://github.com/facebook/create-react-app/issues/10601
- https://dev.classmethod.jp/articles/react-amplify-appsync-dynamodb-tutorial/
- https://docs.aws.amazon.com/amplify/latest/userguide/multi-environments.html#standard