はじめに
プログラマーの皆さん,いかがお過ごしでしょうか?
プログラマーは,いかに快適にコーディングするかを自然に考えるのではないでしょうか(笑).
また,日頃ターミナルで長い時間を過ごす方に,ターミナルで音楽を操作する方法を備忘録かねて,ご紹介したいと思います.
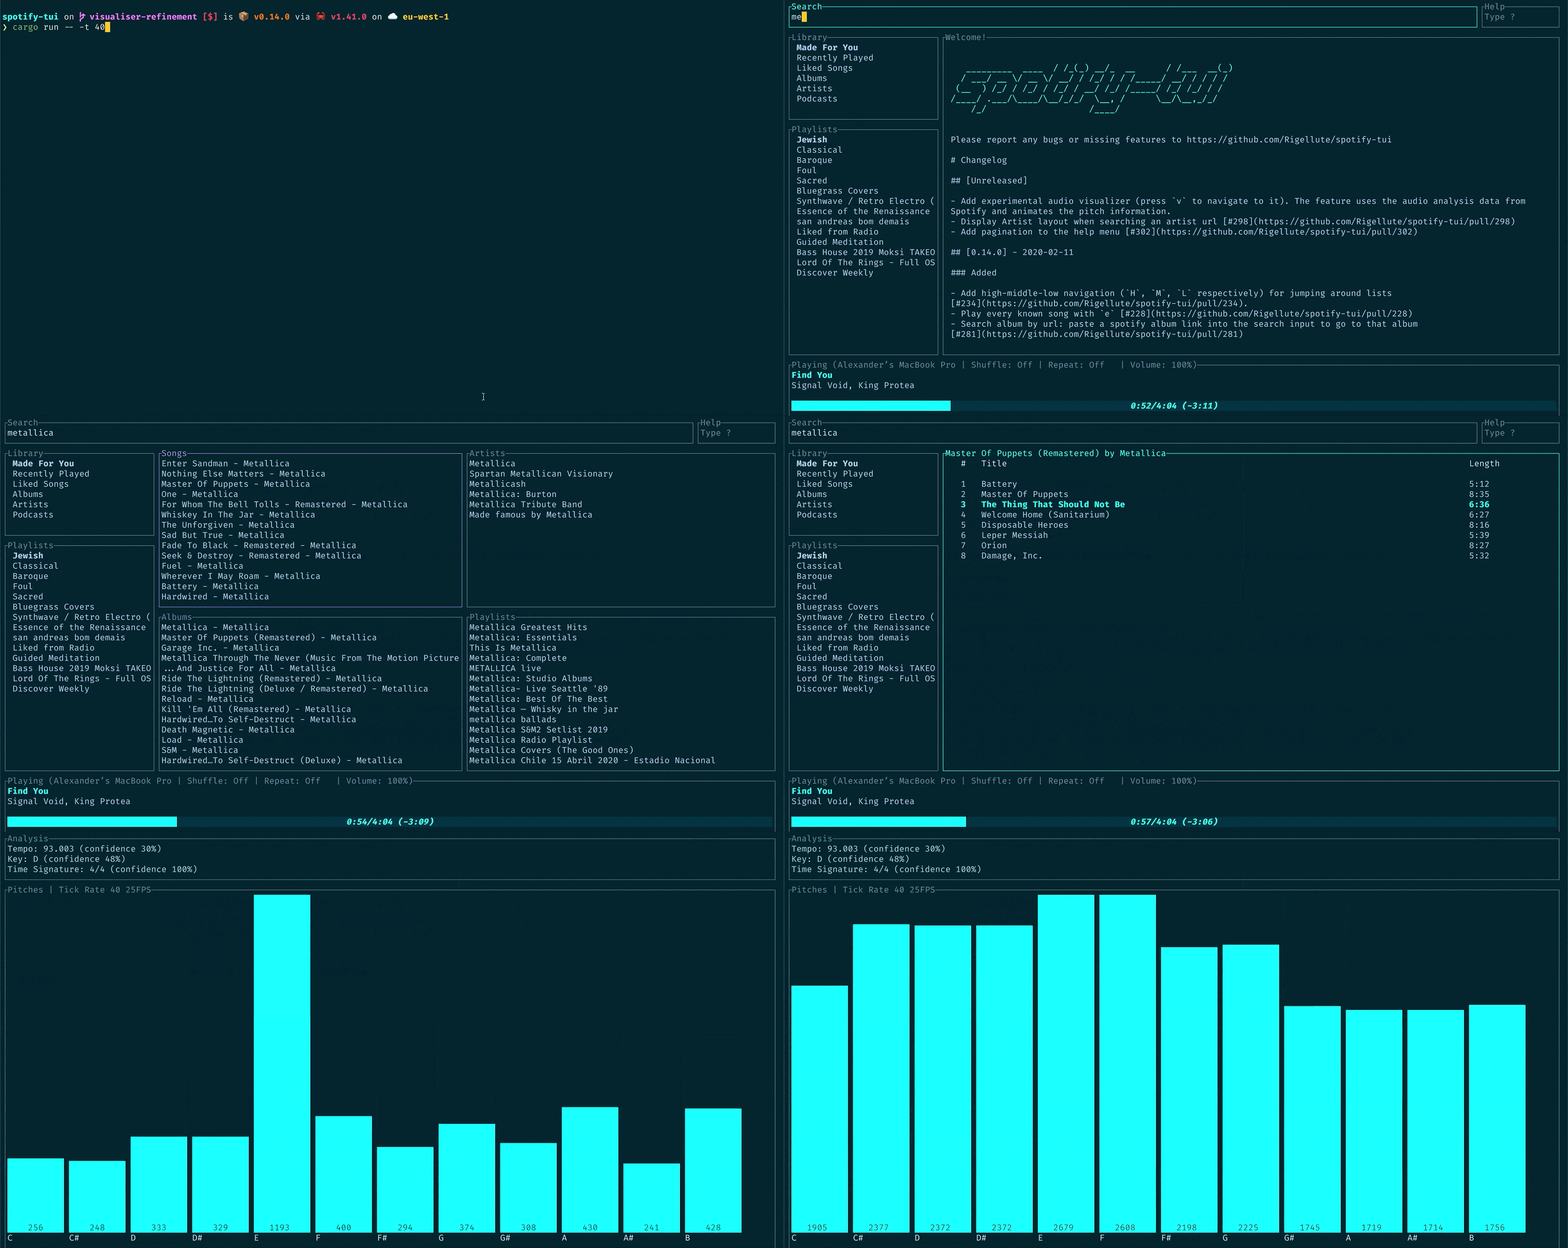
以下のGIFのように,Terminalで格好良くSpotifyが操作できます!

GIF(https://github.com/Rigellute/spotify-tui)
日本語の記事がなかったので,なるべく細かく書きたいと思います.
メリット
・ブラウザやアプリと比較して軽量らしい(未調査)
・Terminalから離れずに選曲ができる
メリットは,いろいろありますが,やはりプログラマーの方だと,
音楽を操作するためだけに,キーボードのホームポジションから手を離したくないと思うのではないでしょうか.
そんな方にはぴったりだと思います.
環境
・M1 MacBook (Big Sur version 11.4)
・Spotify プレミアムアカウント(無料プランでは試していません.)
インストール
まずは,Homebrewでspotifydとspotify-tuiをインストールします.
brew install spotifyd
brew install spotify-tui
spotifydは,音楽を再生(ストリーミング)するための根本的な機能を持っており,
spotify-tuiは,ターミナルで操作するための機能を持っています.
つまり,spotify-tuiを使って,spotifydを操作していきます.
spotifydの設定
spotifydで音楽を再生する設定をしていきます.
ホームディレクトリの.configの中に,spotifydの設定ファイルを格納するフォルダとファイルを作っていきます.
mkdir -p ~/.config/spotifyd
emacs -nw ~/.config/spotifyd/spotifyd.conf
spotifyd.conf
spotifyd.confを以下のように編集していきます.
usenameなどの文字列は,ダブルクォーテーション(")かシングルクォーテーション(')で囲ってあげないとエラーが出ますので注意してください.(参考記事では,文字列のまま書いている場合もある.)
各設定の,詳細は参考記事において,細かくコメントアウトに記載されています.
[global]
username = "username"

use_keyring = true

backend = "portaudio"

volume_controller = "softvol"

device_name = "MyMac"
device_type = "computer"

# The audio bitrate. 96, 160 or 320 kbit/s
bitrate = 320

cache_path = "/Users/username/.cache/spotifyd"
no_audio_cache = false

volume_normalisation = true
normalisation_pregain = -10
confファイルの重要なところのみを解説します.
username = "username"
usernameはspotifyのユーザー名です.
これは,spotifyのアカウントの詳細で確認できます.
(プロフィールにあるユーザー名を記入します.)
私の場合は乱数みたいなユーザー名でした.

use_keyring = true
これは,MacのKeychainを使って,
パスワード認証を有効にするという設定です.
この設定ファイルにpassword = 'pass'というように,パスワードを書くこともできますが,ファイルに直接パスワードを書くのは危険なので,キーチェインを使い自動で認証させます.
MacのKeychainにspotifyのユーザー名とパスワードを記憶させます.
security add-generic-password -s spotifyd -D rust-keyring -a username -w password
Keychain Accessで登録されていることを確認してください.

device_name = "MyMac"
device_nameは,spotifyで表示され,再生する機器を選択するために表示されるデバイス名です.
cache_path = "/Users/username/.cache/spotifyd"
cache_pathはストリーミングの際のキャッシュの保存先で,
no_audio_cacheはキャッシュを保存するかどうかです.
(no_audio_cacheなので,falseでキャッシュを残してくれます.)
spotifyd起動
動作テストを,以下のコマンドで実施します.
spotifyd --no-demon
Authenticated as "xxx" !出力が出たら,テスト成功です.
上記のコマンドを実行したまま,ブラウザやスマホアプリで再生可能なデバイスを確認すると,
先ほど設定したdevice_nameが出てると思います.
今回設定した,デバイスを選択して,音楽が再生されたら成功です.
自動起動の設定
最後に,spotifyd自動起動するように設定をします.
<?xml version="1.0" encoding="UTF-8"?>
<!DOCTYPE plist PUBLIC "-//Apple//DTD PLIST 1.0//EN" "http://www.apple.com/DTDs/PropertyList-1.0.dtd">
<plist version="1.0">
    <dict>
        <key>Label</key>
        <string>rustlang.spotifyd</string>
        <key>ProgramArguments</key>
        <array>
            <string>/usr/local/bin/spotifyd</string>
            <string>--config-path=/Users/user/.config/spotifyd/spotifyd.conf</string>
            <string>--no-daemon</string>
        </array>
        <key>user</key>
        <string>user</string>
        <key>KeepAlive</key>
        <true/>
        <key>ThrottleInterval</key>
        <integer>30</integer>
    </dict>
</plist>
設定ファイルを読み込んで,自動起動するように設定します.
sudo launchctl load /Library/LaunchDaemons/rustlang.spotifyd.plist
sudo launchctl start /Library/LaunchDaemons/rustlang.spotifyd.plist
これで,spotifydの設定は完了です.
spotify-tuiの設定と起動
最後に,ターミナルで曲を操作するspotify-tuiですが,
設定は,初めての起動時に認証をするのみです.
認証の設定
まず,上記のURLにアクセスしてspotifyにログインします.
- create an appでappを作成したのち,App nameとApp descriptionを聞かれるので,
適当に設定します. - 作成後,表示されているClient IDとSHOW CLIENT SECRETを押して表示されたClient Secretをメモしていきます.
- 作成したappでedit settingの
Redirect URIsに以下のURLを記入します.
http://localhost:8888/callback
起動
ターミナルに戻って,インストール後,sptコマンドでspotify-tuiを起動できます.
[user@localhost ~]$ spt

   _________  ____  / /_(_) __/_  __      / /___  __(_)
  / ___/ __ \/ __ \/ __/ / /_/ / / /_____/ __/ / / / /
 (__  ) /_/ / /_/ / /_/ / __/ /_/ /_____/ /_/ /_/ / /
/____/ .___/\____/\__/_/_/  \__, /      \__/\__,_/_/
    /_/                    /____/

Config will be saved to /Users/user/.config/spotify-tui/client.yml

How to get setup:

  1. Go to the Spotify dashboard - https://developer.spotify.com/dashboard/applications
  2. Click `Create a Client ID` and create an app
  3. Now click `Edit Settings`
  4. Add `http://localhost:8888/callback` to the Redirect URIs
  5. You are now ready to authenticate with Spotify!

Enter your Client ID:
xxxx

Enter your Client Secret:
xxxx

Enter port of redirect uri (default 8888):
(そのままEnter)
Enter your Client ID:と,アカウント情報が求められるので入力します.
認証しspotify-tuiのアスキーアートが出たら,成功です!
基本的な操作
基本的な操作をするためのキーバインドは以下のようになっています
| Key | 操作 |
|---|---|
| ? | ヘルプの表示 (ESCで抜ける) |
| q | tuiを抜ける |
| d | デバイスの選択 |
| v | イコライザーの表示 |
| ↑ | 上に移動 |
| ↓ | 下に移動 |
| ← | 左に移動 |
| → | 右に移動 |
キーバインドの詳細は,?(shift+'?')で,一覧を表示することができます.
また,再生可能なデバイスは,dで表示でき,選択できます.
Macで再生するために,先ほど設定した,device_nameが表示されているので,選択しEnterで決定します.
まとめ
これで,キーボードのホームポジションから手を離さなくて済むのではないでしょうか!
そして,spotify-tuiはtmuxやScreenを張っておくと,バックグラウンドで動かしておけるので便利です.
でも,たまには,モニターから手と目を話して休んでください..(笑)
それでは,良いコーディングライフを♪
参考記事
[](
\ \
Label
homebrew.mxcl.spotifyd
KeepAlive
ThrottleInterval
30
ProgramArguments
/opt/homebrew/opt/spotifyd/bin/spotifyd
--no-daemon
--backend
portaudio
)
