はじめに
みなさん、プログラミングしてますか!
生成AIの活用は自然言語の生成に関するものが多いですが、GitHub CopilotやCursorの登場で、コード生成AIも盛り上がっていますね。
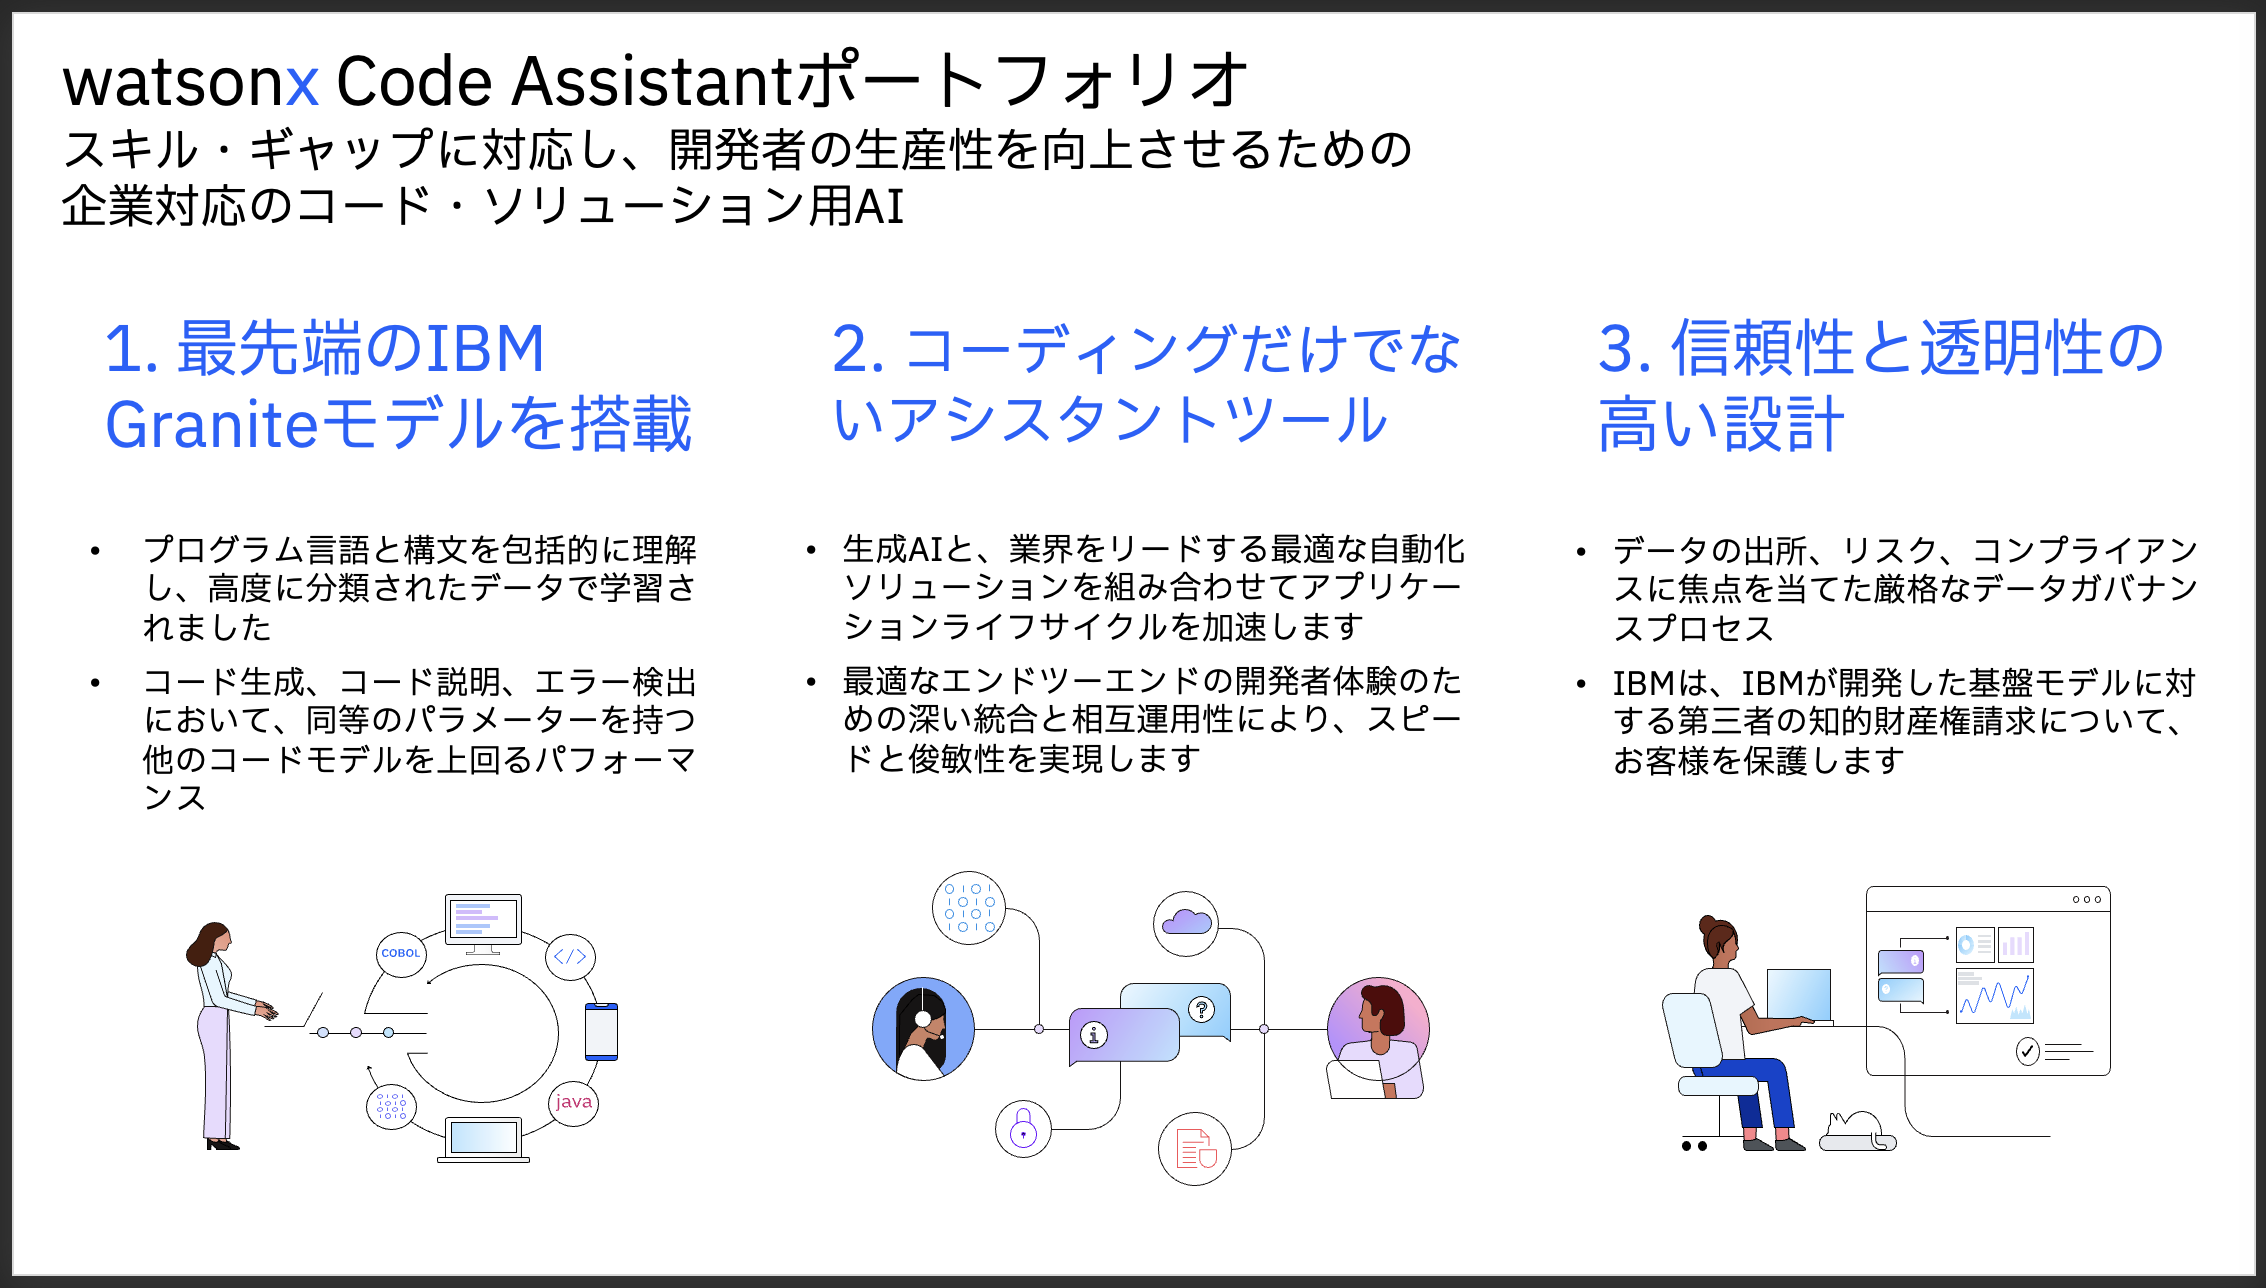
そんな中、IBMは汎用コード生成モデルであるIBM Granite Codeを組み込んだwatsonx Code Assistantを発表しています。
watsonx Code Assistantって何?
watsonx Code Assistantは、IBMが提供せるコード生成AIを活用したソリューションです。
これまでにも、
という2つのソリューションを発表していましたので、今回の発表は3つ目となります。
今回発表のソリューションは、特定の製品や言語に限定されないため、『for xxx』が外れています。
また、『2024/11/15 リリース IBMの最新のコードアシスタントを試してみよう』という記事にて、watsonx Code Assistantに関する詳しい解説が述べられています。トライアル・プランを使って30日間無料で試す手順も紹介されていますので、ぜひ、ご参照ください。
トライアル・プランは、『30日間』もしくは『15万トークンの消費』のどちらか早い方に達した時点で終了です。
ずーっと無料で使いたい というあなたへ
30日間やトークン制限を受けずに、「ずーっと無料で使用したい」というあなたへ!
朗報です![]()
一手間必要ですが可能です。そして、そんなに面倒でもありません。
ずーっと無料で使用する方法
「IBMの製品が、ずーっと無料で使えるはずがない!」そう思ったあなた、「裏技か?」と勘ぐったあなた、違います。
オンライン・マニュアルに記載されている正式な手順を踏むことで、watsonx Code Assistantをずーっと無料で使用することが可能です![]()
詳細については、『watsonx Code Assistantをローカルな'IBM'Graniteモデルで使用する』を参照ください。
ざっくり言うと、IBM Cloudで提供されるサービスは使用せず、IBM Granite Codeモデルを自分のPCにダウンロードして使用する方法です。
セットアップ手順はそれほど難しくありませんので、ご安心を![]()
watsonx Code Assistantのトライアル・プランも、IBM Cloudアカウントも不要です。
但し、オンラインマニュアルにはこんな記載があります。

『Note: For increased performance and a full set of features for your organization, provision a trial of watsonx Code Assistant on IBM Cloud. For more information, see Setting up your watsonx Code Assistant service in IBM Cloud.』
確認できておりませんが、機能が限定的なのかもしれません。
事前準備1: Ollamaのインストール
IBM Granite Codeモデルを自分のPCで実行するために、Ollamaを使用します。
1.Ollamaのインストーラーをダウンロード
私は、homebrewを使って導入しました
brew install ollama
2.Ollamaの起動
ターミナルやコマンドプロンプトから
ollama serve
3.IBM Granite Codeモデルのダウンロード
別ターミナルやコマンドプロンプトから
ollama run granite-code:8b
以上
事前準備2: 拡張機能のインストール
Visual Studio Codeにwatsonx Code Assistantの拡張機能をインストールします。
まずはこちらをクリック
watsonx Code Assistantの拡張機能が表示されますので、[Install]をクリック

Visual Studio Codeが起動し、拡張機能のインストール画面が表示されますので、[Install]をクリック

事前準備は以上です。
いざ、実行!
それではいよいよwatsonx Code Assistantを使ってみます。
下図のように、Visual Code Studioの左側のアイコンをクリックします

『Welcome, let's get started!』が開きますので、

[Run with Ollama Service]をクリックします

「Hi, how can I help you today?」 と表示されたら成功です![]()

1st Question
「あなたは誰ですか?」と入れてみます。

日本語が通じたようですが、出力は日本語と英語が混ざっています。
実際にコードを生成するときは、英語を使ってください。日本語では意図したコードが生成されませんでした。
コード生成のお題
それでは、実際にwatsonx Code Assistantを使って、コード生成を試してみます。
何をお題とするか迷いましたが、ソースコードのリファクタリングにチャレンジしたいと思います。
リファクタリング元のコードに、watsonx Assistantのリファレンス・マニュアルに記載されているサンプル・コードを使ってみます。
watsonx AssistantのAPIリファレンス・マニュアル
watsonx Assistantとは、IBMが提供するチャットボットのエンジです。
サンプル・コードとして、ユーザーからのメッセージをwatsonx Assistantに送信し、その返信を受け取るコードを使用します。
リファレンス・マニュアルに記載のPythonのサンプル・コードはこちらです。
import json
from ibm_watson import AssistantV2
from ibm_cloud_sdk_core.authenticators import IAMAuthenticator

authenticator = IAMAuthenticator('{apikey}')
assistant = AssistantV2(
    version='2021-06-14',
    authenticator = authenticator
)

assistant.set_service_url('{url}')

response = assistant.message_stateless(
    assistant_id='{environment_id}',
    input={
        'message_type': 'text',
        'text': 'Hello'
    }
).get_result()

print(json.dumps(response, indent=2))
メッセージを送信し、その戻り値を受け取って、ターミナル上に表示する、と言うシンプルな内容です。
クラス化のためのプロンプト
非常に短いコードですが、クラス化によりどう書き変わるのか、ちょっと楽しみです。
『Rewrite the program below using the class.』と指示し、その後にPythonコードを続けます。
Rewrite the program below using the class.

# python program
import json
from ibm_watson import AssistantV2
from ibm_cloud_sdk_core.authenticators import IAMAuthenticator

authenticator = IAMAuthenticator('{apikey}')
assistant = AssistantV2(
    version='2021-06-14',
    authenticator = authenticator
)

assistant.set_service_url('{url}')

response = assistant.message_stateless(
    assistant_id='{environment_id}',
    input={
        'message_type': 'text',
        'text': 'Hello'
    }
).get_result()

print(json.dumps(response, indent=2))
クラス化の実行結果
このようなコードが生成されました。
コンストラクタ部では、パラメータを使ってプロパティが初期化されています。
メソッド部では、メッセージの送信とその結果の受け取りが定義されています。
とても小さなコードですが、無事、クラス化され、可読性/再利用性が向上したと思います。
クラス化されたコードを実行するコードとその説明も一緒に生成されました。
ぱっと見、問題なさそうです。
早速、動かしてみましょう
それでは、早速実行してみます。
watsonx Code Assistantが生成してくれたクラス化されたコードとそれを実行するコードをマージして、実行してみます。
マージしたコードは、send_message.pyという名前で保存します。
import json
from ibm_watson import AssistantV2
from ibm_cloud_sdk_core.authenticators import IAMAuthenticator

class WatsonAssistant:
    def __init__(self, apikey, url, environment_id):
        self.apikey = apikey
        self.url = url
        self.environment_id = environment_id

    def get_response(self, message):
        authenticator = IAMAuthenticator(self.apikey)
        assistant = AssistantV2(
            version='2021-06-14',
            authenticator=authenticator
        )

        assistant.set_service_url(self.url)

        response = assistant.message_stateless(
            assistant_id=self.environment_id,
            input={'message_type': 'text', 'text': message}
        ).get_result()

        return json.dumps(response, indent=2)

if __name__ == "__main__":
    assistant = WatsonAssistant('{apikey}', '{url}', '{environment_id}')
    response = assistant.get_response('Hello')
    print(response)
{apikey}、{url}、{environment_id}はwatsonx Assistant環境に合わせて値をセットしてください。送信するメッセージ(この例ではHello)も適宜変更してください。
watsonx Assistantが初めてという方には、初めての『IBM Watson Assistant』〜これから触ってみる方への体験ガイド〜が参考になると思います。
前提モジュールのインストール
pip install --upgrade "ibm-watson>=8.1.0"
実行に必要なモジュールは、APIリファレンスのIntroductionに記載されています。
実行
python send_message.py
エラーが出ることもなく、一発で実行が成功しました!
おわりに
これで、ネットのない無人島でも安心![]()
参考情報


