ふとサーバーをたてたいなと思い、入門してみます
初めてなので記録もかねてゆるゆる書いていこうと思います
次回→Raspberry Pi 4Bで自宅サーバー入門-②ネットワーク設定
まずはOSインストールから
使うもの
-
Raspberry Pi 4B (RAM:4GB, ROM:32GB)
-
モニター
-
マウス
-
キーボード
-
micro SDカード
-
SDカードリーダー
-
LANケーブル
-
OSはUbuntu Server 24.04
手順
0. micro SDカードに使用したいOSを入れる
最小構成にしたいためUbuntu Server 24.04にしました
https://www.raspberrypi.com/software/ からraspbery pi osをダウンロード・起動
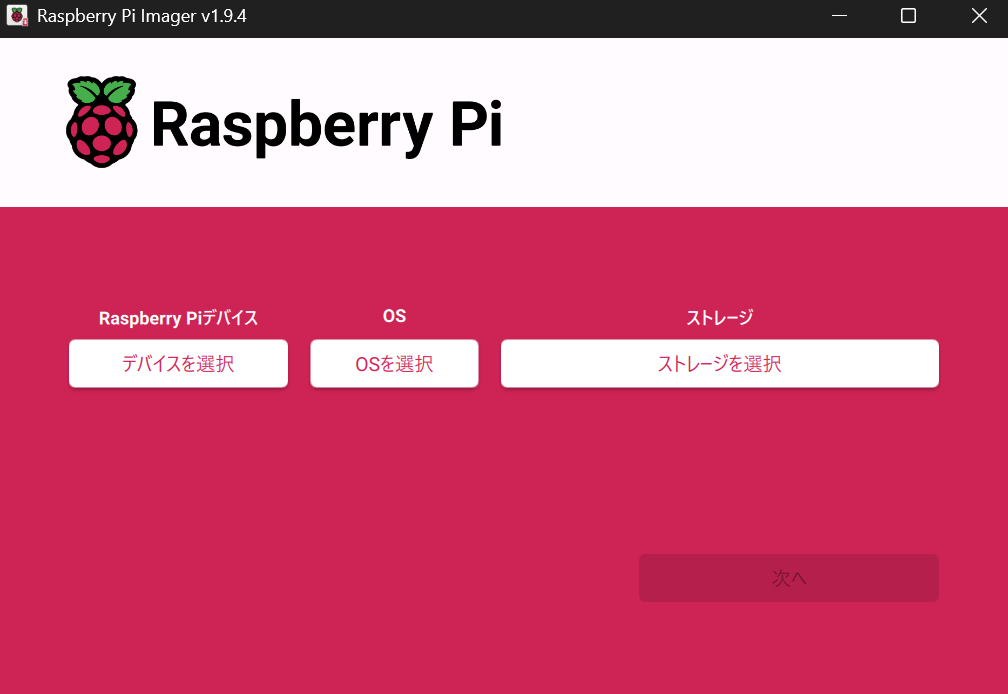
Raspberry Piデバイス→Raspberry Pi 4
OS→other general os>Ubuntu server 24.04
ストレージ→挿したのを指定
「次へ」を選択
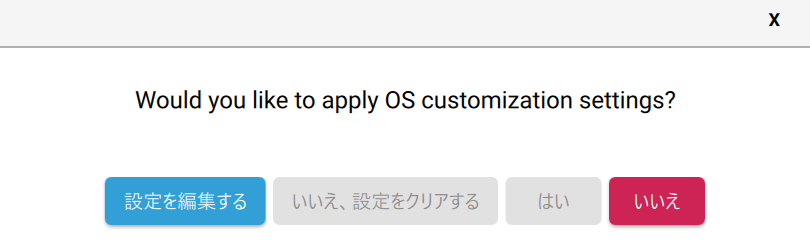
この時点でユーザ名などいろいろ設定できるみたいです
ユーザ情報、ssh認証を設定しました。
1. ラズパイにいろいろ繋げる
→電源を入れたらどこからかパチパチ音が聞こえるがだけど大丈夫なのか...
2. OSインストール(Ubuntu)
手順0で書き込んだSDカードをラズパイに挿入する
電源を入れてCLI画面が表示され、設定したユーザネーム/パスワードでログインできたら完了!
※OSインストール時にユーザ情報を設定していない場合、初期ユーザ名/パスワードはubuntu/ubuntuです