Nuxt.js Advent Calendar 2019 10日目の記事です。
Nuxt.jsからはちょっとだけ離れてしまいますが今回は、前から気になっていたelectron-nuxtを使ってデスクトップアプリケーションを作ってみた記事を書こうと思います。
今回の記事ではアーキテクチャの話など、細かい部分に関してはしない予定ですのでご了承ください。
プロジェクト作成
vueが入っていない方はまずvue-cliをinstallするところから始めます。
npm install -g vue-cli

or

yarn global add vue-cli
次にプロジェクトの作成をします。
プロジェクトの作成は基本Nuxt.jsのプロジェクト作成とさほど変わりません。
vue init michalzaq12/electron-nuxt

? Application Name (example-electron-nuxt)

? Application Id (com.example.yourapp)

? Application Version (0.0.1)

? Project description (An electron-nuxt project)

? Author (Kazuhiro Ebara <***@gmail.com>)

? Select which ui-components framework install (Use arrow keys)
❯ none
  Vuetify (https://vuetifyjs.com)
  Buefy (https://buefy.org)
  Element (https://element.eleme.io)

? Select which css pre-processor install (Use arrow keys)
❯ none
  Sass (scss)
  LESS
  Stylus

? Select which icon set install (Use arrow keys)
❯ none
  Material Design Icon (https://materialdesignicons.com/)
  Font Awesome 5 (https://fontawesome.com/icons)

? Use typescript? (y/N)

? Use linting with ESLint? (y/N)

? Set up unit testing with vue-test-utils + AVA? (y/N)

? Set up end-to-end testing with Spectron + AVA? (y/N)


   vue-cli · Generated "example-electron-nuxt".
   vue-cli · All set. Welcome to your new electron-nuxt project!

	Make sure to check out the documentation at
	https://github.com/michalzaq12/electron-nuxt#documentation

	To get started:
		 cd example-electron-nuxt
		 npm install
		 npm run dev
プロジェクト作成は以上で完了です。
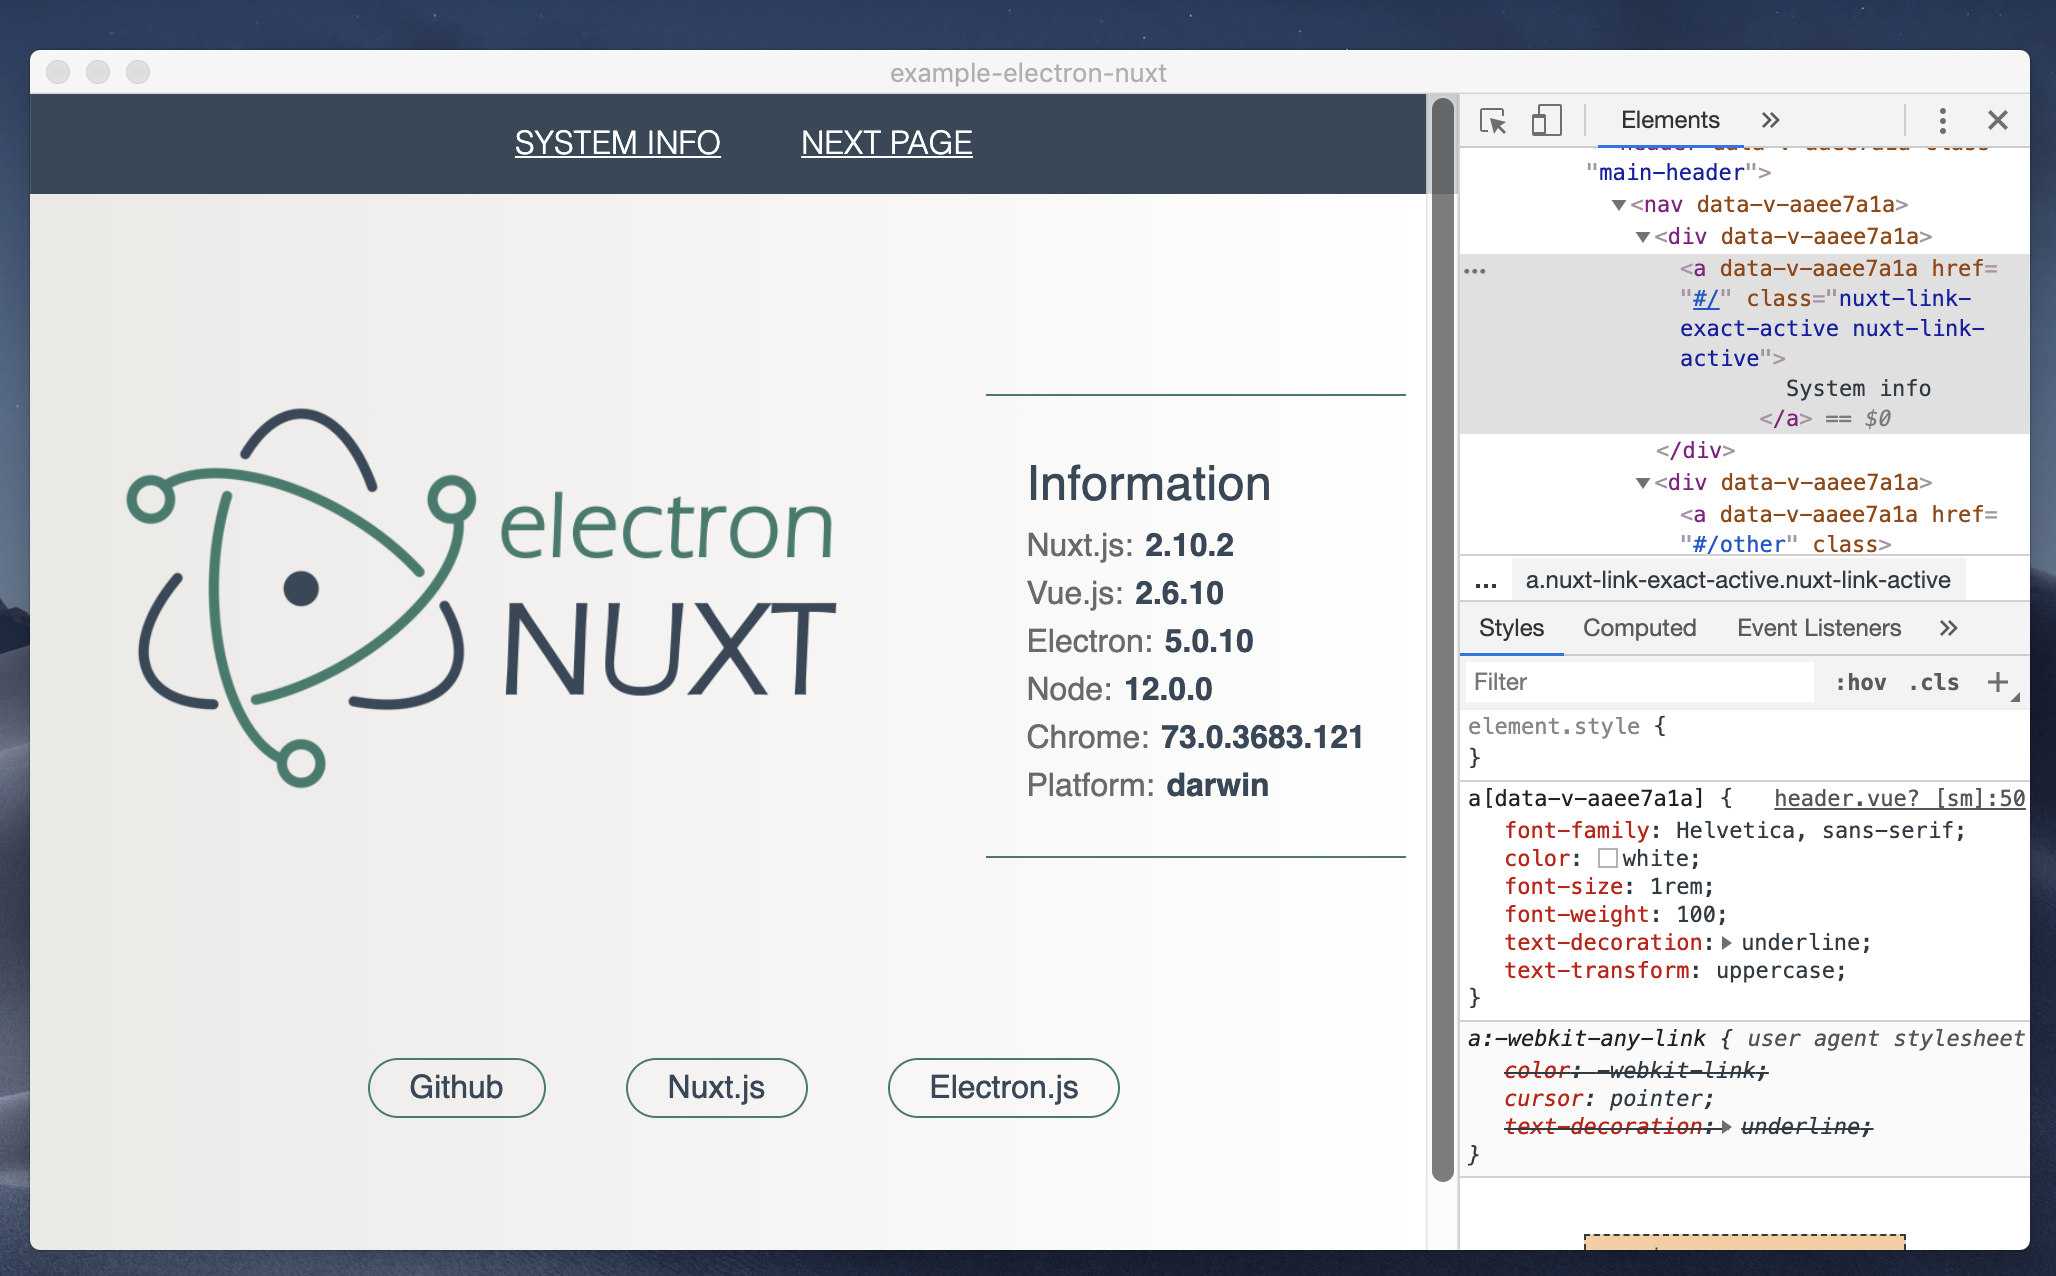
プロジェクトを起動させると以下のようなデスクトップアプリケーションが立ち上がります。

プロジェクトの作成は以上です。
ファイルツリー
構造自体はシンプルです。
Nuxt.js同様、renderer配下にあるpageディレクトリでpageを作ったり、components配下でcomponentを管理していく形になります。
$ tree -L 3 -I node_modules
.
├── README.md
├── ava.config.js
├── build
│   └── icons
│       ├── 128x128.png
│       ├── 16x16.png
│       ├── 24x24.png
│       ├── 256x256.png
│       ├── 32x32.png
│       ├── 48x48.png
│       ├── 64x64.png
│       ├── 96x96.png
│       ├── icon.icns
│       └── win-icon.ico
├── builder.config.js
├── dist
│   └── main
│       └── index.js
├── package.json
├── src
│   ├── main
│   │   ├── BrowserWinHandler.js
│   │   ├── index.dev.js
│   │   ├── index.js
│   │   ├── mainWindow.js
│   │   └── tsconfig.json
│   ├── renderer
│   │   ├── assets
│   │   ├── components
│   │   ├── index.d.ts
│   │   ├── layouts
│   │   ├── nuxt.config.js
│   │   ├── pages
│   │   ├── plugins
│   │   ├── store
│   │   └── tsconfig.json
│   └── resources
│       ├── electron-nuxt.png
│       └── external-file.txt
├── test
│   ├── e2e
│   │   ├── ava.config.js
│   │   ├── helpers.js
│   │   ├── nuxt-spectron.d.ts
│   │   ├── setup.js
│   │   └── specs
│   └── unit
│       ├── alias.js
│       ├── ava.config.js
│       ├── setup.js
│       └── specs
└── yarn.lock
ページ作成
Nuxt.jsと同じように、renderer配下にあるpagesにファイルを作ります。
今回は試しにhogeというファイルを作りました。
$ tree -L 3 src/renderer/pages
src/renderer/pages
├── hoge.vue
└── index.vue
ページ配下にファイルを作成するとrouter.js内のroutes部分に新しくpathが追加されます。
export const routerOptions = {
  mode: 'hash',
  base: decodeURI('/'),
  linkActiveClass: 'nuxt-link-active',
  linkExactActiveClass: 'nuxt-link-exact-active',
  scrollBehavior,

  routes: [{
    path: "/hoge",
    component: _16245e3e,
    name: "hoge"
  }, {
    path: "/",
    component: _3a6ef246,
    name: "index"
  }],

  fallback: false
}
routingもNuxt.js同様、自動でやってくれます。
pageの遷移もNuxt.js同様、nuxt-linkを使えばできます。
ウィンドウサイズの変更
ウィンドウサイズの変更はmainディレクトリ内にあるmainWindow.jsファイルのnew BrowserWinHandler部分の値をいじるとウィンドウサイズが変更できます。
import path from 'path'
import BrowserWinHandler from './BrowserWinHandler'
const isDev = process.env.NODE_ENV === 'development'

const INDEX_PATH = path.join(__dirname, '..', 'renderer', 'index.html')
const DEV_SERVER_URL = process.env.DEV_SERVER_URL // eslint-disable-line prefer-destructuring

const winHandler = new BrowserWinHandler({
  height: 600,
  width: 1000
})

winHandler.onCreated(browserWindow => {
  if (isDev) browserWindow.loadURL(DEV_SERVER_URL)
  else browserWindow.loadFile(INDEX_PATH)
})

export default winHandler
変更後はホットリロードで自動的に変更が反映されます。
終わりに
初めてelectron-nuxtを使ってみましたが、Nuxt.jsを使ったことがある人ならそこまでつまづく要素はないかなと思いました。
ただ、electronのアーキテクチャをしっかりわかっていないと、実運用する場合は難しいかなと思います。
今後もちょくちょくelectron-nuxtをいじってみようと思うので、その際はまた記事にしようかと思います。
書いたコードはこちらに作ったので、気になる方は見てみてください。