概要
Google Colaboratory で StyleGAN を試す際に,いくつかつまづいた点があったので備忘録としてまとめておく.
参考にしたWebページは以下.
StyleGAN がきちんと動作するようになったら、解説が豊富なこれらのページを参考にすると良いと思う。
- 『 Google ColaboratoryでStyleGANを使ってみた。 』
- 『 DCGAN 、 CycleGAN & StyleGAN の Python 実装 』
- 『StyleGAN「写真が証拠になる時代は終わった。」』
つまづいた点は以下.
- Google Colaboratory で GPU に接続すること.
- tensorflow のバージョンを 1.14 または 1.15 にしなければならないこと.
- tensorflow-gpu も同時に用意しなければならないこと.
1. 準備
Google Colaboratory のランタイムに GPU を選択
Google Colaboratory を起動し,画面上部のツールバーから 「ランタイム」>「ランタイムのタイプを変更」クリックし,ハードウェアアクセラレータで「GPU」を指定して「保存」をクリック.
これでランタイムのタイプが CPU から GPU に切り替わる.
TensorFlow のバージョン
StyleGAN は少し古いバージョンの tensorflow で動作するため,最新の tenforflow がらダウングレードしなければならない.2020年11月5日現在,Google Colaboratory にインストールされている tensorflow の最新バージョンは 2.3.0.確認方法は以下.
import tensorflow as tf
print(tf.__version__)
2.3.0
こちらのページ によれば,
Also generally (NVlabs) Stylegan and Stylegan2 require TensorFlow 1.14 or 1.15 with GPU support.
とあるため,tensorflow 1.14 または 1.15 を用意する必要がある.
以下のコードでは tensorflow 1.15 をインストールしている.
!pip install tensorflow==1.15
TensorFlow の GPU サポート
1.15 以前のバージョンでは,TensorFlow の CPU パッケージと GPU パッケージは別個のものとなっている.(--> 『GPU サポート | TensorFlow』)
したがって, GPU が利用可能な tensorflow も用意する必要がある.これは tensorflow-gpu を指定することで解決できる.
!pip install tensorflow-gpu==1.15
この時点で一度ランタイムを再起動しておこう。その後、再接続が完了したら以下のコードを実行し,同様の出力が得られれば,GPU の指定や TensorFlow のバージョンやパッケージは正しく準備できているはずだ.
import tensorflow as tf
print(tf.__version__)
print(tf.test.gpu_device_name())
1.15.0
/device:GPU:0
Google Drive との連携
関連ファイル置き場として,Google Drive を利用しよう.
from google.colab import drive
drive.mount('/content/drive')
事前に,StyeGAN 関連のファイルを配置するディレクトリを作成し,そこに移動しておく.
%cd /content/drive/My Drive
!mkdir stylegans
%cd stylegans
!mkdir stylegans_dir
StyleGAN 関連ファイルのダウンロード
!git clone https://github.com/NVlabs/stylegan.git
!git clone https://github.com/NVlabs/stylegan2.git
配布されている学習済みモデルは URL を指定することで取得できるが,ランタイムが終了してしまう問題があるようだ.これを回避するために,必要な学習済みモデルのみを別途ダウンロードする.
このページ に karras2019stylegan-ffhq-1024x1024.pkl というモデルが配置されているため,自身のPCにダウンロードした後,Google Drive の stylegans ディレクトリ直下に保存しよう.
2. 学習済みの Generator を読み込む
%cd /content/drive/My Drive/stylegans/stylegan

import os
import pickle
import numpy as np
from PIL import Image
import matplotlib.pyplot as plt
import dnnlib
import dnnlib.tflib as tflib
import config

# Initialize TensorFlow.
tflib.init_tf()

# Load pre-trained network.
*_, Gs = pickle.load(open('../karras2019stylegan-ffhq-1024x1024.pkl','rb'))
3. 潜在変数の定義
# Pick latent vector.
rnd = np.random.RandomState(210)
latents = rnd.randn(1, Gs.input_shape[1])
RandomState(210) の 210 を他の数字に変更すれば,様々な種類の画像が表示される.
4. 画像を生成して表示
# Generate image.
fmt = dict(func=tflib.convert_images_to_uint8, nchw_to_nhwc=True)
images = Gs.run(latents, None, truncation_psi=0.7, randomize_noise=True, output_transform=fmt)
plt.imshow(images[0])
plt.tick_params(labelbottom="off",bottom="off")
plt.tick_params(labelleft="off",left="off")
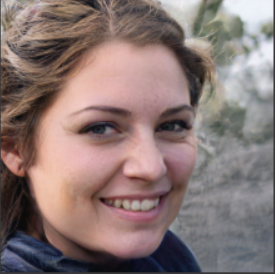
上記コードを実行すれば,以下のような画像が表示されるはずだ.
5. パラメータを変更して遊んでみる
潜在変数
RandomState() で指定する数値を変更して画像を生成したものを並べて表示した.
plt.figure(figsize=(15,10))

for i in range(20):
  rnd = np.random.RandomState(i*20+10)
  latents = rnd.randn(1, Gs.input_shape[1])

  plt.subplot(4,5,i+1)
  fmt = dict(func=tflib.convert_images_to_uint8, nchw_to_nhwc=True)
  images = Gs.run(latents, None, truncation_psi=0.7, randomize_noise=True, output_transform=fmt)
  plt.title("RandomState(" + str(i*20+10) + ")")
  plt.imshow(images[0])
  plt.tick_params(labelbottom="off",bottom="off")
  plt.tick_params(labelleft="off",left="off")
  plt.axis('off')
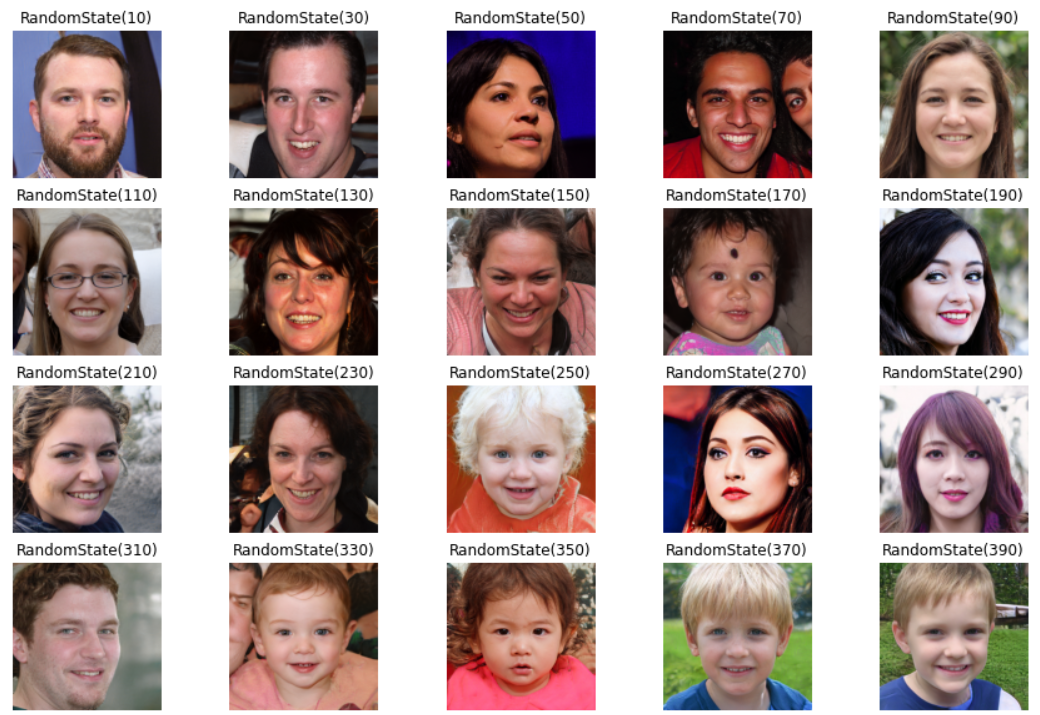
潜在変数を変更することで,全く違う種類 (男女・大人子供など) の画像が出力されることが確認できる.
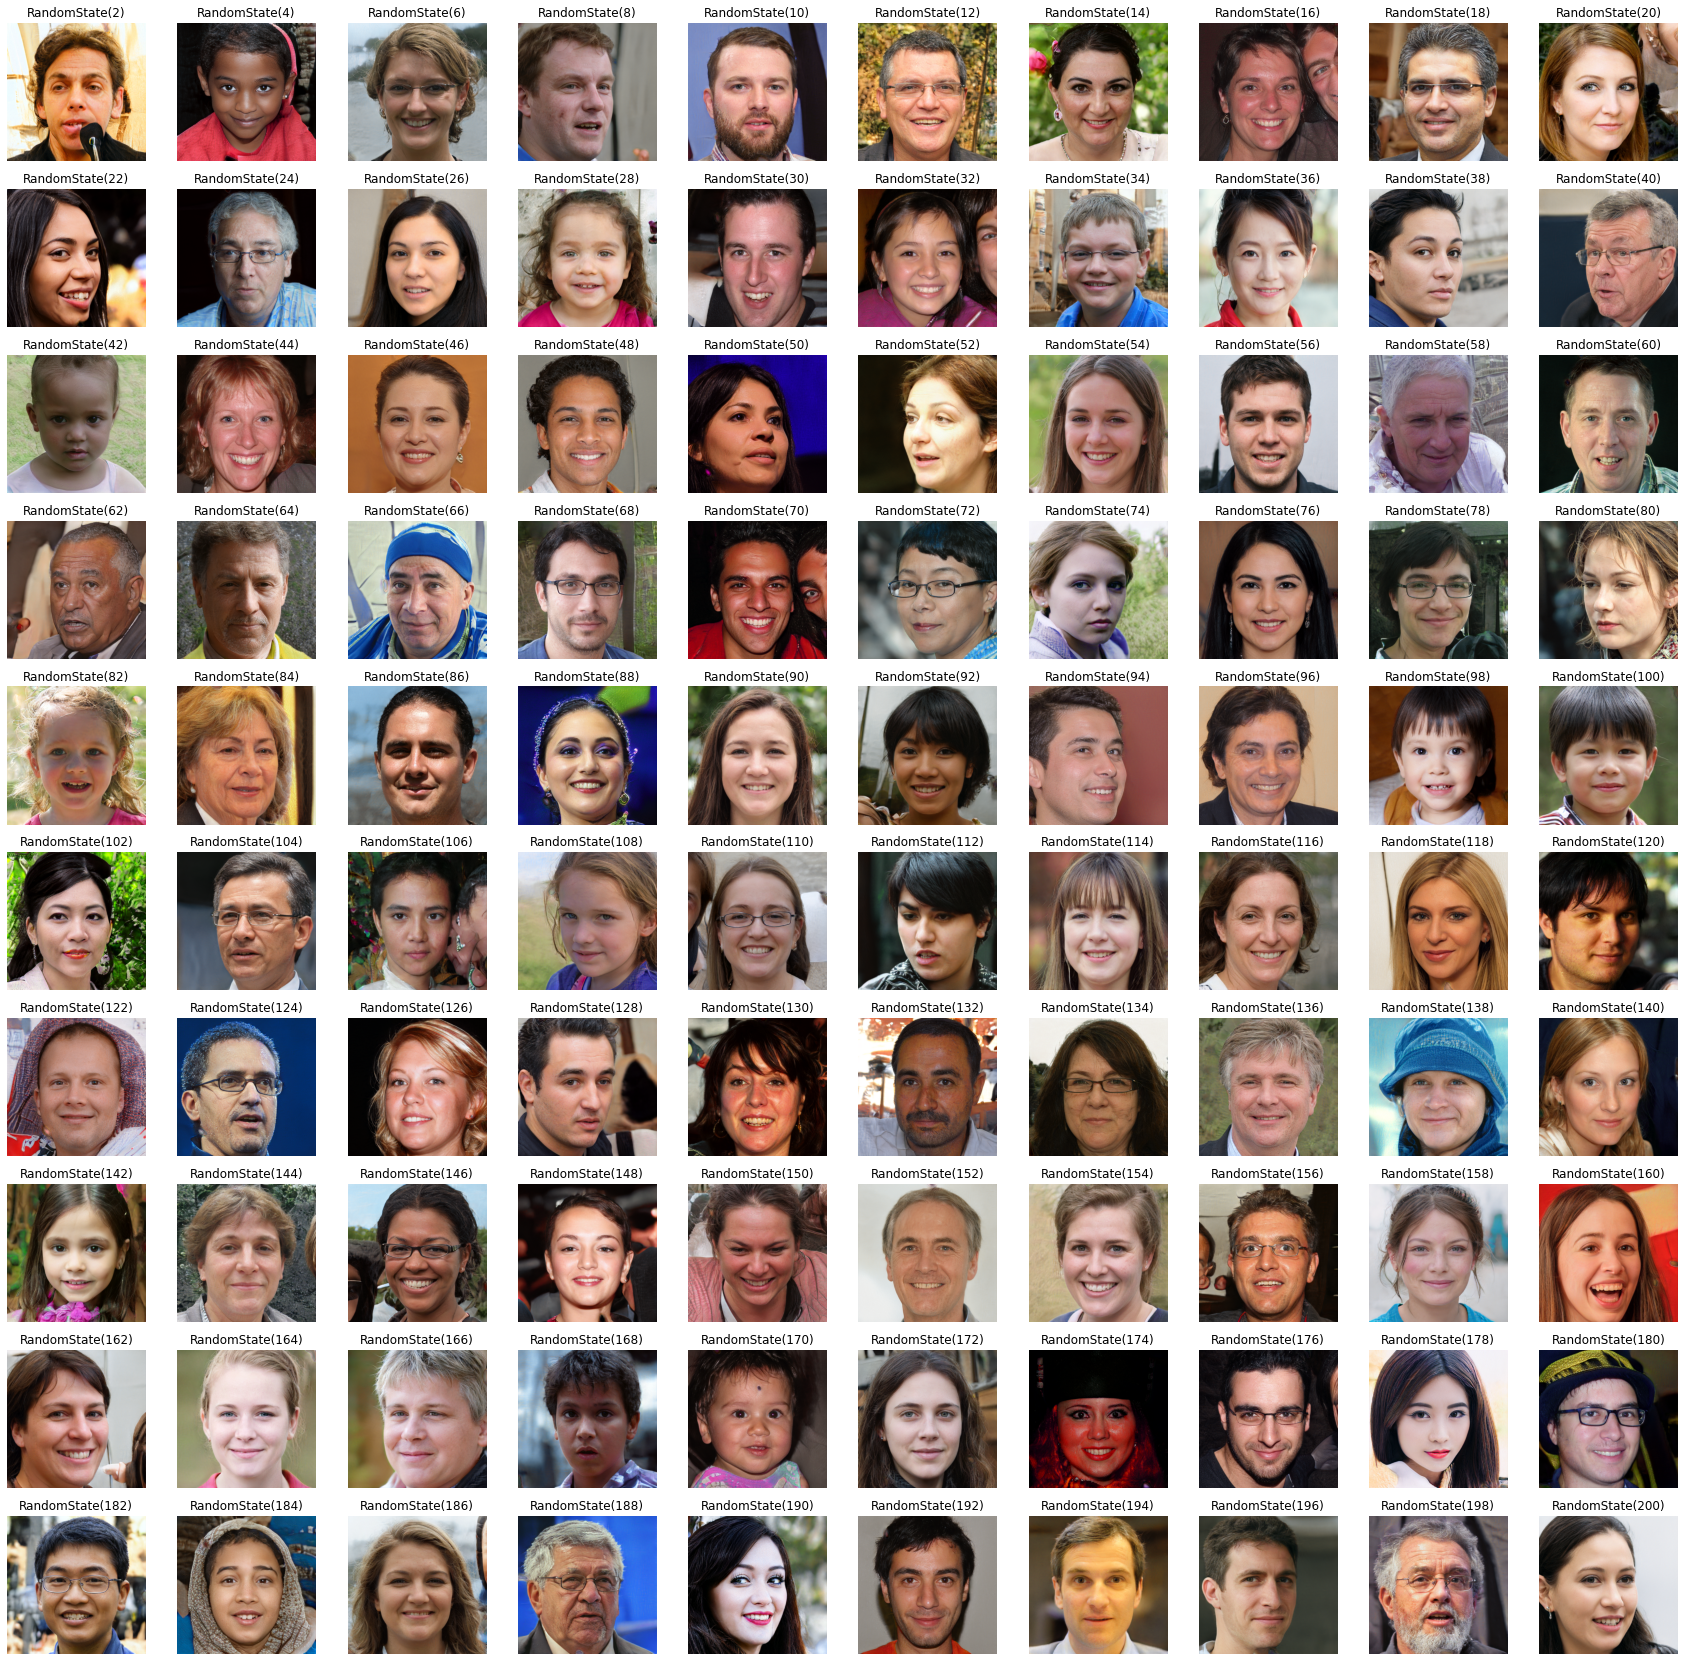
より多くの画像を生成してみた.かなりバリエーションがあることがわかる.
truncation_psi
Gs.run() の引数として指定する truncation_psi を変更してみた.
plt.figure(figsize=(30,10))

for i in range(11):
  rnd = np.random.RandomState(210)
  latents = rnd.randn(1, Gs.input_shape[1])

  plt.subplot(1,11,i+1)
  fmt = dict(func=tflib.convert_images_to_uint8, nchw_to_nhwc=True)
  temp = -1 + 0.2*i
  images = Gs.run(latents, None, truncation_psi=temp, randomize_noise=True, output_transform=fmt)
  plt.title(str(round(-1 + 0.2*i,1)))
  plt.imshow(images[0])
  plt.tick_params(labelbottom="off",bottom="off")
  plt.tick_params(labelleft="off",left="off")
  plt.axis('off')


画像を2つ載せたが,よく見ると,髪の毛や背景模様などの細部が微妙に違う.これは randomize_noise=True が寄与しているからだと思われる.
RandomState(290) の場合

おわりに
このページでは、Google Colaboratory で StyleGAN を動かせるようにするための手順をまとめた。
StyleGAN についての詳しい内容や、その他の使い方に関しては、既に多くの記事・Webページが存在するので、そちらを参考にされたい。