はじめに
タスクランナーとは、Web開発において様々なタスクを自動化するツールのことです。
GruntとGulpが有名です。
本記事ではVisual StduioでGulpを使用できるようにするまでの手順を記載します。
前提条件
- Windows 10以上
- Macでも動くかは未確認です。
-
Visual Studio 2022がインストール済みであること。
- Visual Studio 2015以上であればGruntとGulpが標準でサポートされています。
- Node.jsの最新版のLTSがインストール済みであること。
手順
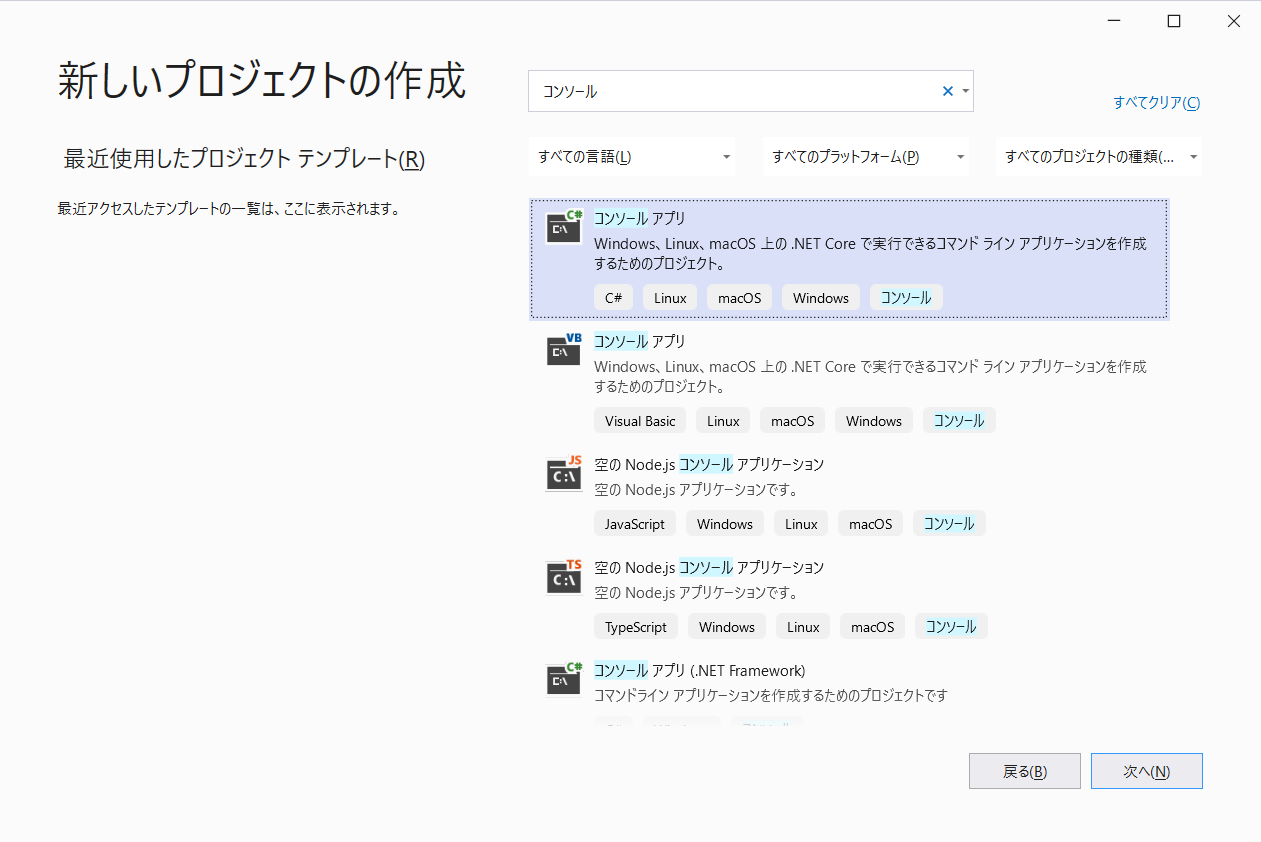
適当なプロジェクトを作る
Visual Studioを開き、適当なプロジェクトを作ります。
Node.jsのpackage.jsonを作る
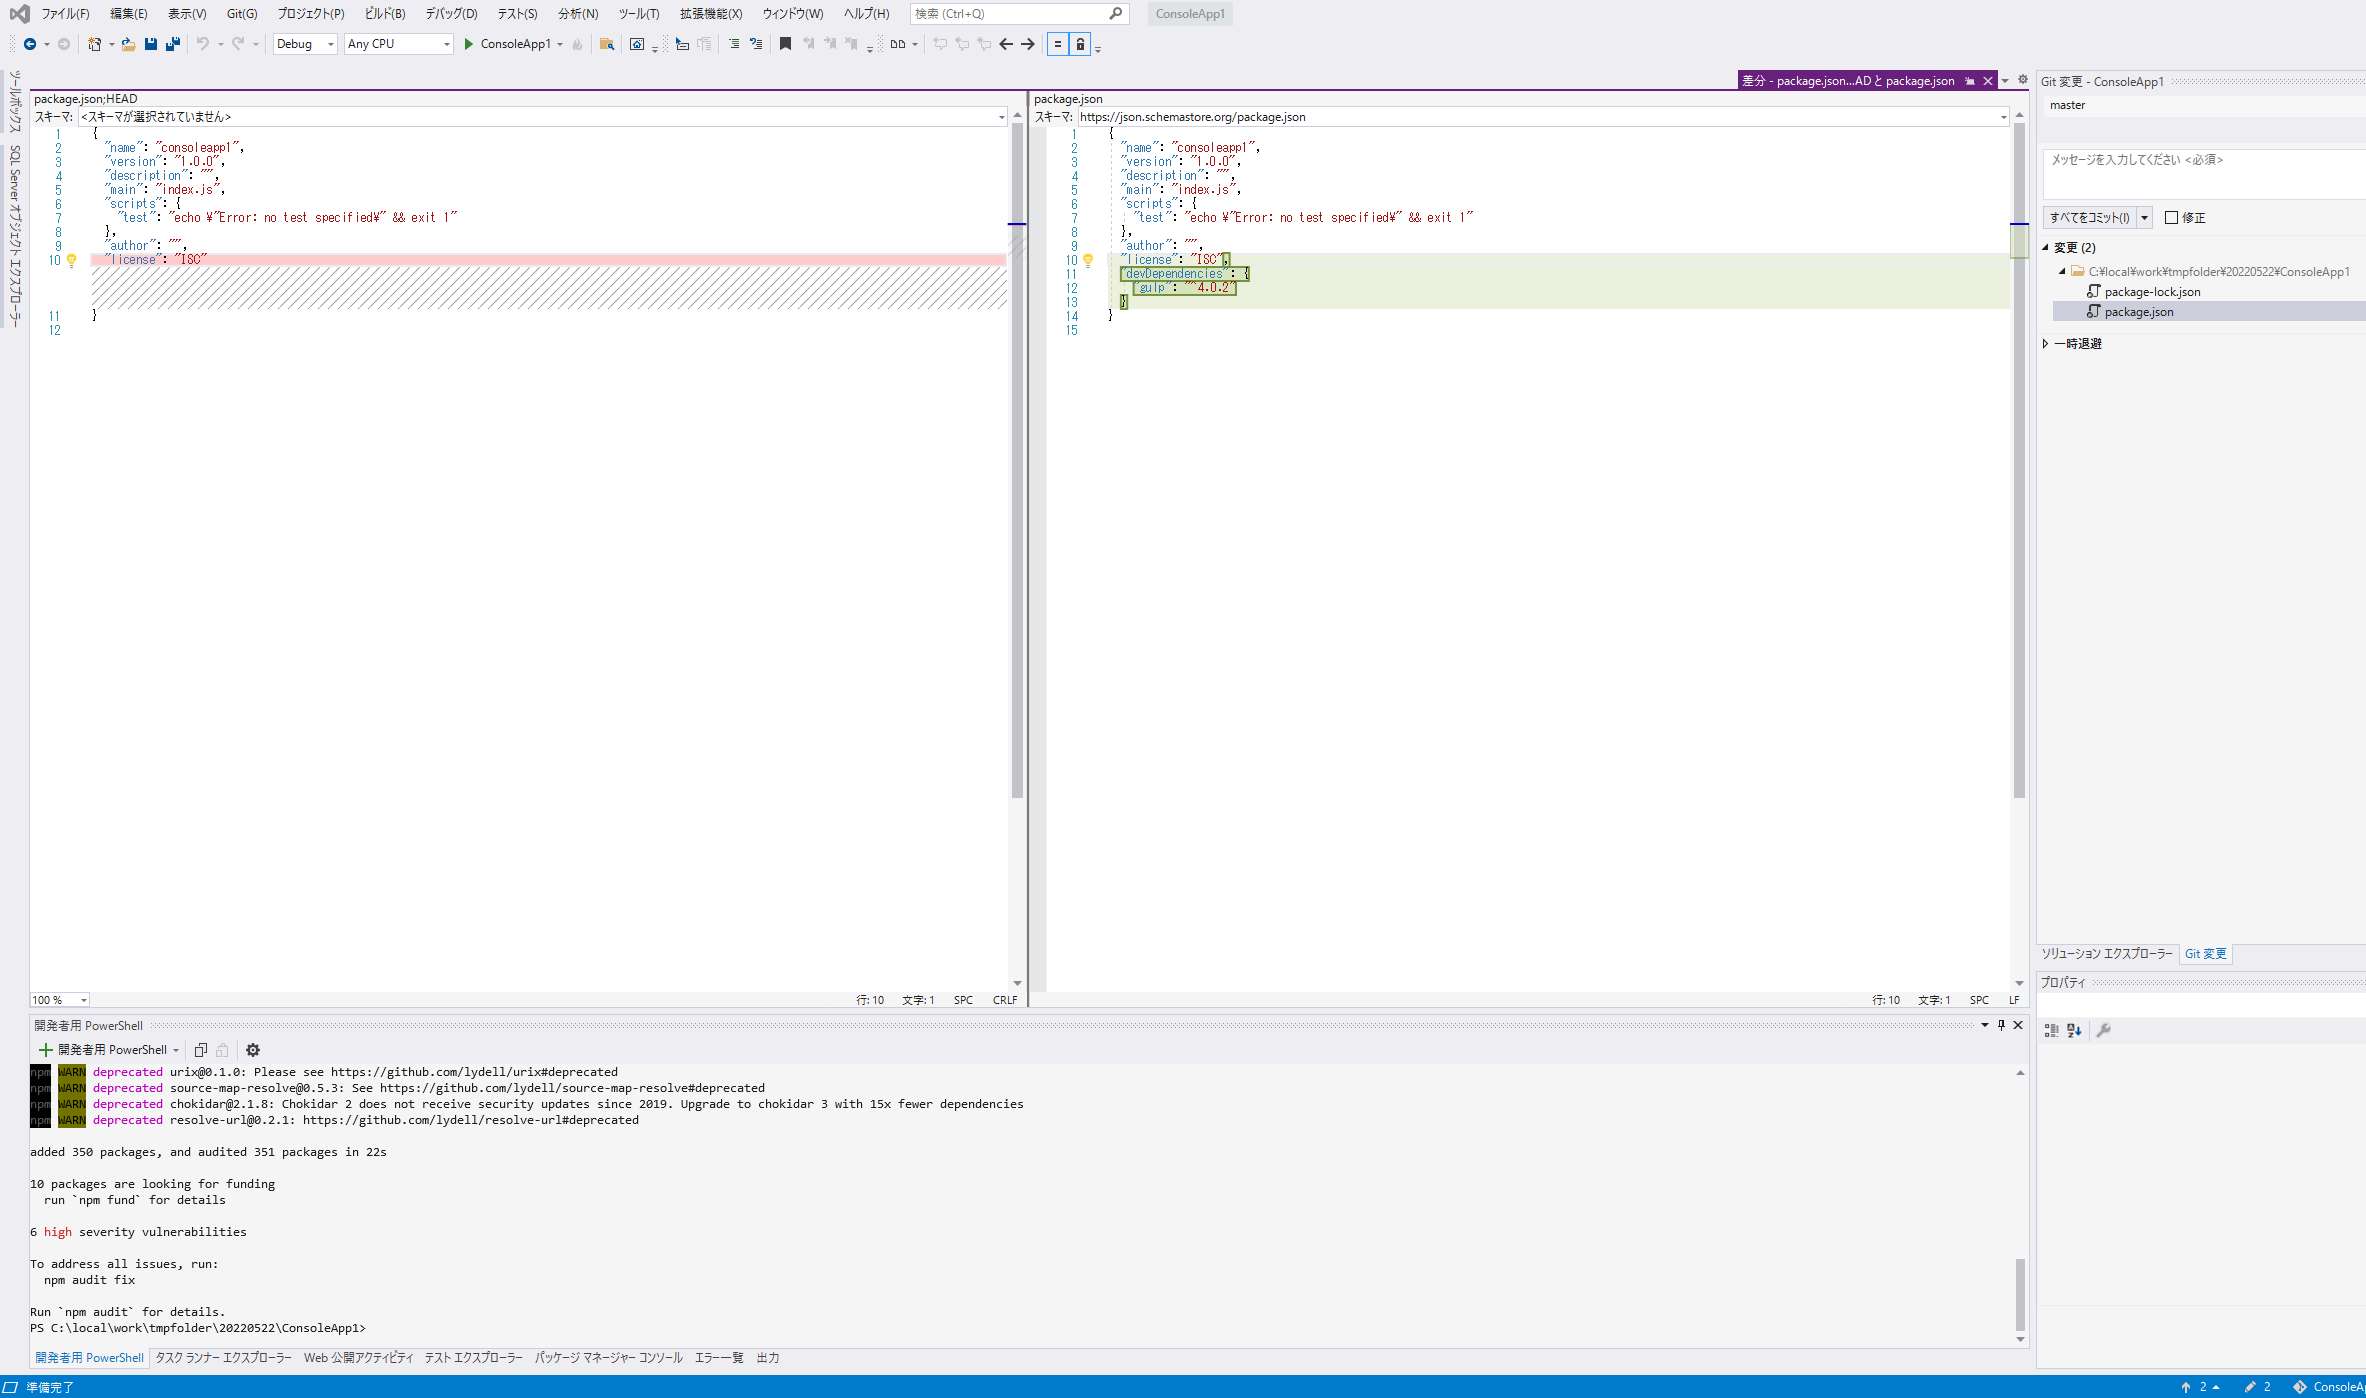
Ctrl + @でターミナルを開き、npm initを実行します。
色々と聞かれますが、何も入力せずにEnterキーを押し続けます。
すると、ソリューションファイル(sln)がある場所にpackage.jsonが作成されます。
Gulpをインストールする
ターミナルでnpm install -D gulpを実行します。
すると、Gulpがローカルにインストールされ、package.jsonにgulpが追加されます。
gulpfile.jsを追加する
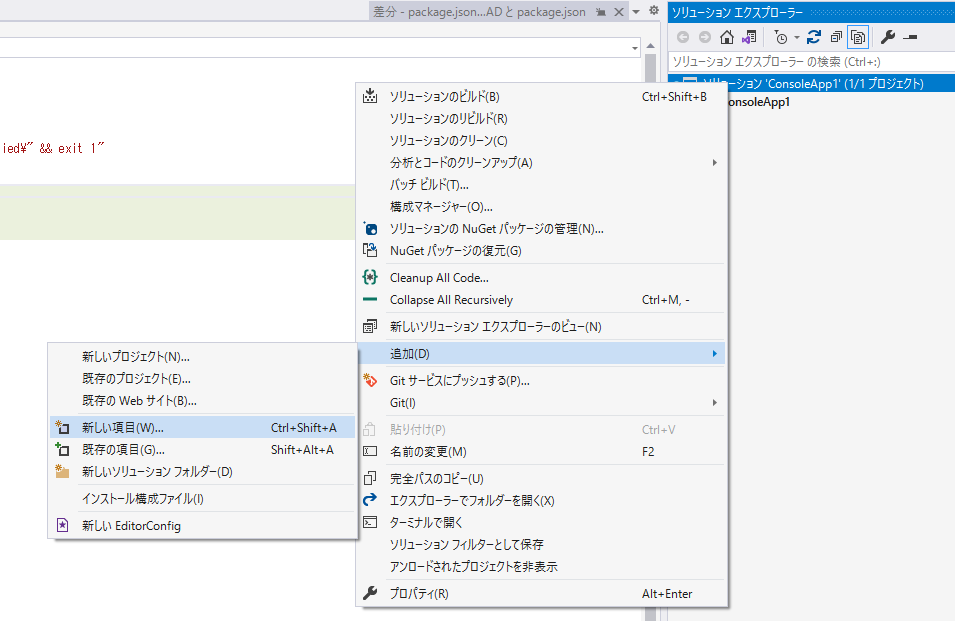
ソリューションエクスプローラーのソリューションを右クリックし、追加 > 新しい項目 を選択します。
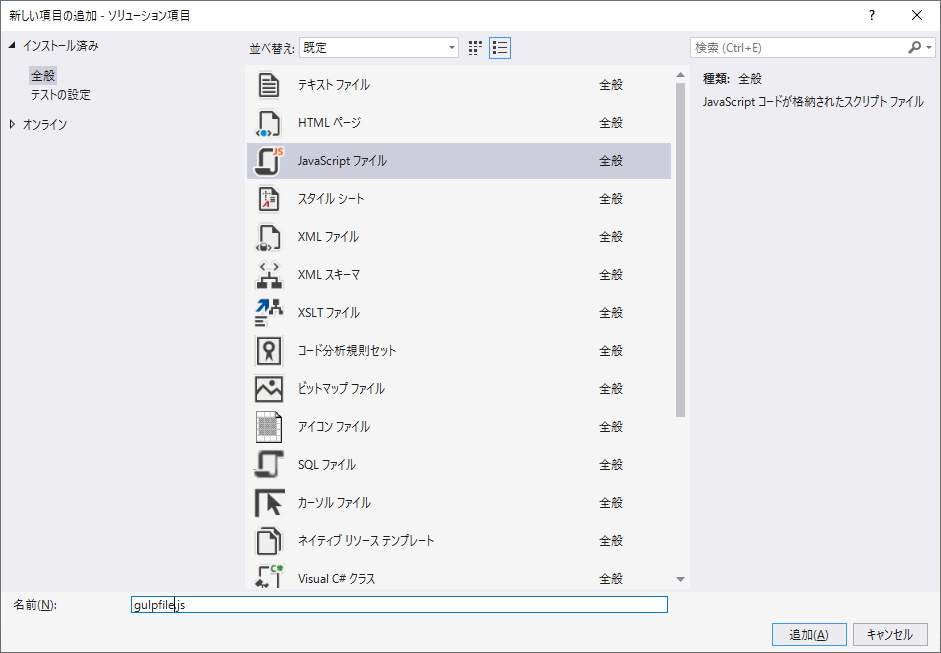
JavaScriptファイル を選択し、gulpfile.jsと入力して、追加 を選択します。
gulpfile.jsにタスクを追加する
後はgulpの仕様に従ってタスクを追加していきます。
とりあえずコンソールに出力するだけのタスクを追加してみます。
const testSample = (done) => {

    console.log('testSample');

    done();

};

exports.testSample = testSample;
タスクを実行する
Visual Studioのツールバーの検索ボックスに「タスクランナー」と入力して、タスクランナーエクスプローラーを選択します。
先ほど追加したタスクが表示されるので、実行します。
タスクが実行されました。
おわりに
Visual Studioとうまく統合されており、コマンドでタスクを実行しなくても、UIから簡単にタスクを実行できることが分かりました。
Gruntも似たような手順になります。


