Webスクレイピングや機械学習の検証用で使いたかったので、出来る限りシンプル、スピーディにJupyter Notebookをインストールし、ブラウザで起動させる手順を記載します。
前提
Python3をインストール済み
Anaconda3を使いJupyter Notebookをインストール
rootユーザで実行
ホームディレクトリ配下を使う
Jupyter Notebookインストール
Anacondaダウンロード
curl https://repo.continuum.io/archive/Anaconda3-4.3.1-Linux-x86_64.sh -O
必要なパッケージインストール
yum install bzip2 -y
Anacondaインストール
bash ./Anaconda3-4.3.1-Linux-x86_64.sh
※以下対話形式で進みます。

Welcome to Anaconda3 4.3.1 (by Continuum Analytics, Inc.)
In order to continue the installation process, please review the license
agreement.
Please, press ENTER to continue
>>> そのままEnter。ライセンスを読み進めていく。

Do you approve the license terms? [yes|no]
>>>yes

Anaconda3 will now be installed into this location:
/root/anaconda3

  - Press ENTER to confirm the location
  - Press CTRL-C to abort the installation
  - Or specify a different location below

[/root/anaconda3] >>>そのままEnter

Do you wish the installer to prepend the Anaconda3 install location
to PATH in your /root/.bashrc ? [yes|no]
[no] >>>yes
※bashrcにパスを通す設定が入る。
bashrc読み込み
source ~/.bashrc
Jupyterバージョン確認
jupyter --version
Jupyter Notebook設定
コンフィグファイルを編集の前にいくつか実施。
# Configファイルのパスが通っていることを確認
jupyter --path
※ホームディレクトリに .jupterとパスが通っていること。

# configファイル作成
mkdir ~/.jupyter
touch ~/.jupyter/jupyter_notebook_config.py

# Jupyter用のディレクトリ作成。テストファイル作成。
mkdir ~/jupyter_files
touch ~/jupyter_files/test.py

# iPythonでログインパスワードの設定
ipython
※以下入力

・パスワード暗号化用ライブラリ読み込み
In [1]: from notebook.auth import passwd
・パスワードを入力
In [2]: passwd()
Enter password:
Verify password:
Out[2]: 'sha1で暗号化された文字列が出力されるのでメモする'
・抜ける
In [3]: exit
コンフィグ編集
vi ~/.jupyter/jupyter_notebook_config.py
※以下記載。すべてのIPアドレスから接続を受け入れ、8888番ポートで起動する設定。

c = get_config()

c.NotebookApp.ip = '*'
c.NotebookApp.open_browser = False
c.NotebookApp.port = 8888
c.NotebookApp.password = u'先程出力されたsha1から始まる暗号化パスワードを記載'
c.NotebookApp.notebook_dir = '/root/jupyter_files/'
Jupyter Notebook起動
Jupyter Notebookの実行
jupyter notebook
ブラウザで以下指定する。
http://サーバIP:8888
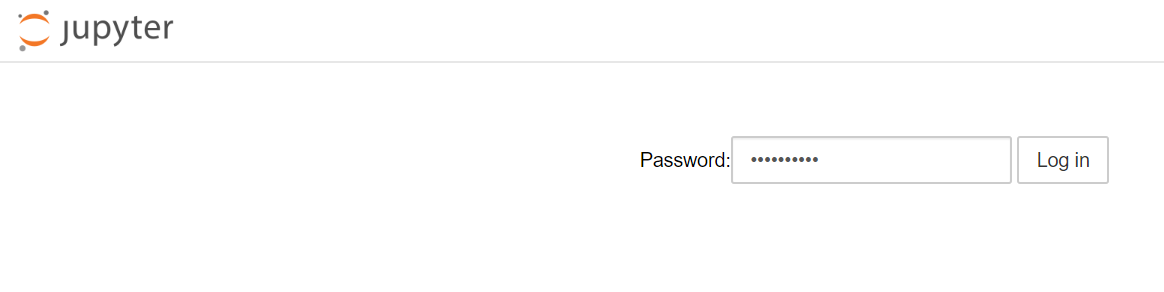
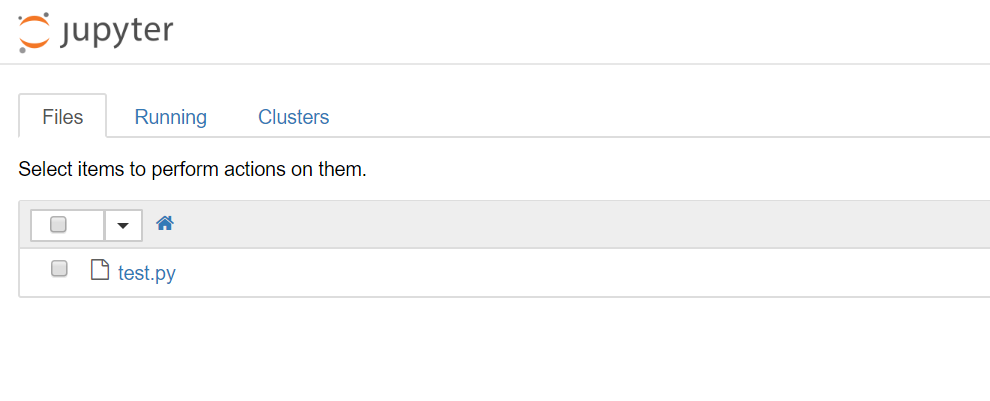
先程設定したパスワードでログイン。Jupyter用ディレクトリに作成したテストファイルが表示される。
Jupyterをsystemdで制御できるようにする
Jupyterのパスを確認
which jupyter
/root/anaconda3/bin/jupyter
Unit定義ファイル作成
vi /etc/systemd/system/notebook.service
※以下記載

[Unit]
Description = Jupyter Notebook

[Service]
Type=simple
PIDFile=/var/run/jupyter-notebook.pid
ExecStart=/root/anaconda3/bin/jupyter notebook
WorkingDirectory=/root/
User=root
Group=root
Restart=always

[Install]
WantedBy = multi-user.target

systemctl daemon-reload
起動、自動起動
systemctl daemon-reload
systemctl start notebook
systemctl enable notebook
systemctl status notebook
これでJupyter Notebookをブラウザで起動させるところまではできました。