「ロゴアイコン初見で95%のエンジニアが狐と勘違いしている中、実は狸のロゴだった」で有名な
GitLabのインストール方法です。
この記事の対象者
- GitLab CEでの構築を強いられている人
- 分散バージョン管理システムでソース管理したい人
- 「え?GitHubじゃないの?」と言わない人
- VSSでファイルがロックされて編集出来ないとか文句を言わない人
構築手順
1. はじめに
公式のインストールガイドをを見ましょう(結論)
とか偉い人には言われてしまうので、基本的に今回はスクリーンショットを多めに。
初見だと少し場所がわかりにくいです。
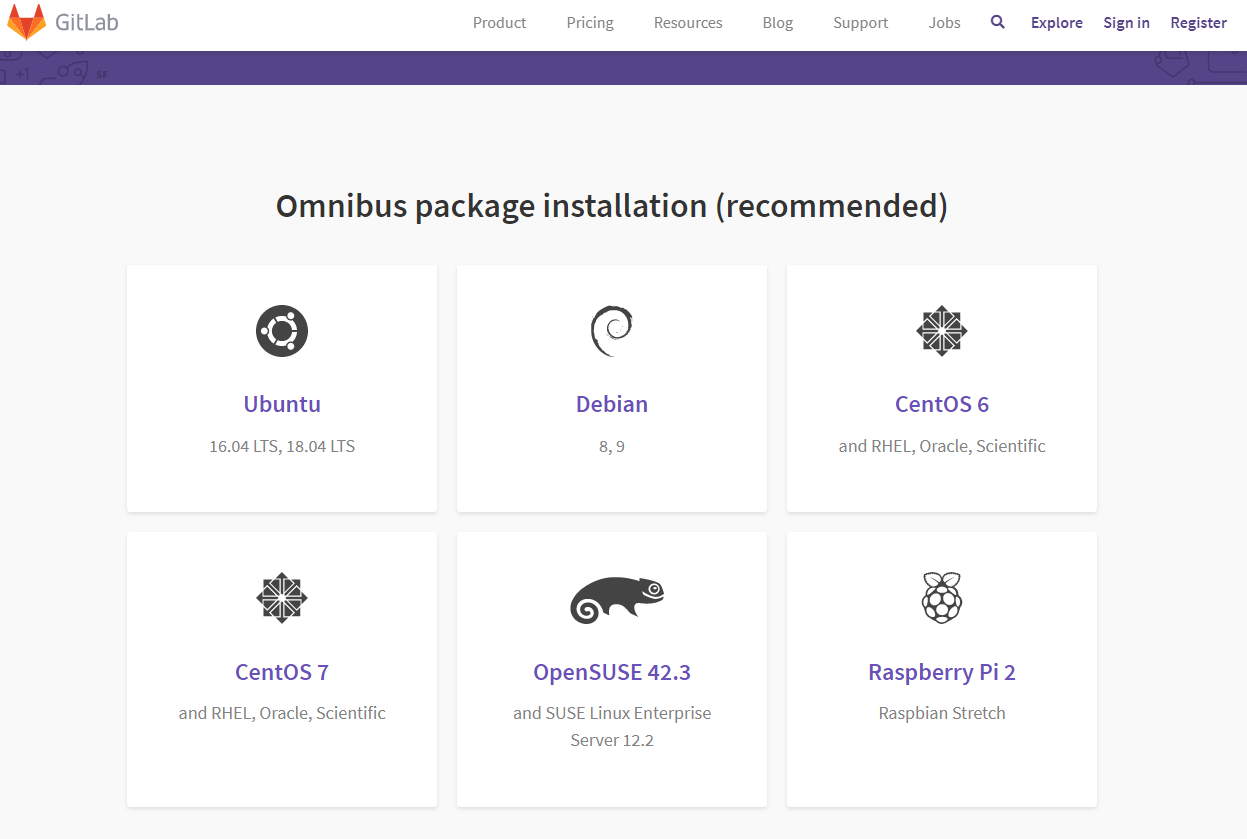
2.インストール方法を探すまでの道のり
今回はUbuntuにインストールするのでUbuntuを押下。
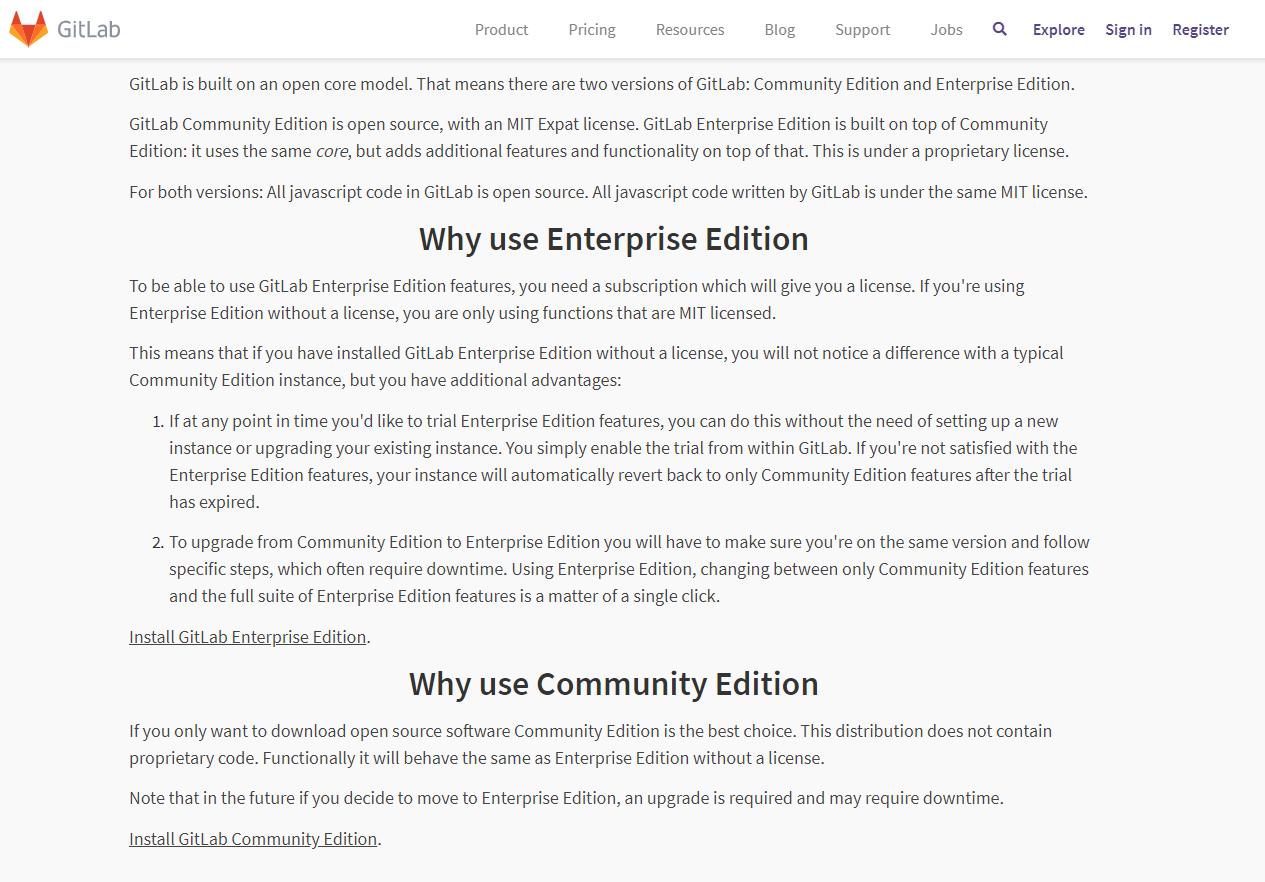
ページをスクロールしていくとひっそりと「CE or EE」というリンクがあるので押下。
**「Install GitLab Community Edition」**を押下。
3.インストール
インストール方法
基本このページのコマンドをサクサク消化する感じです。
3.1 事前準備
sudo apt-get install -y curl openssh-server ca-certificates
sudo apt-get install -y postfix
※既にインストールされている場合はスキップしてもOK
なお「-y」オプションは**「問い合わせ全てにyで答え続けるという意志力」**を表すオプションです。
これだけでもいいから覚えて帰って下さい。
3.2 GitLabのパッケージリポジトリを追加
curl -sS https://packages.gitlab.com/install/repositories/gitlab/gitlab-ce/script.deb.sh | sudo bash
特に説明は無しです。
3.3 GitLabのインストール
sudo apt install gitlab-ce
ここは少し注意が必要なので少し書きます。
Change https://gitlab.example.com to the URL at which you want to access your GitLab instance. Installation will automatically configure and start GitLab at that URL.
と公式にも書かれているようにEXTERNAL_URL部分は自分で変更する。
後でも変えられるが、最初に設定してしまってもOKです。
sudo EXTERNAL_URL="https://gitlab.example.com" apt-get install gitlab-ce
リストア等、特定のバージョンをインストールしたい場合はアーカイブページから対象のバージョンを検索して
インストールコマンドを確認する。
例)
gitlab-ce_11.11.2-ce.0_amd64.debをインストールしたい
https://packages.gitlab.com/gitlab/gitlab-ce/packages/debian/jessie/gitlab-ce_11.11.2-ce.0_amd64.deb
画面右端のinstallの箇所に書いてあるコマンドを参照して打ち込むと幸せになれます。
sudo apt-get install gitlab-ce=11.11.2-ce.0
インストールが正常に終わったら下記のメッセージが表示されます。
ちゃんと読んでみましょう。
Thank you for installing GitLab!
GitLab was unable to detect a valid hostname for your instance.
Please configure a URL for your GitLab instance by setting `external_url`
configuration in /etc/gitlab/gitlab.rb file.
Then, you can start your GitLab instance by running the following command:
  sudo gitlab-ctl reconfigure
もしポート80が既に使われている場合は使用していないポート番号を指定して下さい。
例) IPが192.168.1.102でポート8181で待ち受けしたい場合
external_url 'http://192.168.1.102:8181'
ファイル保存後にreconfigureします。
sudo gitlab-ctl reconfigure
実行しながら画面に流れるメッセージを眺めながら、しきりに大きく頷きつつ(わかってない)終了するのをお待ち下さい。
※結構時間がかかる場合があります
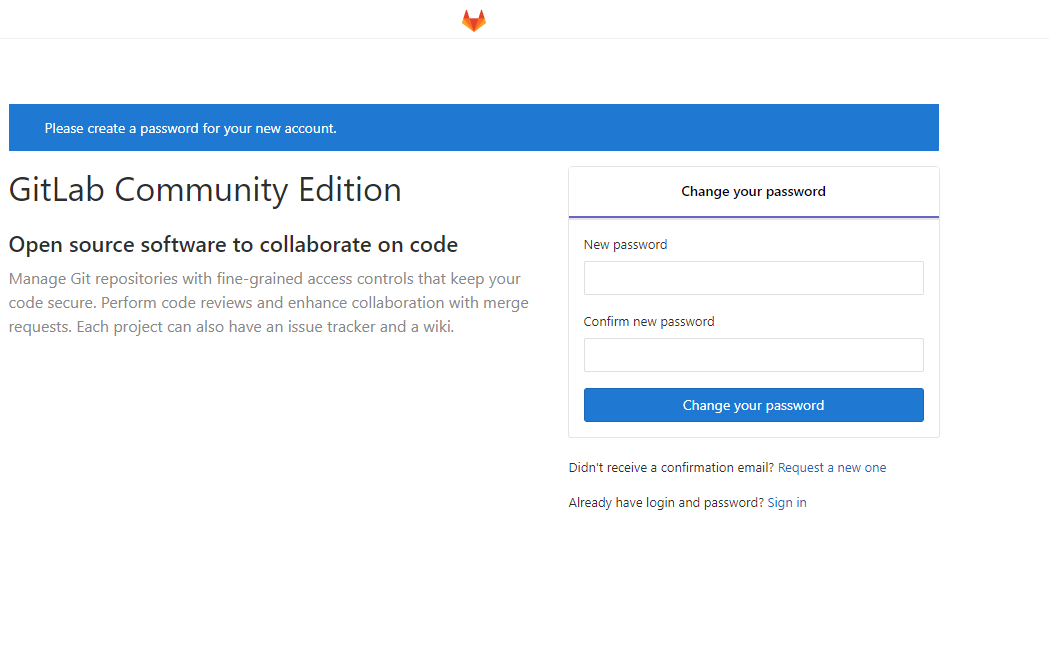
完了したら、ブラウザからexternal_urlで指定したアドレスを指定してアクセスします。
やったね。
GitLabの画面が表示されれば完了です。お疲れ様でした。
最後に
この記事が誰かの役にたてば幸いです。


