趣味で作ったwebサービスのリポジトリをgithubに公開して2ヶ月くらい
フロントエンドのソースが雑だったので、リファクタリング中にした対応を紹介
前記事:Go + react + ansibleでサービスを作ってOSSにしてみた
http://qiita.com/wheatandcat/items/66d72445ad0c5df2a8be
github
記載している内容は、下記のリポジトリに取り込み済みの内容です。
うまく動かなかったら、こちらから動きを見てもらえたらと思います。
■dotstamp_client
https://github.com/wheatandcat/dotstamp_client
flow
javascriptでも型が使えるようになるライブラリ。
ファイル単位で実装していけるから、稼働中のプロジェクトでも柔軟に導入していけるのが魅力。
導入的にはファイルの頭に「// @flow」を追加すればOK
実装
書き方は、こんな感じ
// @flow

function add(a: number, b :number): number {
  return a + b
}

console.log(add(1, 2))
「〇〇:(型名)」で宣言できる
正しく定義できているかは、「yarn flow」を実行して確認
react-storybook
コンポーネントのガイドラインが作れるライブラリ。
大きい単位で作ってしまったコンポーネントを、小さくしていくリファクタリングする際にチューニングにつかえる。
実装
作ったstorybookは、「GitHub Pages」にデプロイして公開できます。
手順は、こんな感じ(※「dist」が出力フォルダなので、「-s ./dist」を追加しています)
  "scripts": {
    ......(省略)
    "storybook": "start-storybook -p 9009 -s ./dist",
    "build-storybook": "build-storybook -s ./dist",
    "deploy-storybook": "storybook-to-ghpages",
  }
そして、「yarn build-storybook」で実行で、↓みたいに公開できます
https://wheatandcat.github.io/dotstamp_client/
webpack2移行
移行手順は下記に記載
Migrating from v1 to v2
実装
自分のリポジトリだと最終的に、こんなソースになりました
...
  module: {
    rules: [
      {
        test: /\.js$/,
        exclude: /node_modules/,
        use:[
          "babel-loader",
        ]
      },
      {
        test: /\.css$/,
        include: /css/,
        use: [
          {
            loader: "style-loader",
            options: {
              sourceMap: true,
            }
          },
          {
            loader: "css-loader",
            options: {
              localIdentName: "[hash:base64]-[name]-[local]",
              modules: true,
              sourceMap: true,
            }
          } ,{
            loader: "postcss-loader",
            options: {
              sourceMap: true,
            }
          }
        ],
      }
    ]
  },
...
react-router v4移行
※注意:まだ他の依存ライブラリが対応できていないライブラリがあるので、確認してから検討して下さい(2017/5/6時点では、react-router-reduxとか)
ほぼ必須ライブラリなので、できるだけ最新バージョンにしておきたいですね
実装
主な修正点
Linkが別パッケージに変更
import {Link} from "react-router-dom"
...
      <Link to="/about">
        <Button bsStyle="primary">.stampとは</Button>
      </Link>
...
react-router-reduxの組み込み方
import { Switch, Route } from "react-router-dom"
import { ConnectedRouter } from "react-router-redux"
...
export default class Root extends Component {
  render () {
    const { store, history } = this.props
    return (
      <Provider store={store}>
        <ConnectedRouter history={history}>  ←「ConnectedRouter」に変更
          <div>
            <Switch>
              <Route exact path="/" component={ContributionList} />
              <Route path="/contribution/new" component={ContributionNew} />
.....
              <Route component={ContributionList}/>
            </Switch>
          </div>
        </ConnectedRouter>
      </Provider>
    )
  }
}
react-hot-loader
リロード無しでソースコードの修正が反映できるモジュール
実装
いろいろなパターンの実装方法はこちらに記載
Starter Kit
自分の場合だと、こんな感じで実装
{
    "presets": [
        "es2015",
        "stage-0",
        "react"
    ],
    "plugins": [
      "react-hot-loader/babel",  ←追加
      "babel-plugin-transform-flow-strip-types",
      "rewire"
    ]
}
module.exports = {
...
  devServer: {
    contentBase: resolve(__dirname, "dist"),
    host: "localhost",
    hot: true,  ←追加
    port: 3000,
    historyApiFallback: true,
    stats: {
      colors: true
    },
  },
...
import React from "react"
import { render } from "react-dom"
import { AppContainer } from "react-hot-loader"
import {history, store} from "./store/configureStore"
import Root from "./router"

render(
    <AppContainer>
      <Root store={store} history={history} />
    </AppContainer>,
    document.querySelector("#root")
)

# ↓追加
if (module.hot) {
  module.hot.accept("./router", () => {
    const NewRoot = require("./router").default
    render(
      <AppContainer>
        <NewRoot store={store} history={history} />
      </AppContainer>,
      document.querySelector("#root")
    )
  })
}
...
実はめっちゃ簡単に実装できる!
READMEにバッジ追加
Githubのリポジトリにバッジがあると、プロっぽくてカッコイイですね。
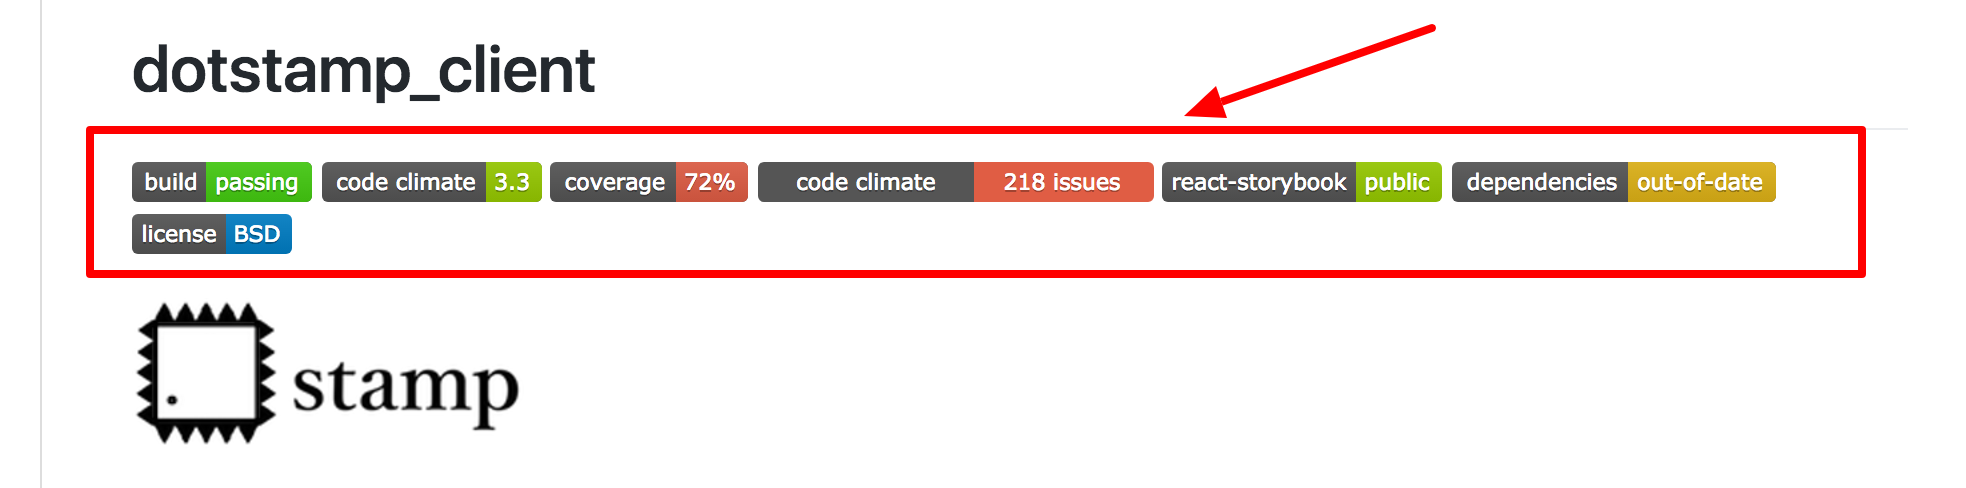
導入は、簡単なので公開するタイミングで導入すると良いかと思います。
自分が導入しているのは、以下の通りです
Travis CI

buildが成功しているか確認してくれる
設定は、以下な感じで動きます
---
language: node_js
node_js:
  - "stable"
sudo: false
cache:
  directories:
    - node_modules
Code Climate

コードの品質チェックをしてくれるサービス
また、以下の設定を追加すれば、テストのカバレッジも表示できます
...
addons:
  code_climate:
      repo_token: xxxxxxxxxxxxxxxxxxxxxxxxxxxxxxxxxxxxxxxxxxxx ←Code Climateから取得できるトークンを設定する
after_success:
  - yarn test -- --coverage
  - npm install -g codeclimate-test-reporter
  - codeclimate-test-reporter < coverage/lcov.info
Gemnasium

依存ライブラリの更新状況をチェックしているサービス
気づかぬ間に時代に取り残されている可能性があるので、ぜひ導入を!
react-v15.5とかreact-router-v4の更新を後追いで直したせいで土日潰れたし・・・
まとめ
これで技術的負債を返却の土台づくりが完了といった感じです。。。
どうせ公開するなら、いい感じのリポジトリにしていきたいですね!