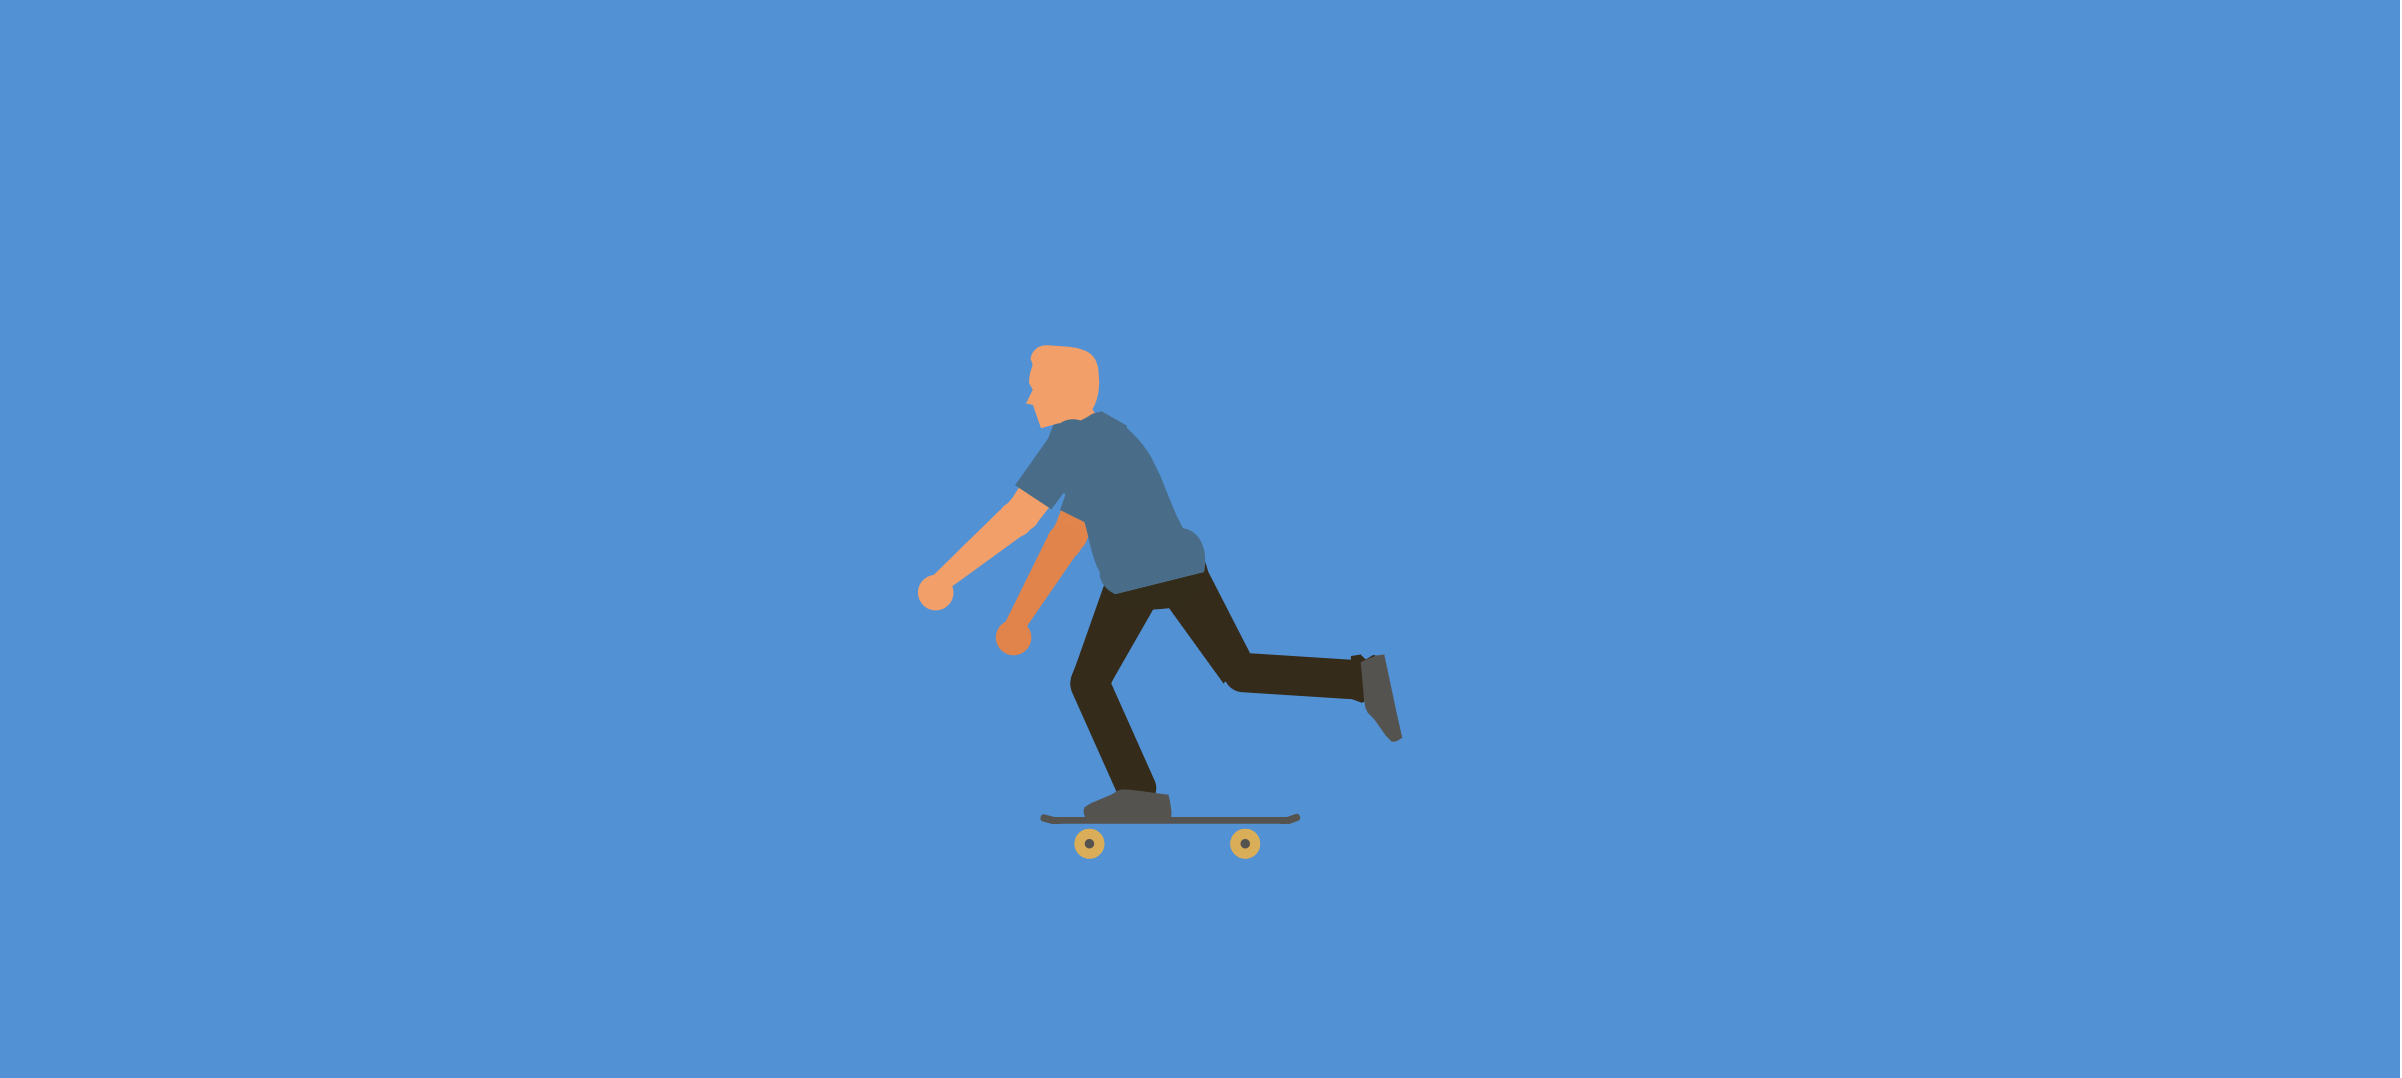
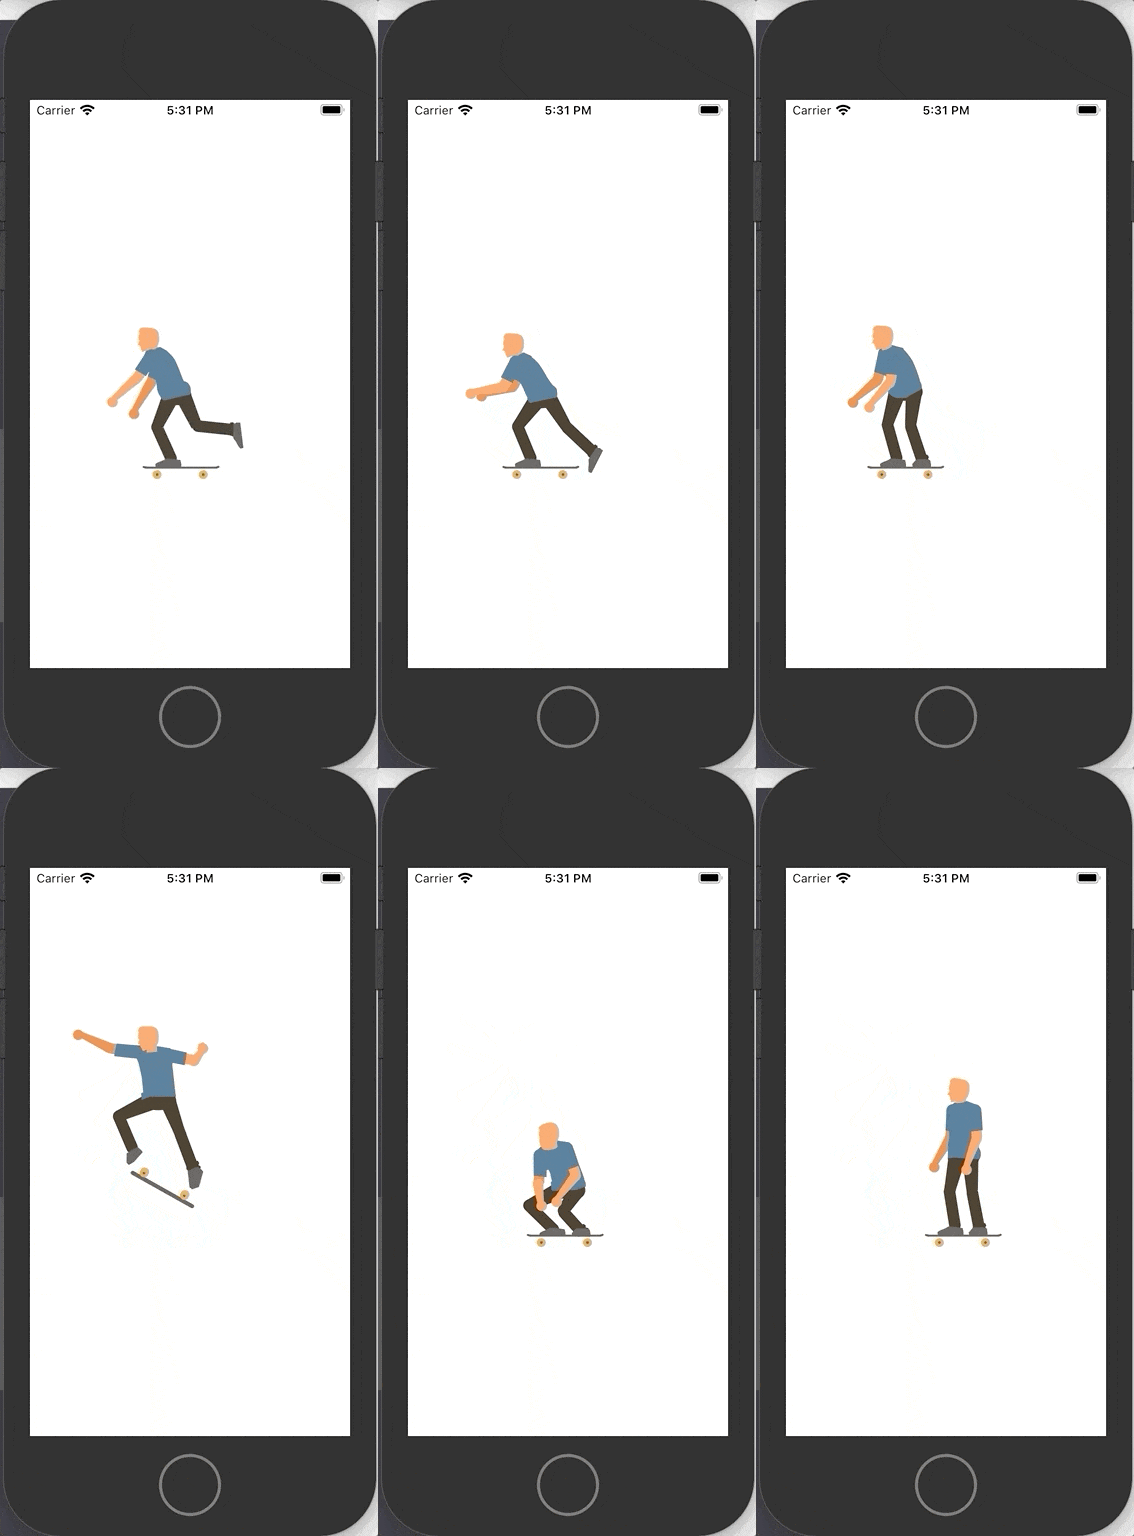
Lottieとは
Lottieは言わずと知れたアニメーションライブラリで、数行のコードでリッチなアニメーションを実装できます。
Lottieファイルと言われる、Adobe After Effectsから生成されたJSONファイルを、読み込み、アニメーションを表示させるためのライブラリです。
いわゆるビデオプレイヤー的な役割をするもので、Lottieファイルを読み込ませると、様々なリッチアニメーション実現できます。
導入
今回はcocoapodを使用します。Podfileに以下ラインを追加し、pod installを実行
pod 'lottie-ios'
Lottieファイルをダウンロード
こちらより、好きなファイルを落としてください。今回のデモではスケボーにいさんを使います。
基本実装
まずは先ほどDLしたLottieファイルをプロジェクトに取り込んでください。
のちに、ViewController.swiftに以下コードを追加ます。
import UIKit
import Lottie

class ViewController: UIViewController {
  override func viewDidLoad() {
    super.viewDidLoad()

    // play lottie file
    let animationView = AnimationView(name: "41256-skateboarding")
    animationView.frame = view.bounds
    animationView.loopMode = .loop
    animationView.contentMode = .scaleAspectFit
    view.addSubview(animationView)
    animationView.play()
  }
}
レイヤーにサブビューを追加する
Lottieの凄いところは、ただアニメーションを再生するだけでなく、指定のアニメーションレイヤーにサブビューも追加できると言うところです。ドキュメント
Lottieアニメーションは複数のアニメーションレイヤーからなり、それぞれのレイヤーが動くことで、リッチアニメーションを実現しています。そのレイヤーにサブビューを追加することで、サブビューをレイヤーの一部としてをアニメーションさせてることができます。
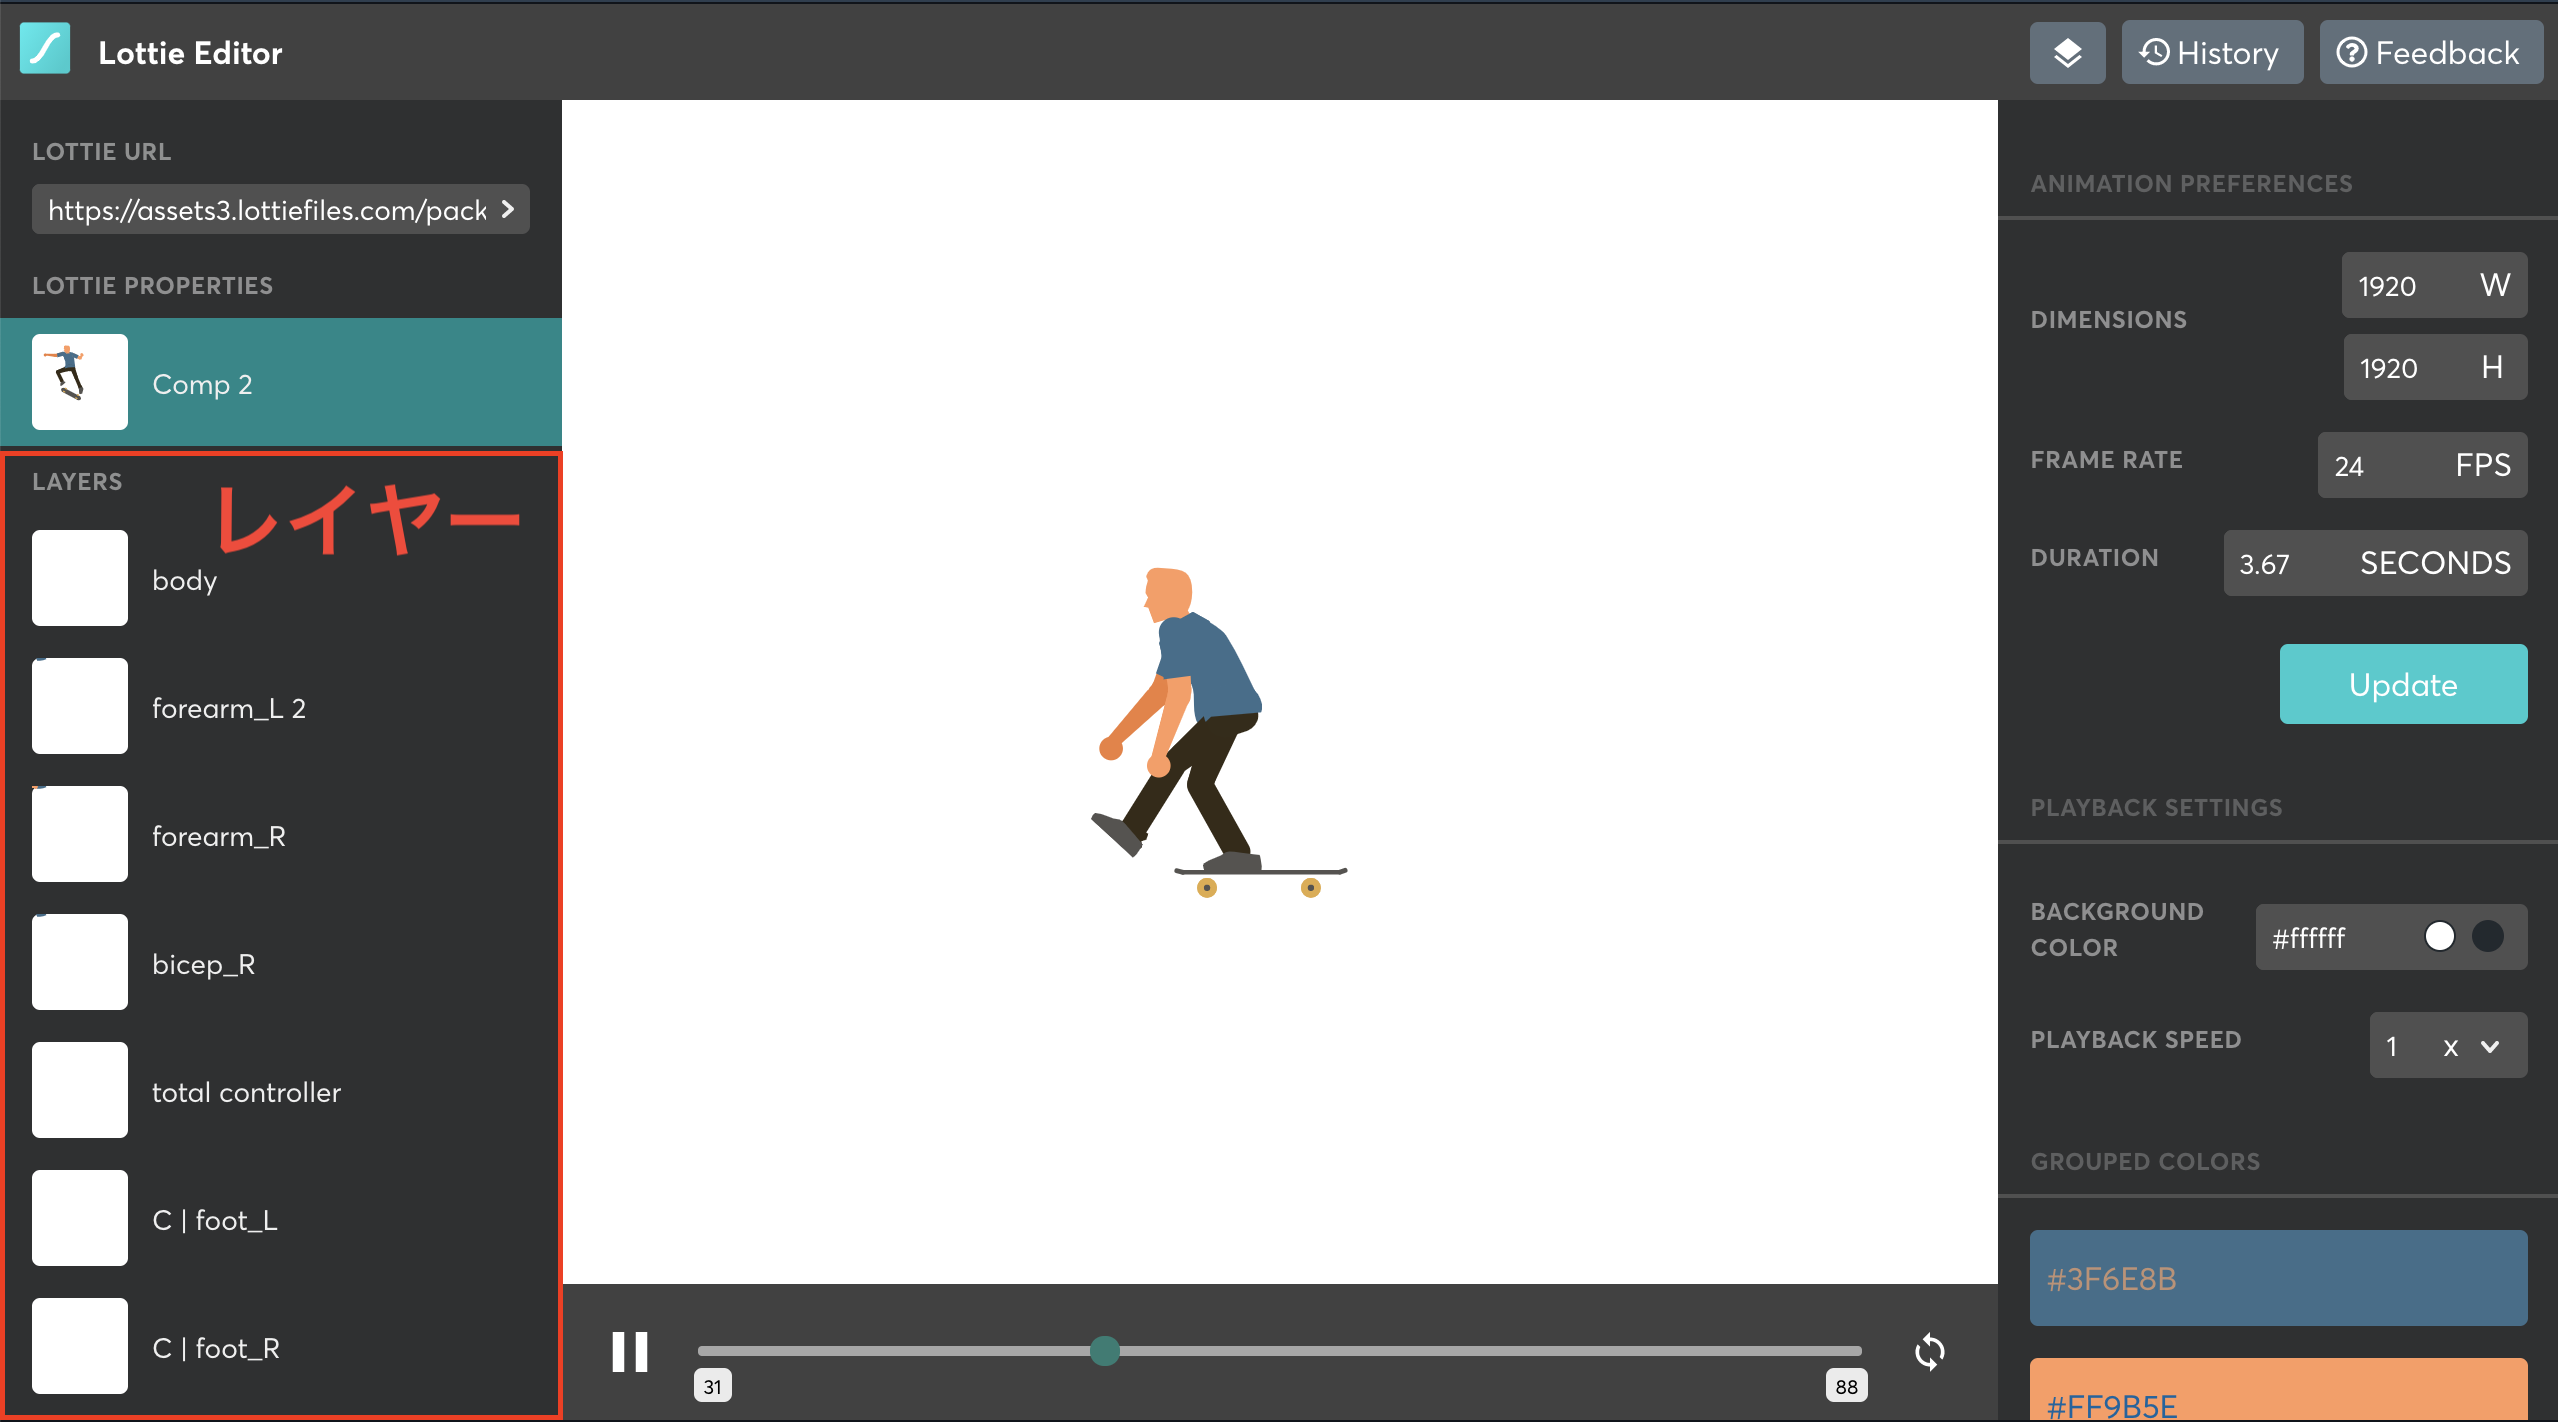
Lottie Editorで、先ほどDLしたファイルを読み込んでみましょう。
左側に見えるのがレイヤーです。実装段階でレイヤー名が必要になります。
実装
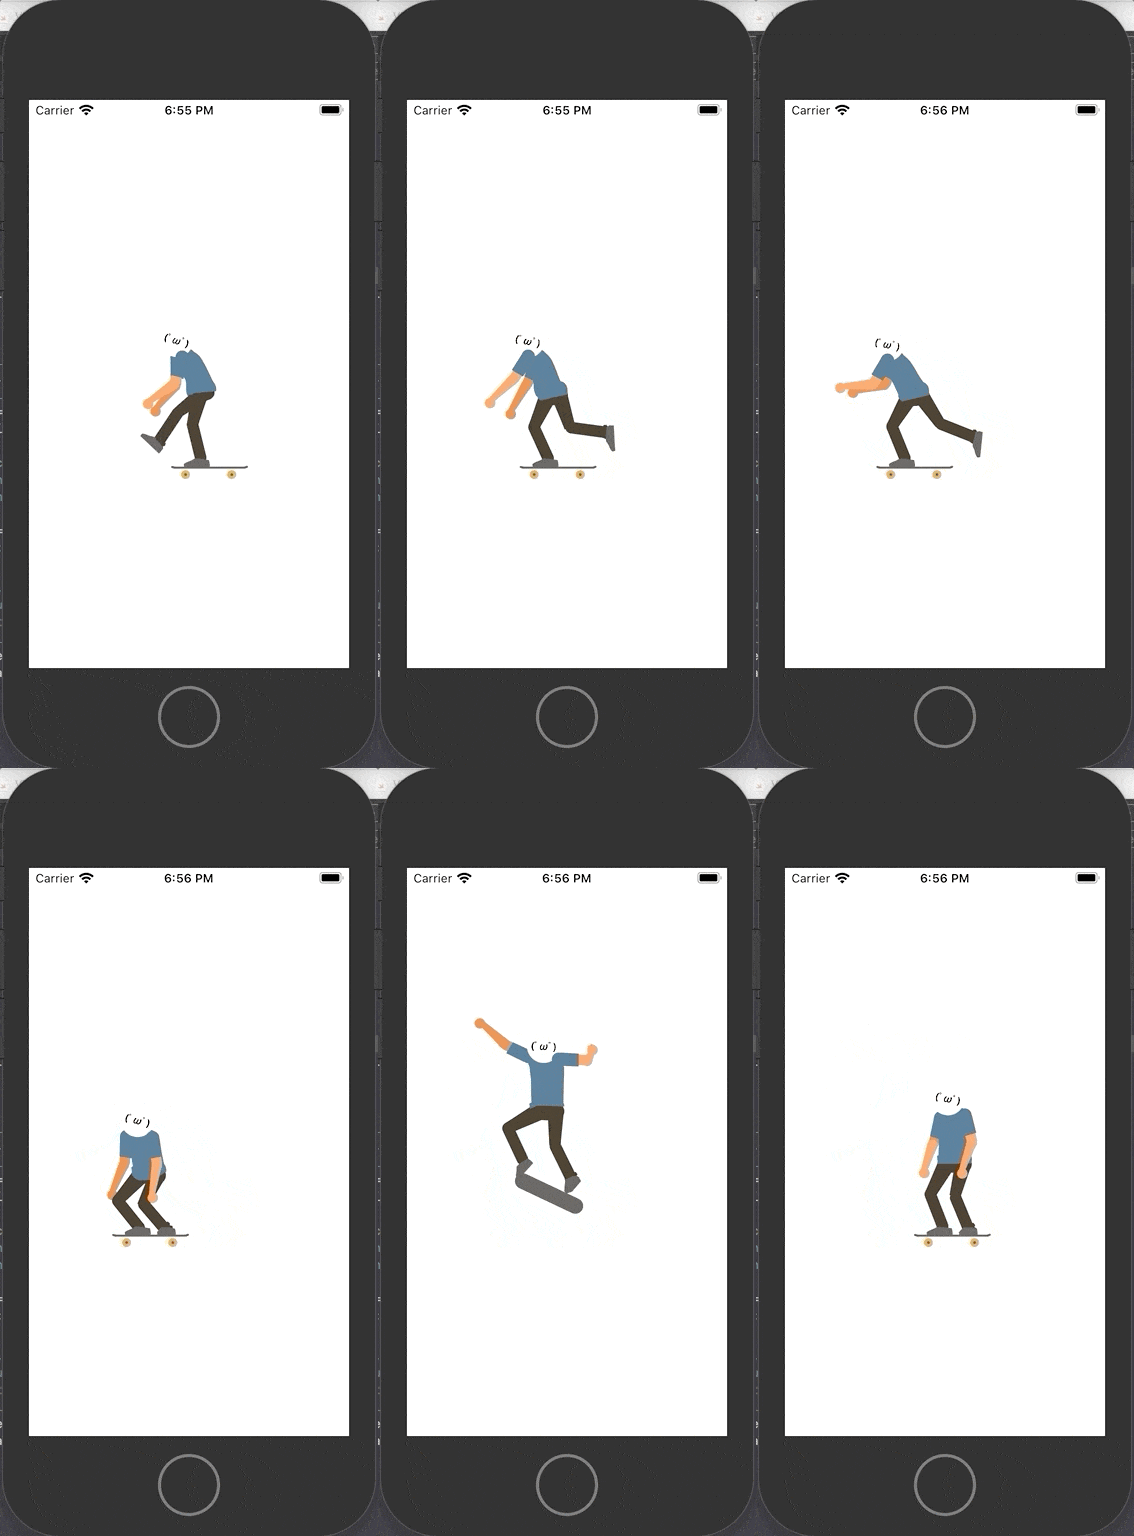
今回は、スケボー兄さんの顔を置き換えてみましょう。ドキュメントにある通り、どのレイヤーにサブビューを追加するかを決めないといけません。今回は顔を置き換えるということで、レイヤー “head” にサブビューを追加します。
import UIKit
import Lottie

class ViewController: UIViewController {

  override func viewDidLoad() {
    super.viewDidLoad()

    // play lottie file
    let animationView = AnimationView(name: "41256-skateboarding")
    animationView.frame = view.bounds
    animationView.loopMode = .loop
    animationView.contentMode = .scaleAspectFit
    view.addSubview(animationView)

    // add label to replace face
    let path = AnimationKeypath(keypath: "head")
    let faceSubview = AnimationSubview()
    let faceLabel = UILabel()
    faceLabel.backgroundColor = .white
    faceLabel.frame = CGRect(x: -50, y: -450, width: 200, height: 200)
    faceLabel.text = "(゚ω゚)"
    faceLabel.textAlignment = .center
    faceLabel.layer.cornerRadius = 100
    faceLabel.clipsToBounds = true
    faceLabel.font = UIFont.boldSystemFont(ofSize: 60)
    faceSubview.addSubview(faceLabel)
    animationView.addSubview(faceSubview, forLayerAt: path)

    animationView.play()
  }
}
見事に顔が置き換えられ、動きに合わせ、新しい顔の位置、角度まで変わっていますね!
「x, y座標が固定になってるけど、アニメーションのフレームサイズ変われば顔の位置ずれるのでは?」と思った方もいると思います。
僕もそこは気になっていたのですが、その心配はありませんでした。どのフレームサイズでも、顔の位置がずれることはありませんでした。
ユーザーのプロフィール画像を組み込んだアニメーションを作ったり、いろいろなことに応用できると思います。
最後に
Lottieに関してこちらでもう少し詳しくかいたので、興味ある方は覗いてみてくれると嬉しいです。
Happy Coding!


