これはElectron debugging (main and renderer process)の翻訳です。ElectronにはNodeJS内で実行されるメインプロセス(Main process)とChromium内で実行されるレンダラープロセス(Renderer process)という2種類のプロセスがあり、それぞれに異なるデバッガーを利用する必要があります。この記事ではVSCodeを使ってこの2つのプロセスを同時にデバッグする方法を紹介しています。
Note: デバッガーはInspectorプロトコルに依存しているためElectron 1.7.4以降を使うようにしてください。
最初に
- 最新のVSCodeがインストールされていることを確認してください
- VSCodeに最新のDebugger for Chromeがインストールされていることを確認してください
- このガイドはelectron-Quick-start projectの利用を想定してします。最初にリポジトリを
cloneしてください
git clone https://github.com/electron/electron-quick-start.git
cd electron-quick-start
npm install
code .
launch.jsonファイルを設定する
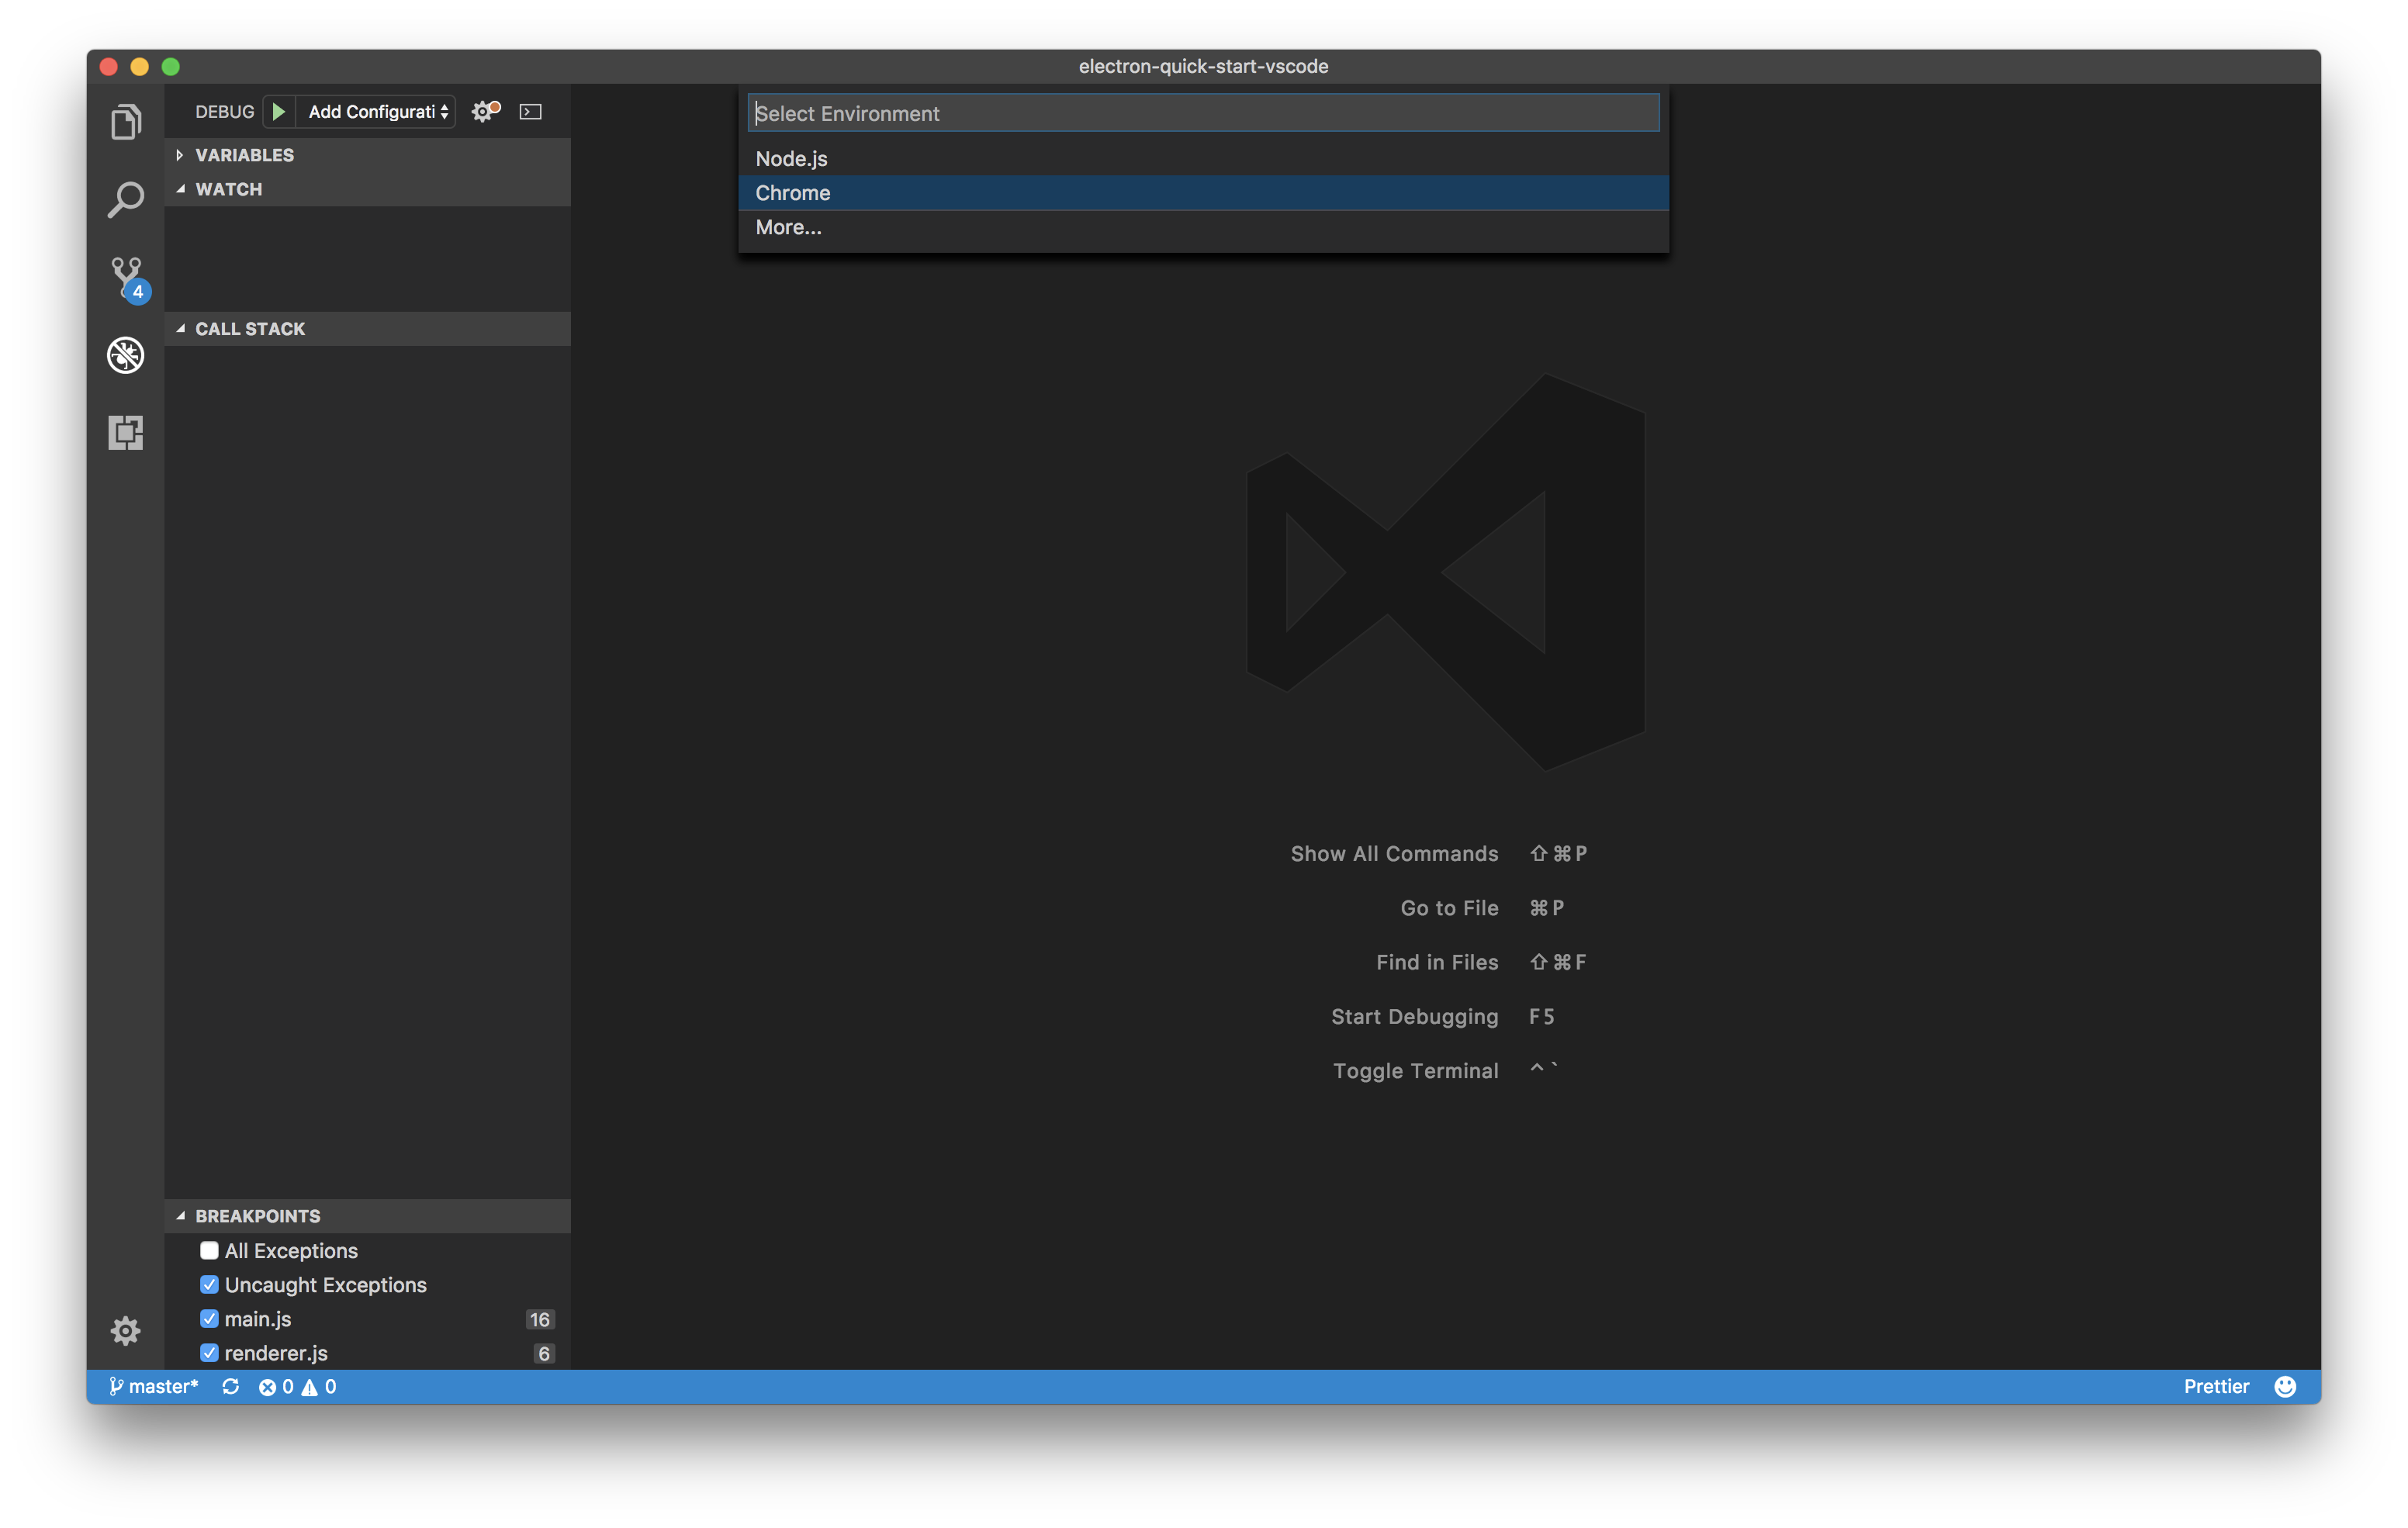
- アクティビティーバーのデバッグアイコンをクリックしてデバッグビューを表示してください。次にlaunch.jsonファイルを設定するために歯車アイコンをクリックしChromeを環境として選択してください

- 生成されたlaunch.jsonファイルの内容を次の2つの設定で置き換えてください
  {
      "version": "0.2.0",
      "configurations": [
          {
              "type": "node",
              "request": "launch",
              "name": "Electron: Main",
              "protocol": "inspector",
              "runtimeExecutable": "${workspaceRoot}/node_modules/.bin/electron",
              "runtimeArgs": [
                  "--remote-debugging-port=9223",
                  "."
              ],
              "windows": {
                  "runtimeExecutable": "${workspaceRoot}/node_modules/.bin/electron.cmd"
              }
          },
          {
              "name": "Electron: Renderer",
              "type": "chrome",
              "request": "attach",
              "port": 9223,
              "webRoot": "${workspaceRoot}",
              "timeout": 30000
          }
      ],
      "compounds": [
          {
              "name": "Electron: All",
              "configurations": [
                  "Electron: Main",
                  "Electron: Renderer"
              ]
          }
      ]
  }
メインプロセスをデバッグする
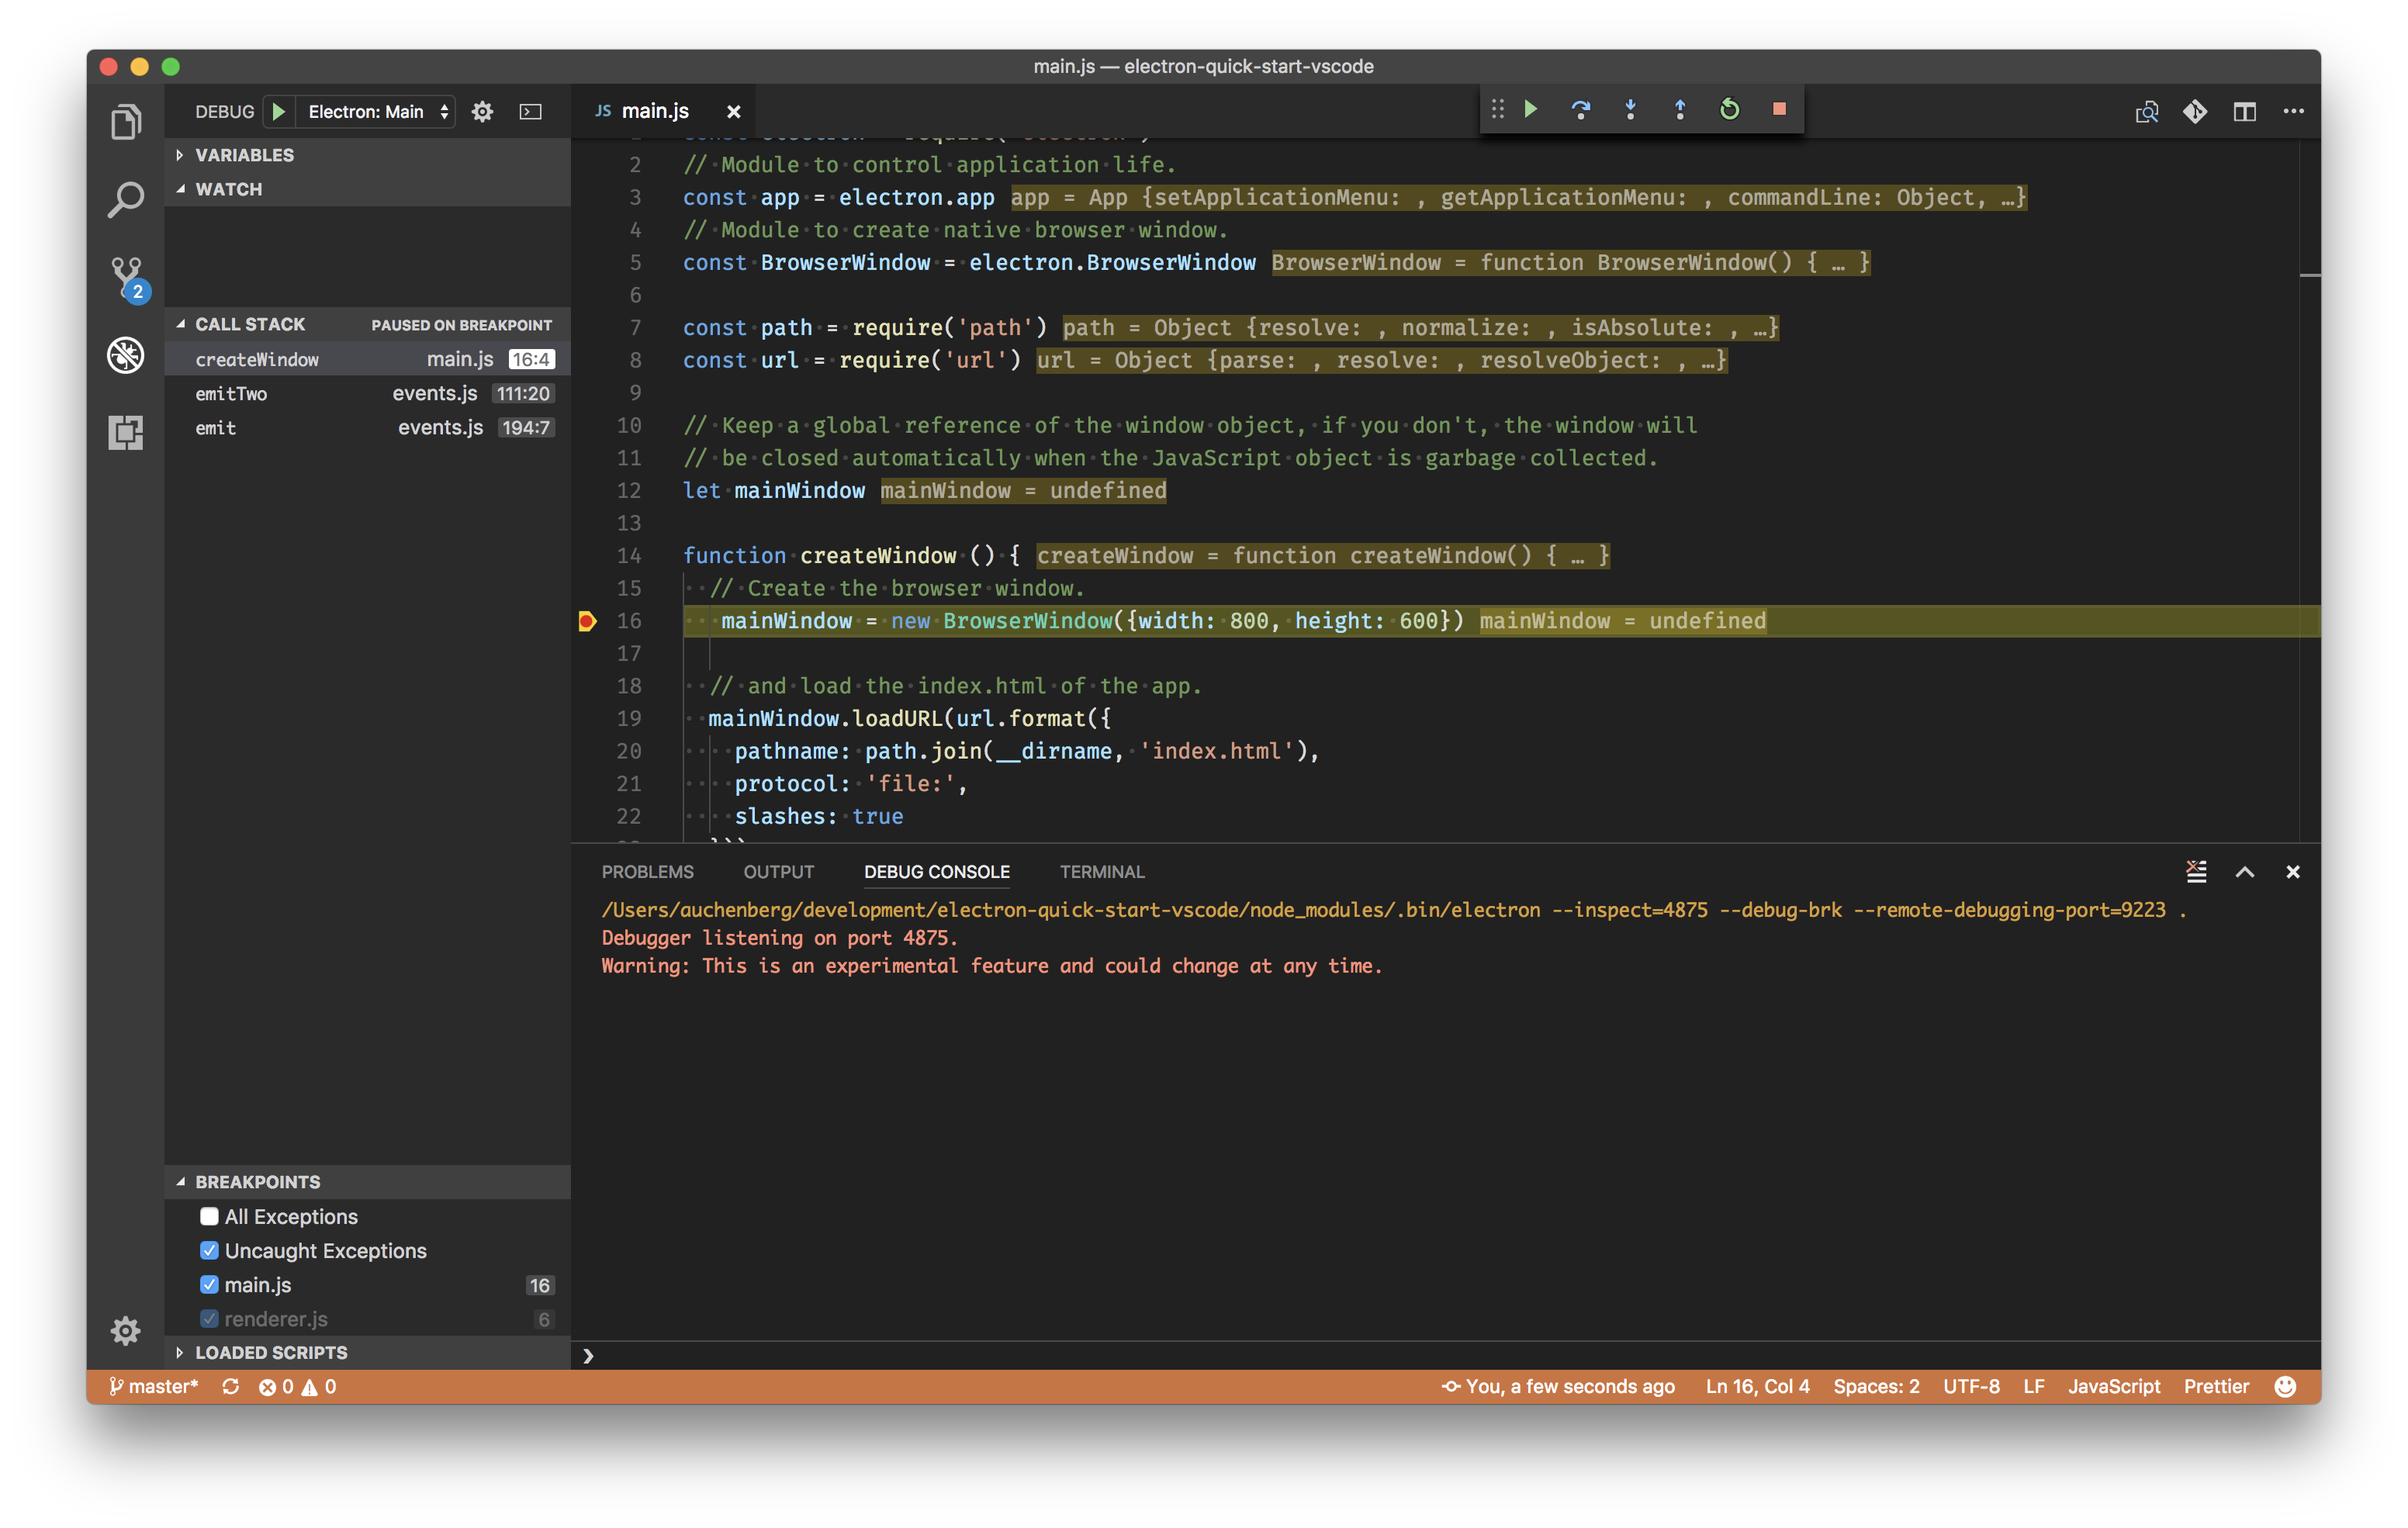
- main.jsの16行目、createWindow関数内にブレークポイントをセットしてください
- デバッグビューを開き、'Electron: Main'コンフィグレーションを選択してF5キーを押すか緑の再生ボタンをクリックしてください
- VSCodeがあなたのElectronアプリケーションを開始し、main.jsの16行目でブレークポイントがヒットするはずです

レンダラープロセスをデバッグする
-
renderer.jsを以下の内容に更新してください
// This file is required by the index.html file and will // be executed in the renderer process for that window. // All of the Node.js APIs are available in this process. function test() { console.log('test') } test() -
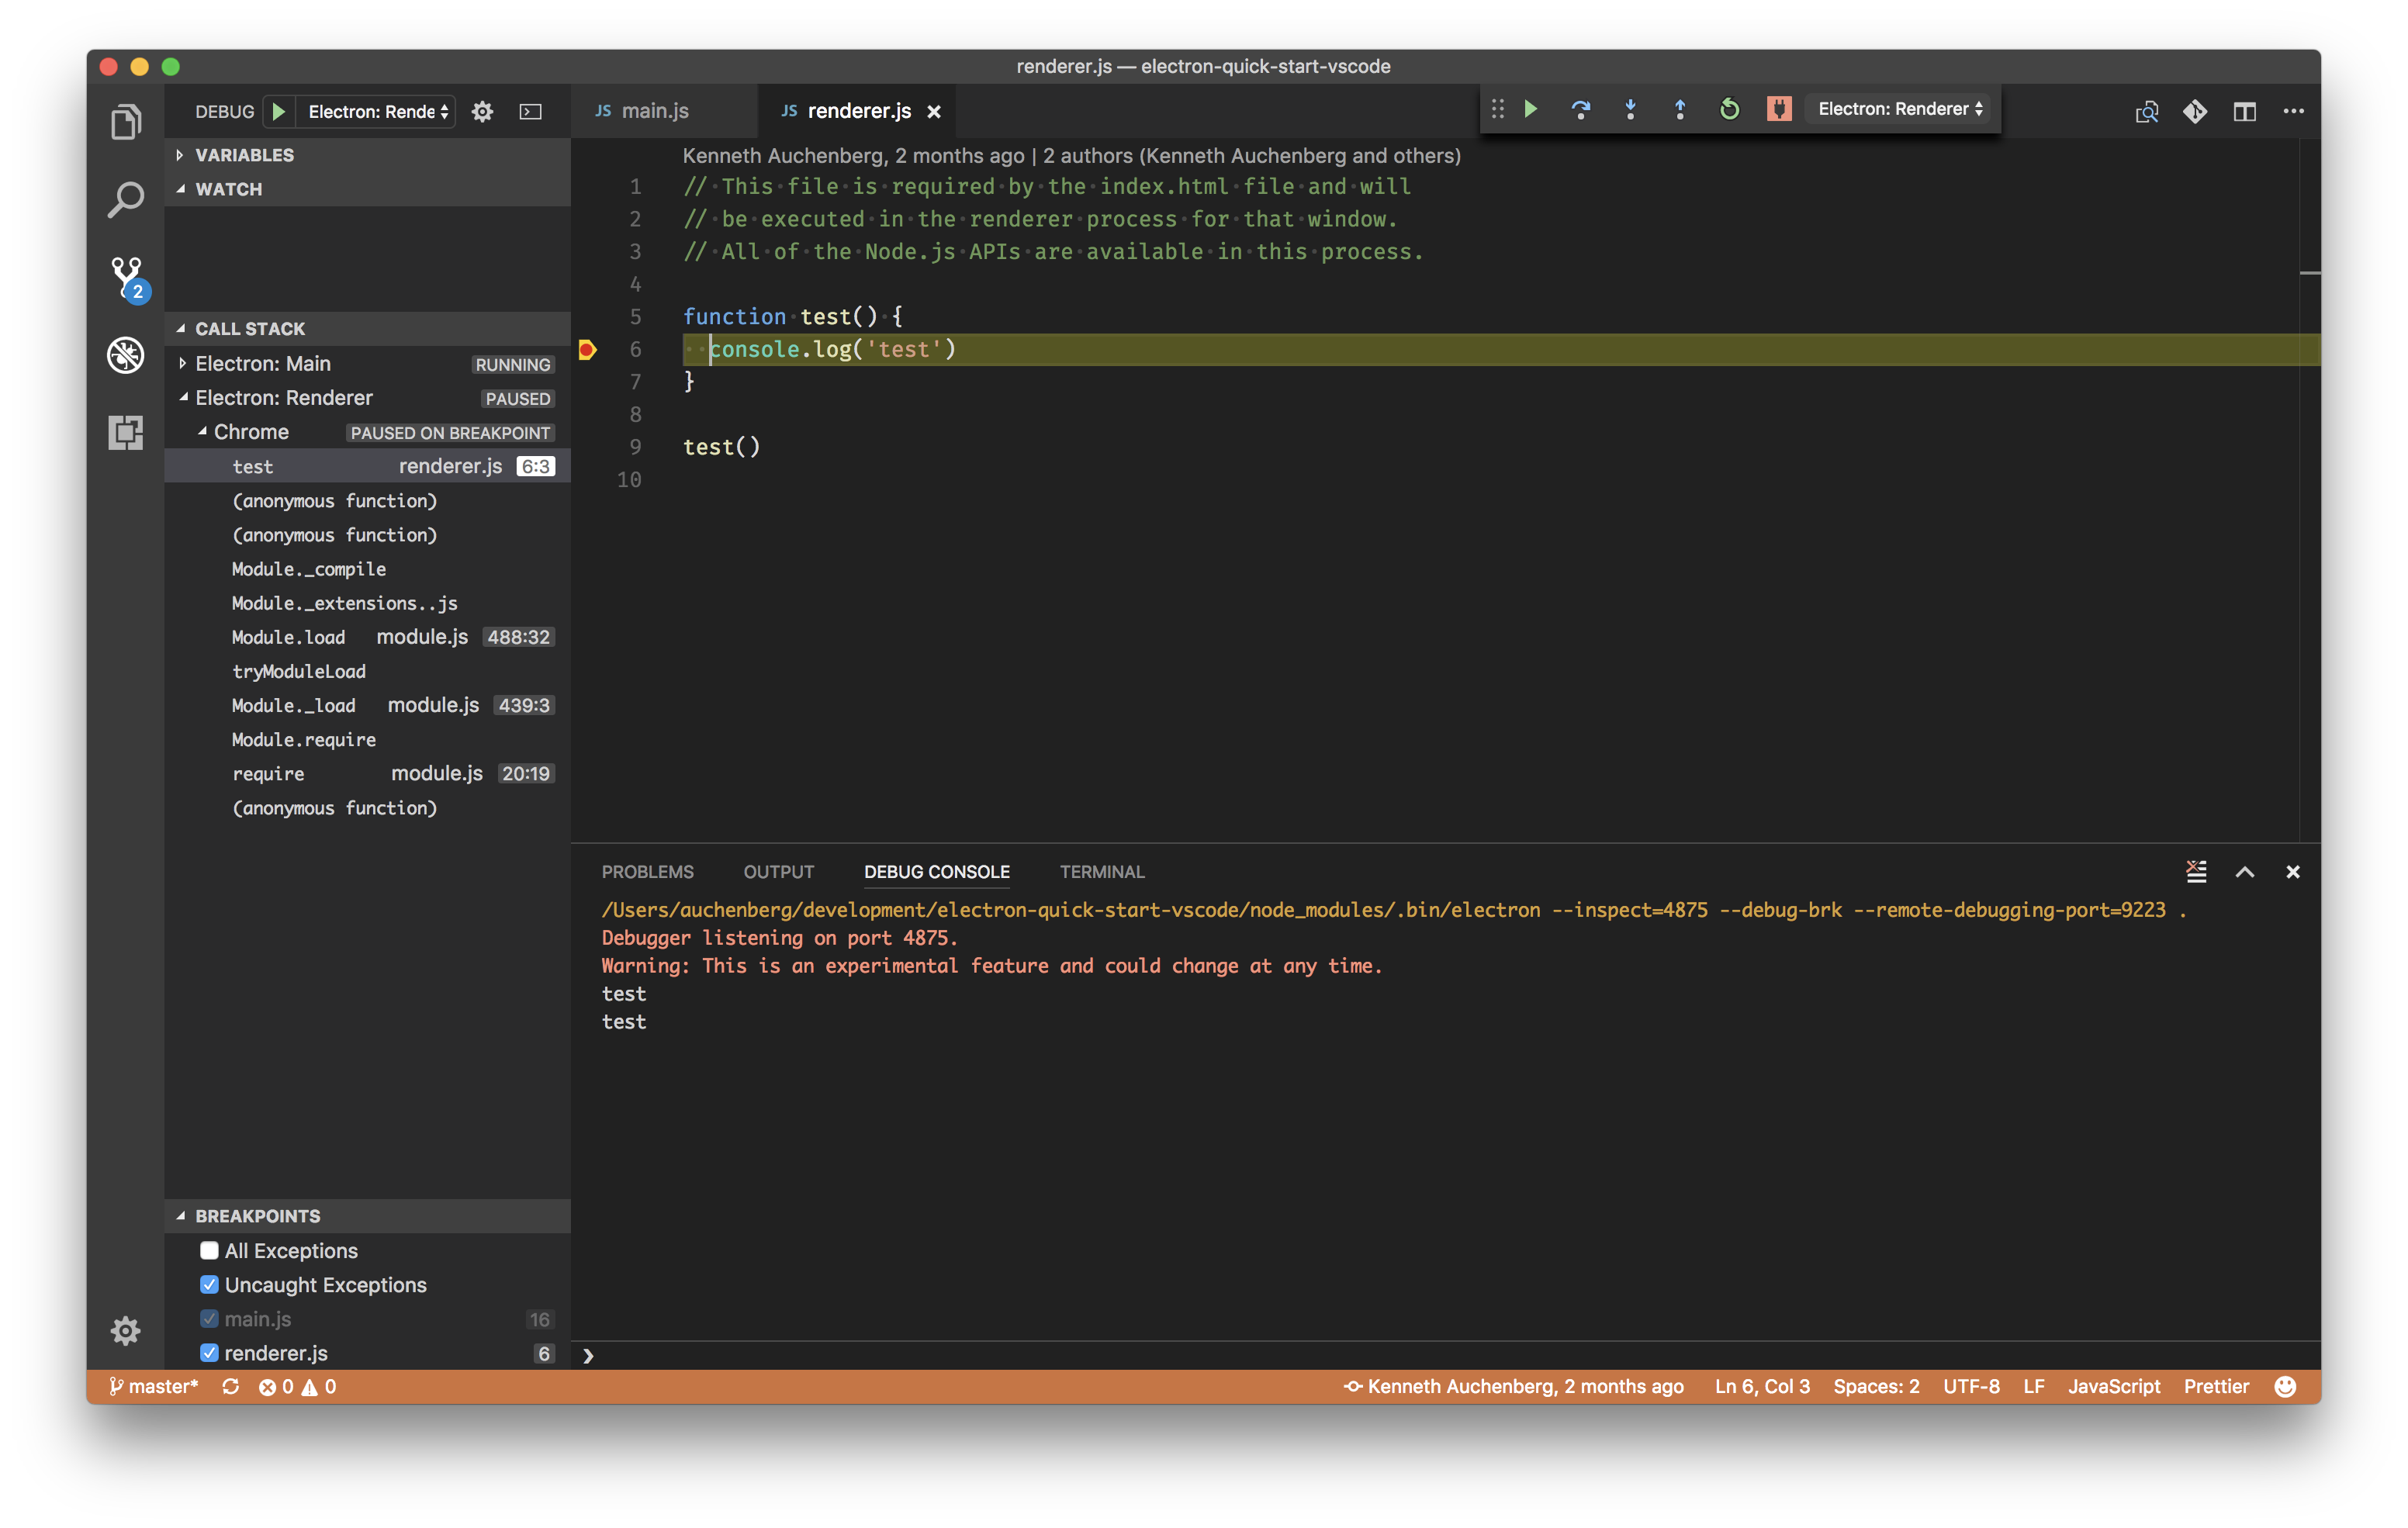
デバッグセッションが実行中の間、デバッグビューを開いて、'Electron: Renderer'コンフィグレーションを選択できます。これはVSCodeをElectronレンダラープロセスに接続します。
-
接続されたらrenderer.jsを開きブレークポイントを6行目にセットしてください
-
あなたのElectronアプリケーションのウインドウを開き、ブレークポイントがセットされることを確実にするためにページをリロード(View -> reload または CMD+R)してください
2つのプロセスを同時にデバッグする
メインプロセスとレンダラープロセスの両方をデバッグすることを学んだので2つのデバッグセッションを同時に開始する混合コンフィグレーションの長所を利用できます。
- デバッグビューを開き、'Electron: All'コンフィギュレーションを選択してください。これはVSCodeをメインプロセスとレンダラープロセスの両方に接続しスムーズな開発の流れを可能にします
- ブレークポイントをファイルの任意の場所にセットしてください
- 楽しんで🎉🔥
